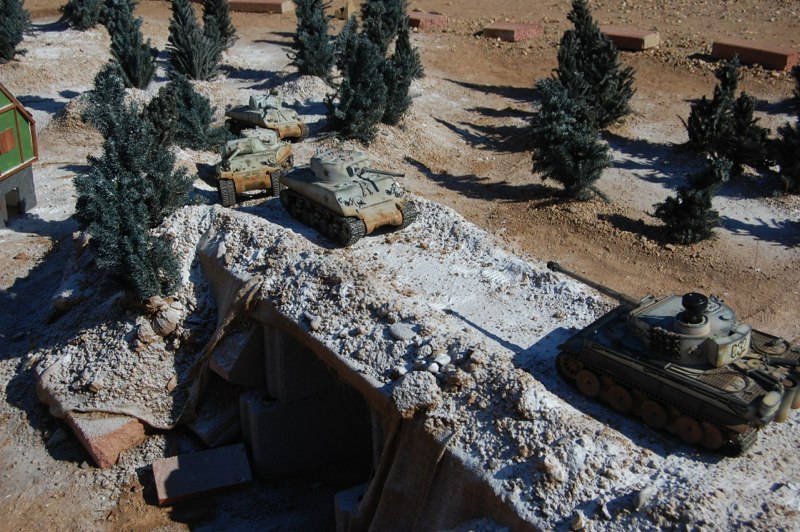
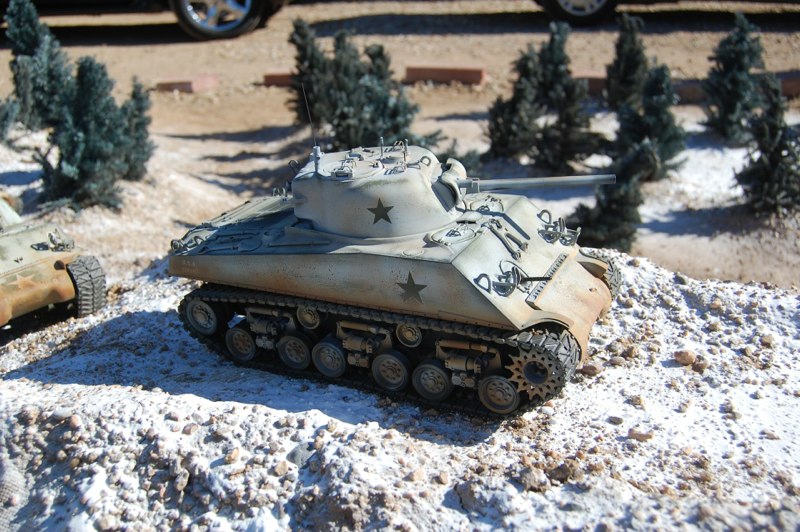
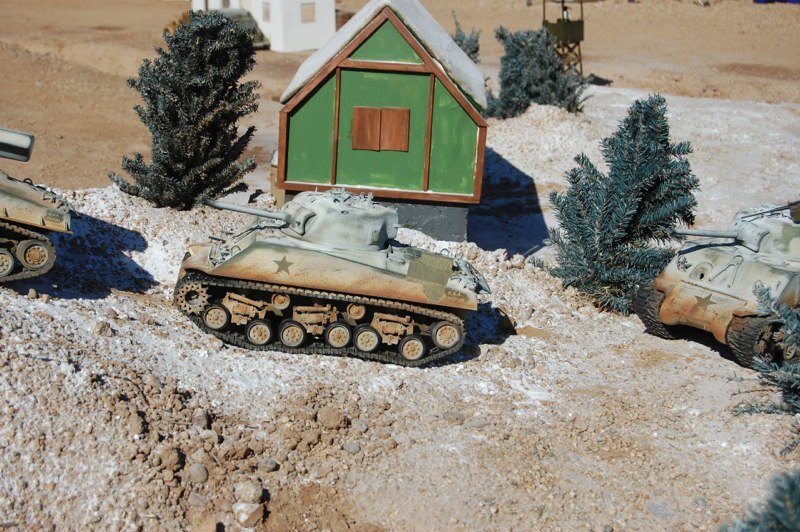
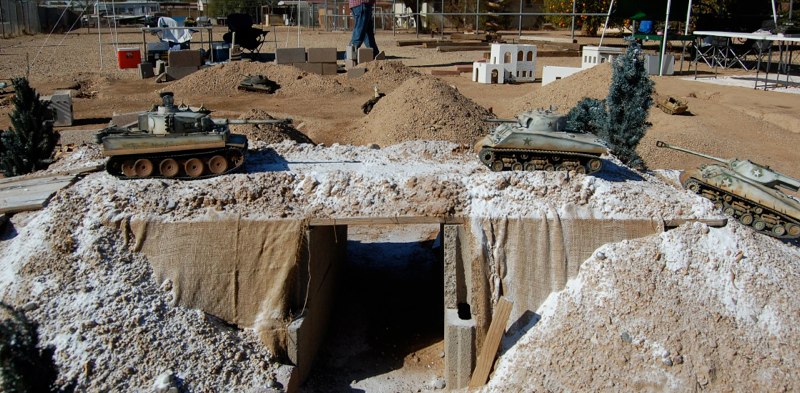
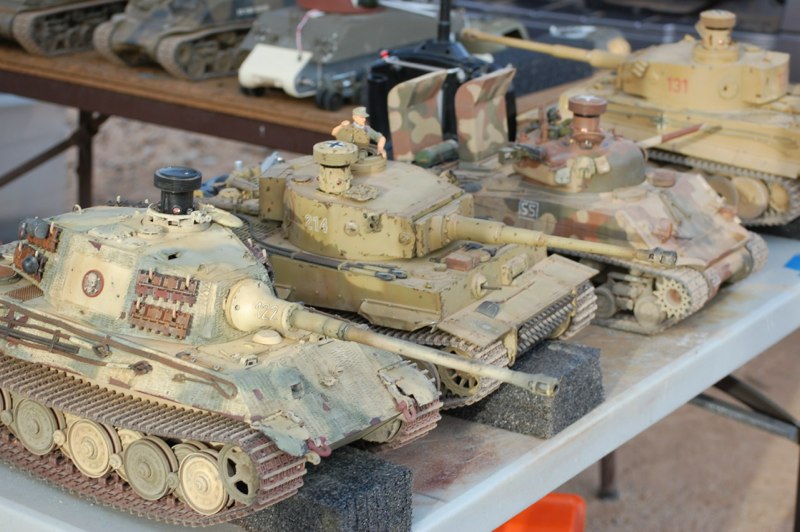
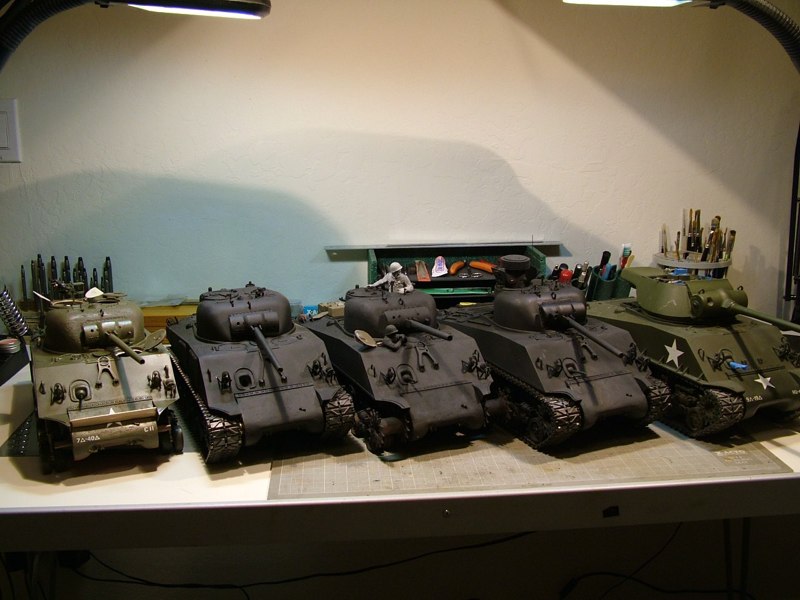
I know the first thing you think of with Desert Armor Korps is Winter Scheme tanks but we have a hankering to do some Battle of the Bulge style armor for a while now. As a group we decided to make a series of M4A3 75mm tanks from one unit. Official club painter and fashion coordinator Craig Pierce will handle the airbrush duties as he has a few ideas how to make these vehicles really stand out! So far we have a Platoon in progress and prospects of an entire Company. Six club tankers are committed, or at least involved....
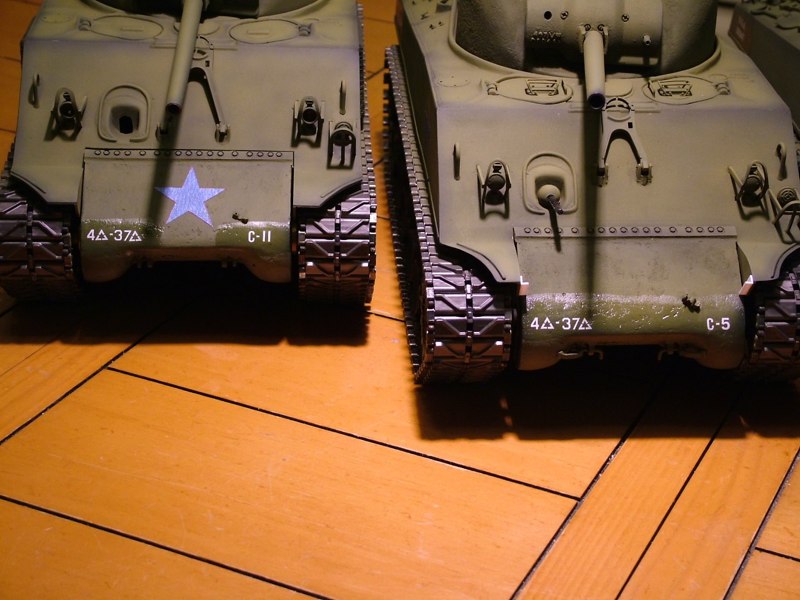
For Historical accuracy, we will also be marking our vehicles for the 37th Armor Battalion, 4th Armored Division. Company “C” was the first unit to relieve the 101st Airborne as the spearhead of the Patton’s third Army. A few other vehicles will join the build later but for now, all are M4A3s.
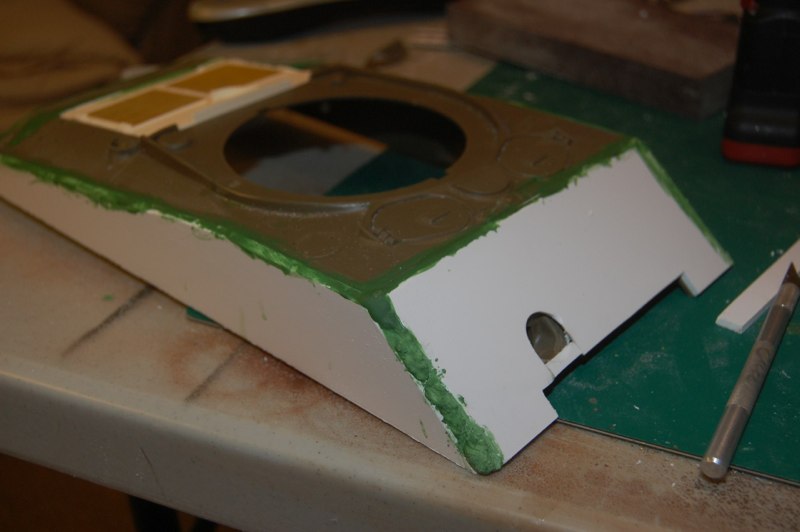
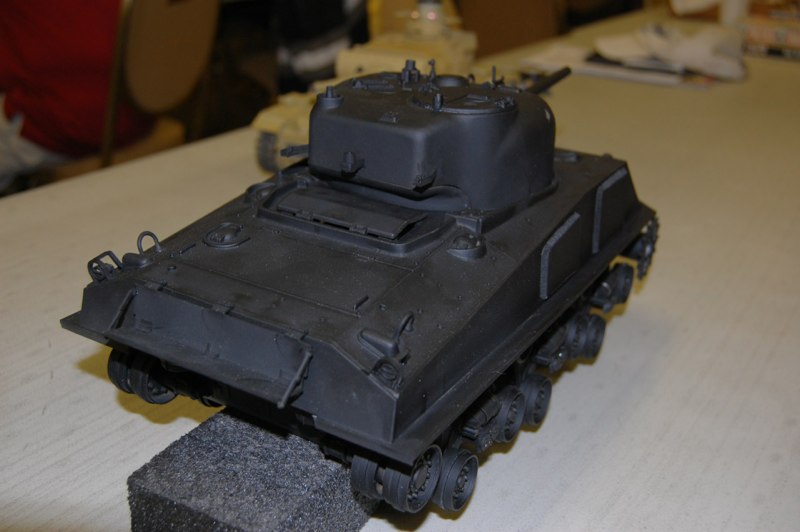
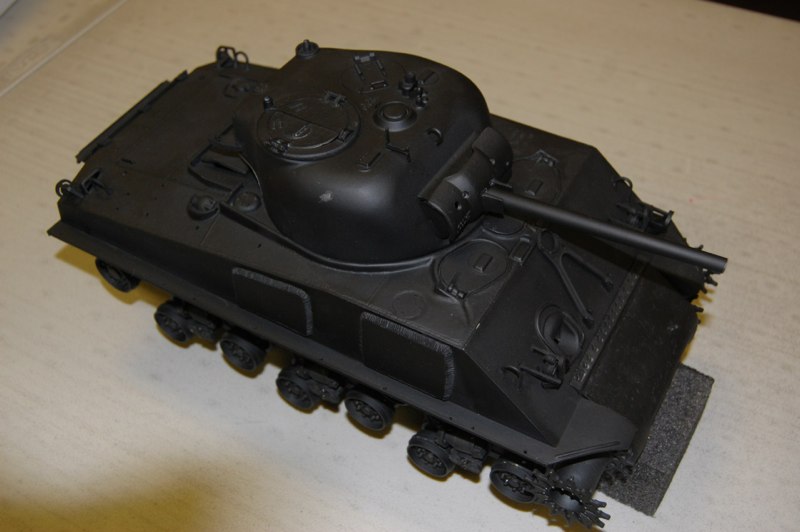
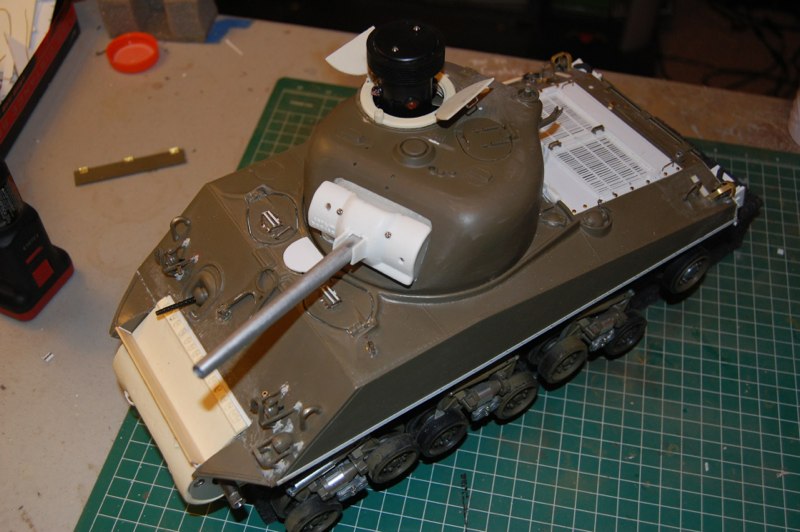
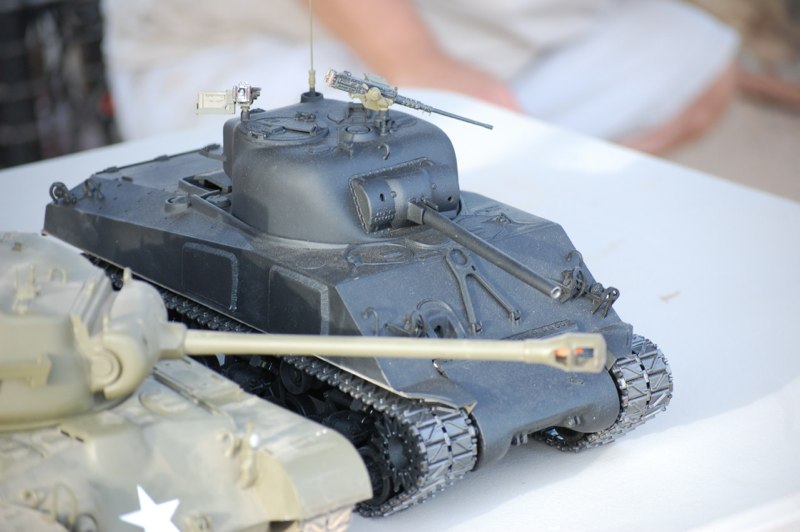
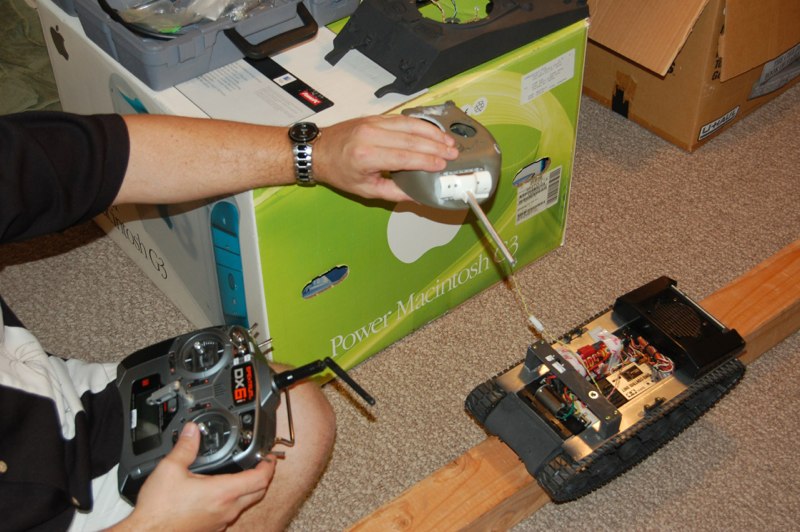
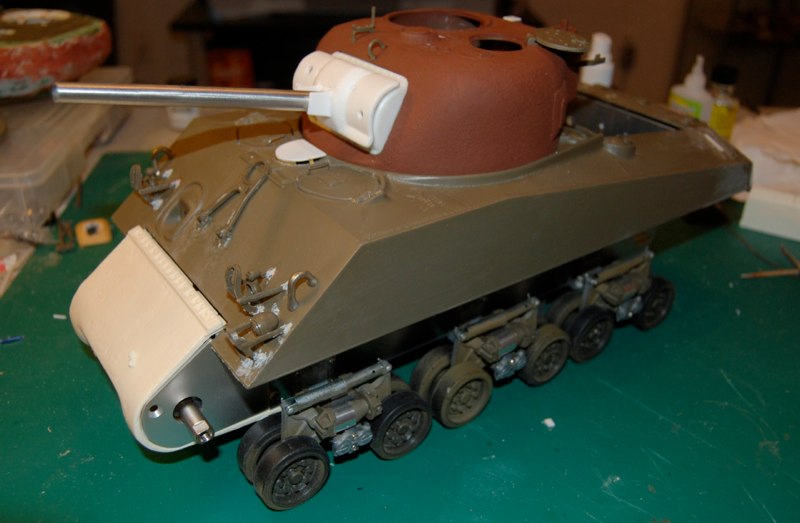
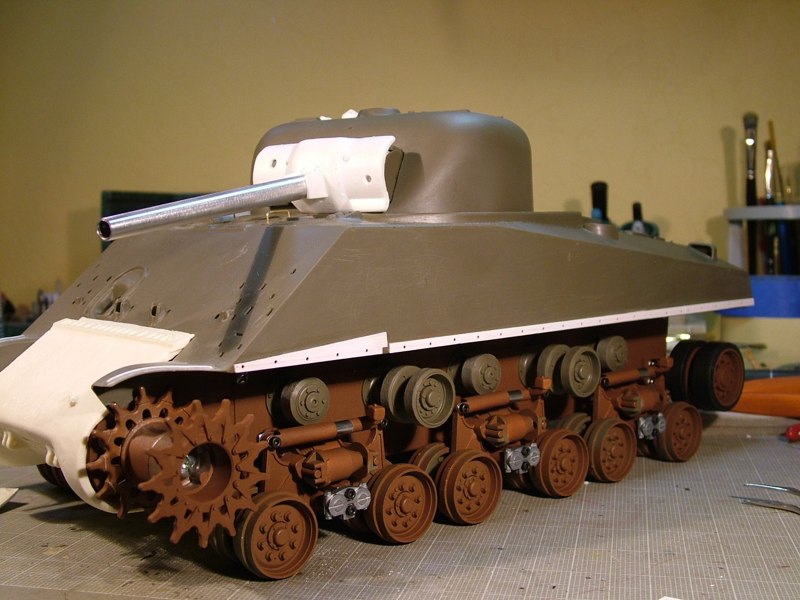
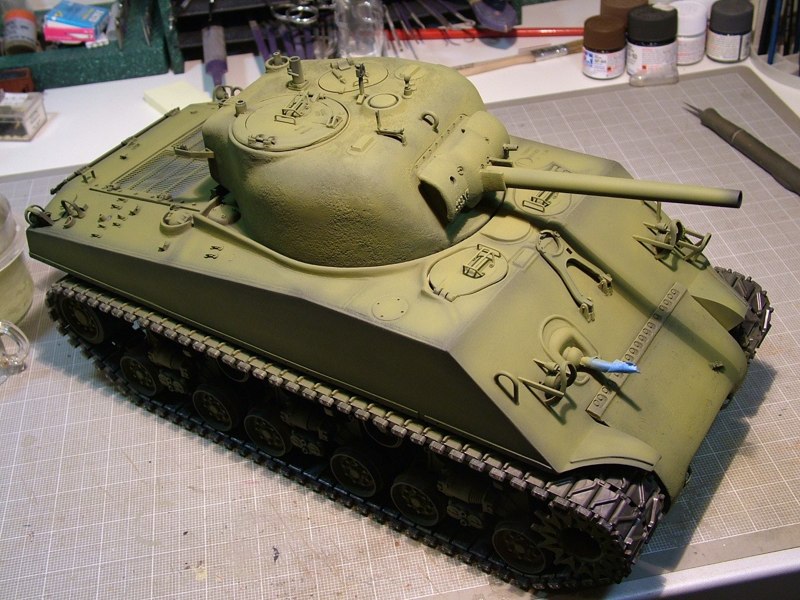
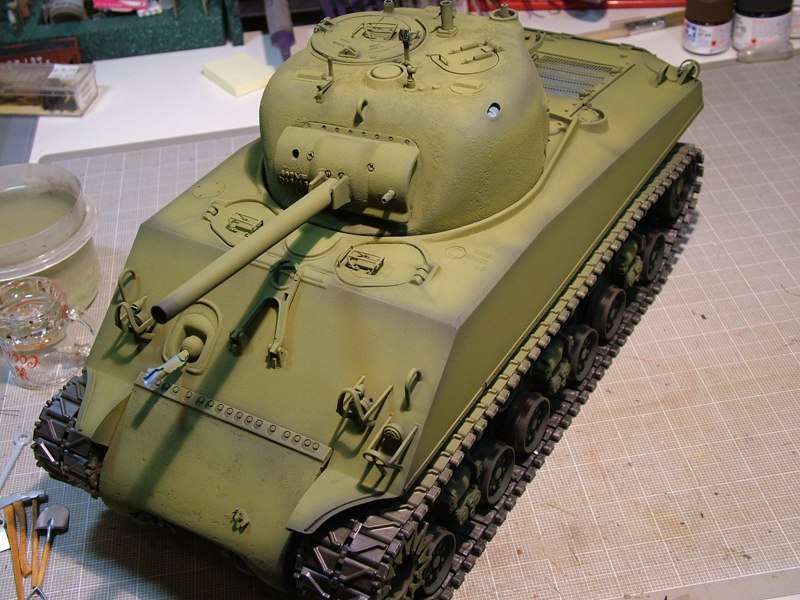
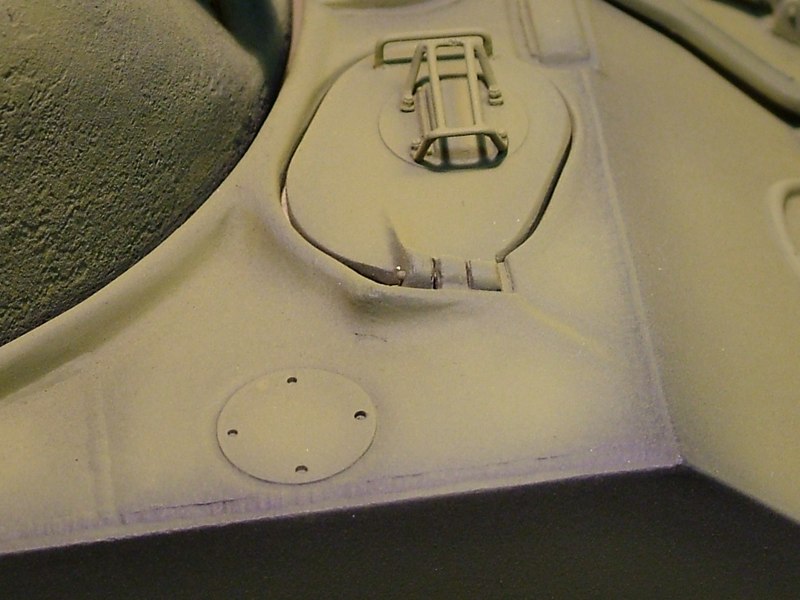
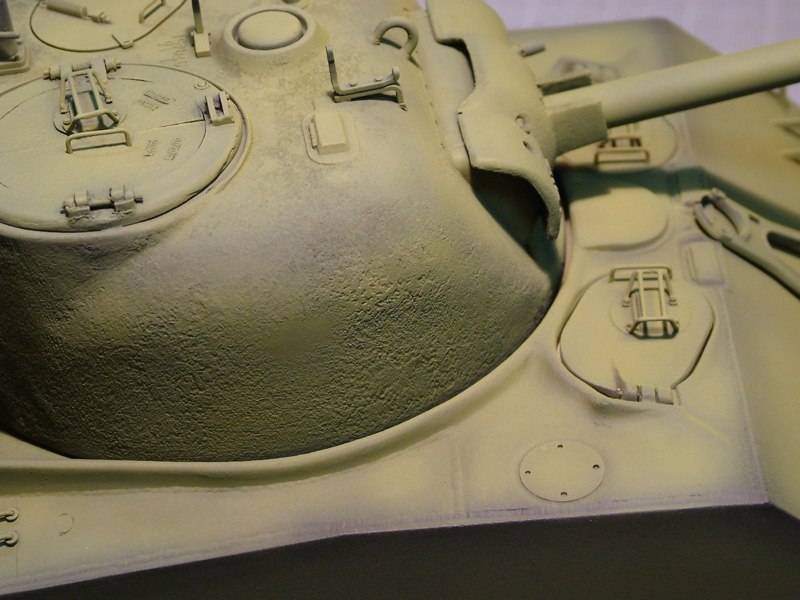
As the CO, I couldn’t resist adding my own contribution of typically unusual nature. I will convert a Tamiya Sherman to “Jumbo” configuration. Step one.... Double the thickness of the hull! Eventually I will depict COBRA KING, the first tank to relieve Bastogne.DSC_0574.JPGDSC_0578.JPGDSC_0591.JPGDSC_0592.JPGDSC_0596.JPGDSC_0598.JPGDoug Sharpe was the point man on this project. He assembled a Tamiya sherman essentially box stock but added our DAK 75mm Conversion and some Schumo goodies. The Applique armor is also resin from TankZone.Craig has asked the crew to prime the tanks in Black as his technique will layer the paint in an unusual fashion.DSC_2576.JPGWe all know the Tamiya Sherman is a good runner, we of course want to make it a looker! Our custom mods will make the tank quite the eye catcher.The Project was revealed after DAK already had a series of Tunisian Tigers.These Rotor Shields are the lynch pin to the whole project in my opinion. We try to remain as accurate as possible and hope to offer similar parts in the future.Craig Tests his turret conversion with Jeff’s lower hull.Jeff Ousley was the 4th member to join the movement. Here he is at Club HQ working on our custom 75mm cannon conversion. Club member Chris Nadeau has helped us cast resin Rotor Shields to adapt the Nick Aguilar M34 mantlet.We all know as Club CO I am a bit militant when it comes to Shermans. As my Jumbo progress slowed to a crawl over the turret.... another story.... I raided the parts box and began to cobble together my own M4A3. This is a concept turret and hull progress is described on the Projects page.Craig Pierce was the second out of the gate with another Tamiya conversion. He plans to add several modifications, including the 75mm gun, engine deck, Nick Aquilar transmission cover, mantlet, scratch built rotor shield, and several other goodies.Alright, well the tools were drying and the group of Bastogne tanks needed painting so here where we are.All of the Shermans in this group build (mine included) were all first finished in flat black primer. This served as a solid foundation color, and tied all of the different medias (plastic, resin, brass, copper, aluminum) together.The dark color was applied as a pre-shade so it also serves as the first layer of weathering. Meaning that as the color coats are applied I intentionally let the black undercoat show through, especially at the edges and soft corners.This helps to add a tremendous amount of depth and dimension to the paint. This technique really helps prevent that flat "toylike" appearance, especially on monochromatic schemes.Remember too, that the olive green (which was intentionally lightened) will also serve only as a base color, as these tanks will ultimately be whitewashed. The hope is that by layering the finish I can more accurately duplicate what was applied to the real 1 to 1 tanks these represent.My forward progress on my Sherman now includes all of the "other" tanks in the Bastogne group build.
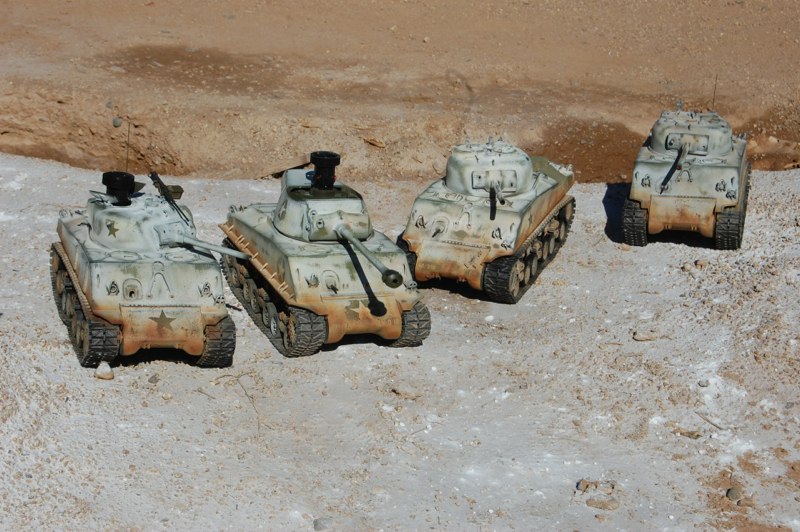
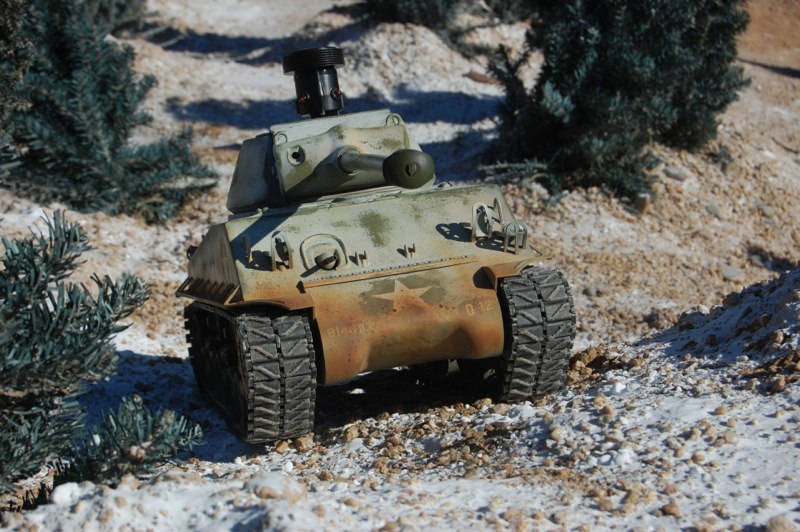
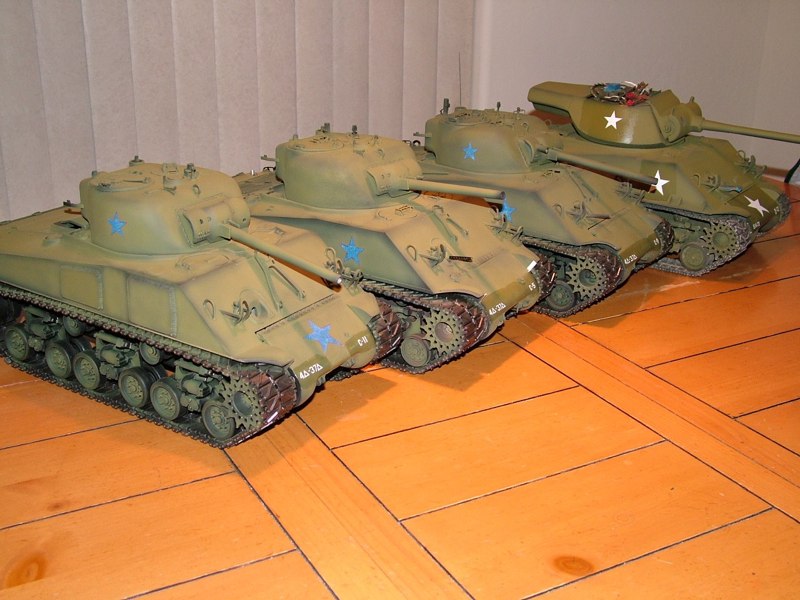
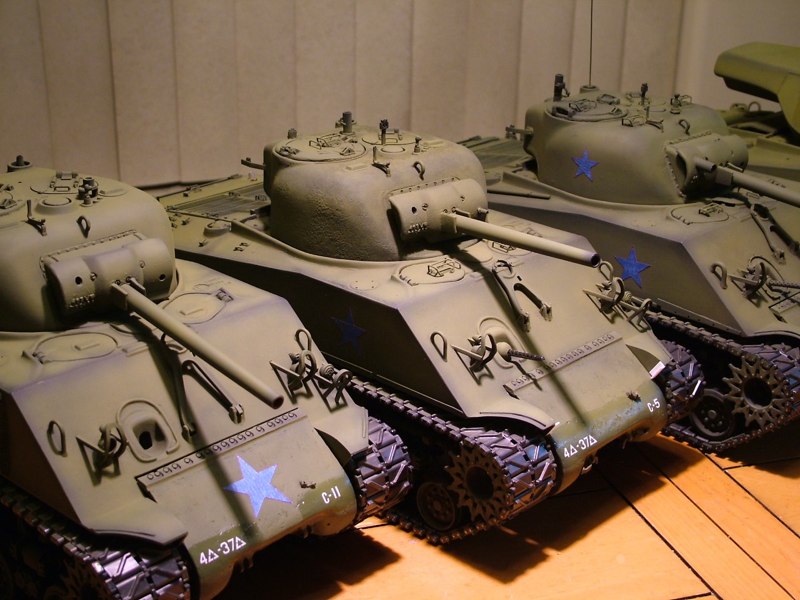
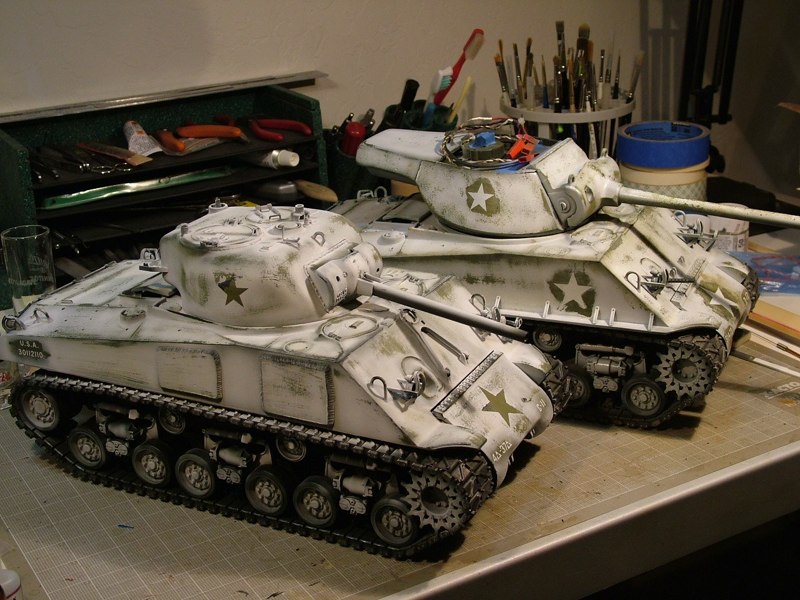
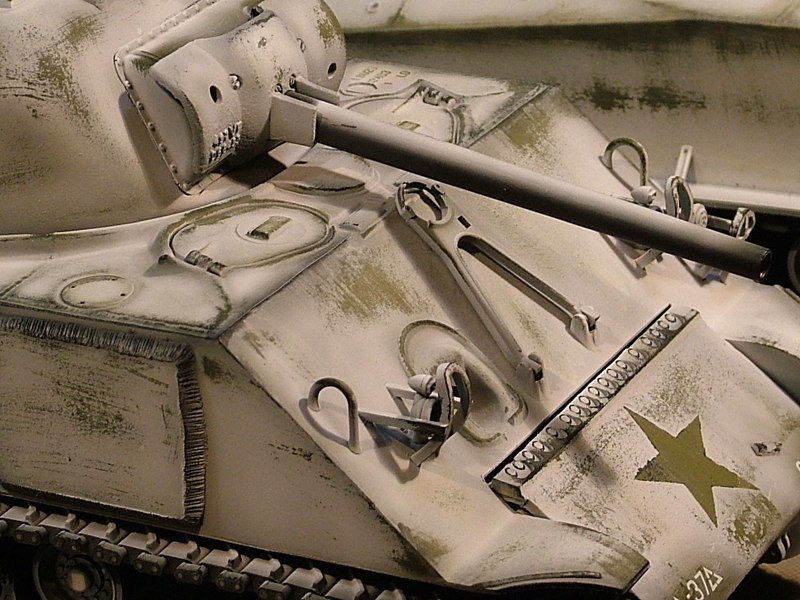
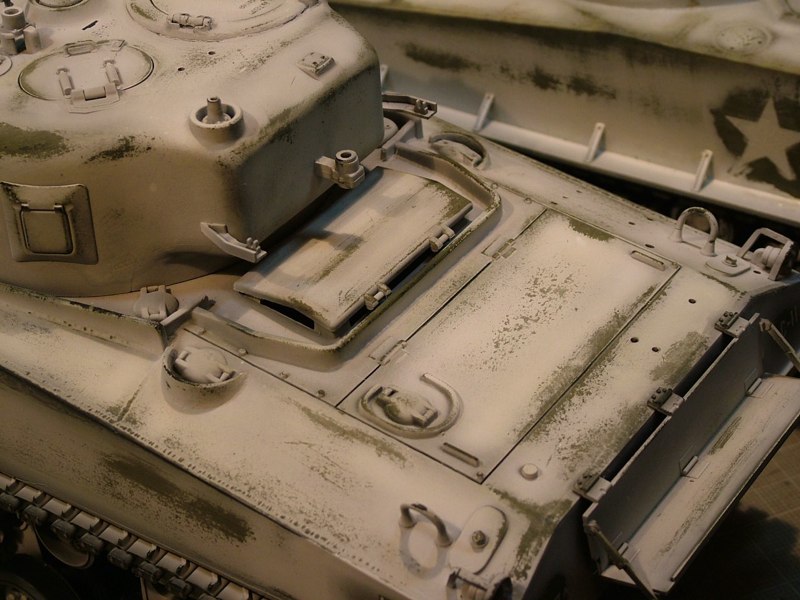
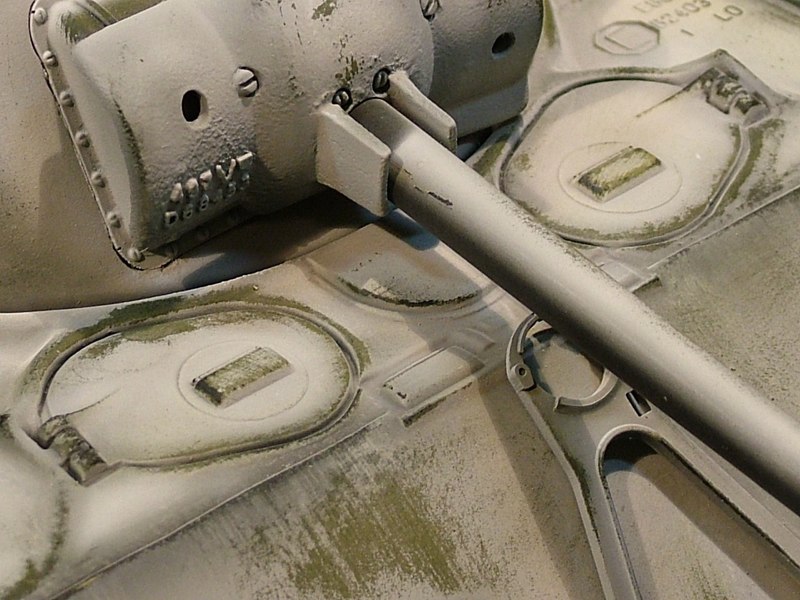
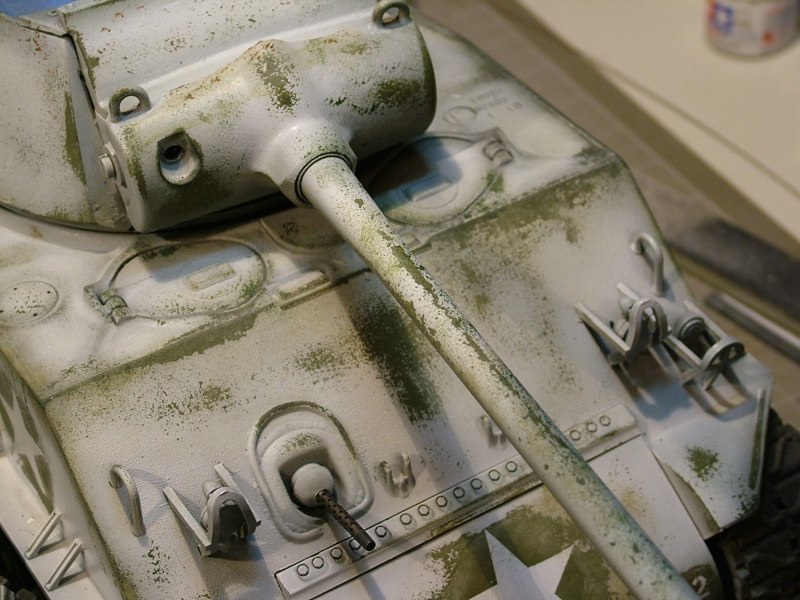
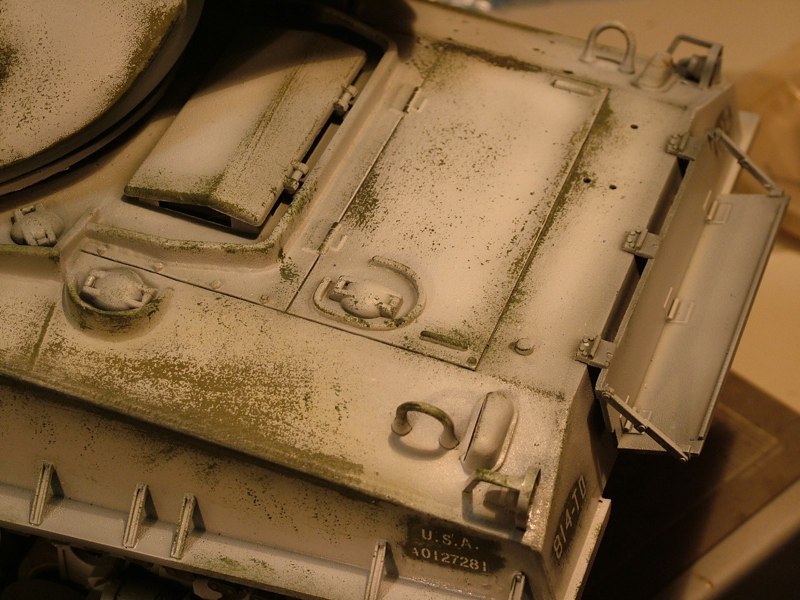
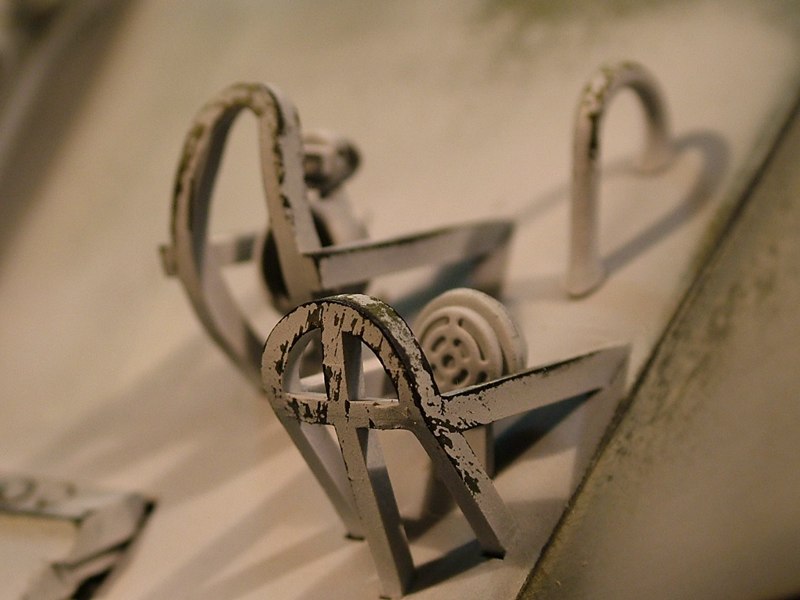
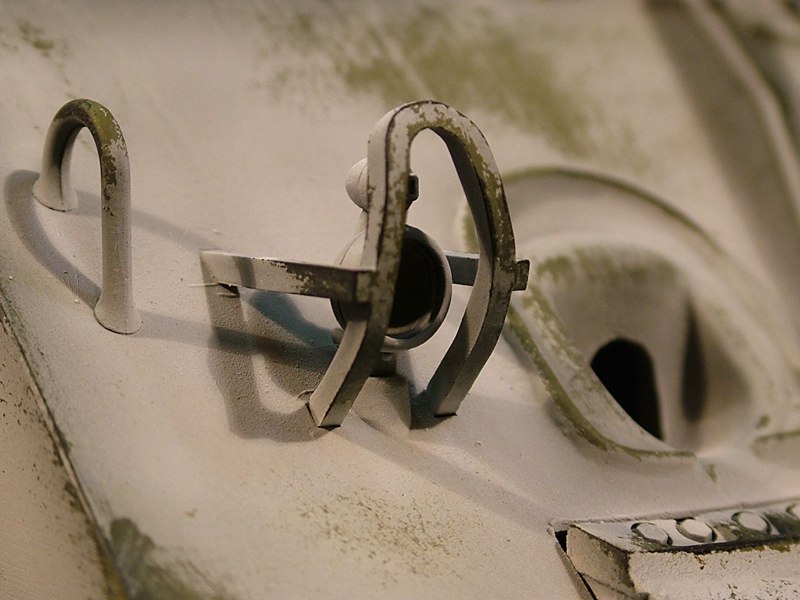
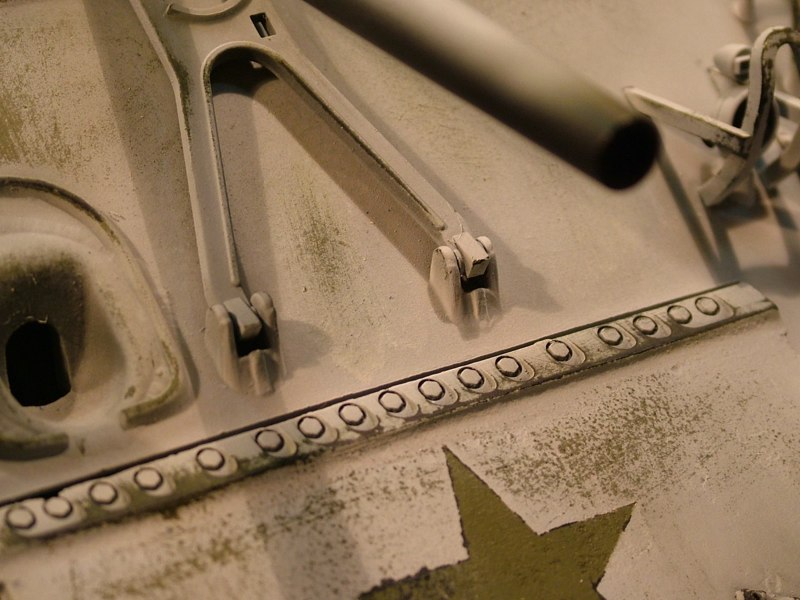
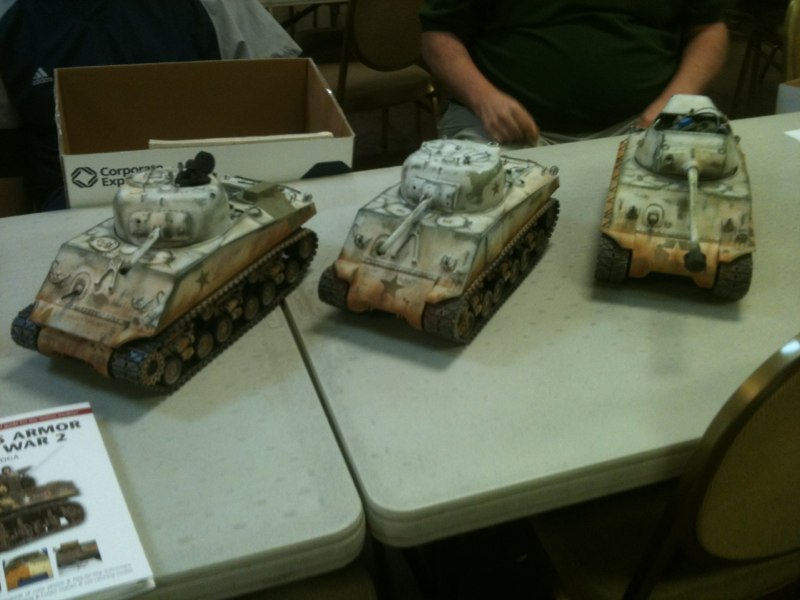
All of the tanks have now been pre-shaded in black, sprayed with numerous thin coats of lightened olive green, with plenty of black left showing through to help soften the edges and add depth of color.Individual masks were cut from 3M blue tape (long mask) for the "stars" that will be left in olive green. Although I want all of the tanks to look like they belong to the same tank battalion I also want each tank to keep it's unique individuality. So one tank has stars on the turret and hull, one has stars on the turret and transmission cover and the third has stars only on the hull sides. Then I decided to do the M-36 in white stars (the white wash will be "washed away" to show the green undercoat around the white stars). Each tank will also get unique stowage and equipment as well (as you can also see one has had applique armor added, and mine has the brackets and wooden shelf added to the front end)All of the tanks had several coats of future applied directly to the areas the decals were to be added to help prevent silvering. Then the markings were added using decal sets from the Sherman kits themselves as well as one set from the Tamiya Pershing and some Archer dry transfers (Thank you Ethan). Each tank was marked as part of the 4th Armored Divsion, 37th tank Battalion, Company "C" and each tank got it's individual number. Each tank also received it's own shipping code added to the rear of the hull side. The M-36 was attached to the 814-TD (Tank destroyer) battalion. A couple more coats of Future to seal the decals and we should be into white wash tomorrow.Finally got far enough along on the beginning stages of whitewashing two of the tanks to have something to share. Please bare in mind that this is just the first phase, but I wanted to share some in-progress photos.After applying the hairspray in several generous coats from an aerosol can I set the tanks aside to dry for a night or two. Then using Tamiya white acrylic (about 30%) heavily thinned with a combination of Tamiya thinner (about 20%) plus isopropyl alcohol ( approximately 30%) and distilled water (20%) I shot several light coats of whitewash. I started in the center of each panel or section and worked my way out to the edges, intentionally leaving more green visible at all of the edges and corner. This helps to show subtle signs of wear on the white paint.Then immediately after I was done spraying the white (while the paint is still fresh) I used a terrycloth rag, Q-tips, and a scouring pad moistened with plain tab water and started rubbing the paint away on the edges and high points. I also rubbed through some of the large flat areas to show additional wearing and abuse to the paint. By letting the water sit in some specific areas a little longer or rubbing a little harder I was able to start eroding through the green paint as well exposing the underlying black primer.Once I get all 4 tanks to this stage, I will start with the running gear, making things dirty and muddy, along with filters, washes, dry brushing, chipping, and sponging. More to come so stay tuned!IMG_0077.JPG