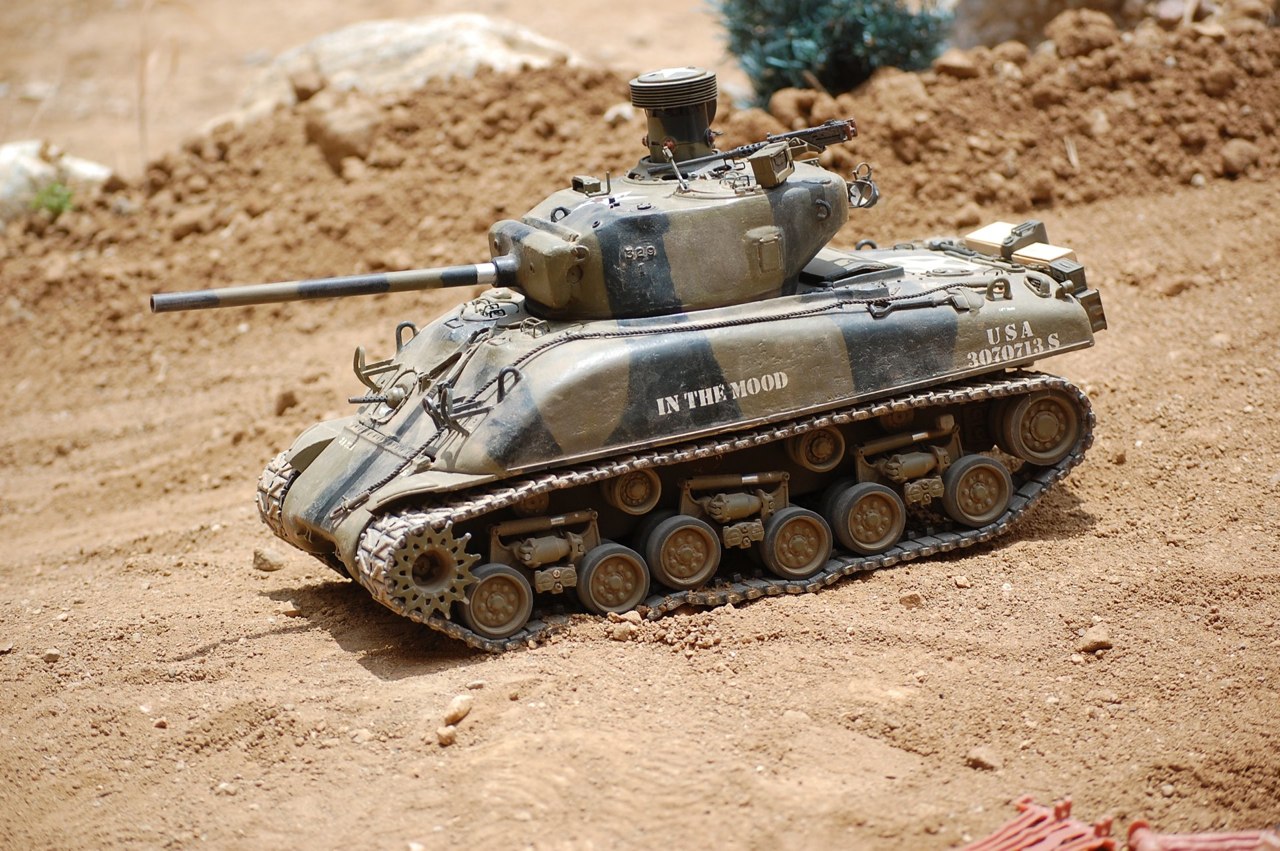
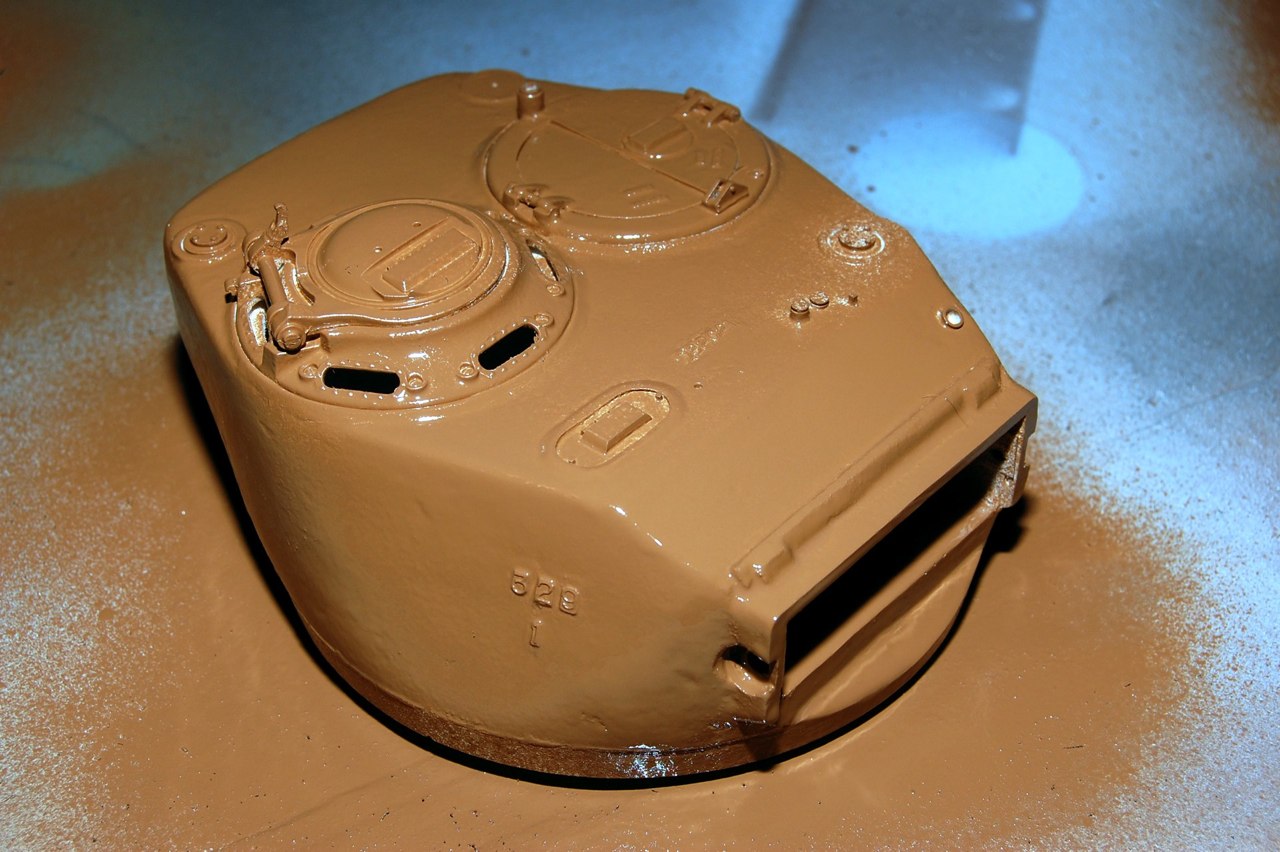
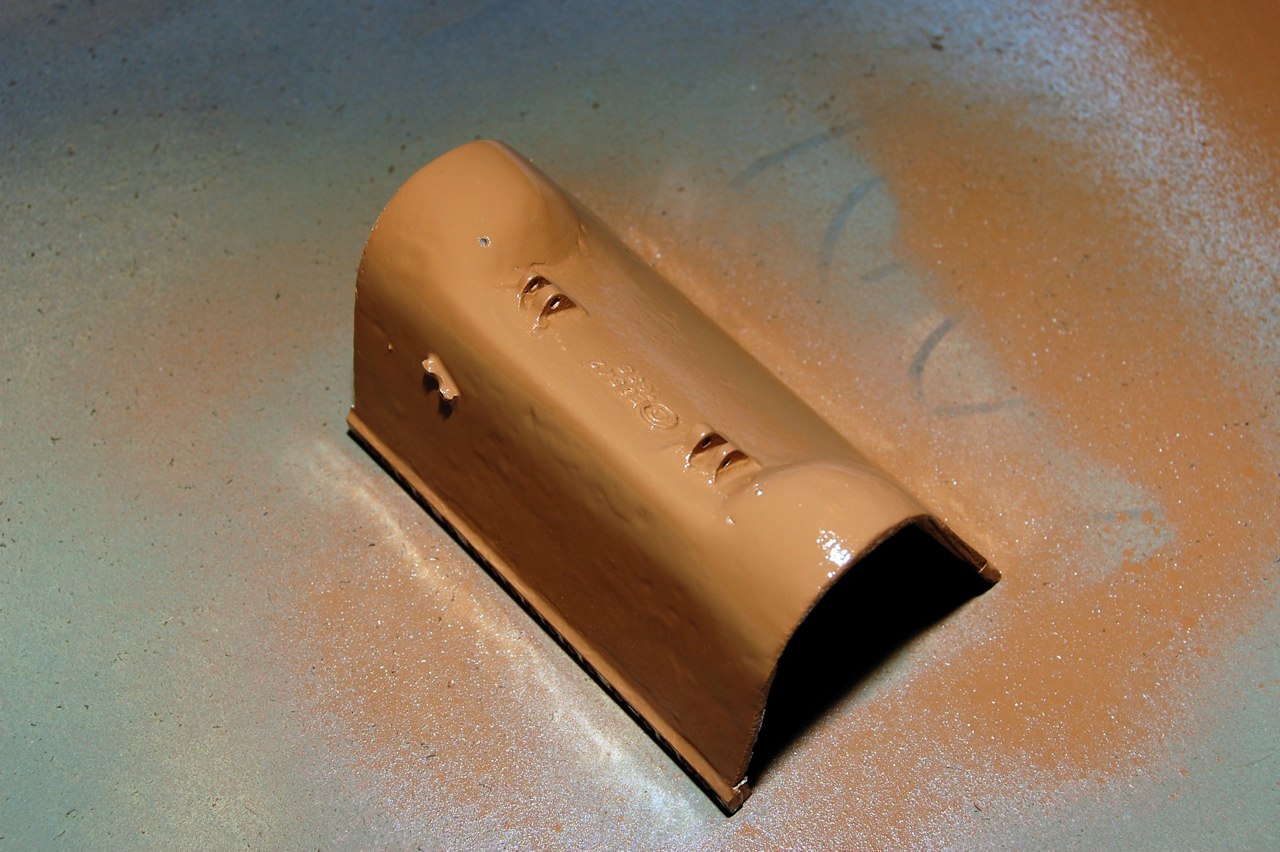
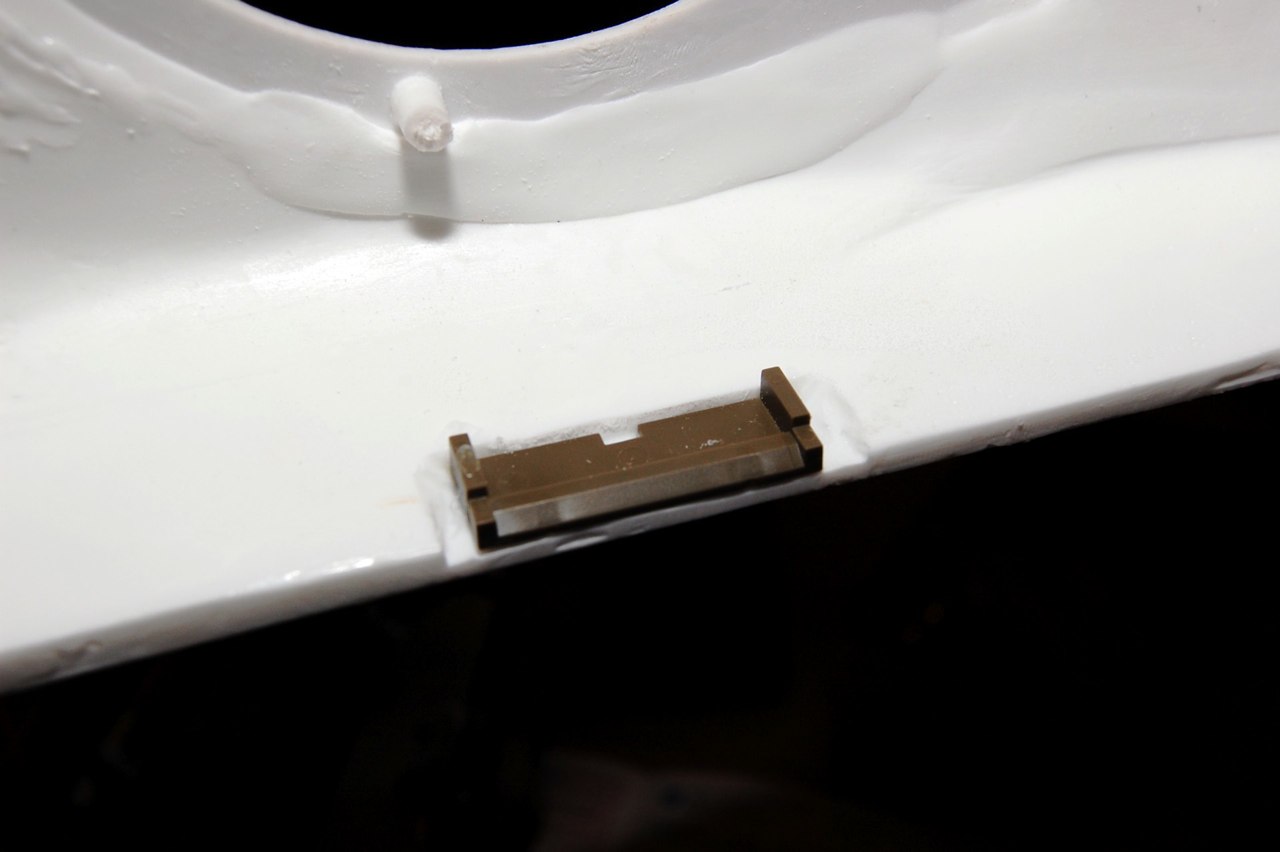
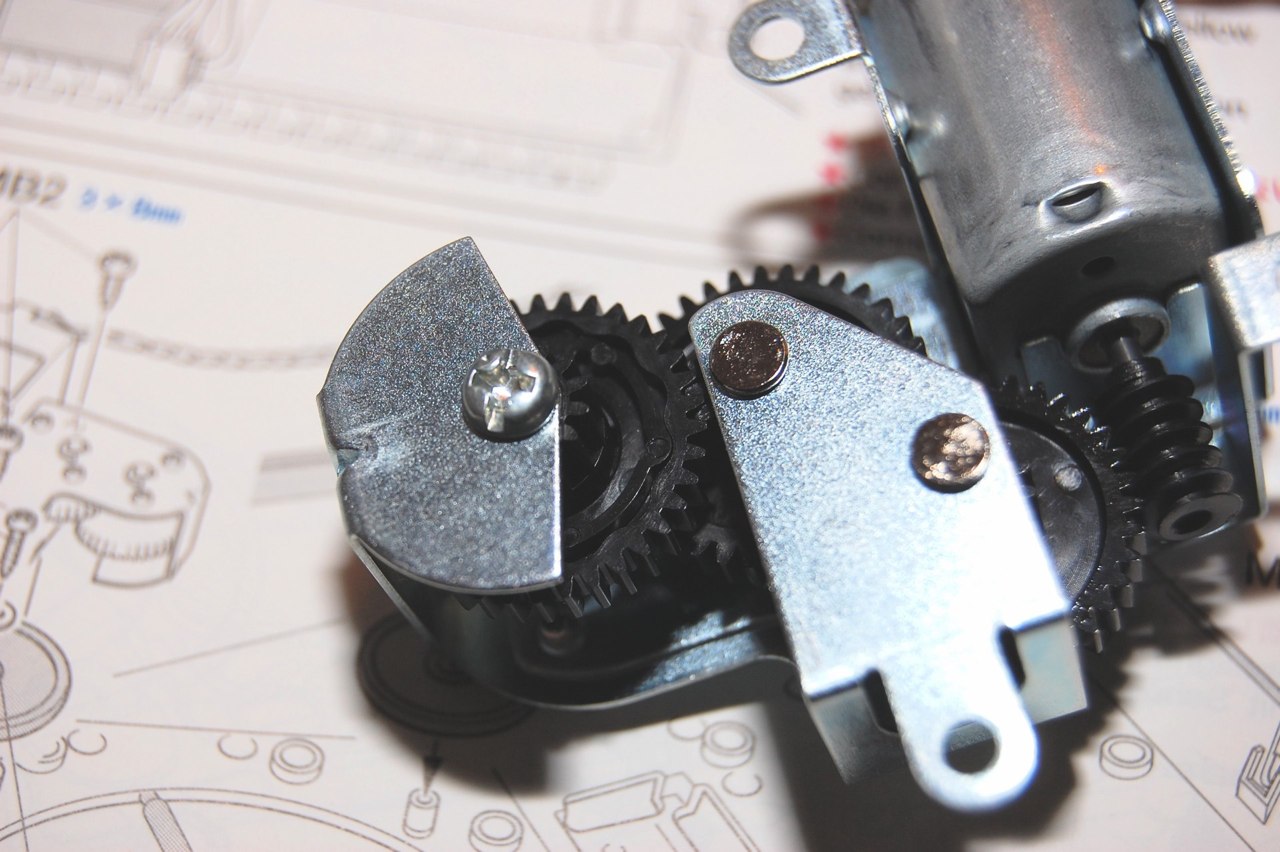
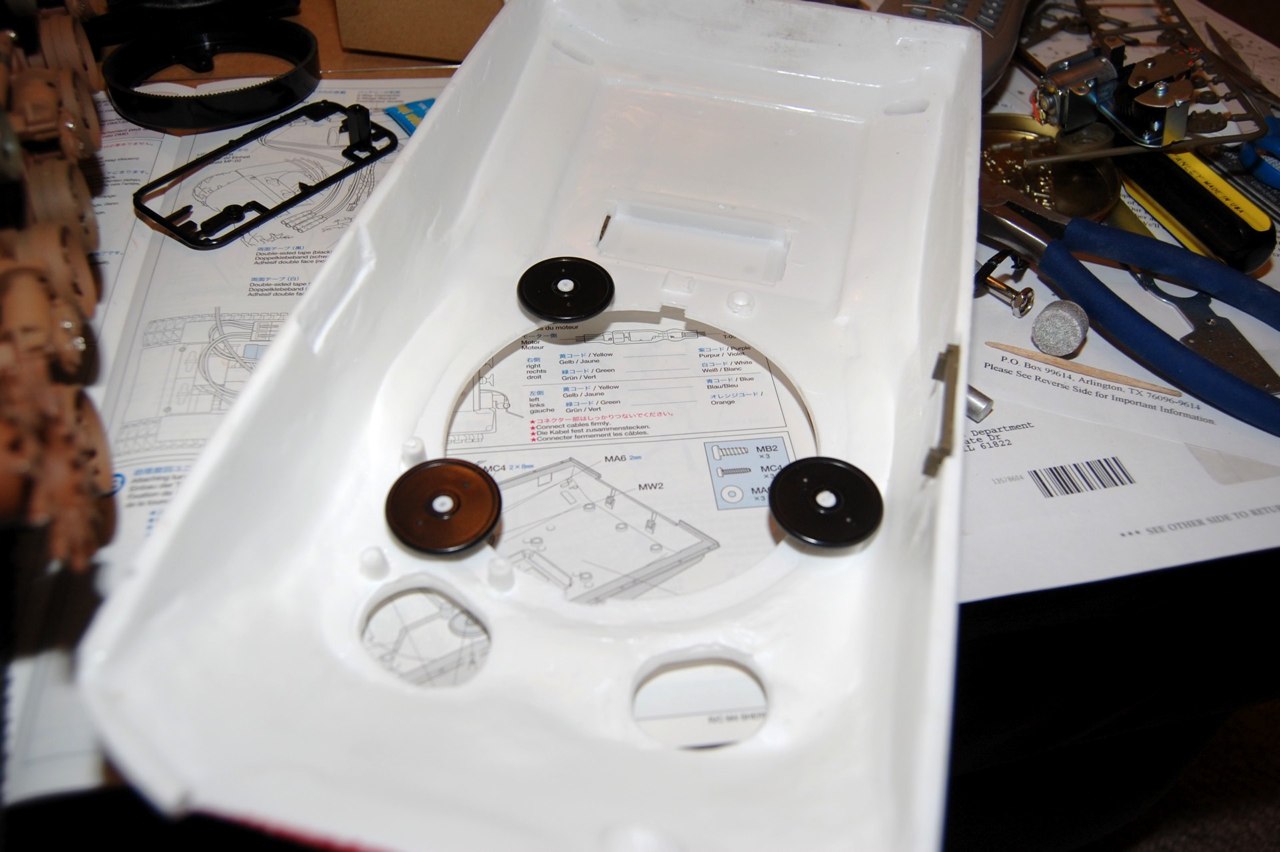
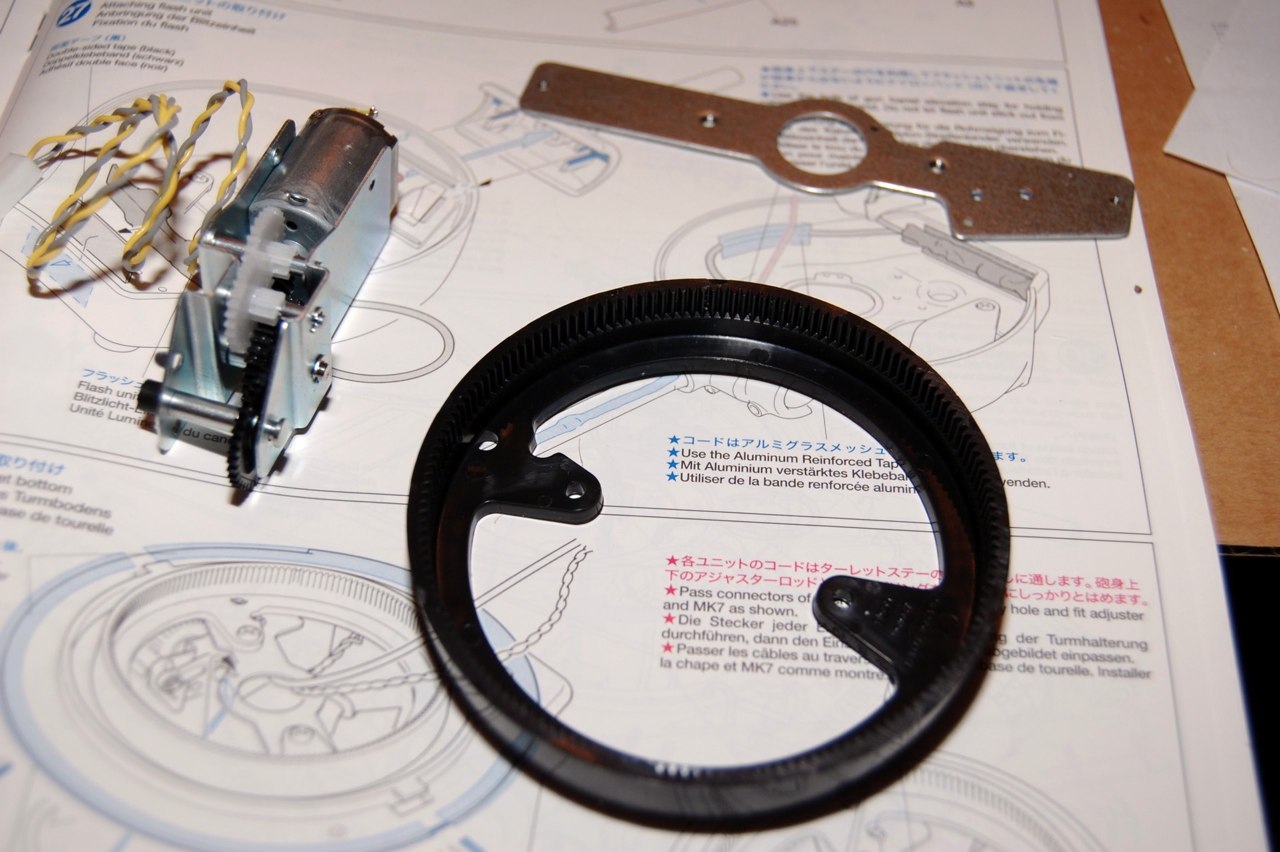
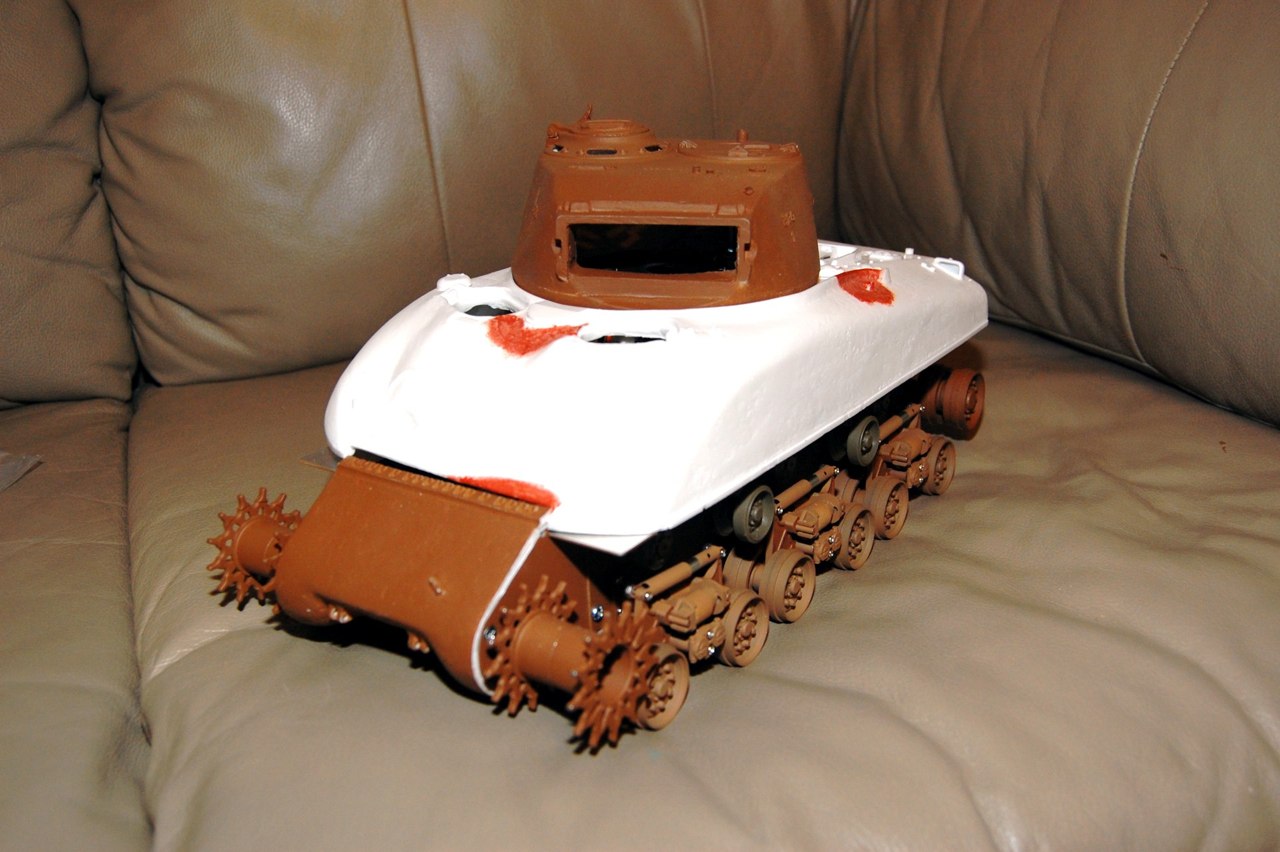
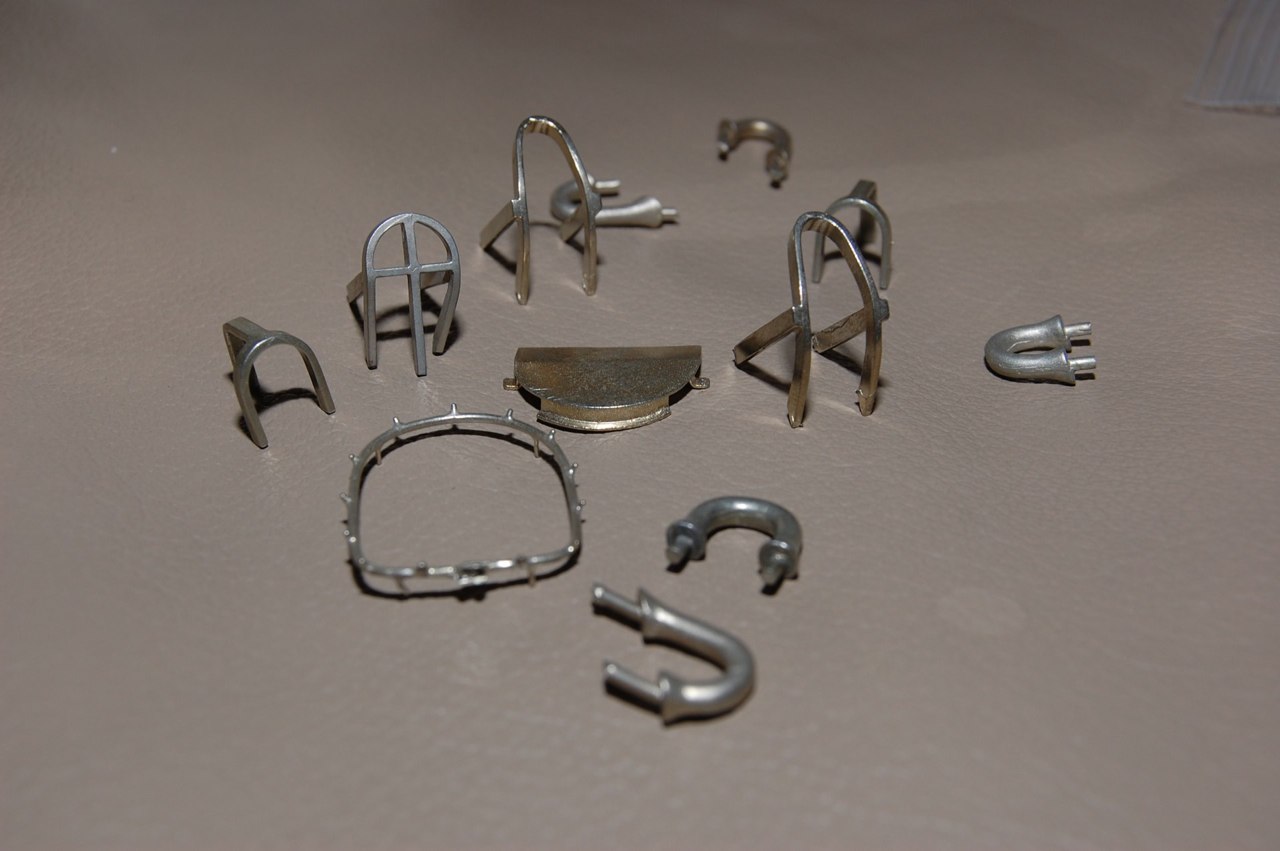
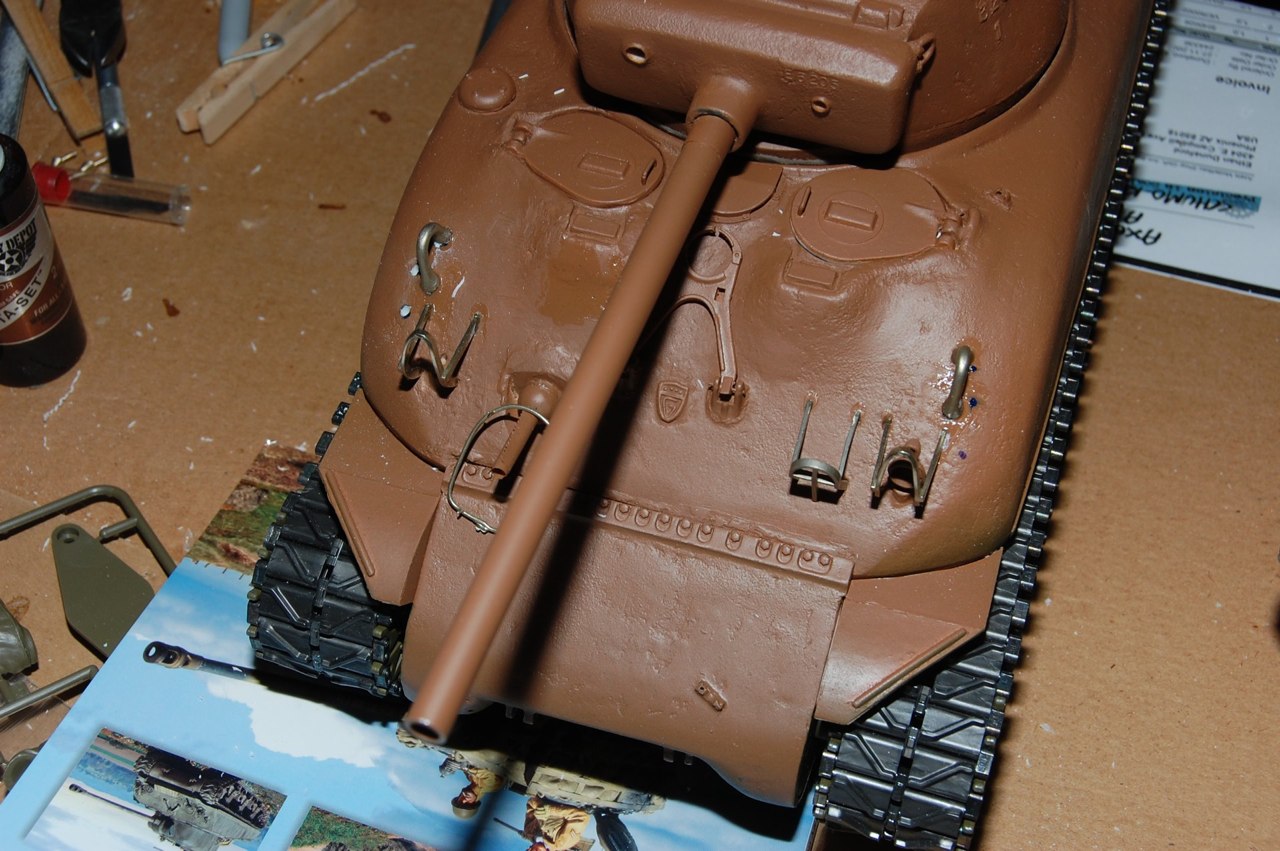
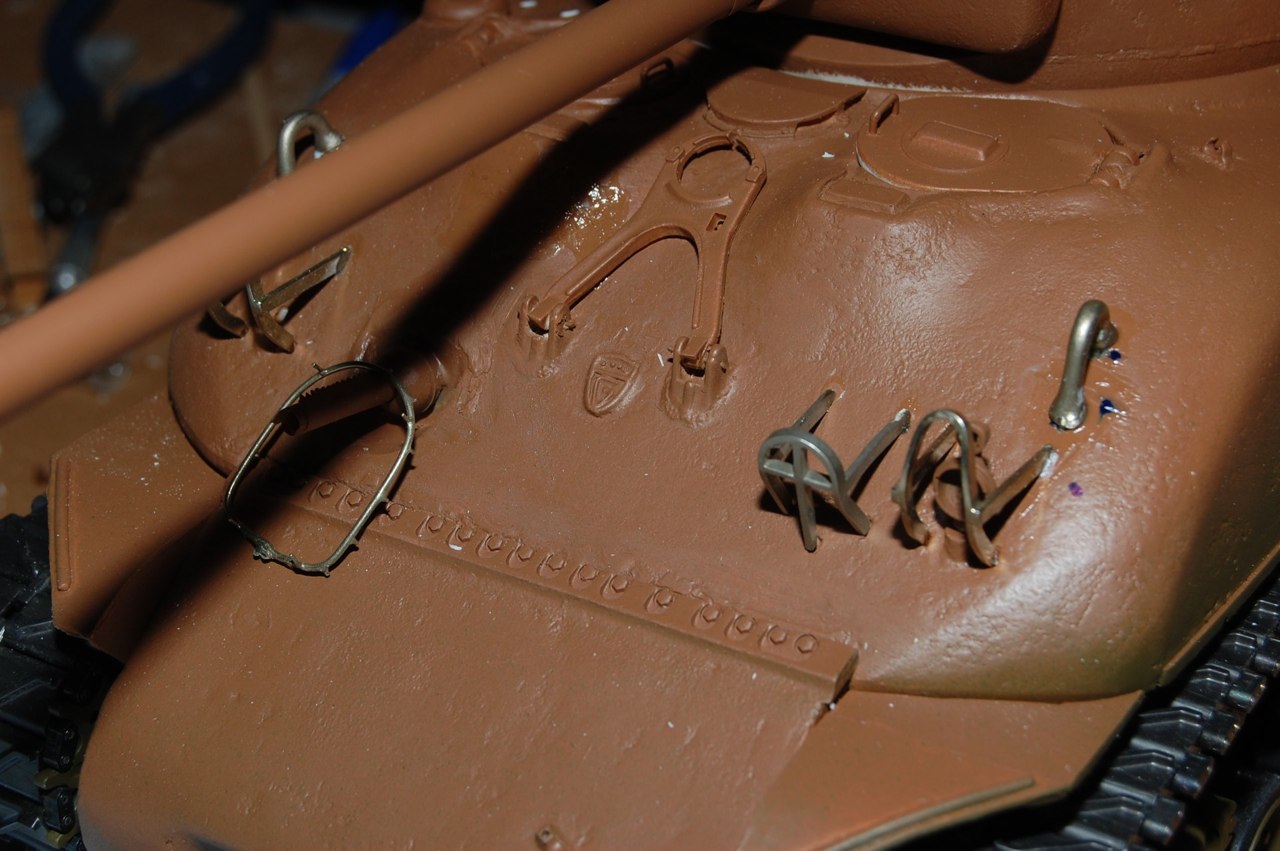
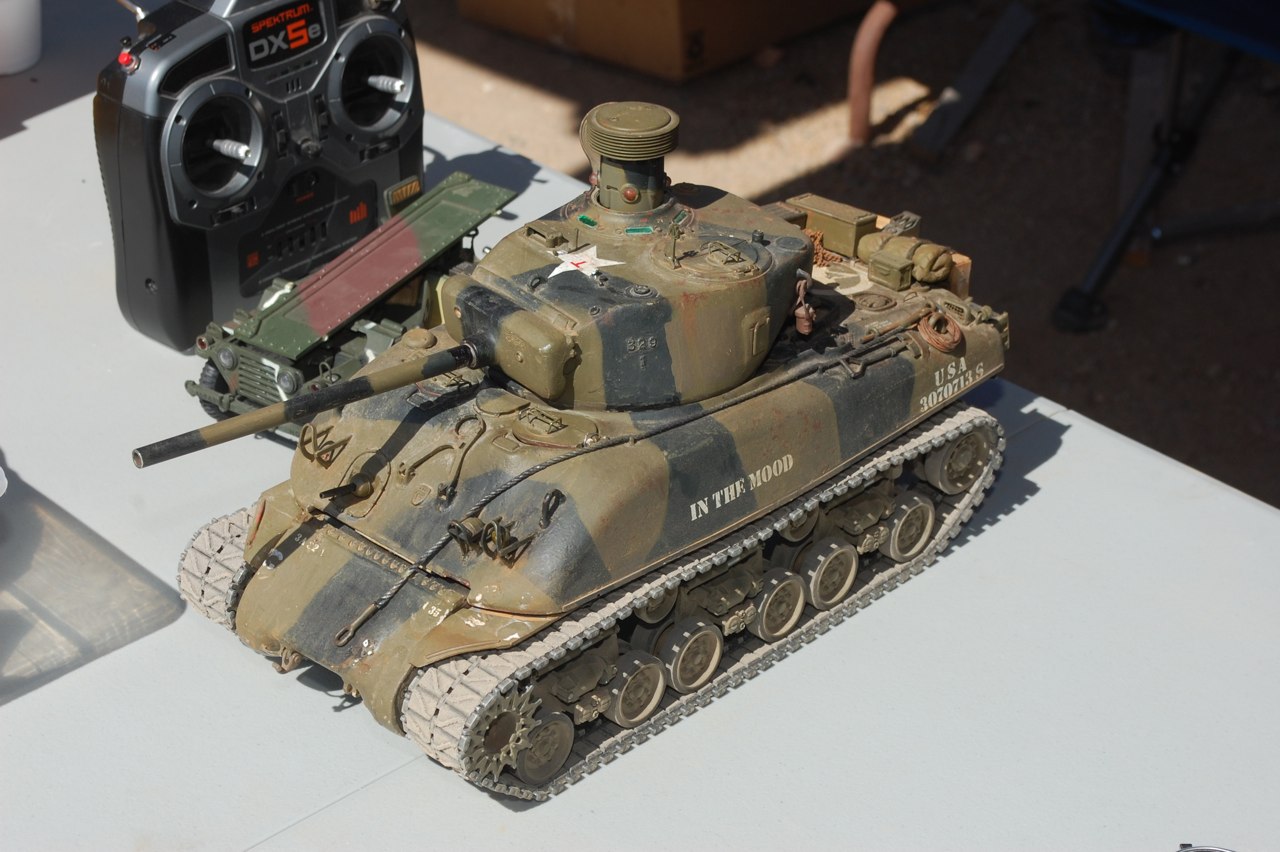
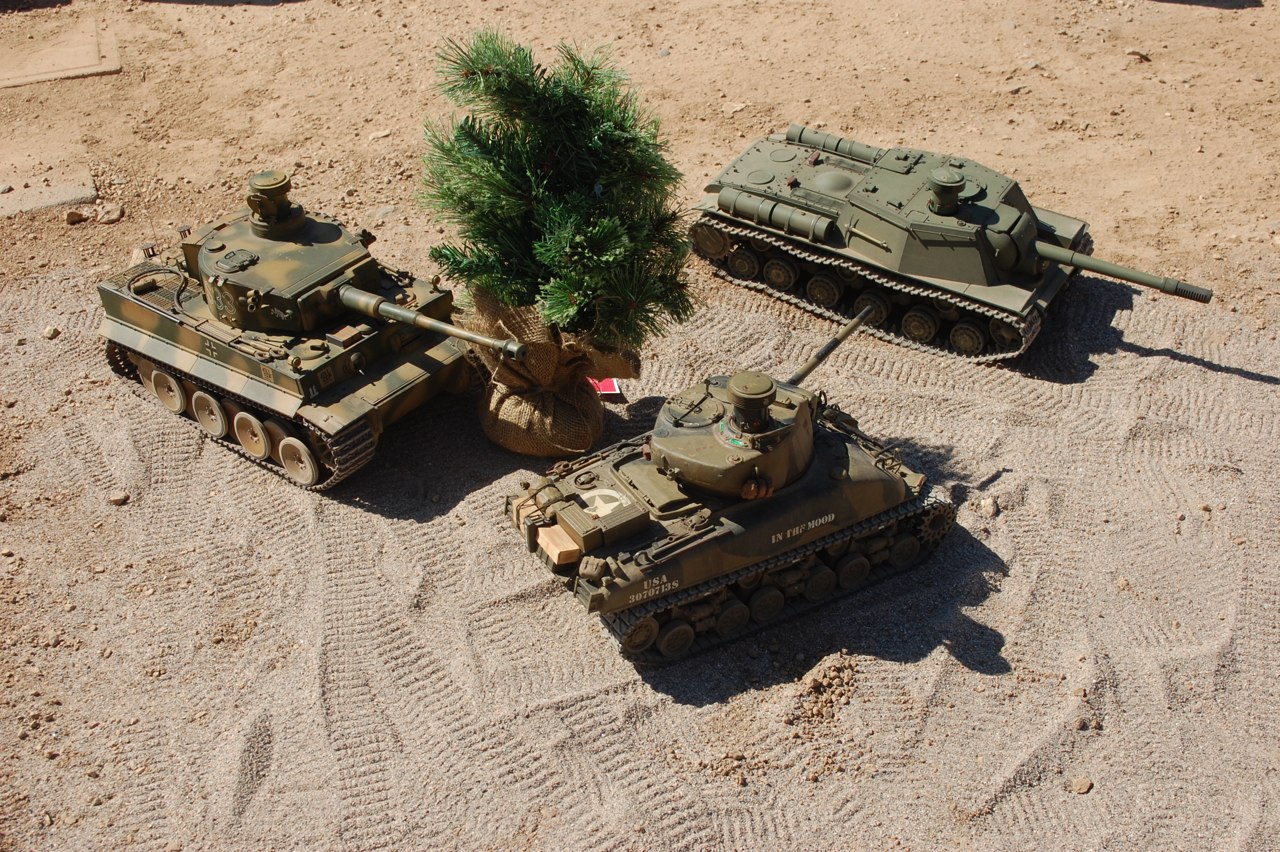
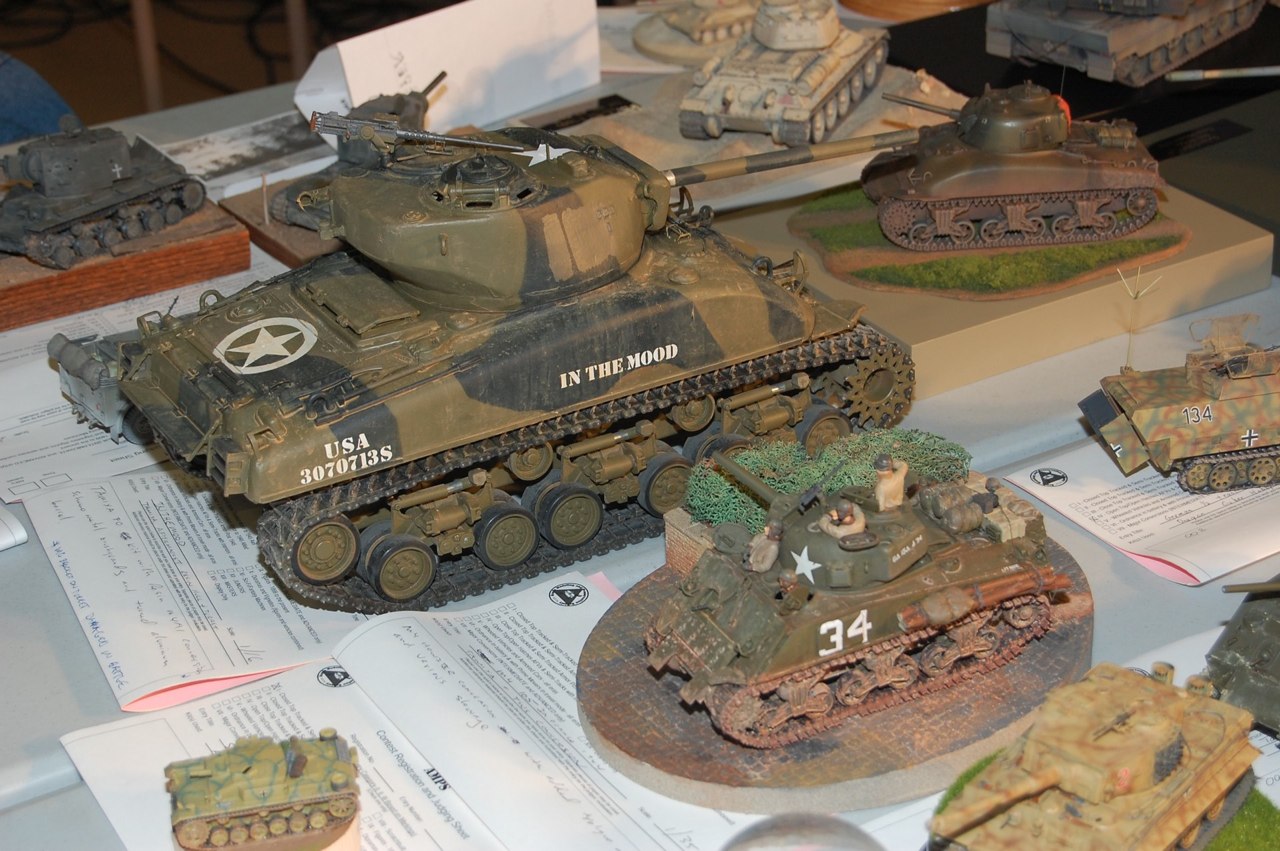
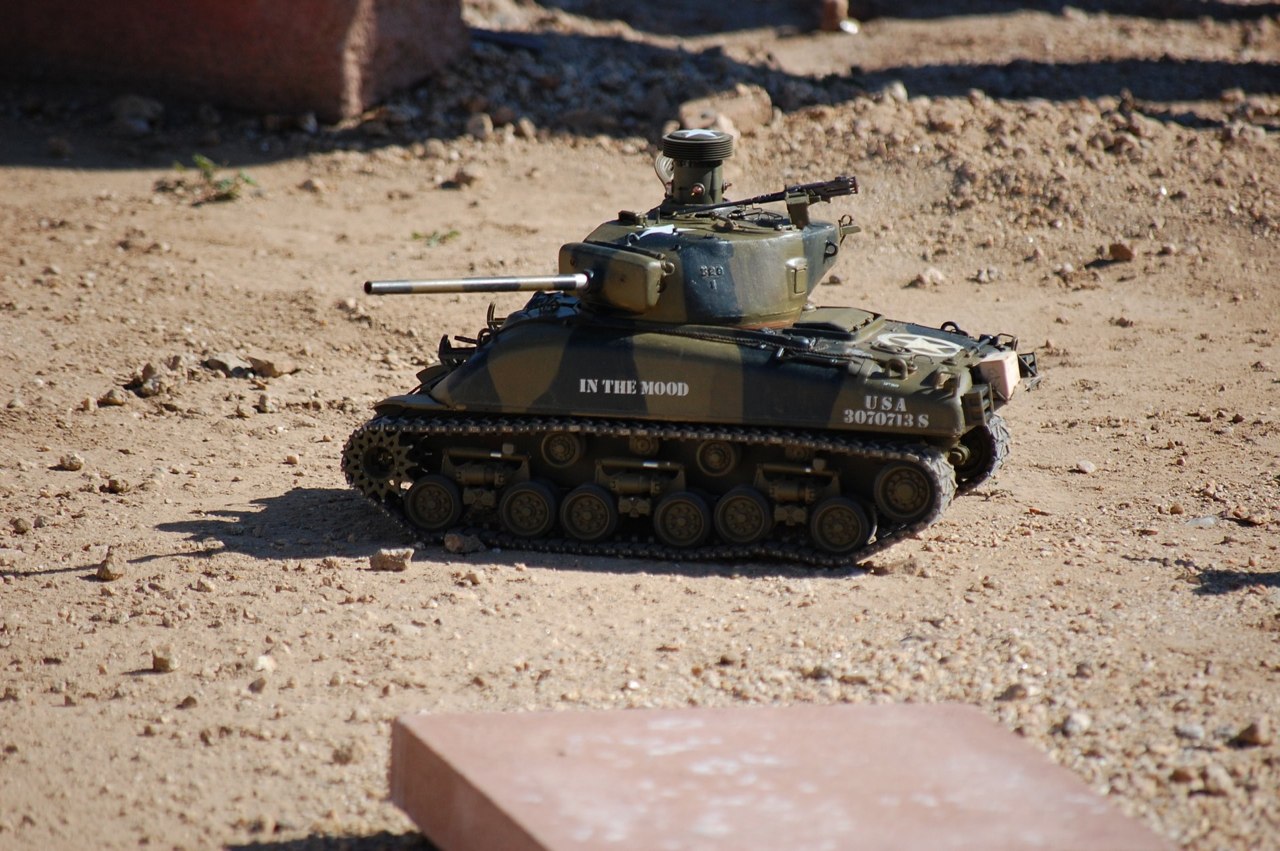
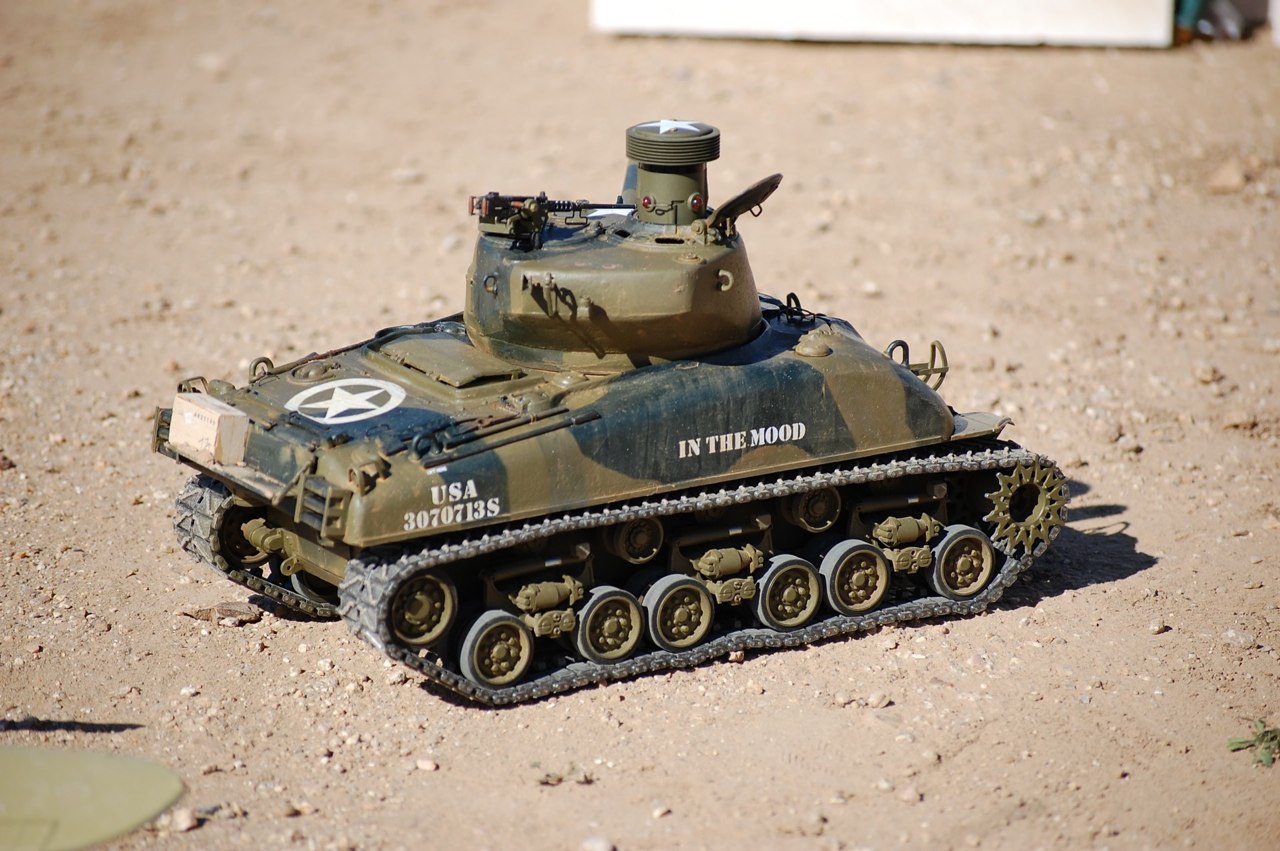
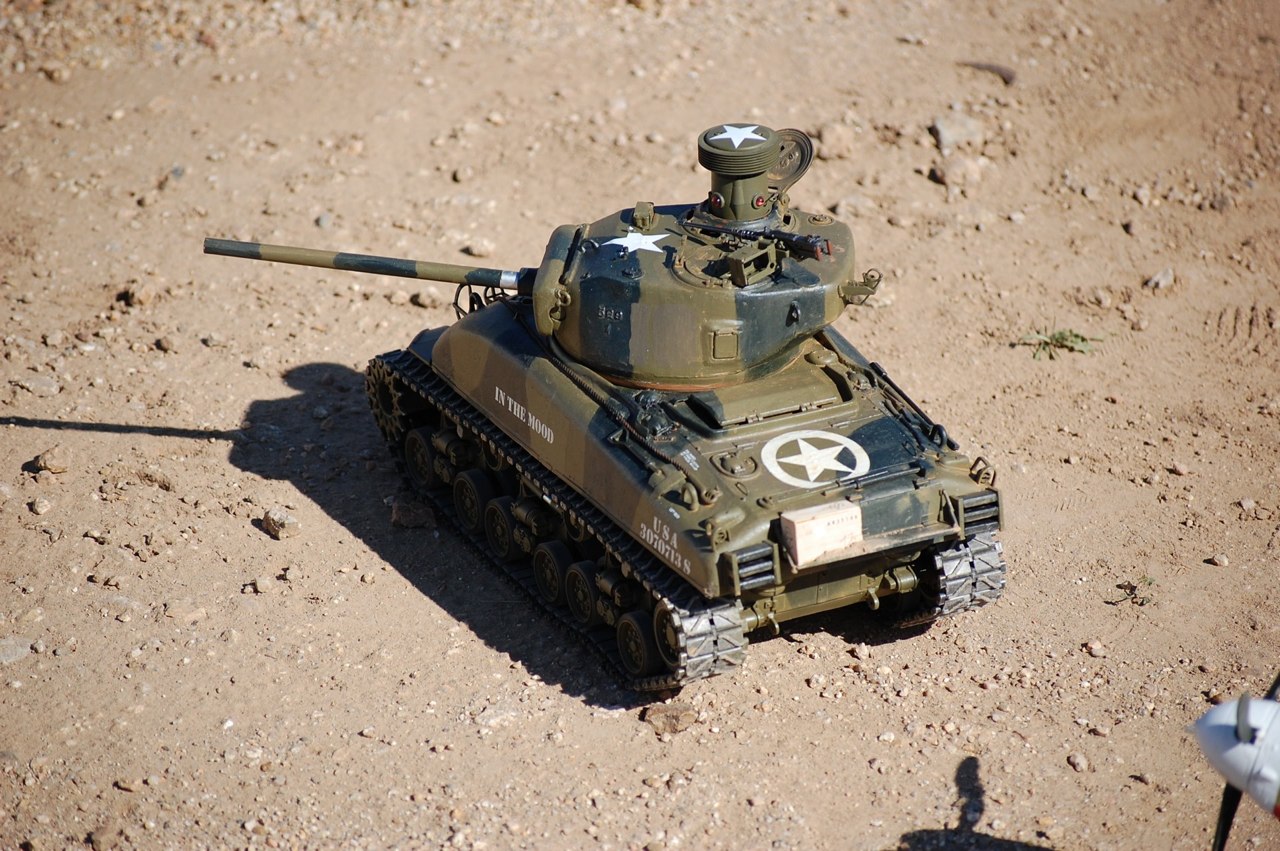
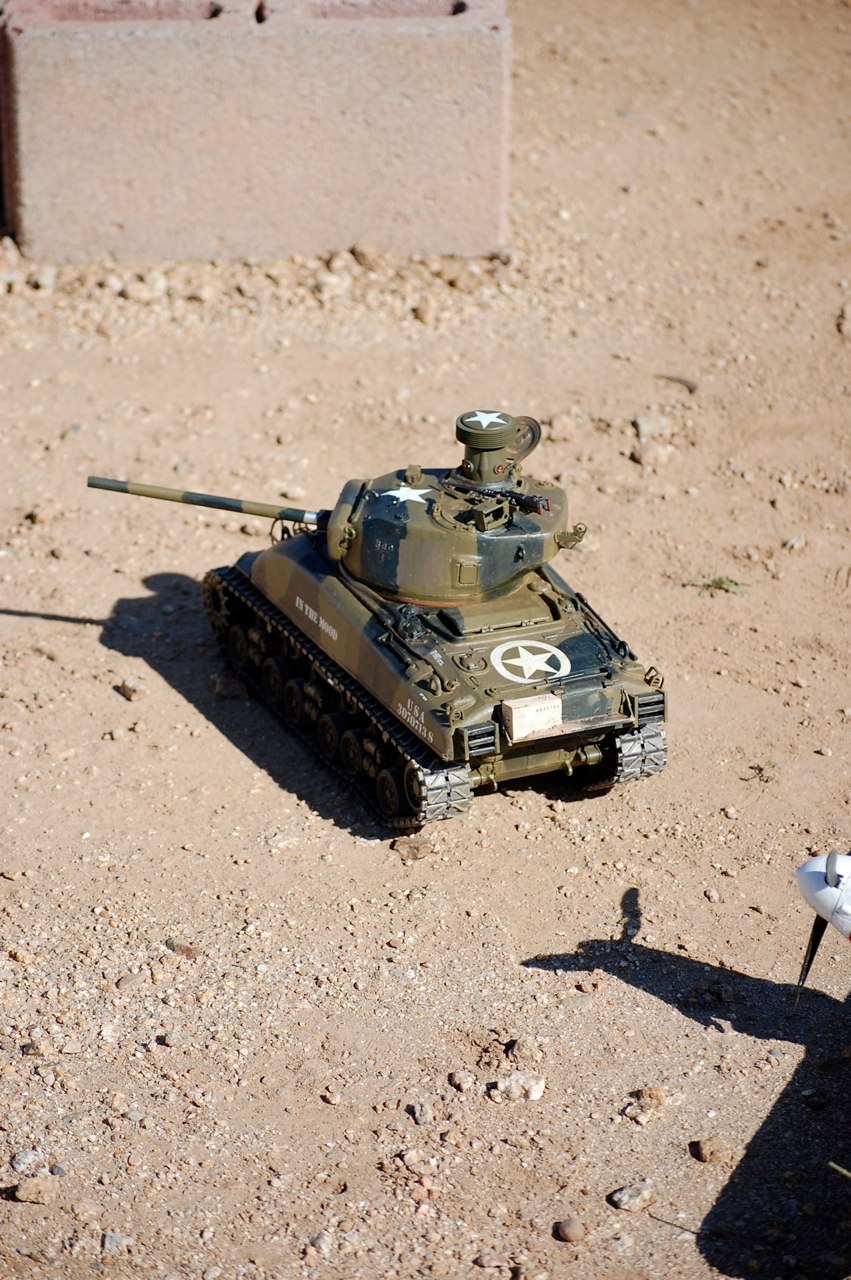
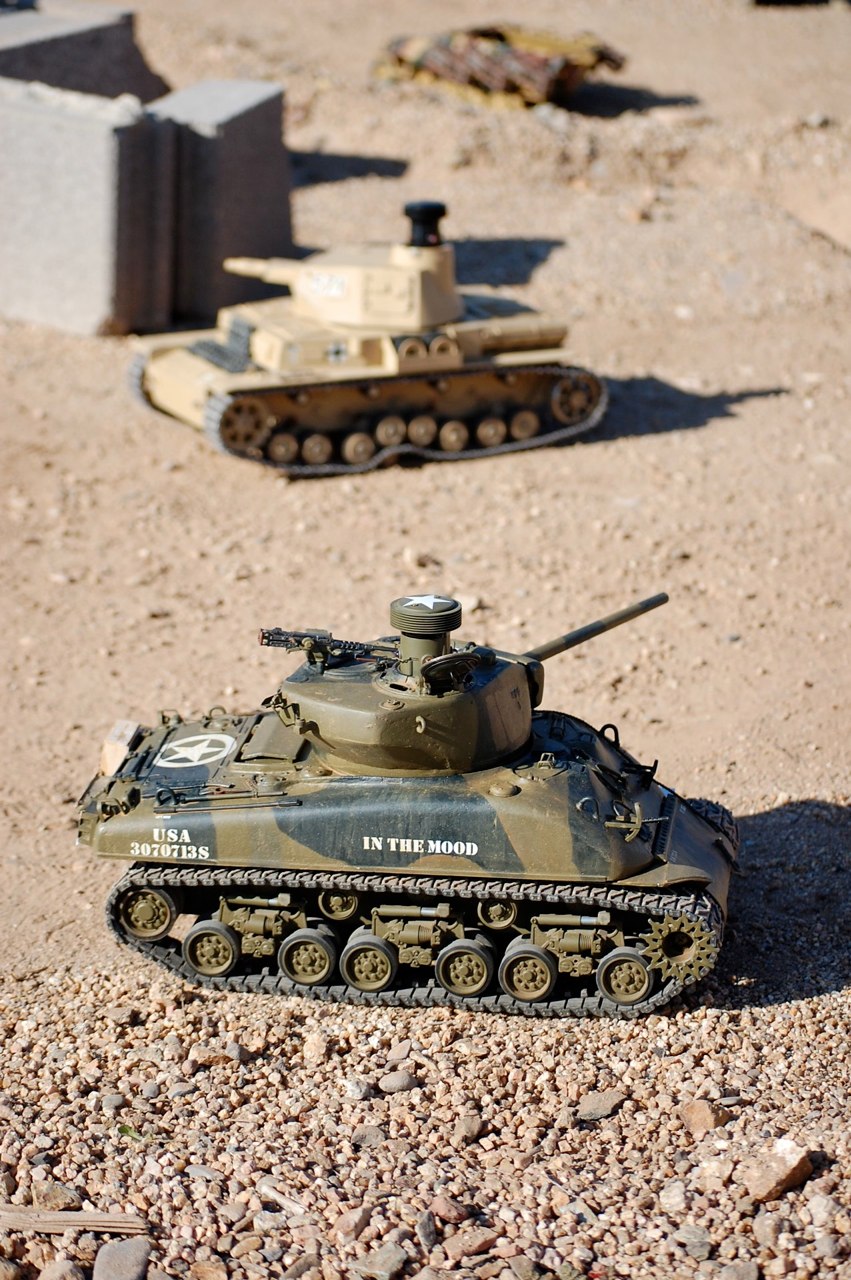
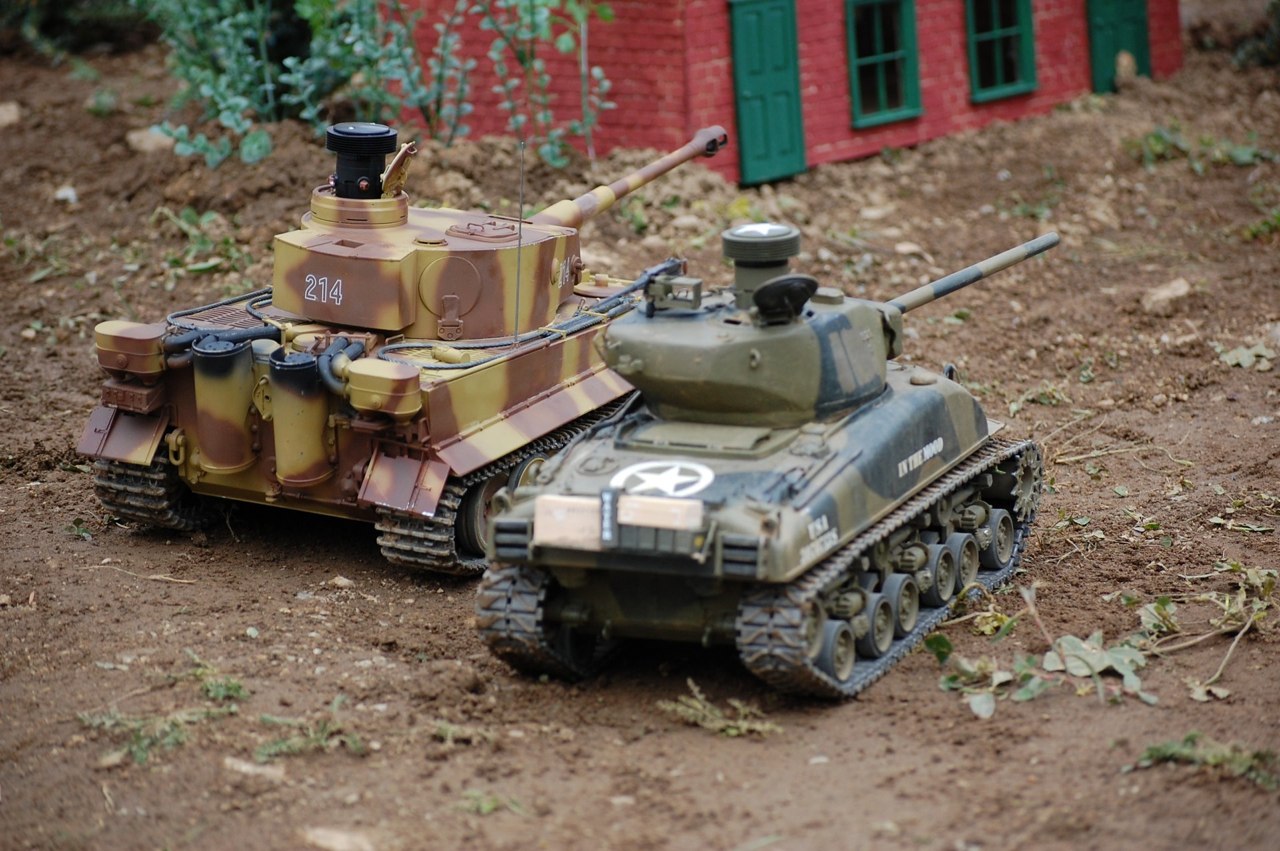
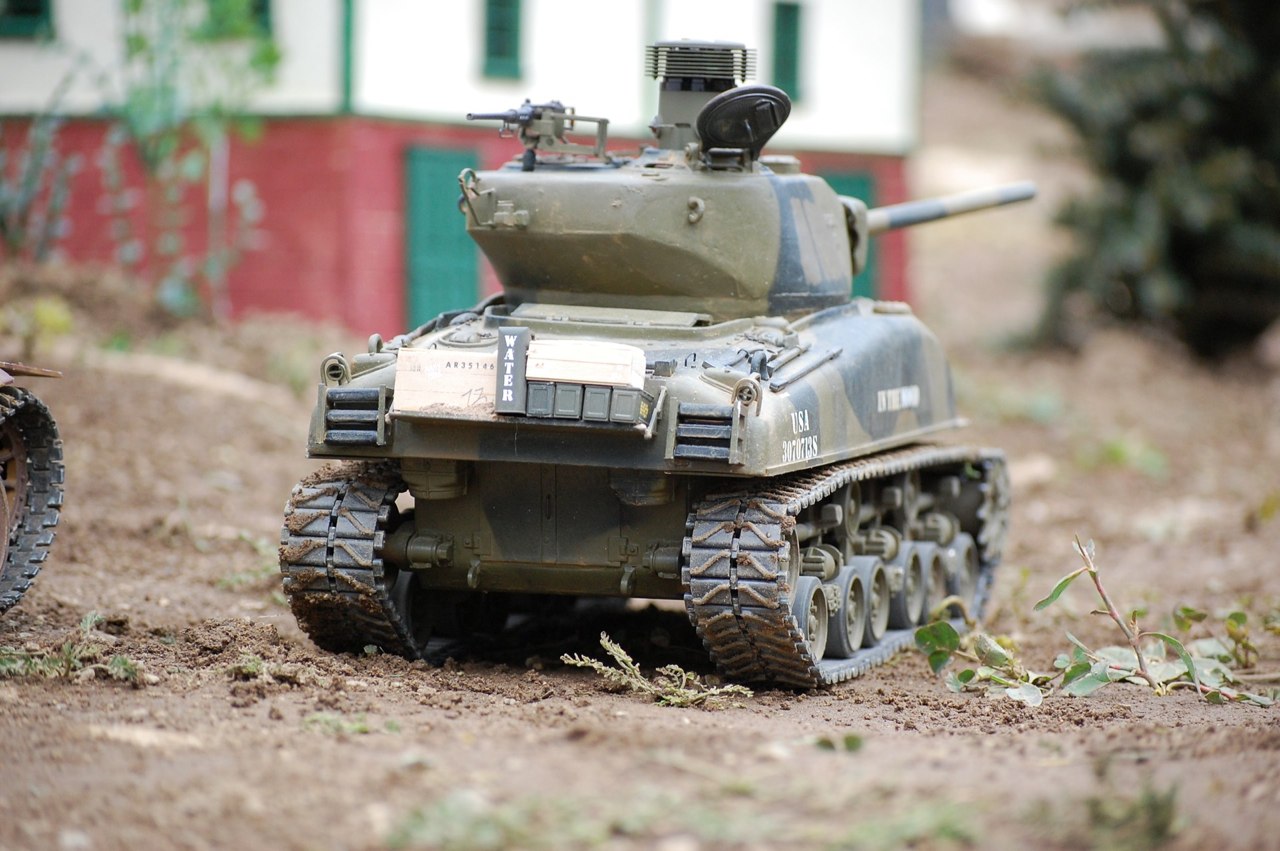
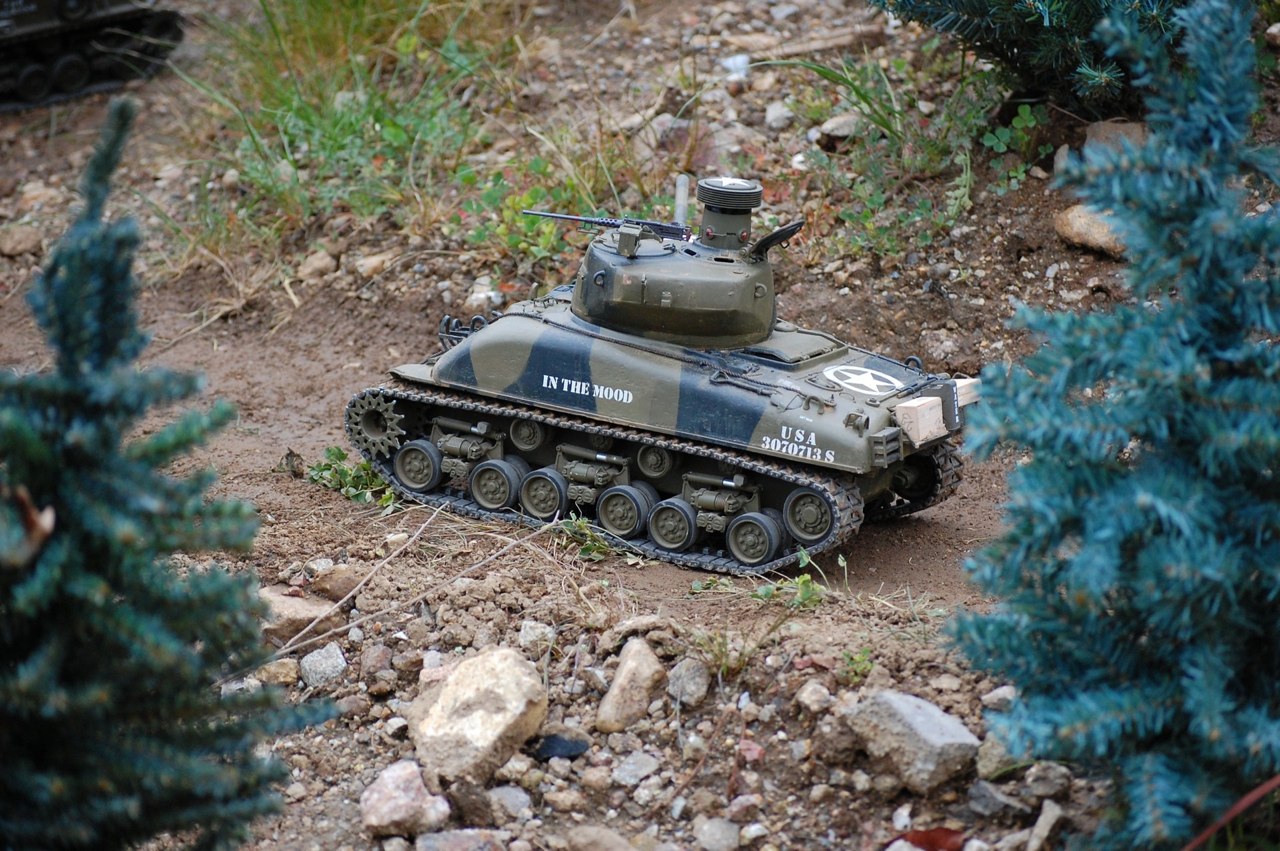
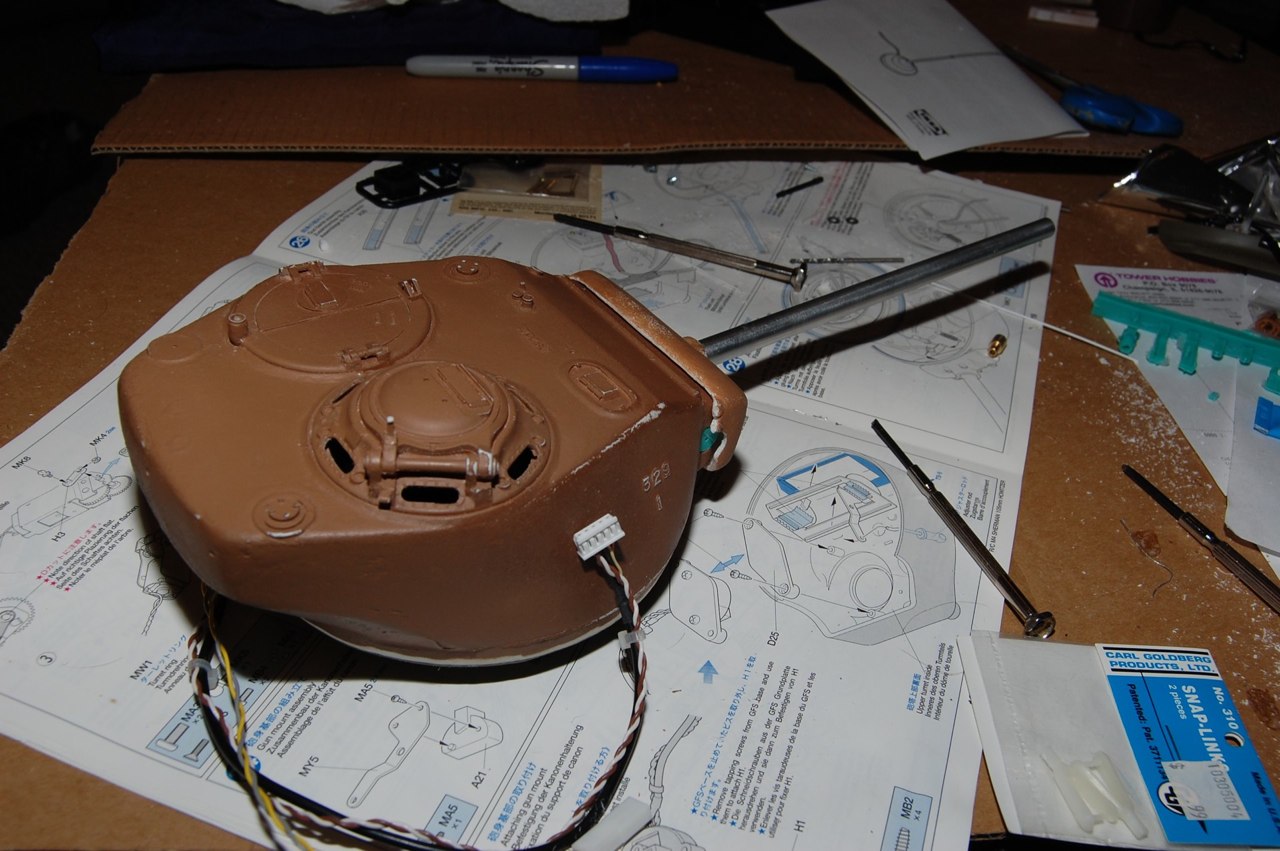
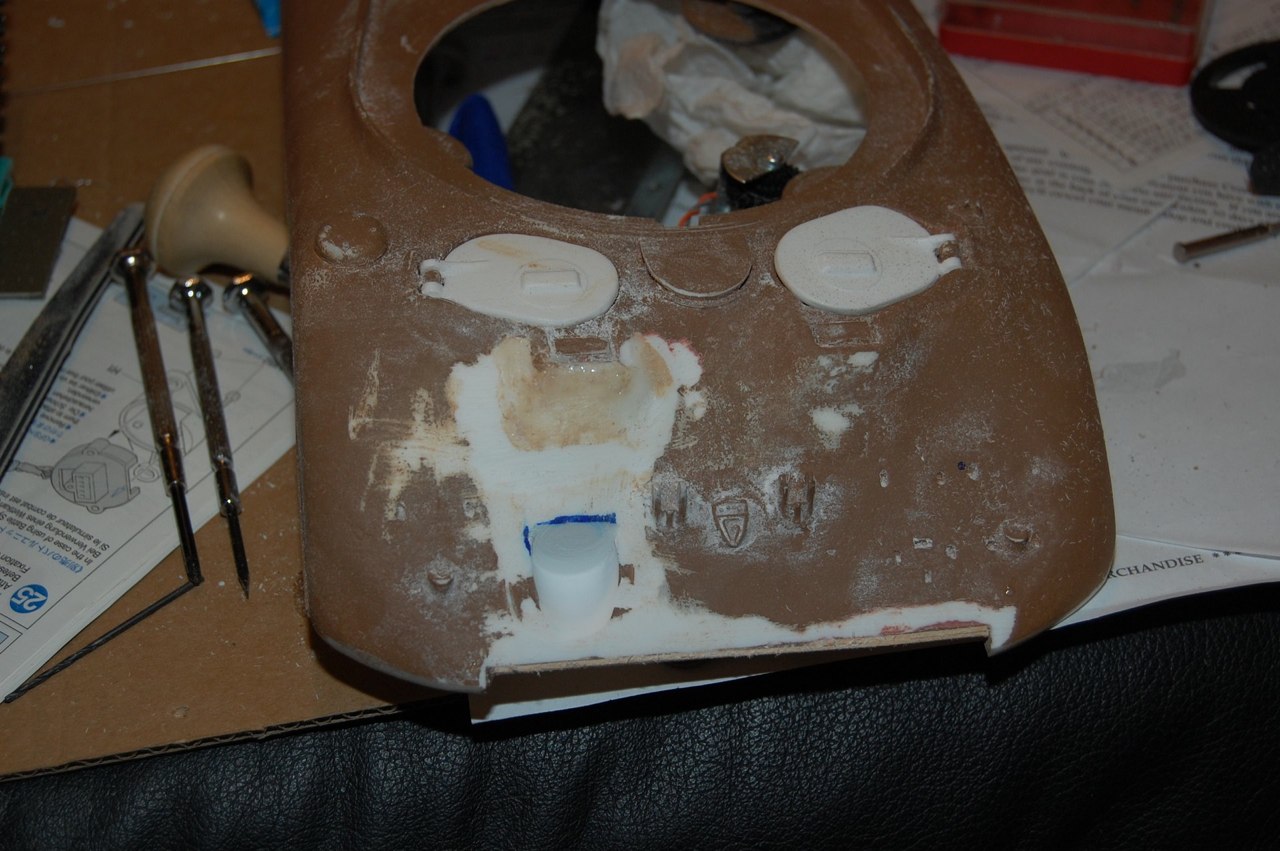
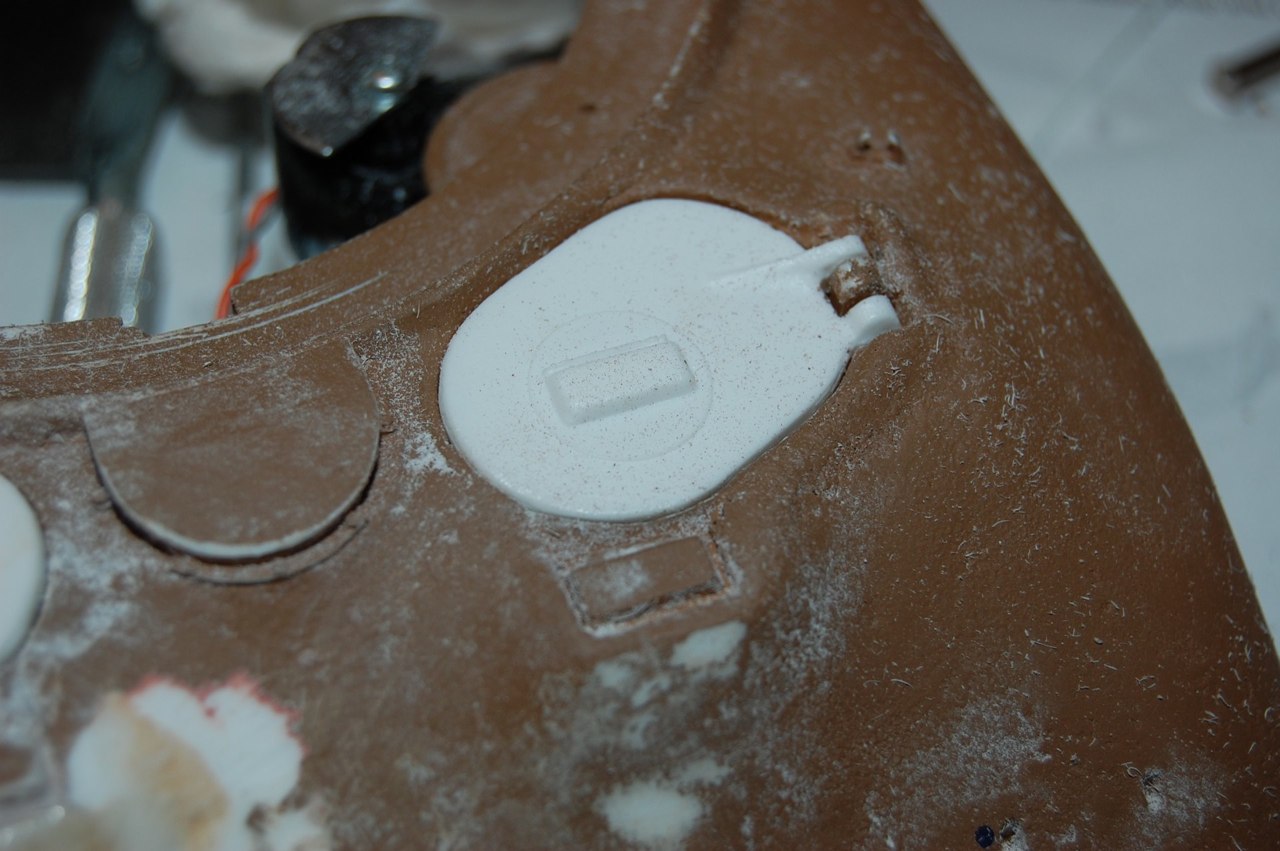
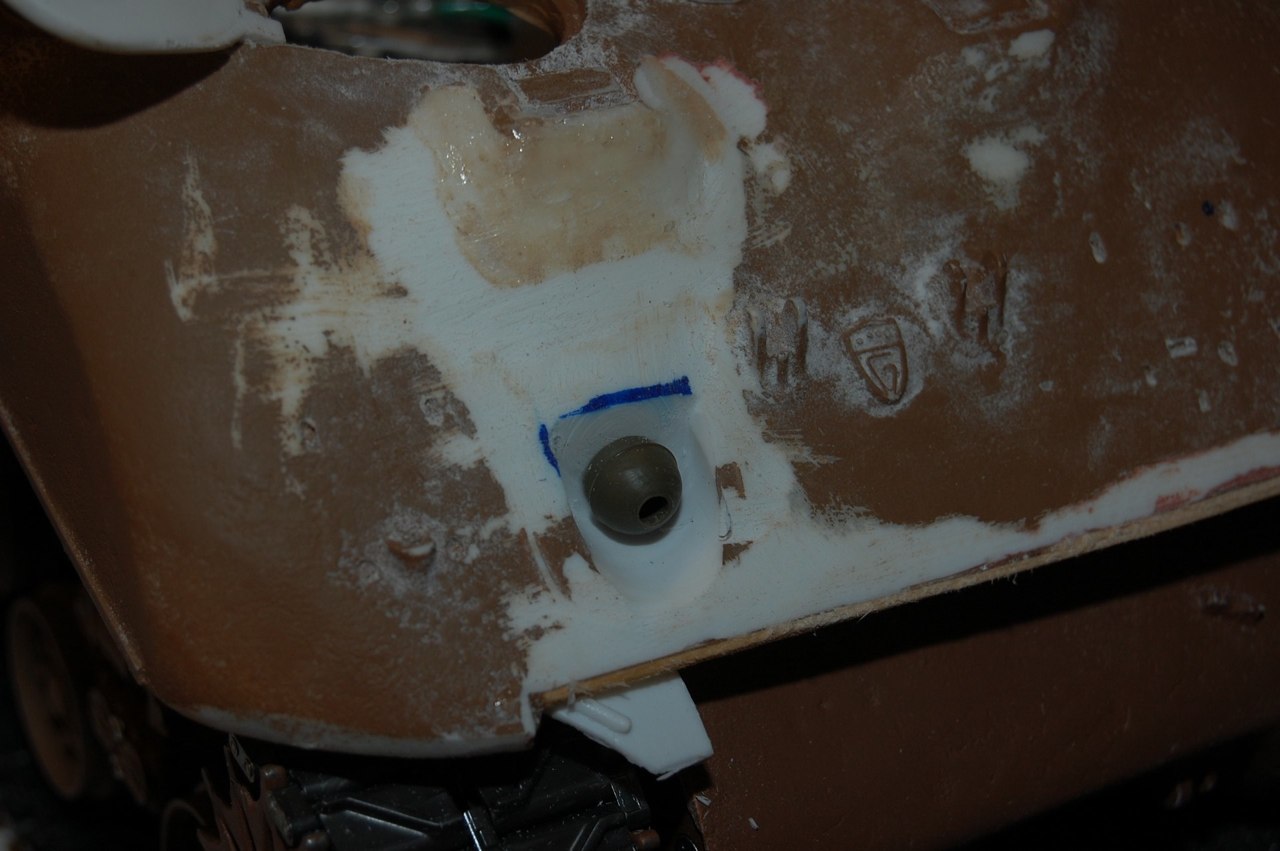
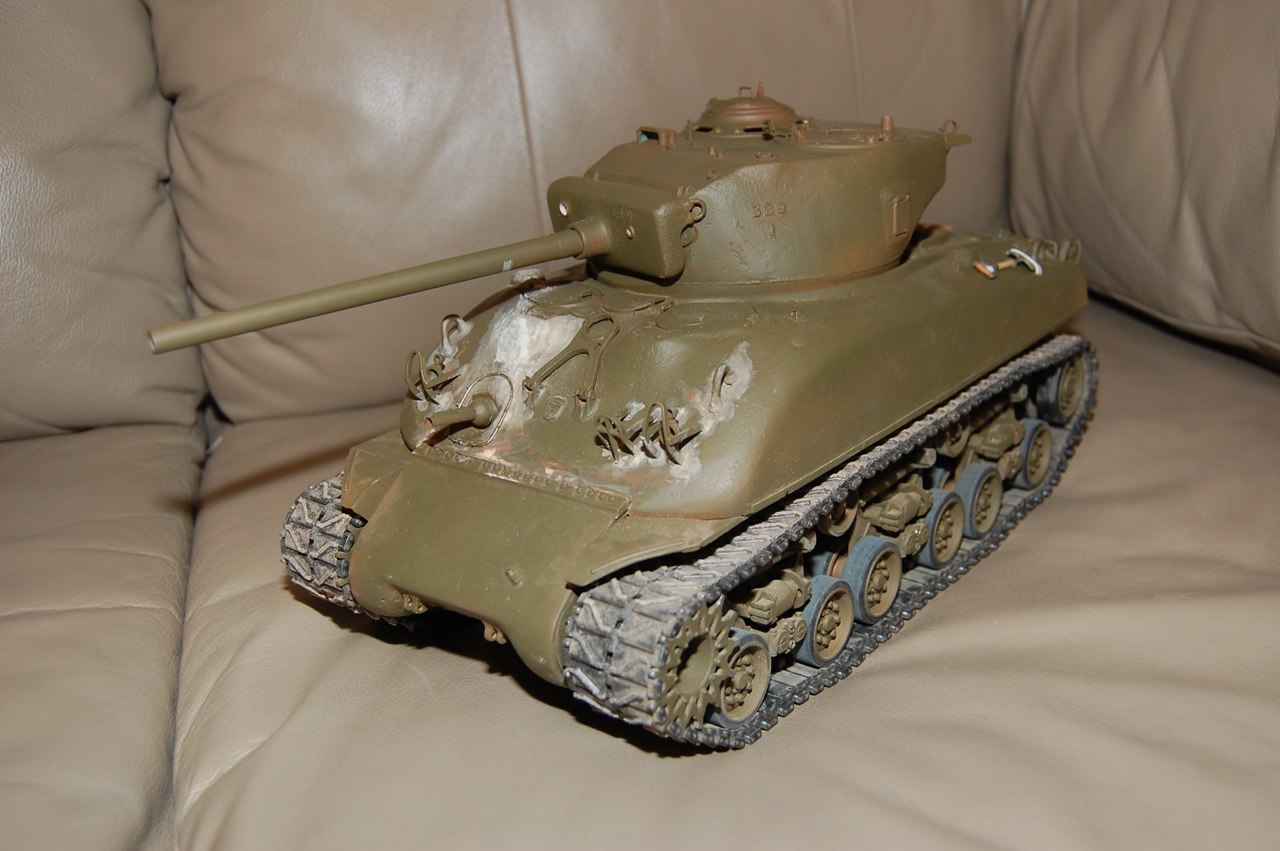
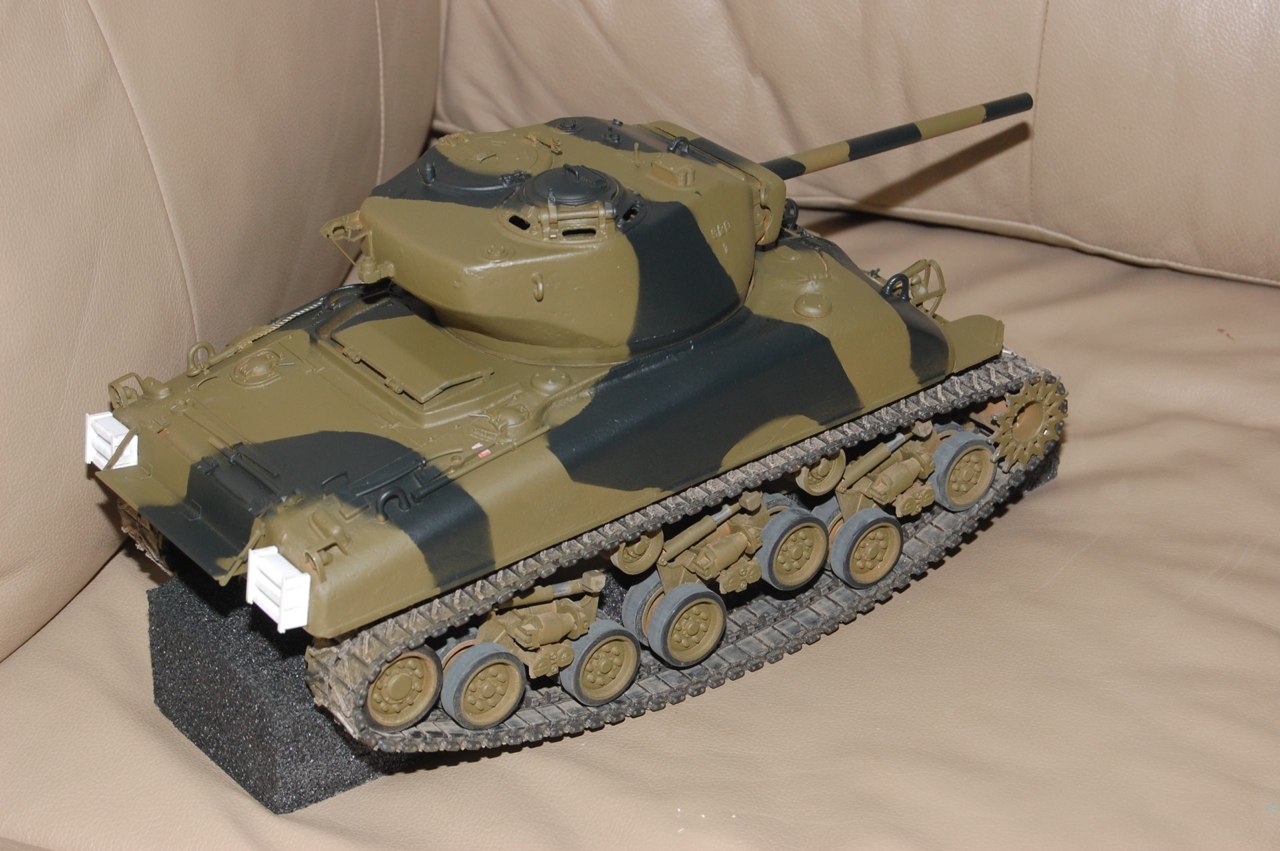
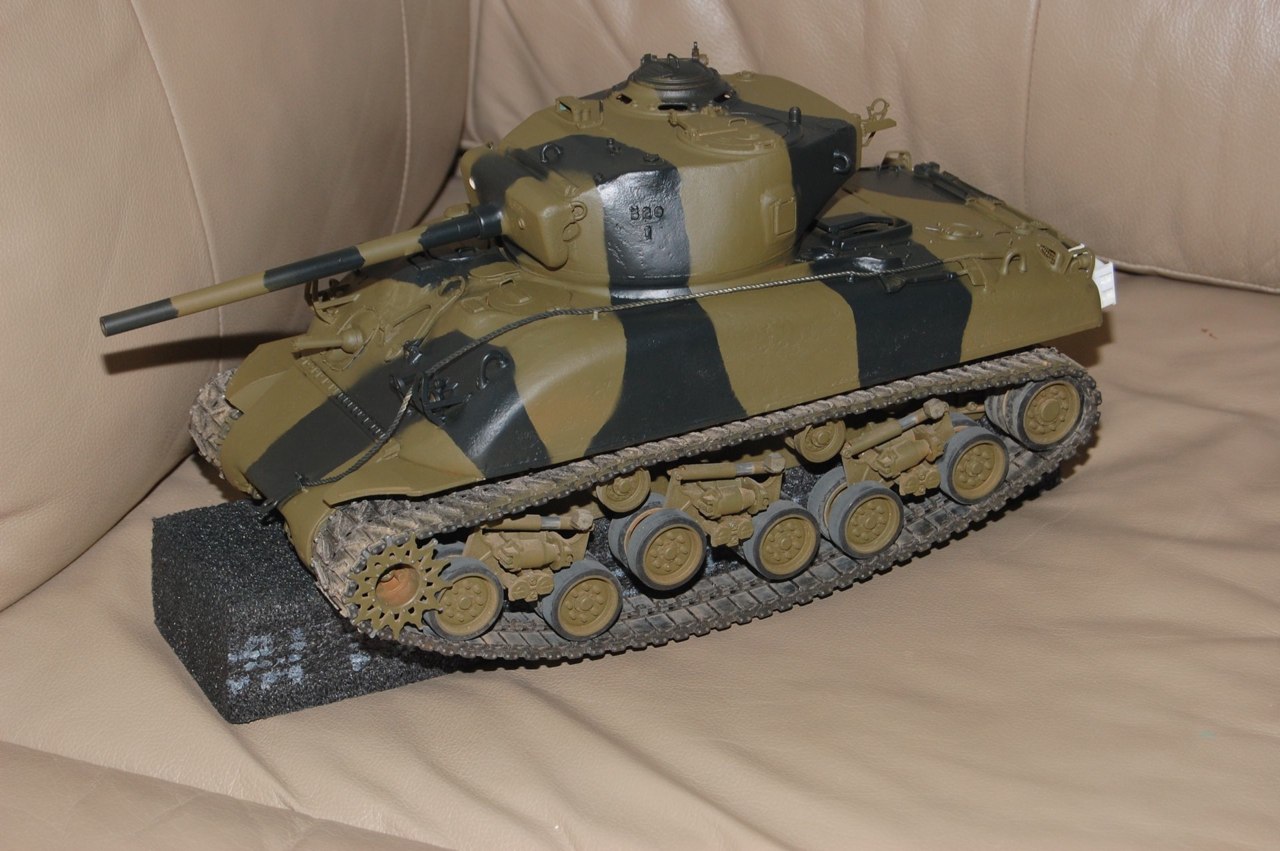
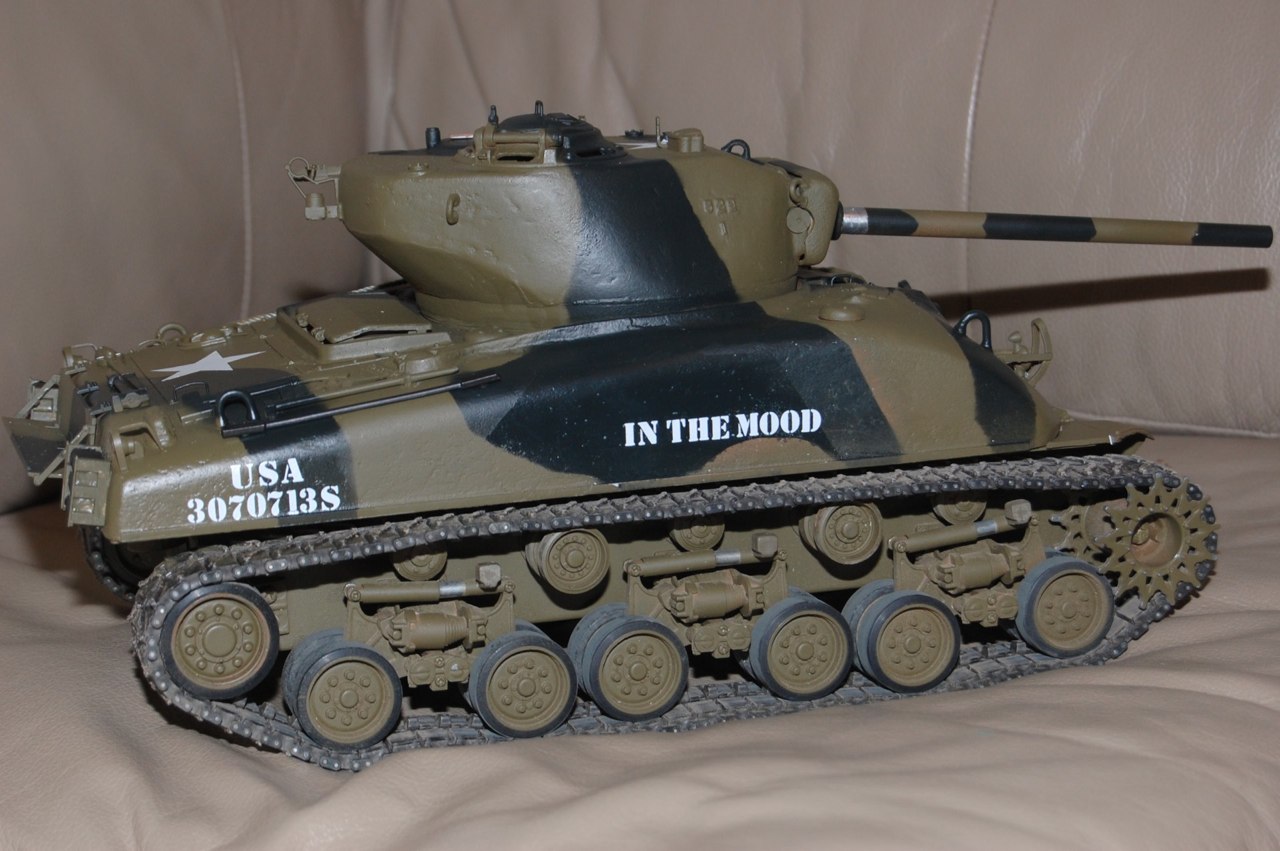
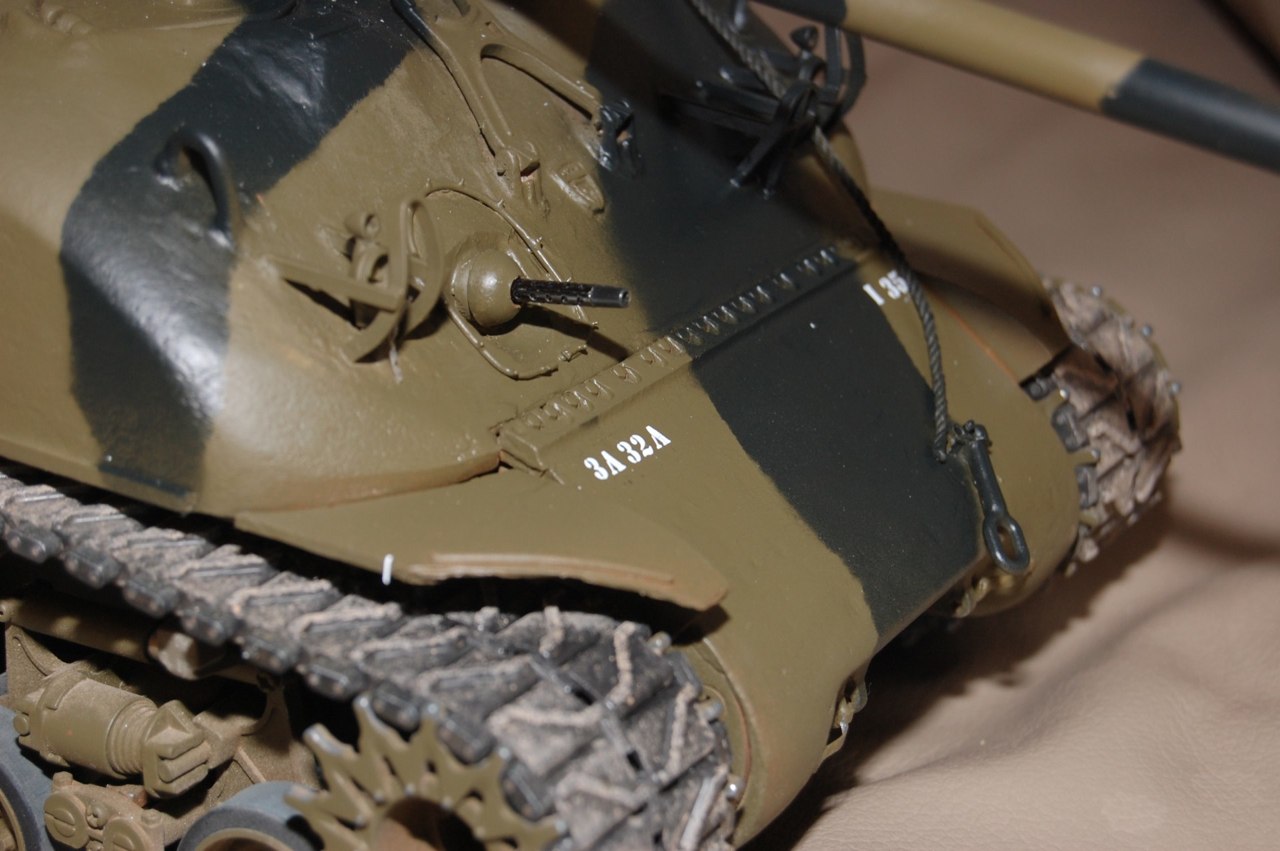
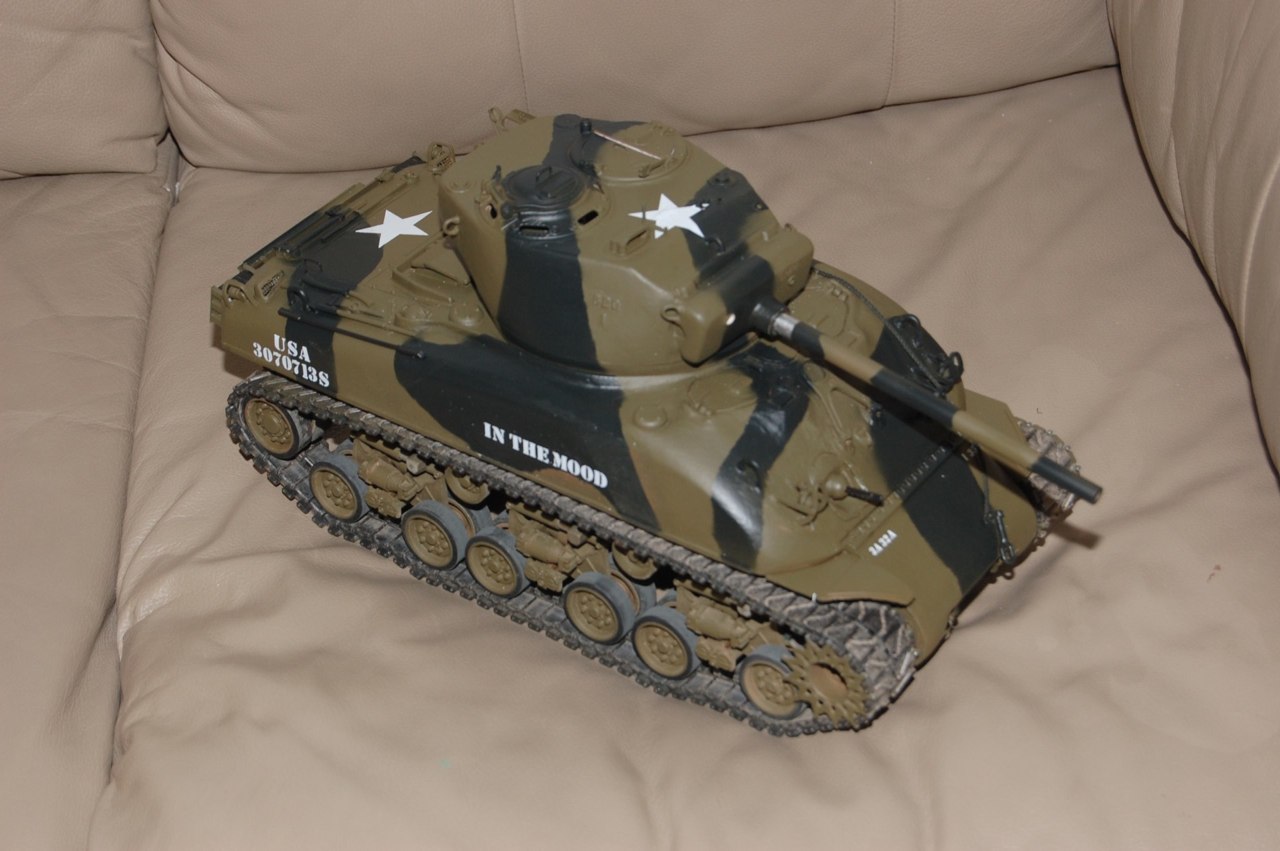
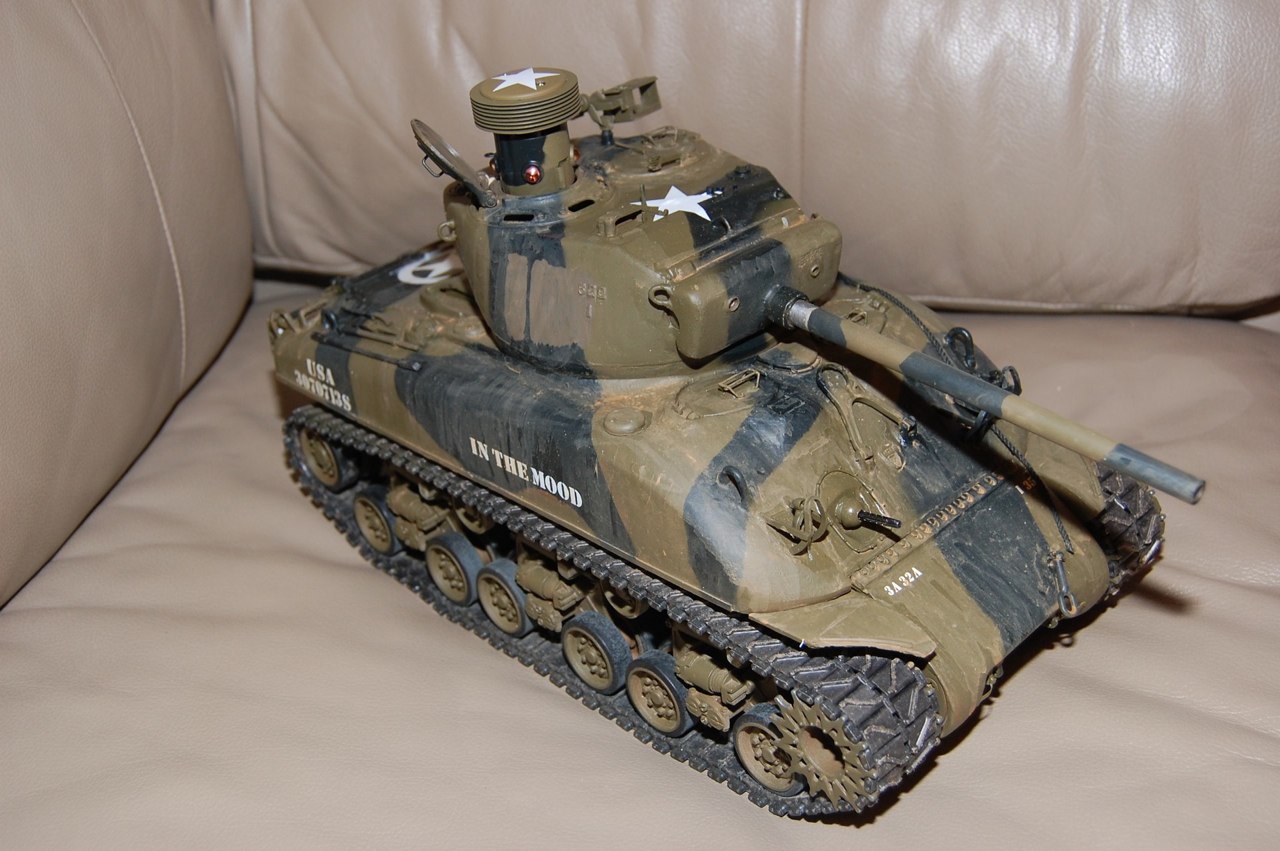
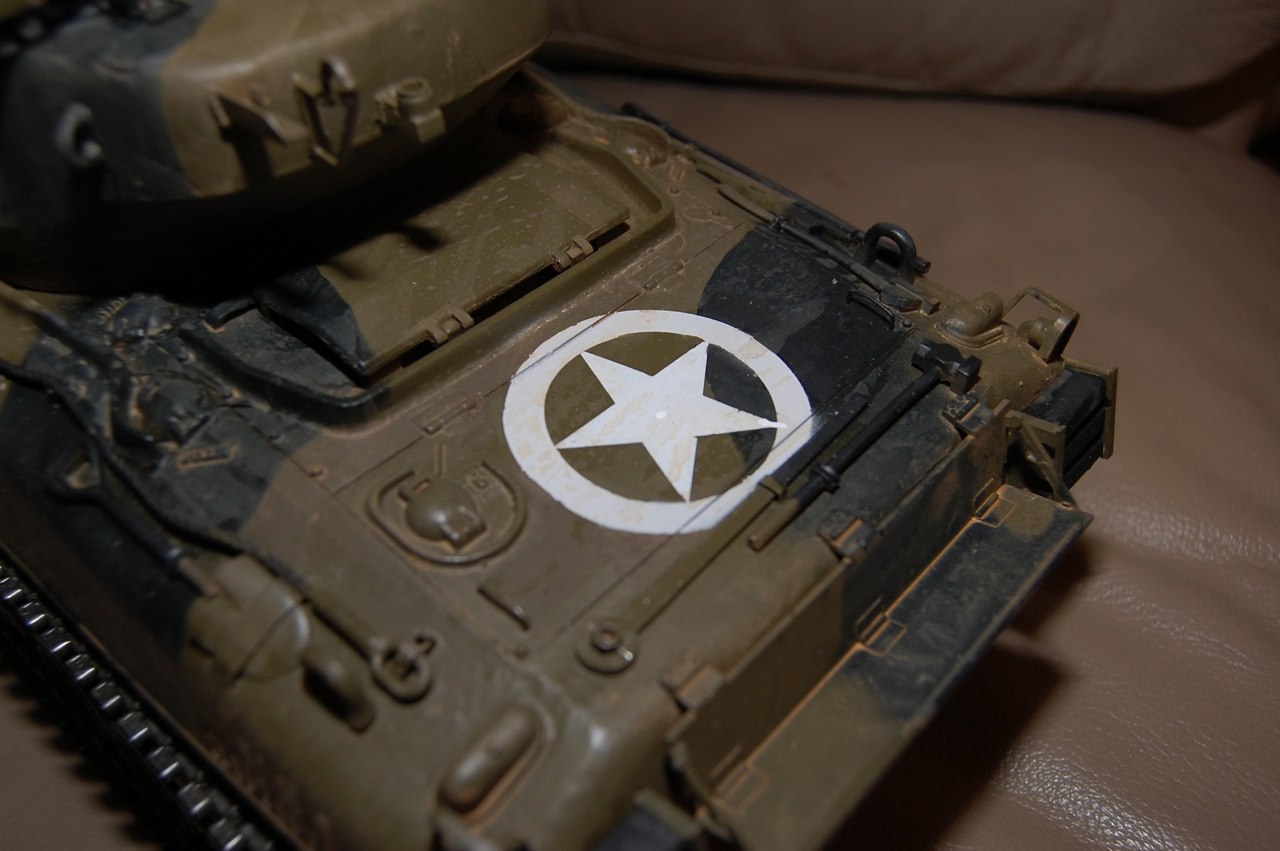
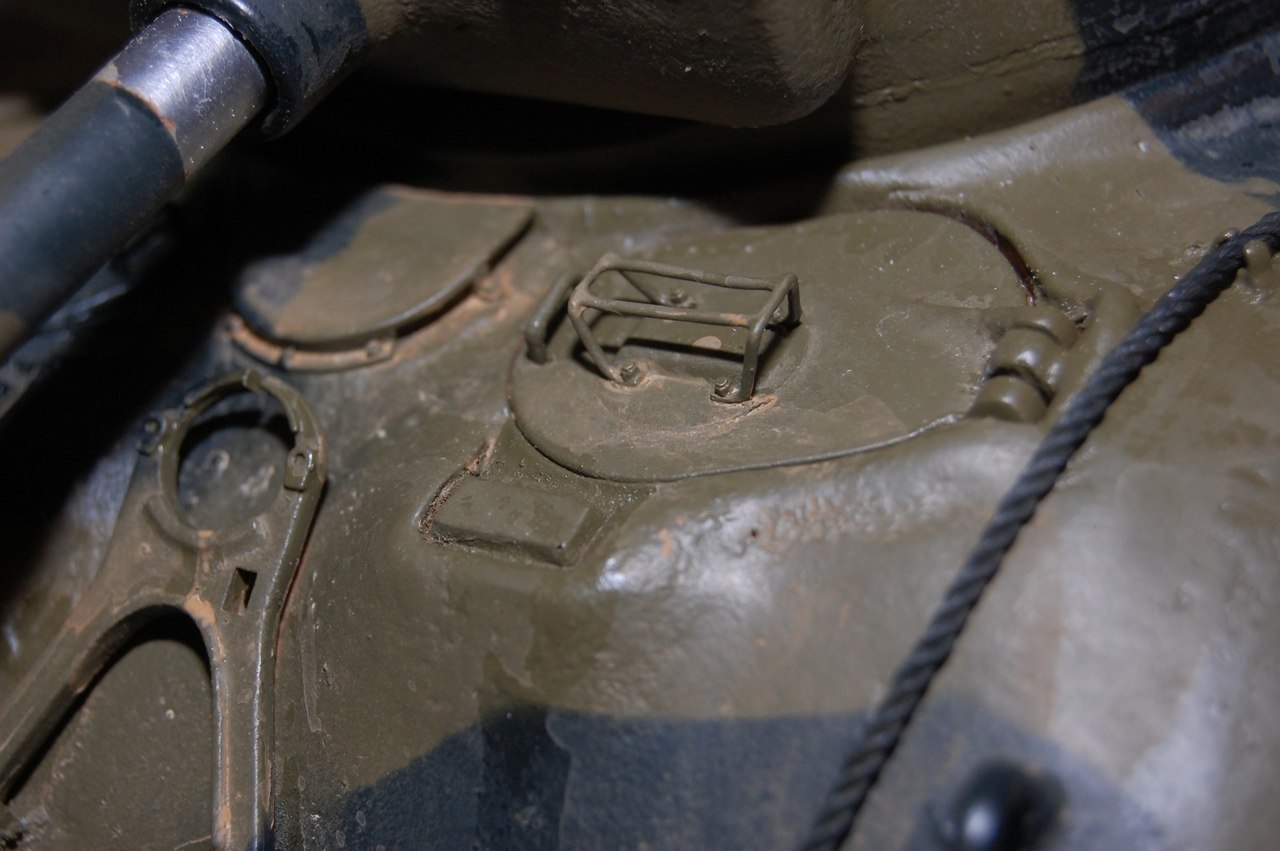
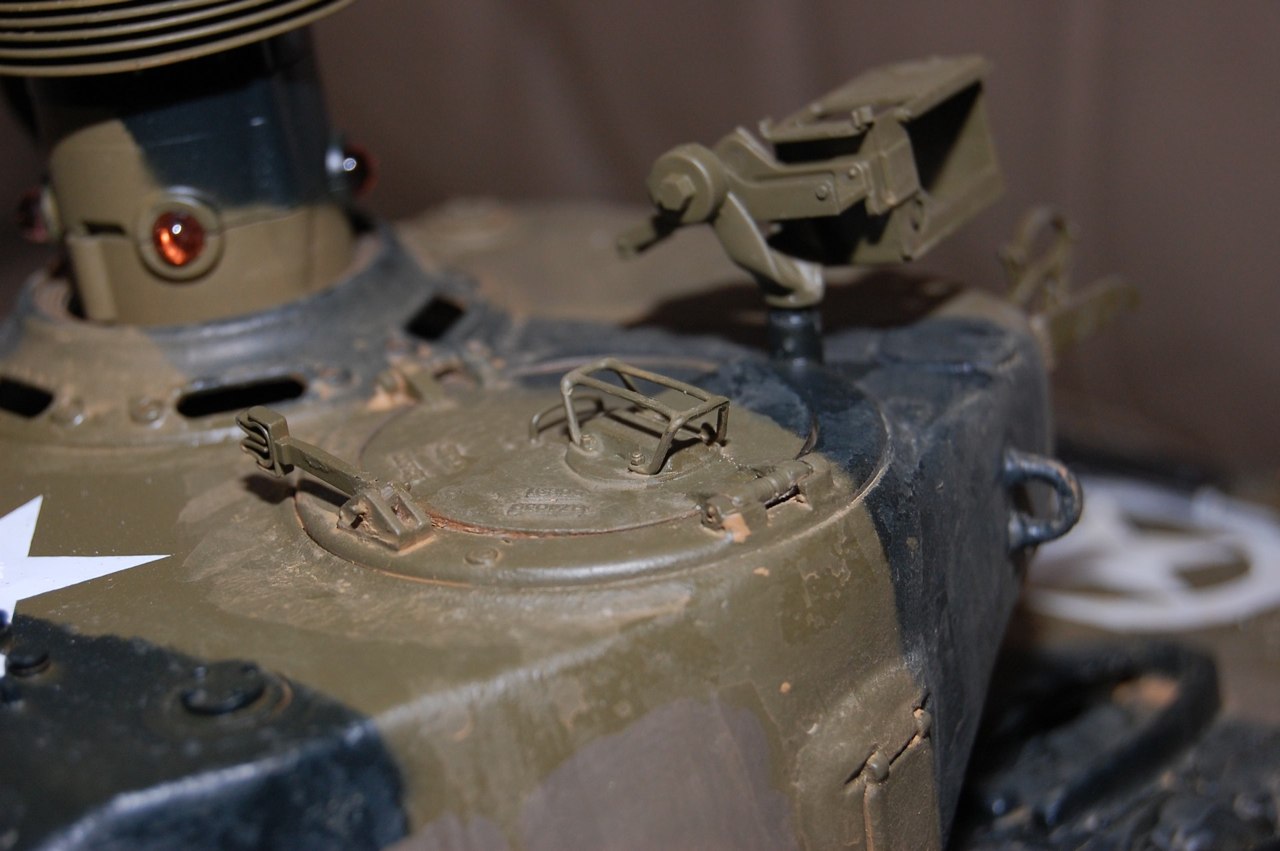
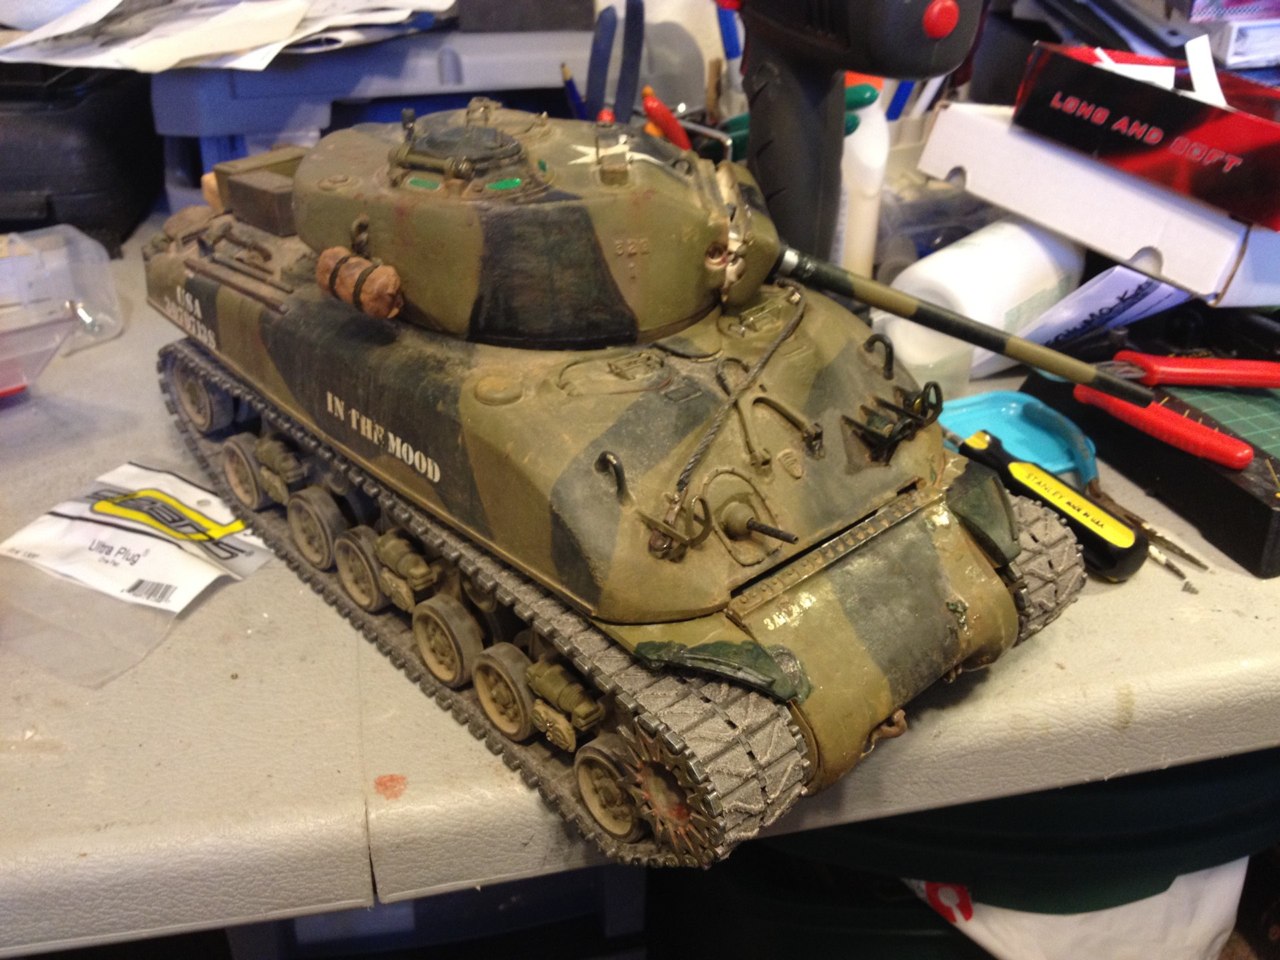
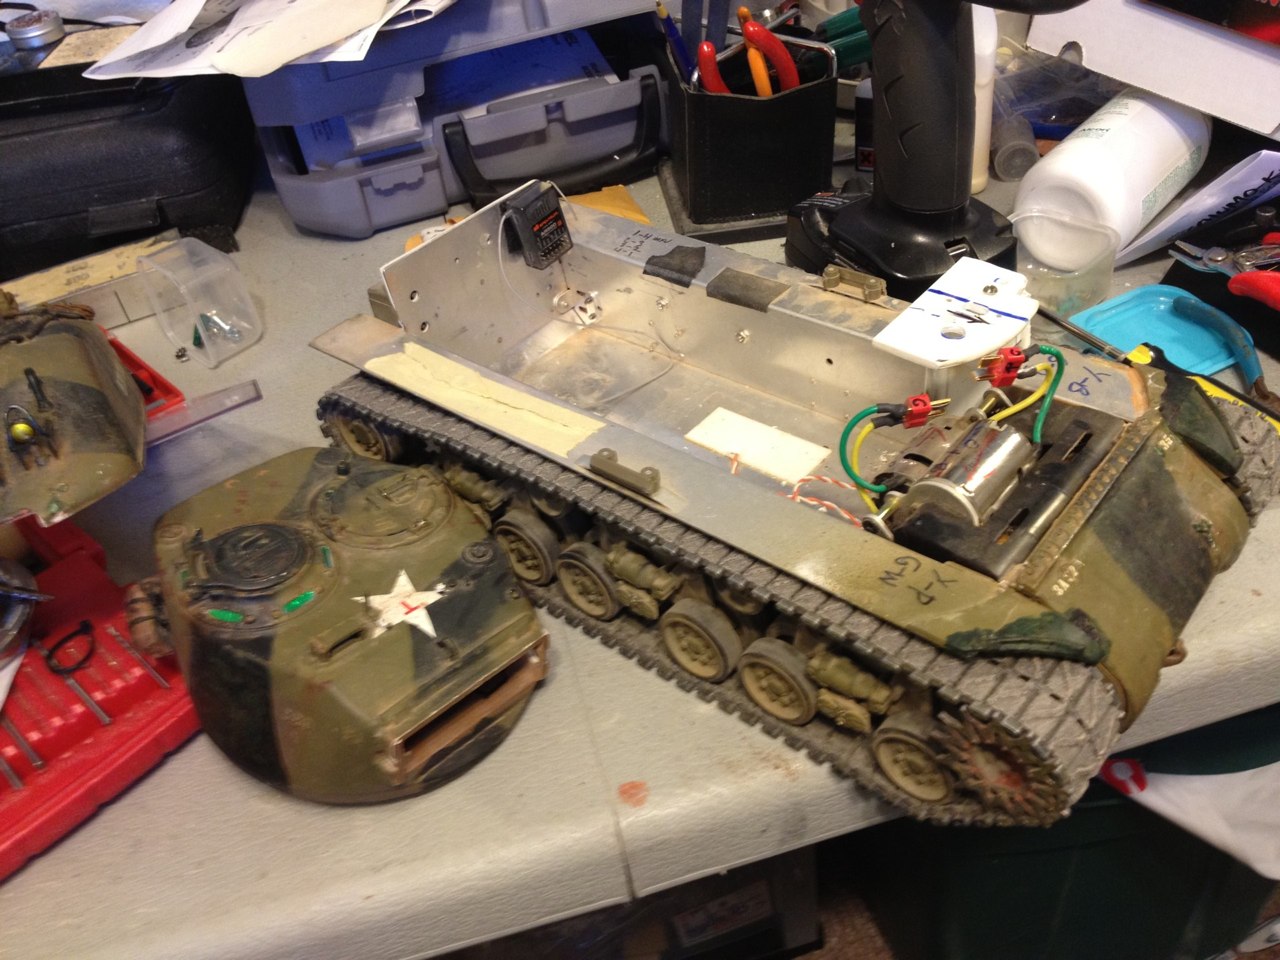
When the Allies began their breakout of Normandy in July, 1944, the modified version of the M4A1 with the T23 Turret and 76mm gun made its first appearance with elements of the 2nd and 3rd Armored Divisions.
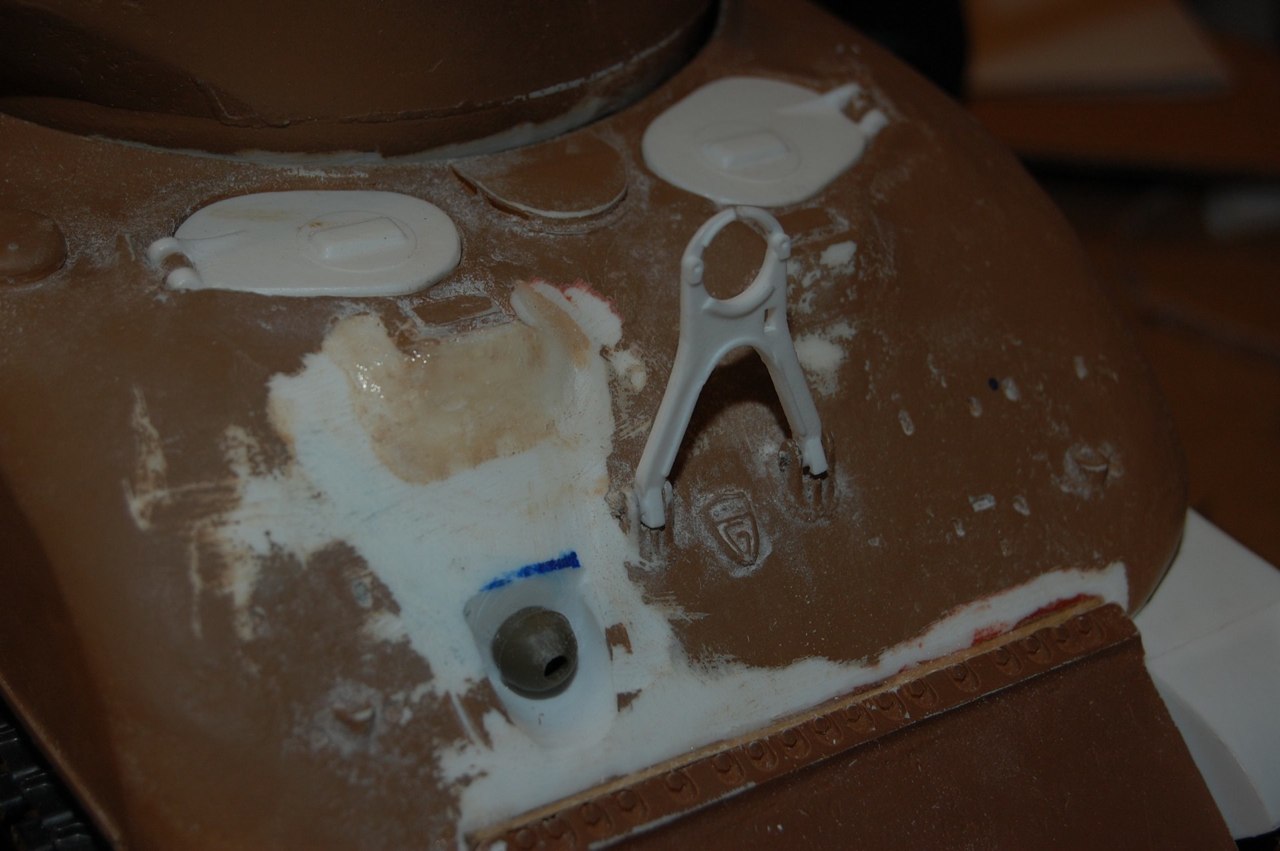
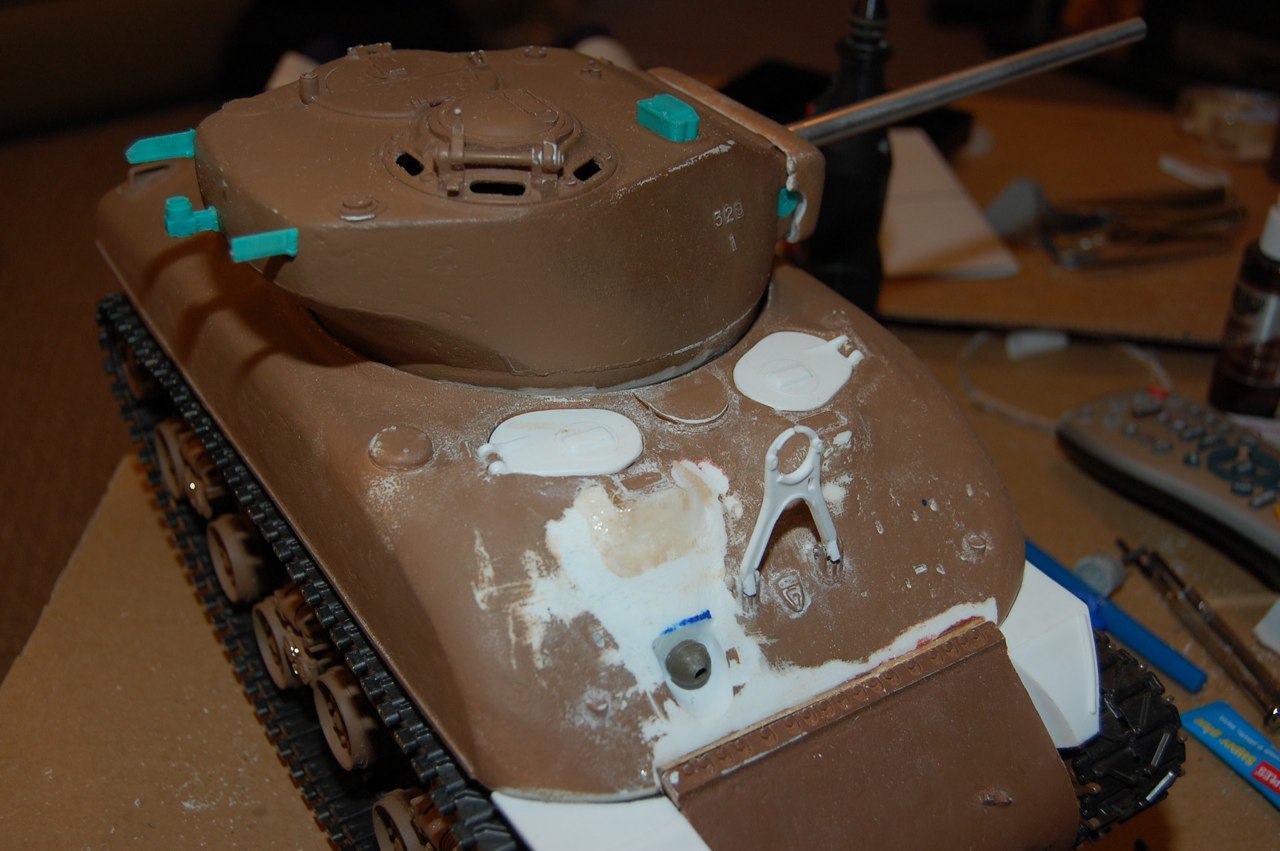
Sgt. Lafayette Poole’s “In The Mood” soon became a prodigious tank killer and racked up many AFV kills. the tanks he commanded were credited with 12 tank kills and 258 enemy vehicles destroyed. I have acquired Nick Aguilar’s Turret and Cast Hull conversions for the project.
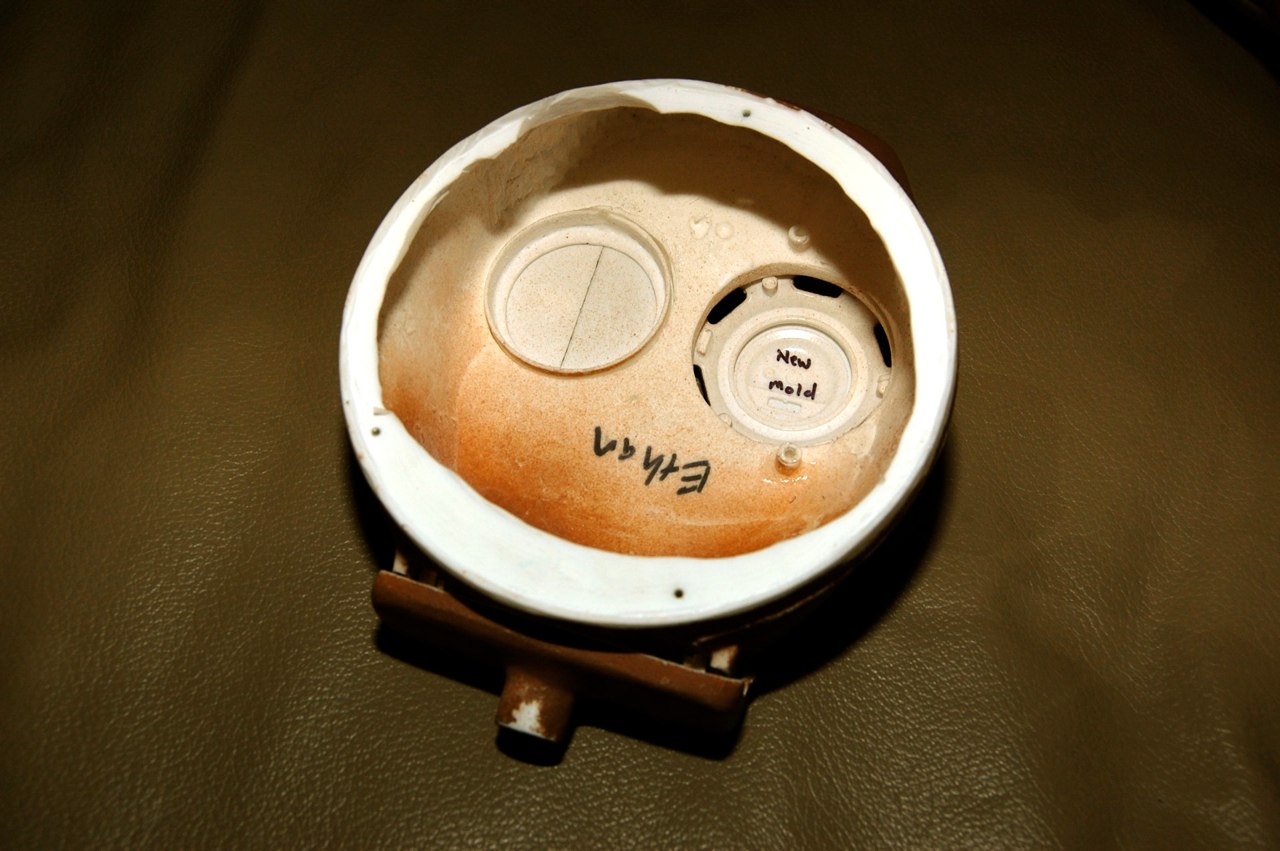
** Editorial note. This tank has been modified with charging system, new gearboxes and has changed hands three times since the build in 2007/2008. Still going!!!!
OPeration Cobra, july 1944
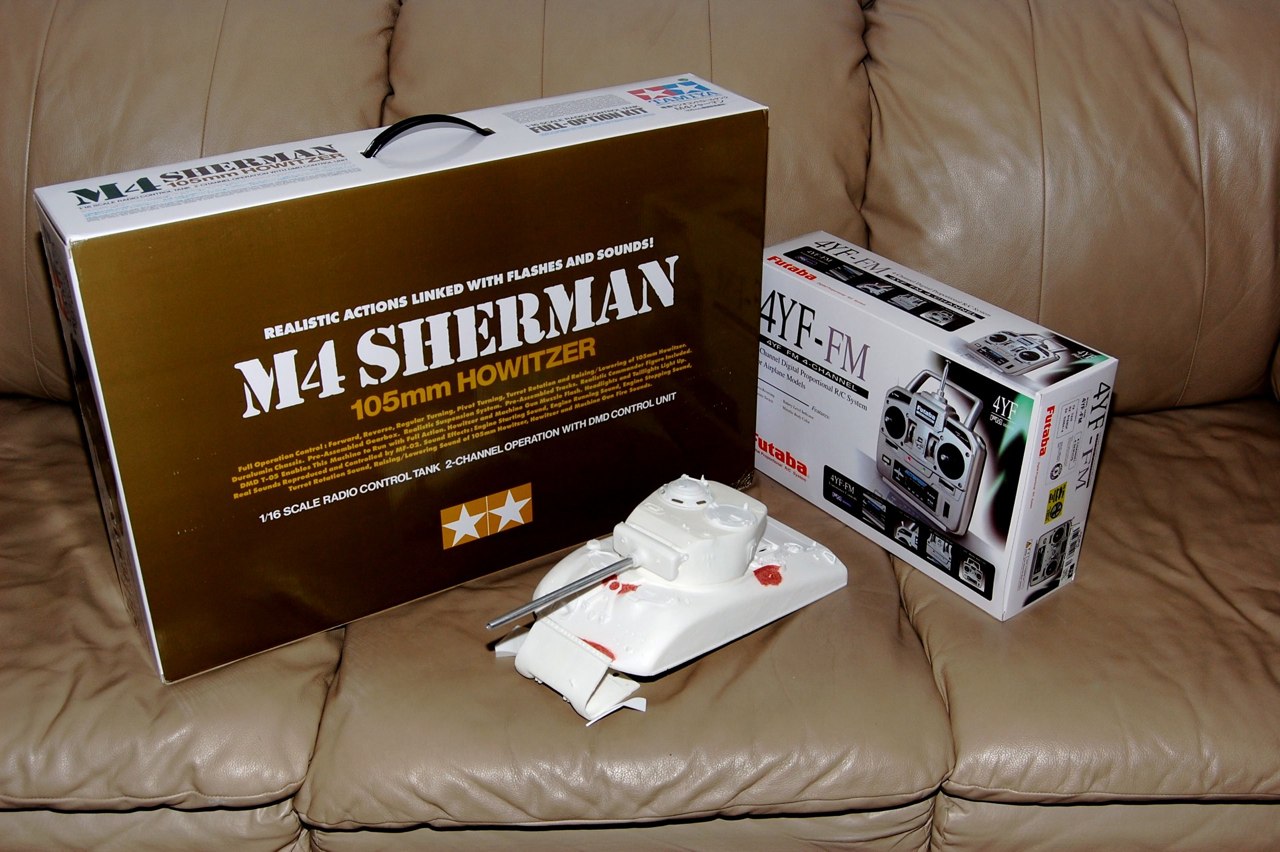
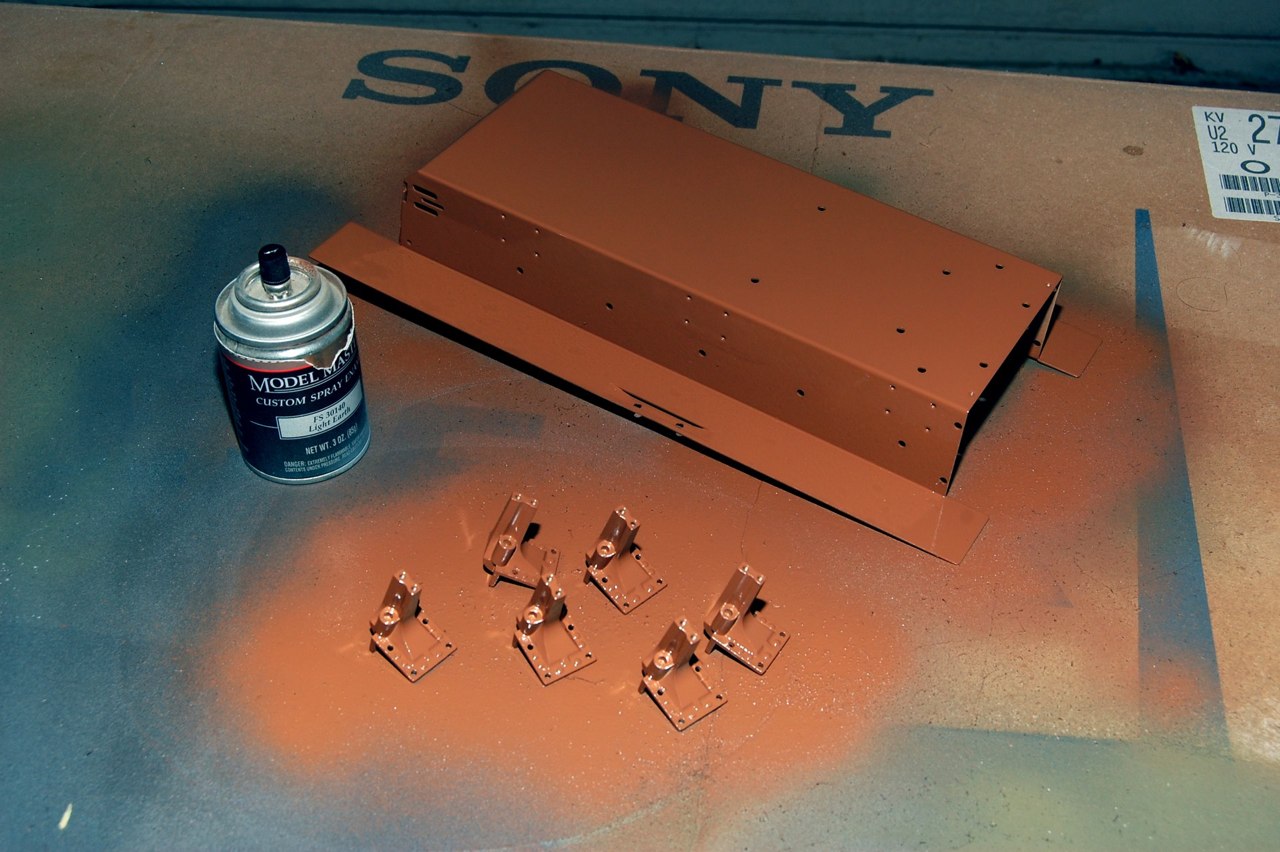
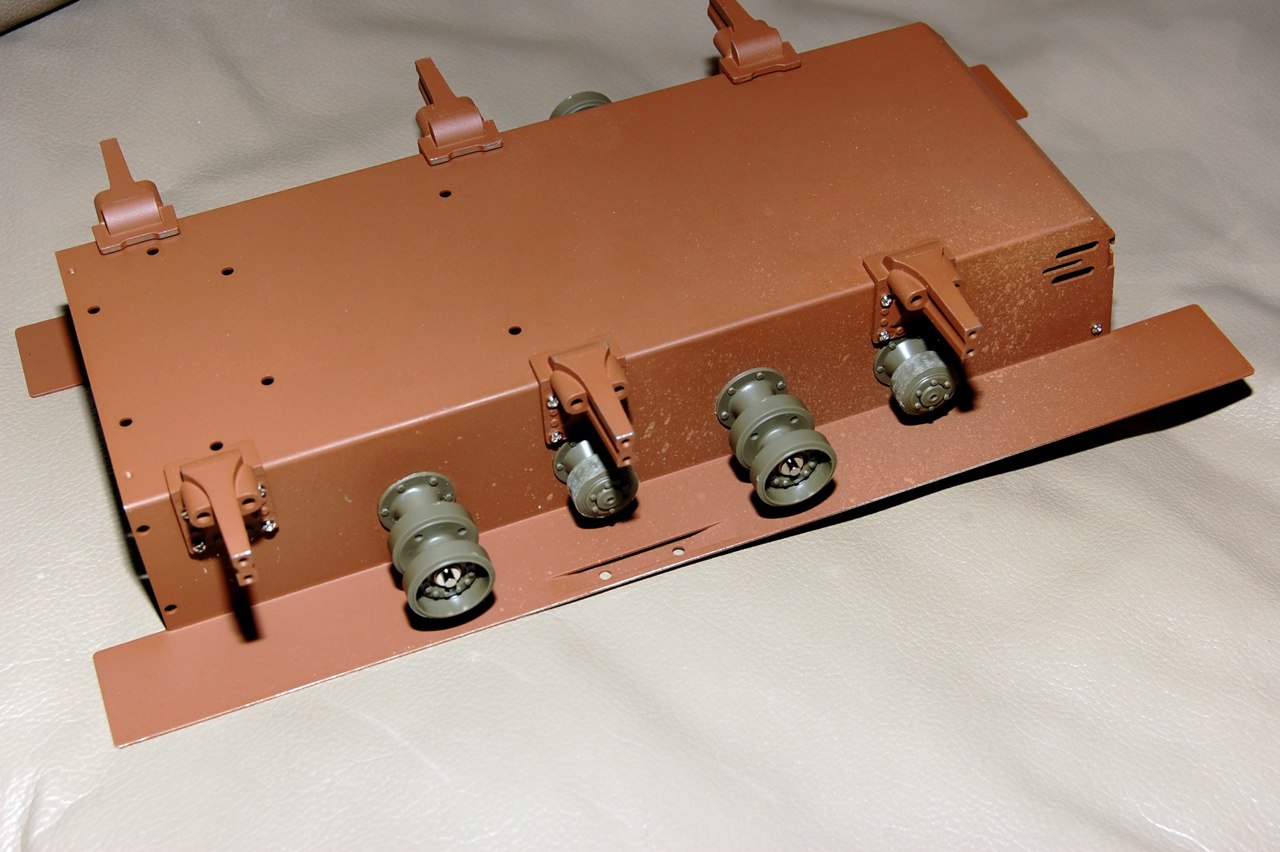
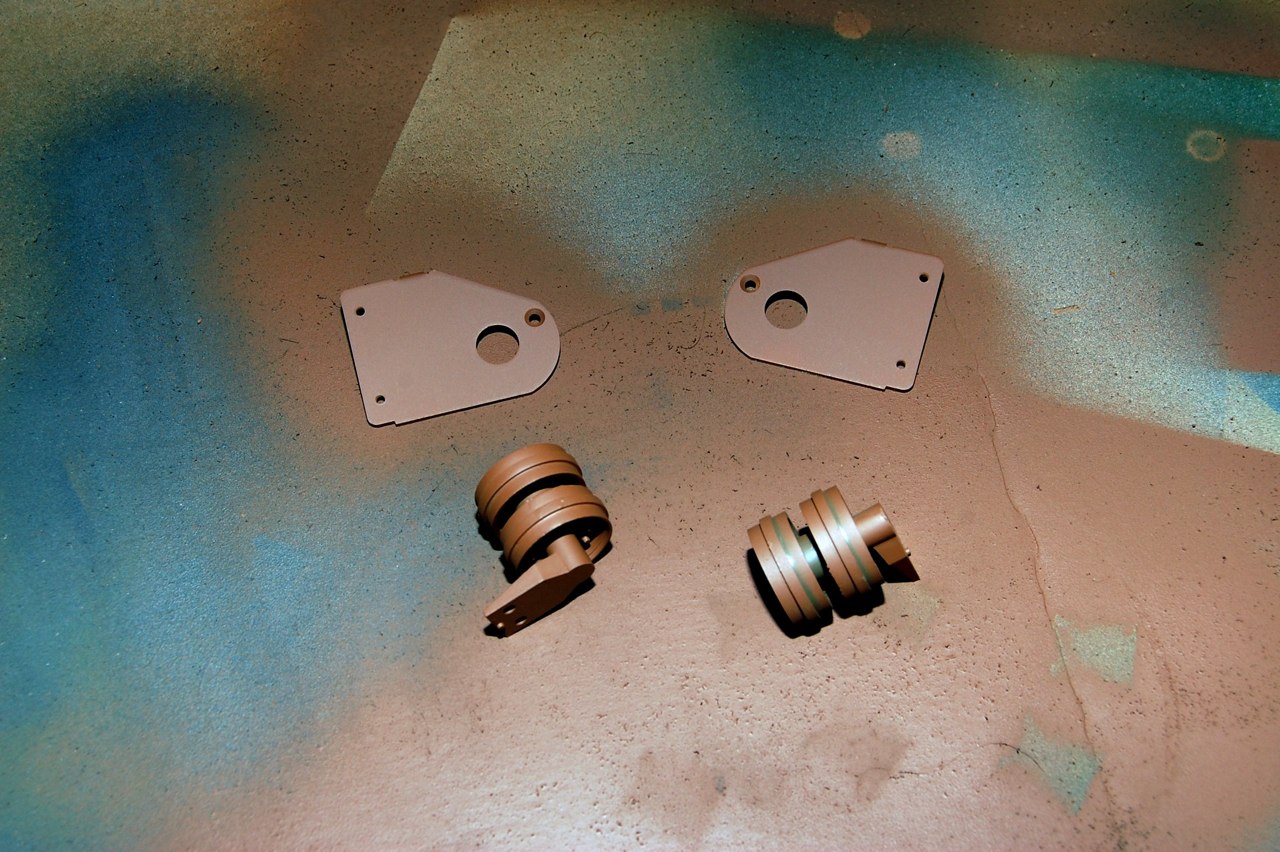
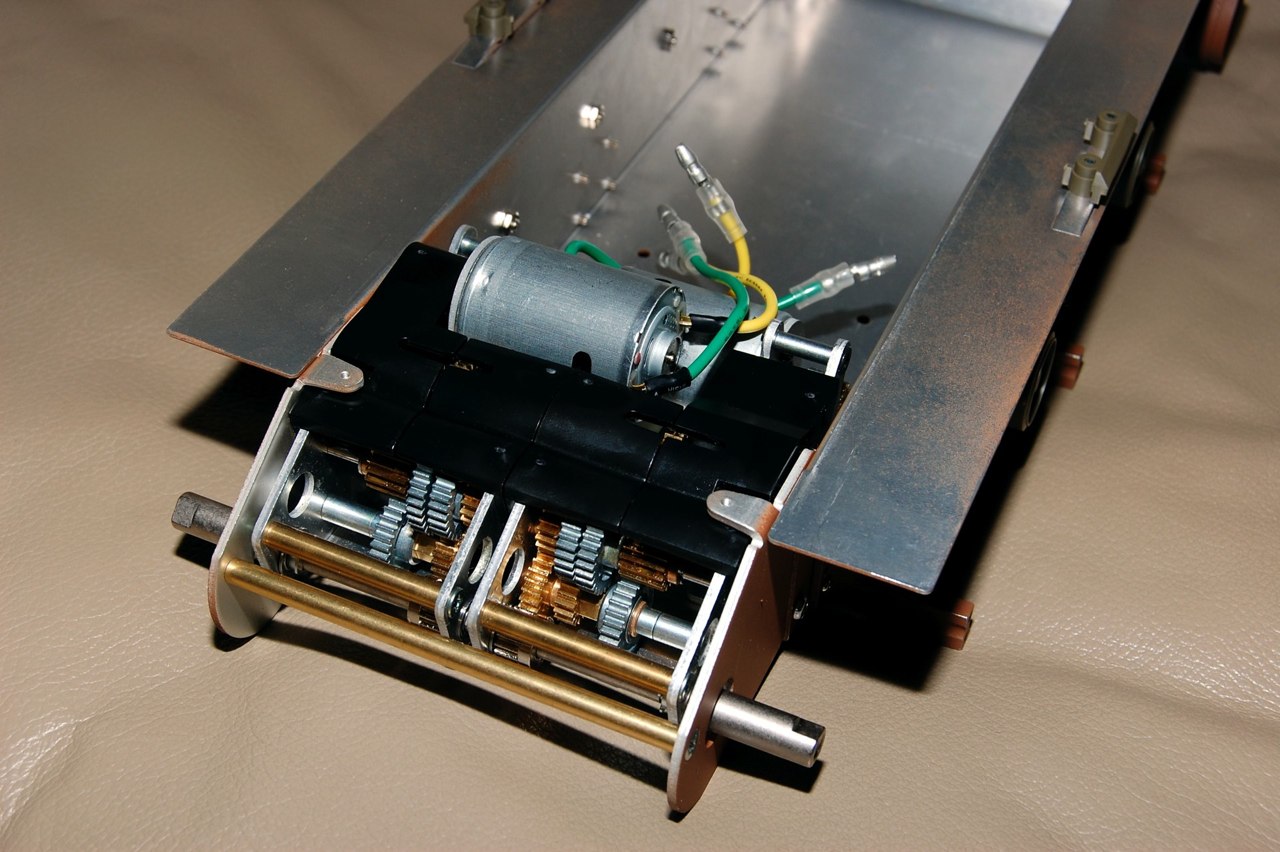
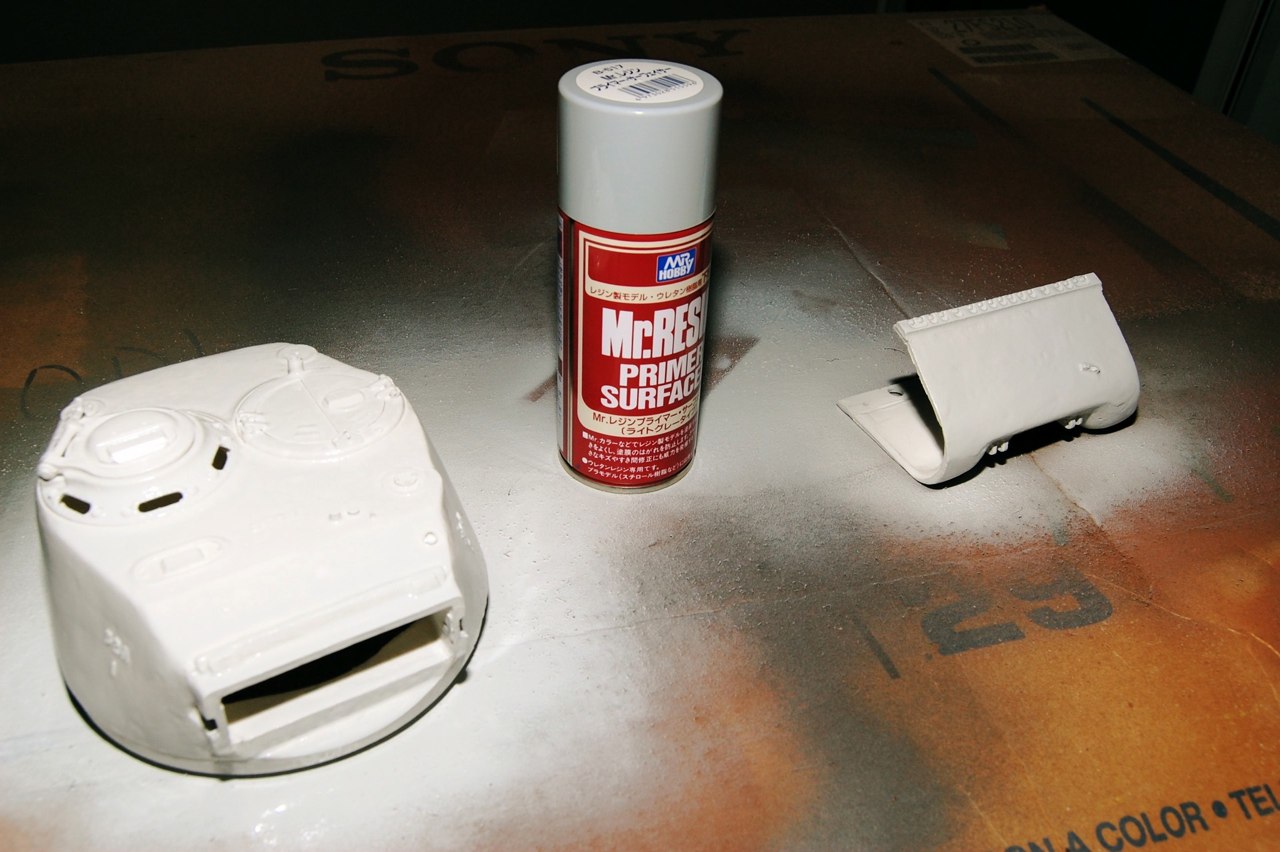
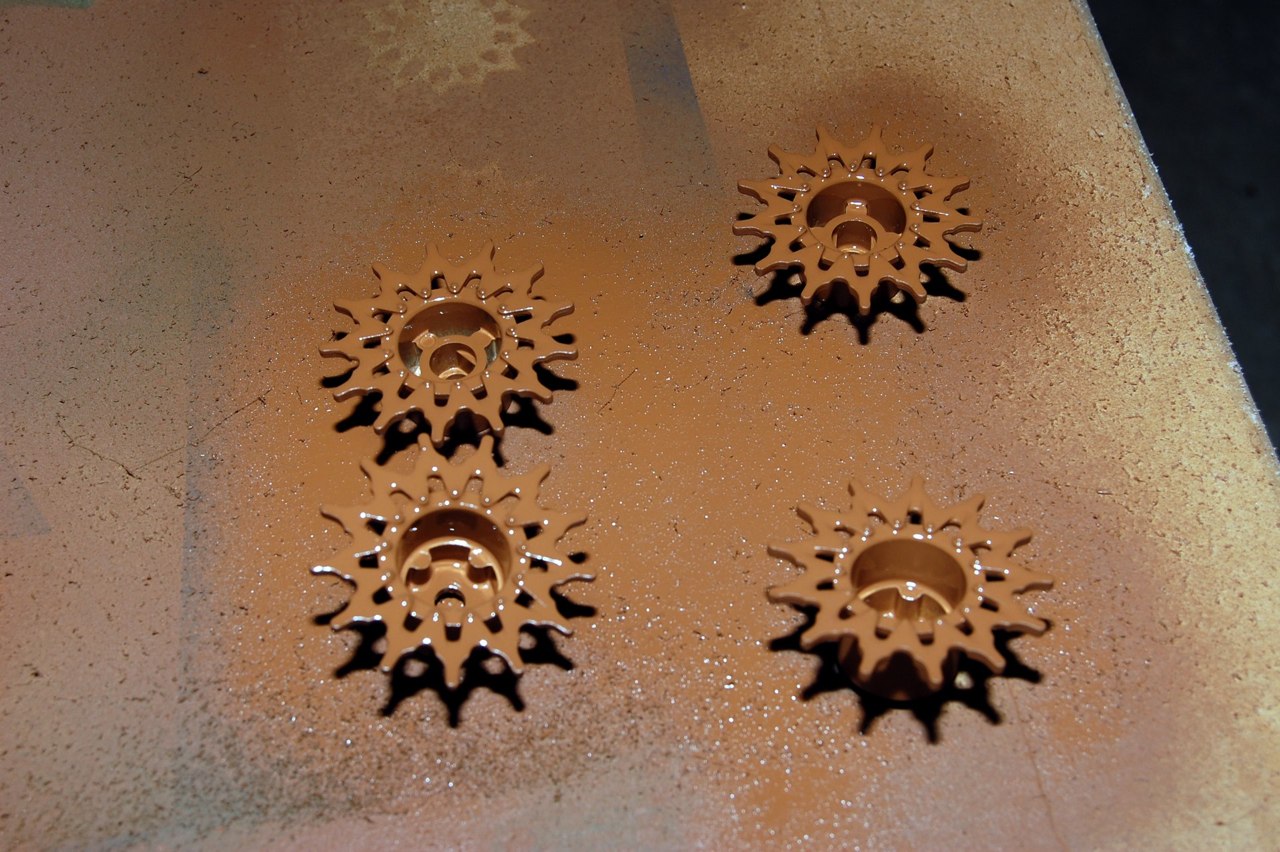
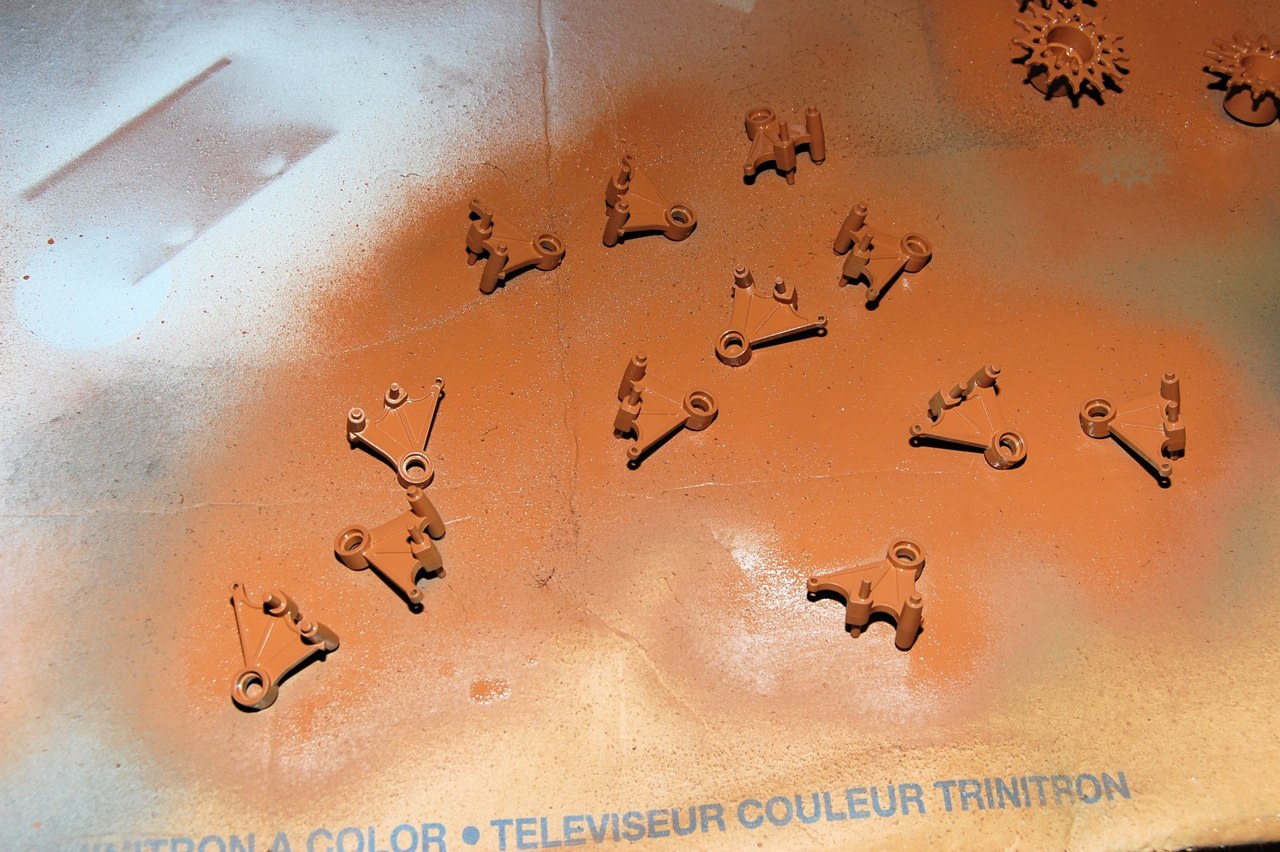
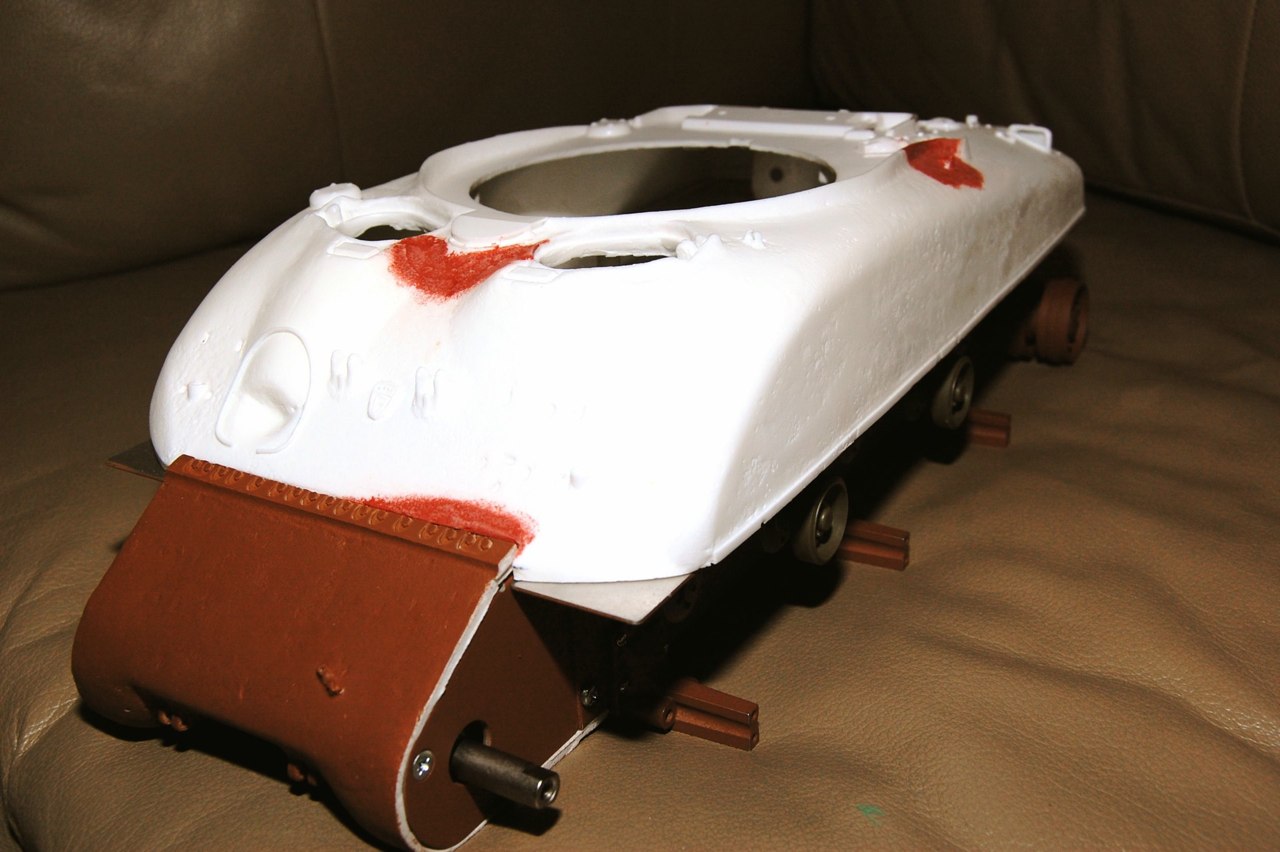
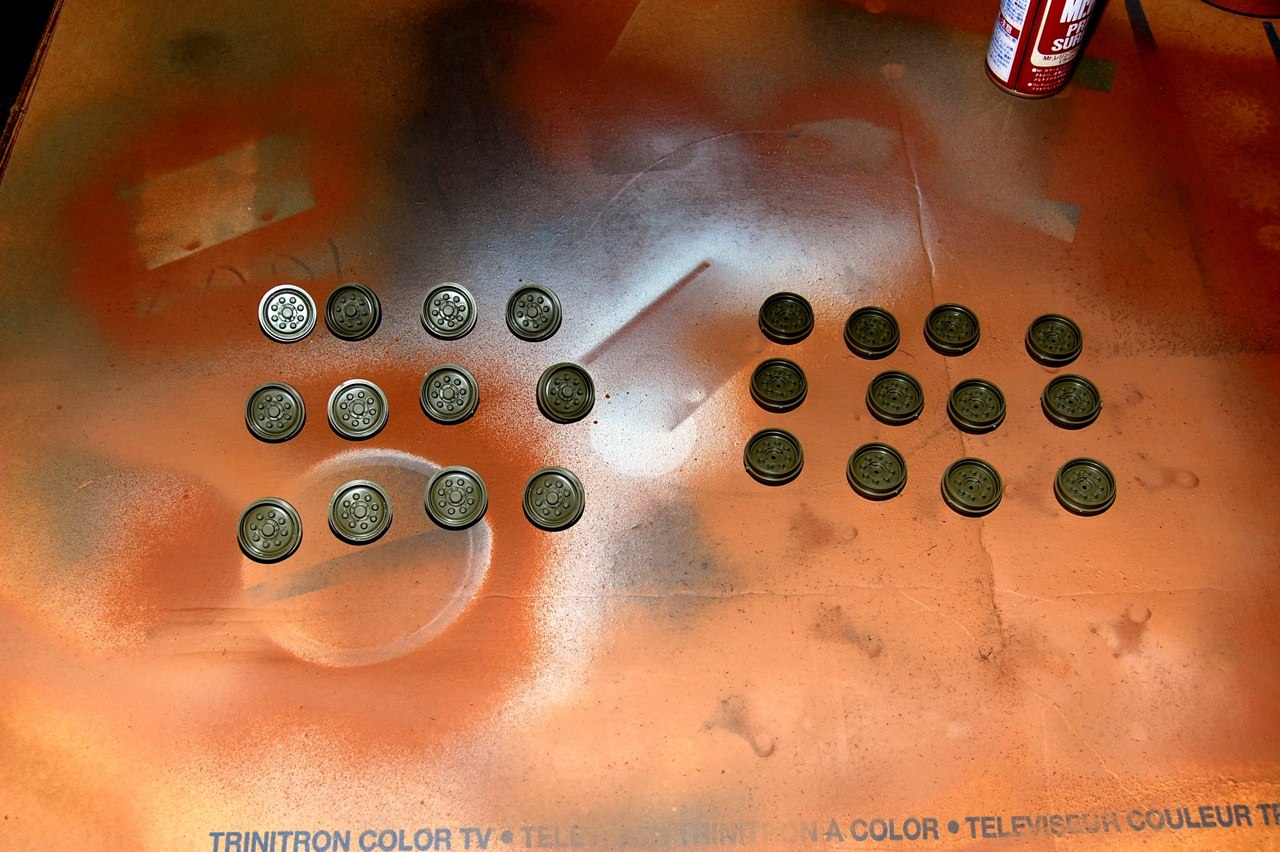
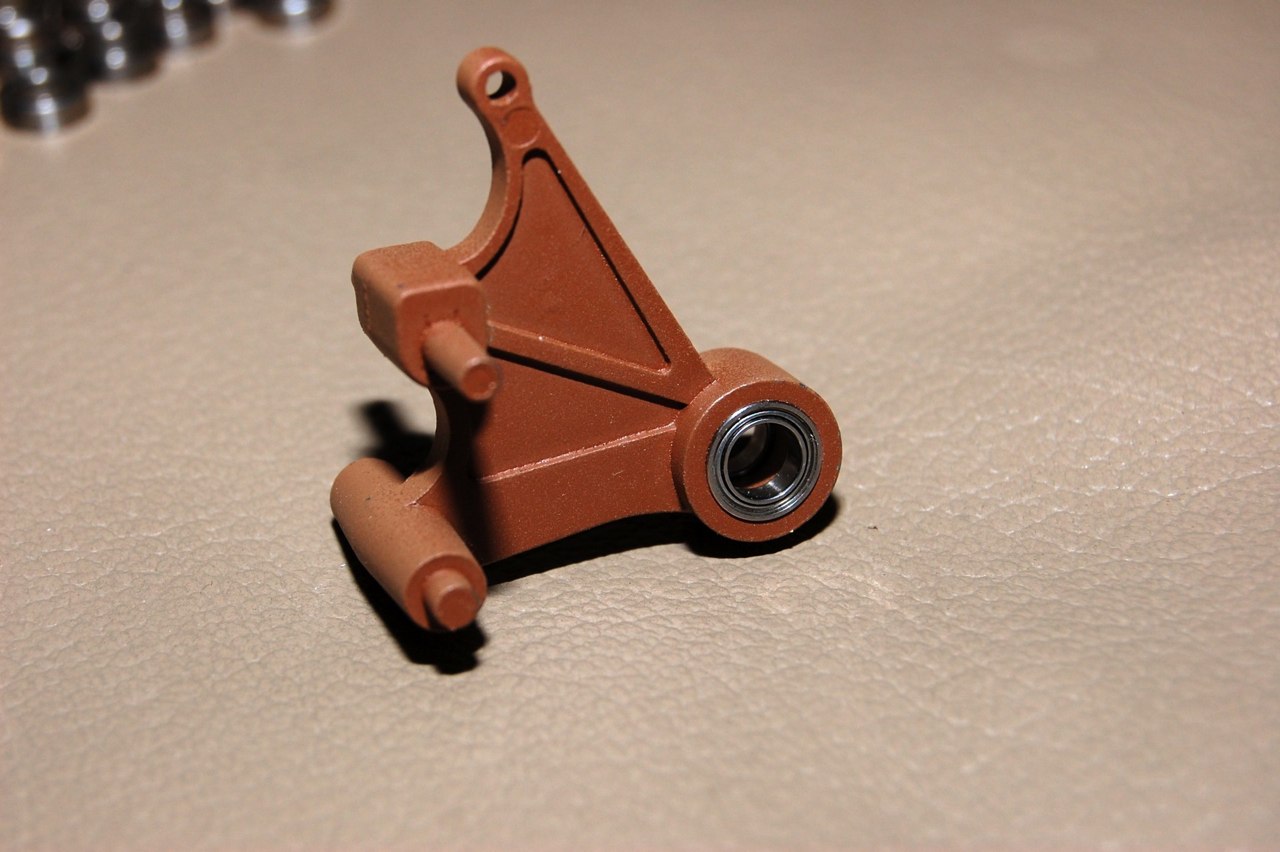
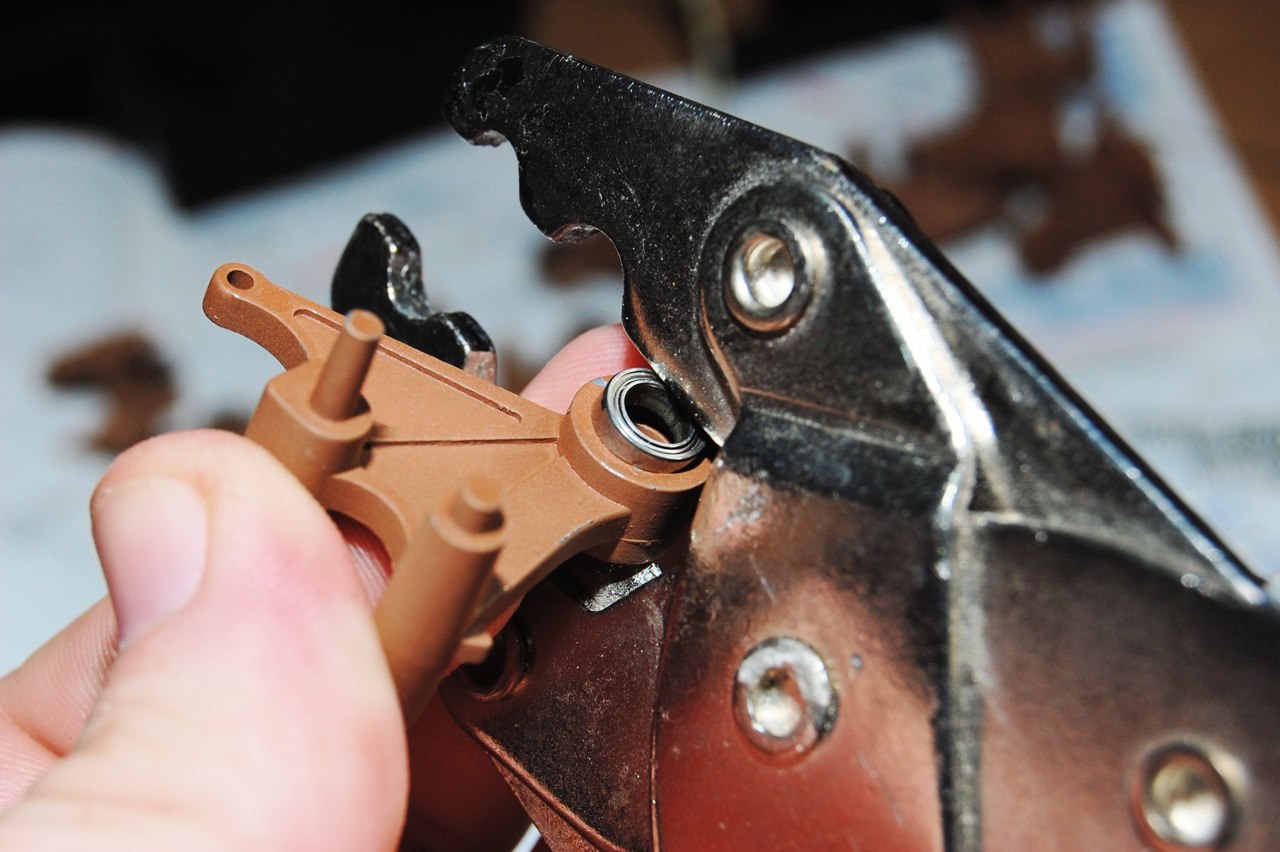
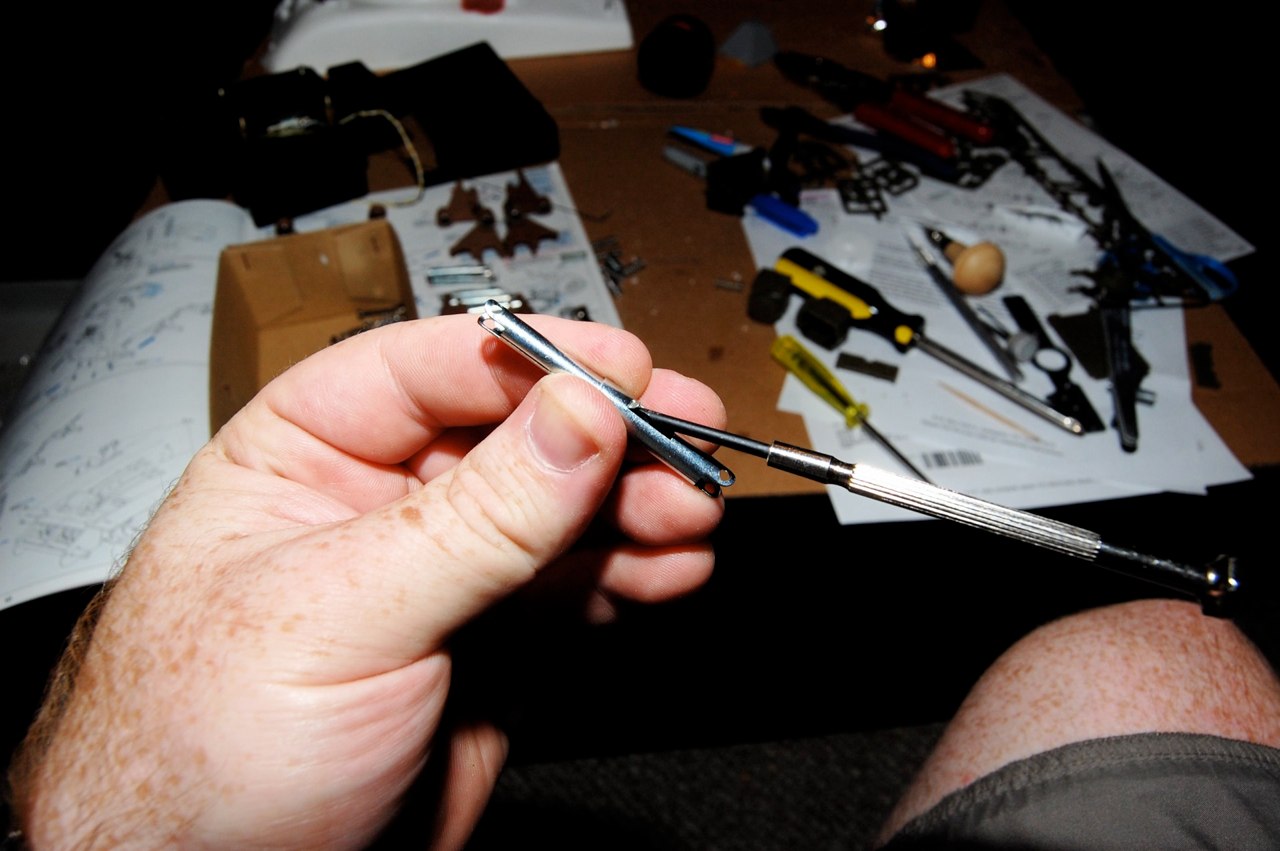
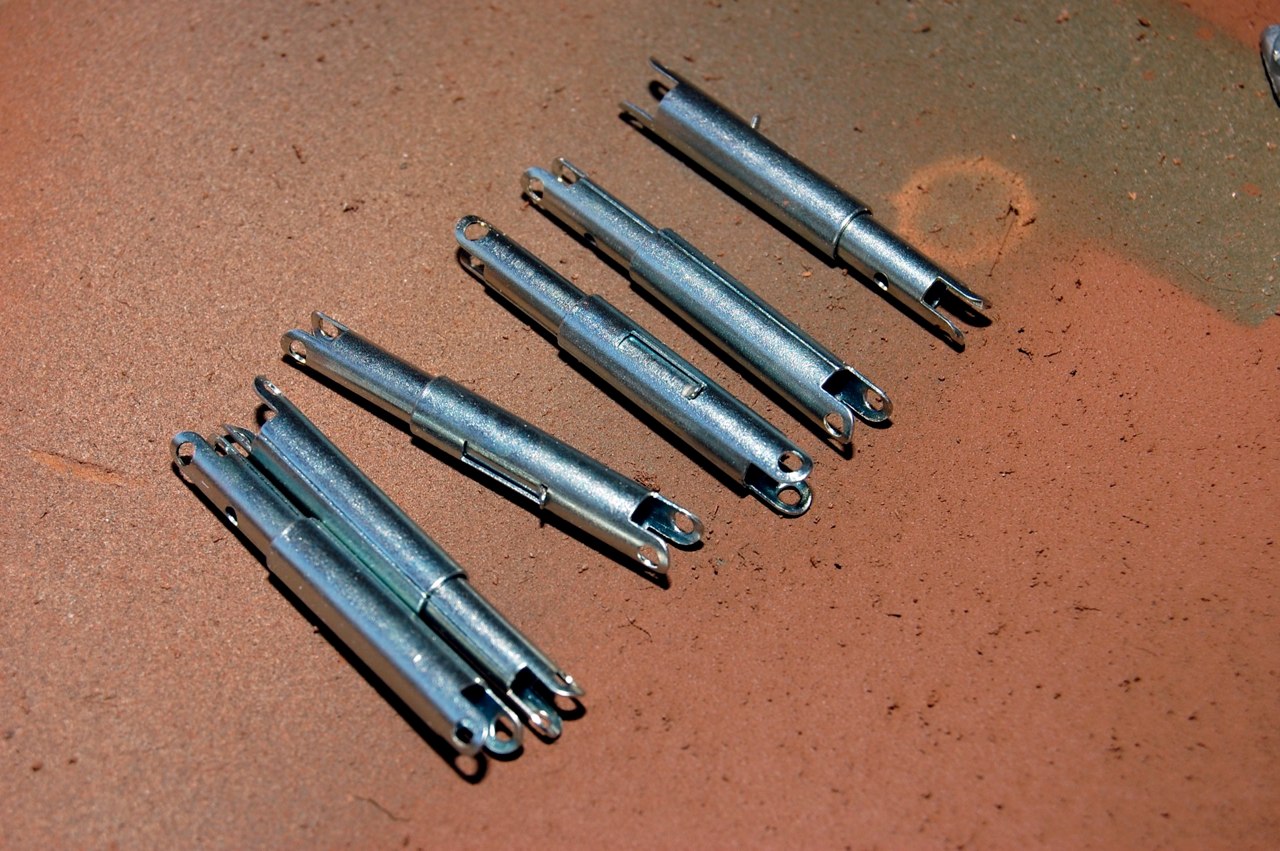
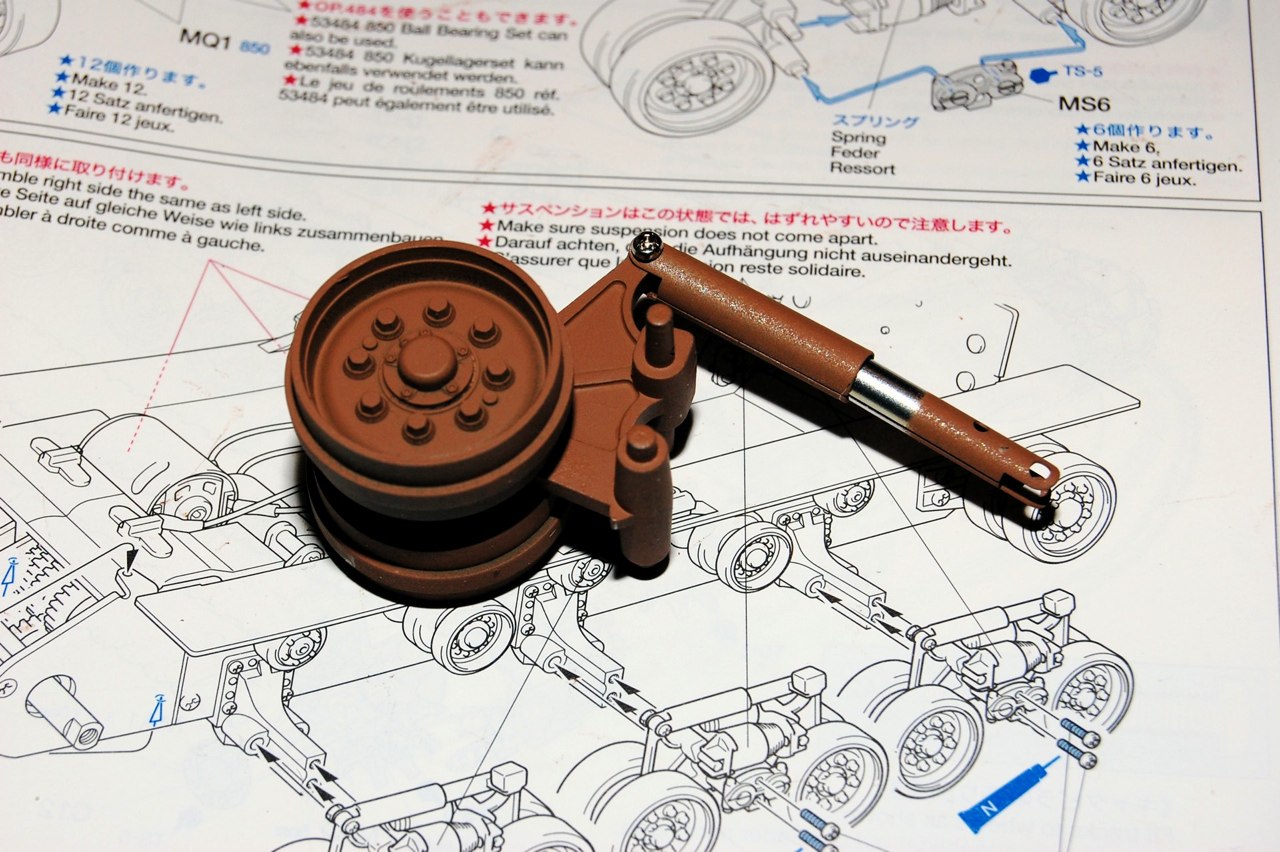
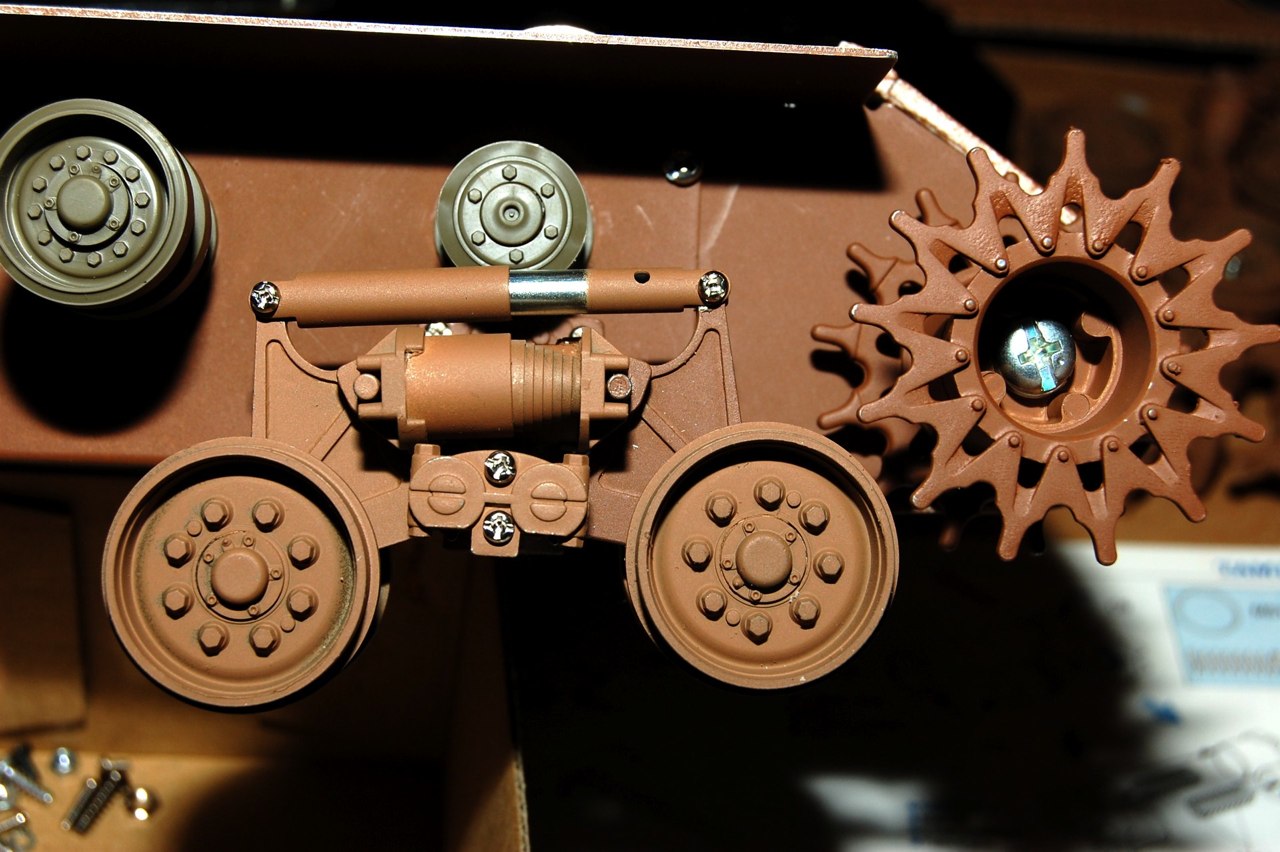
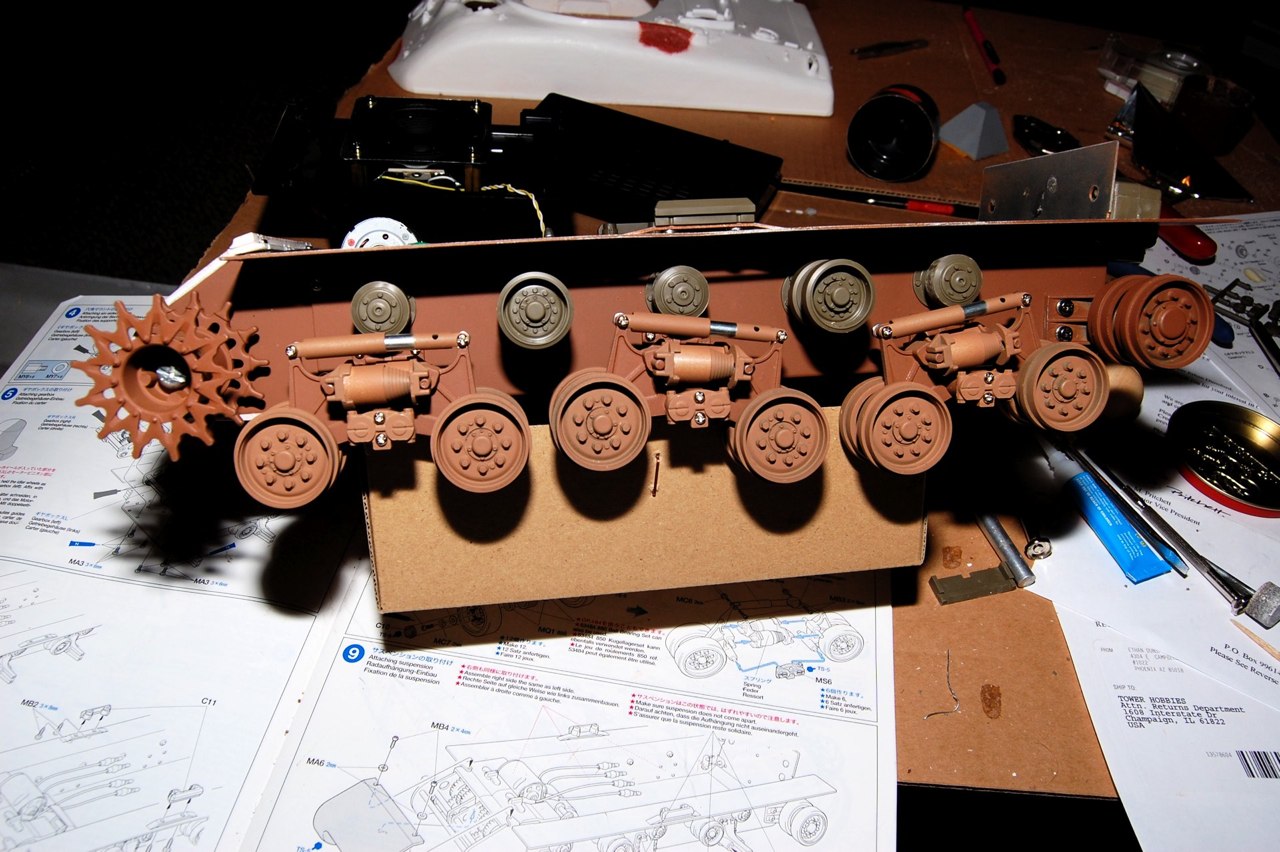
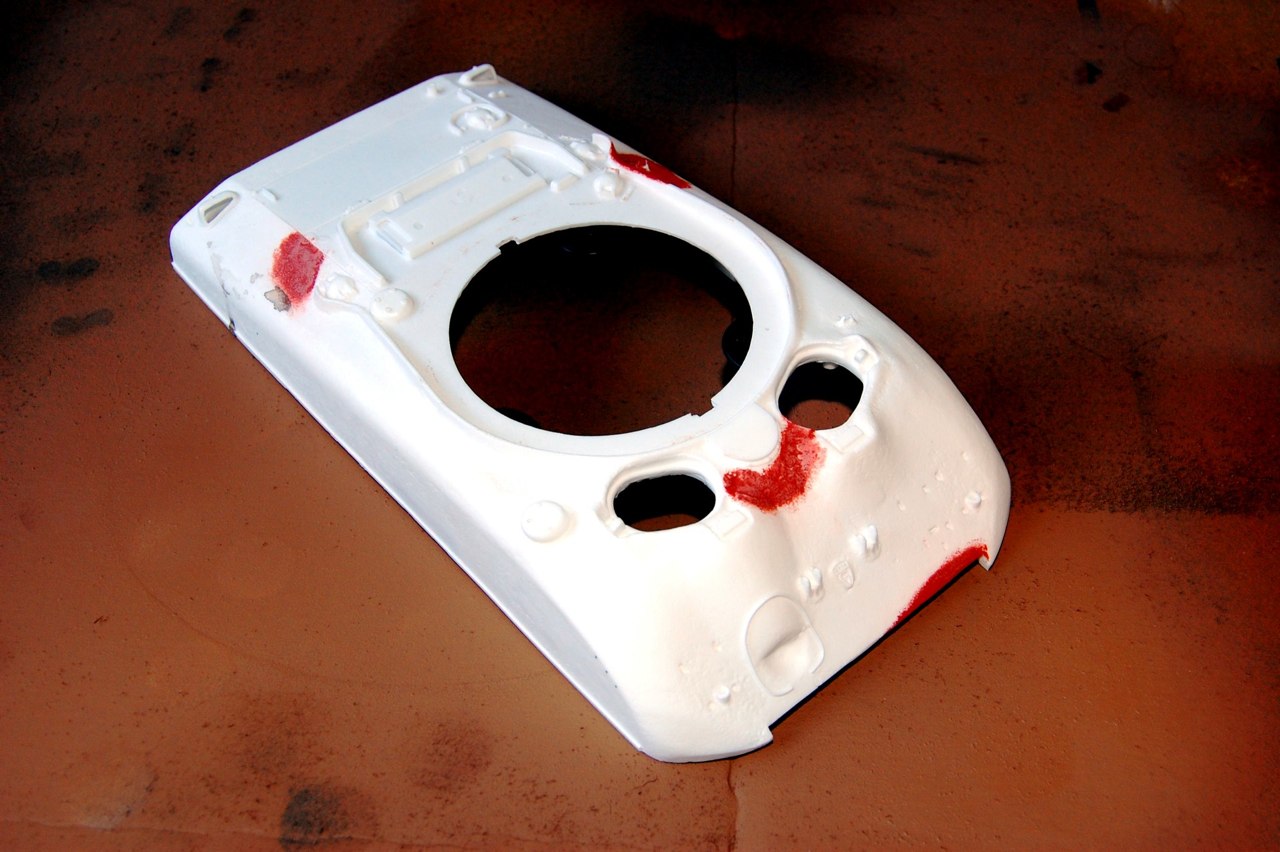
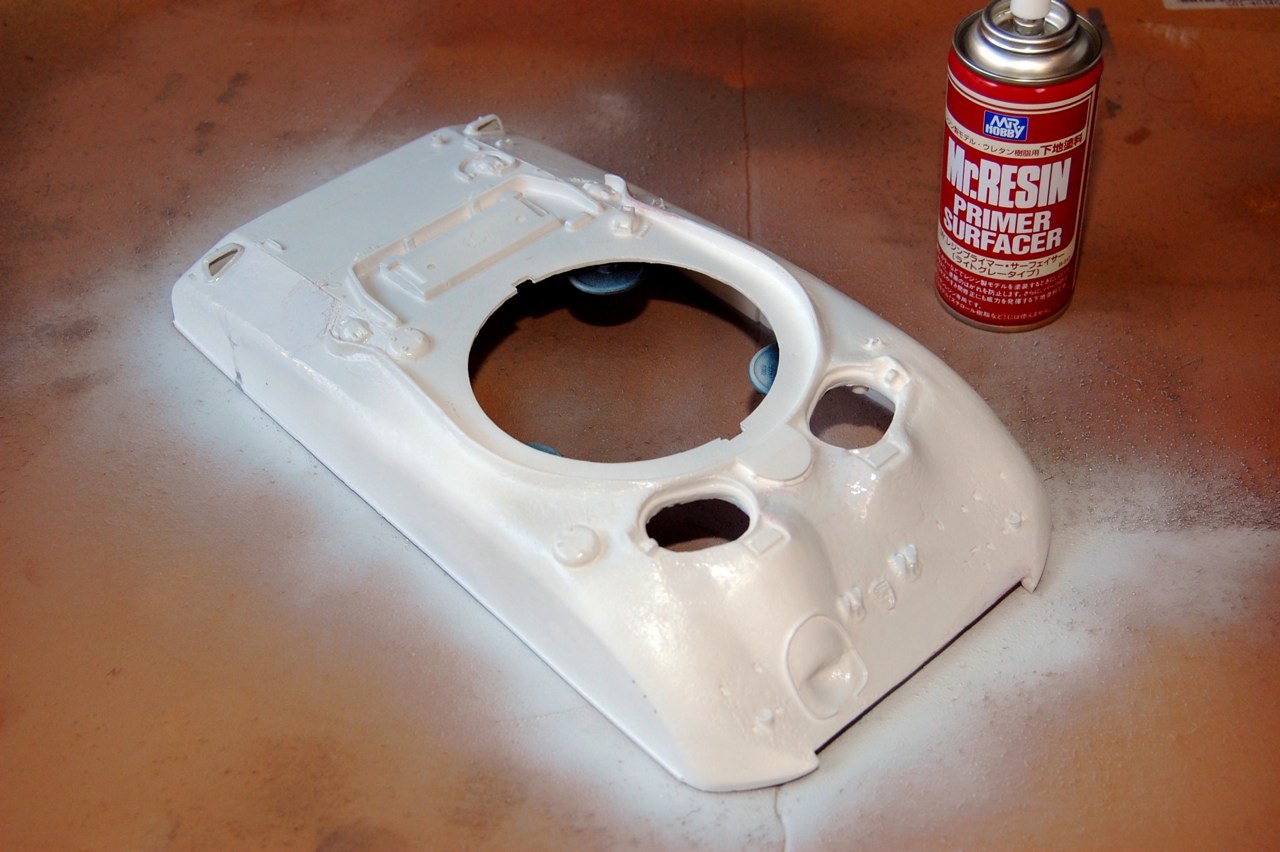
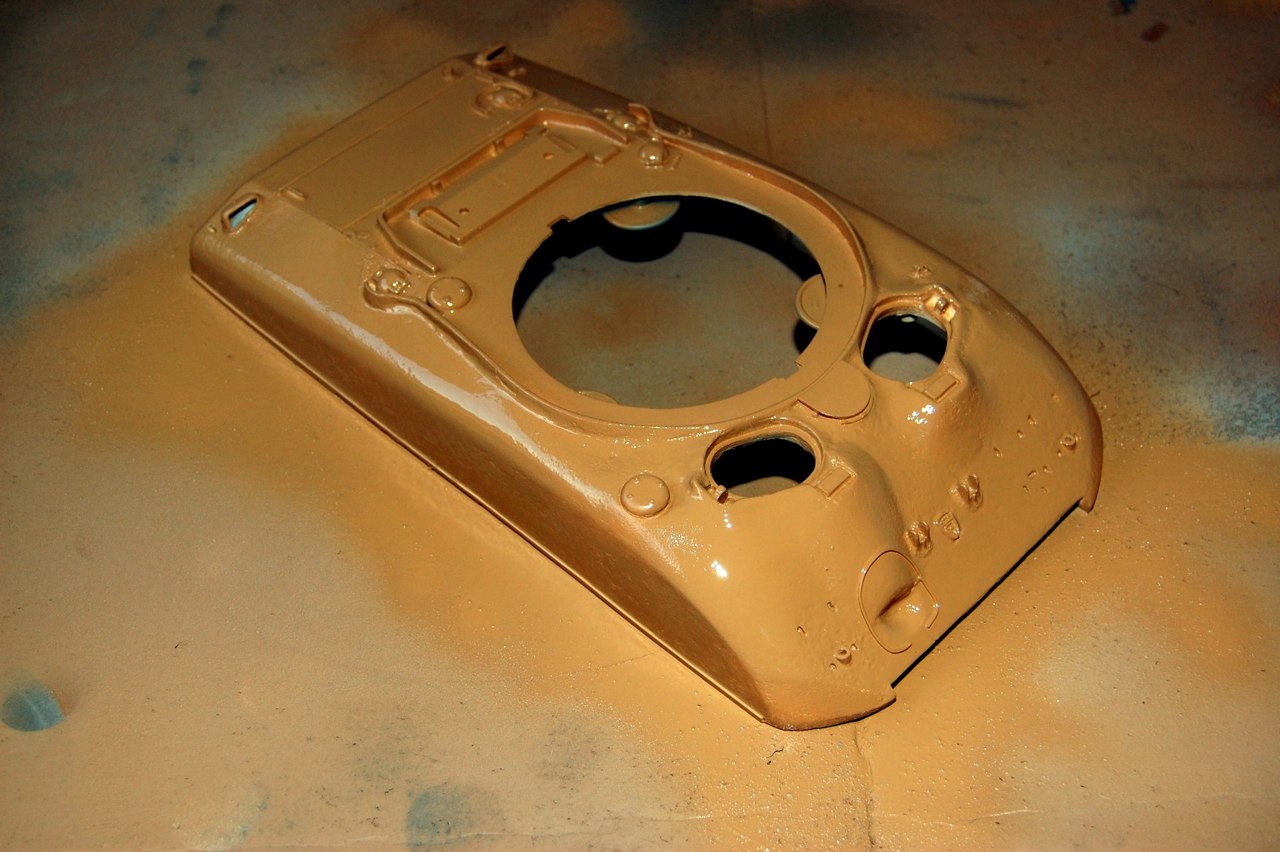
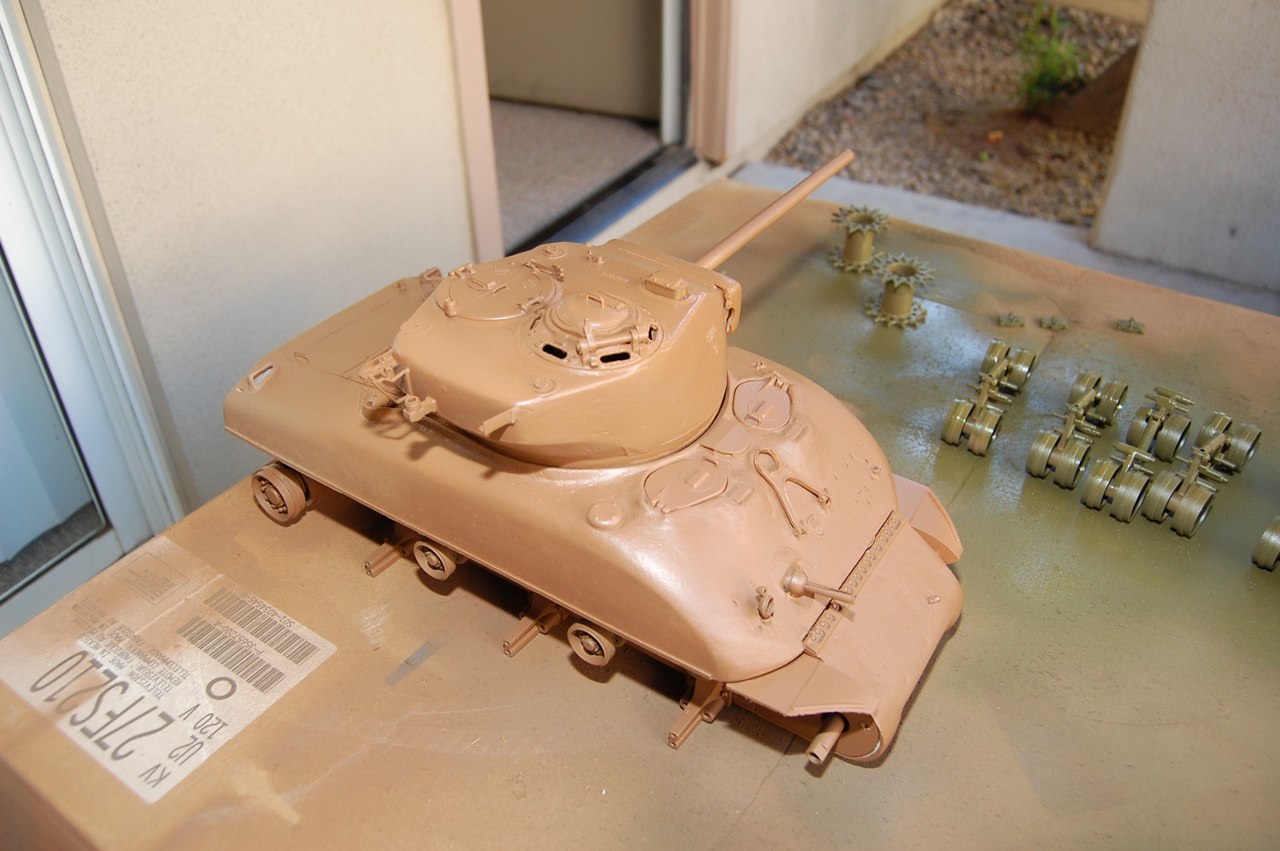
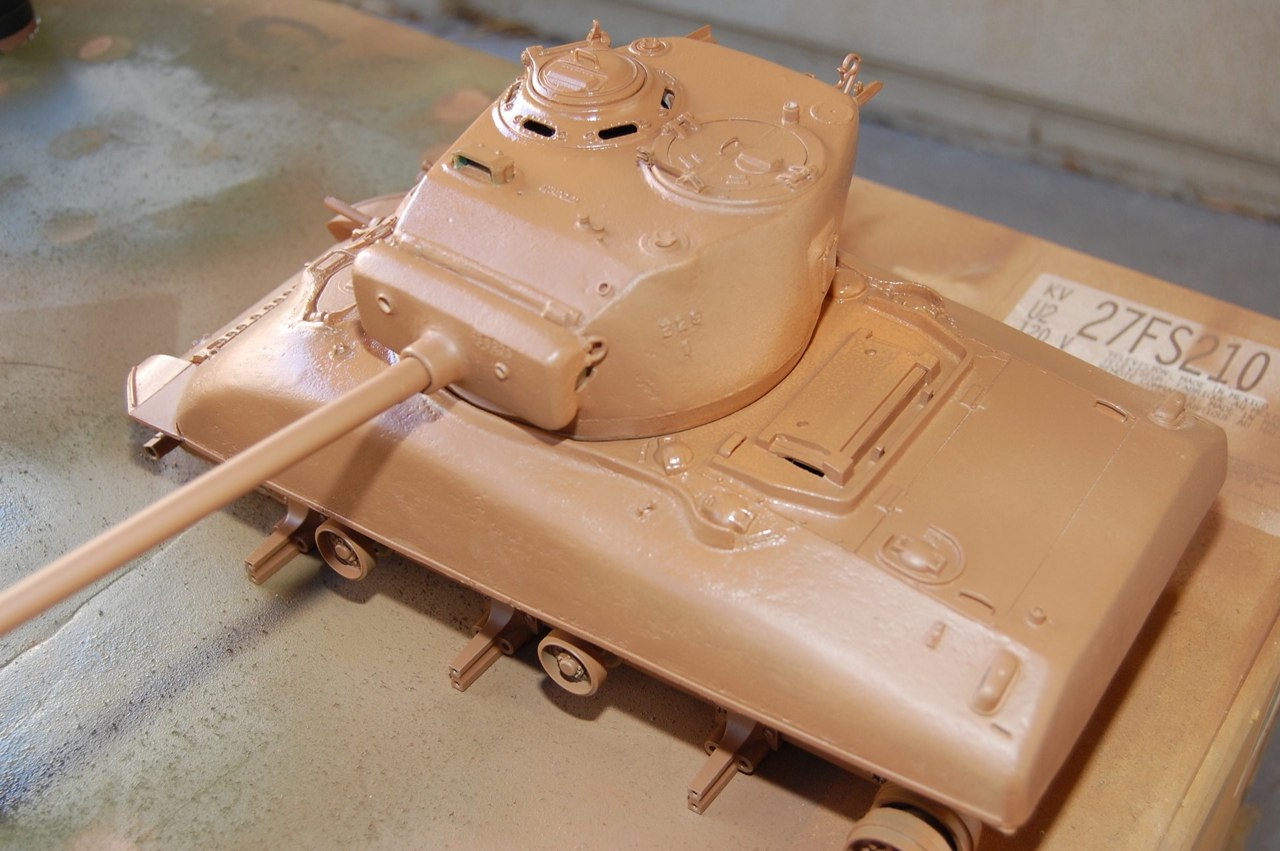
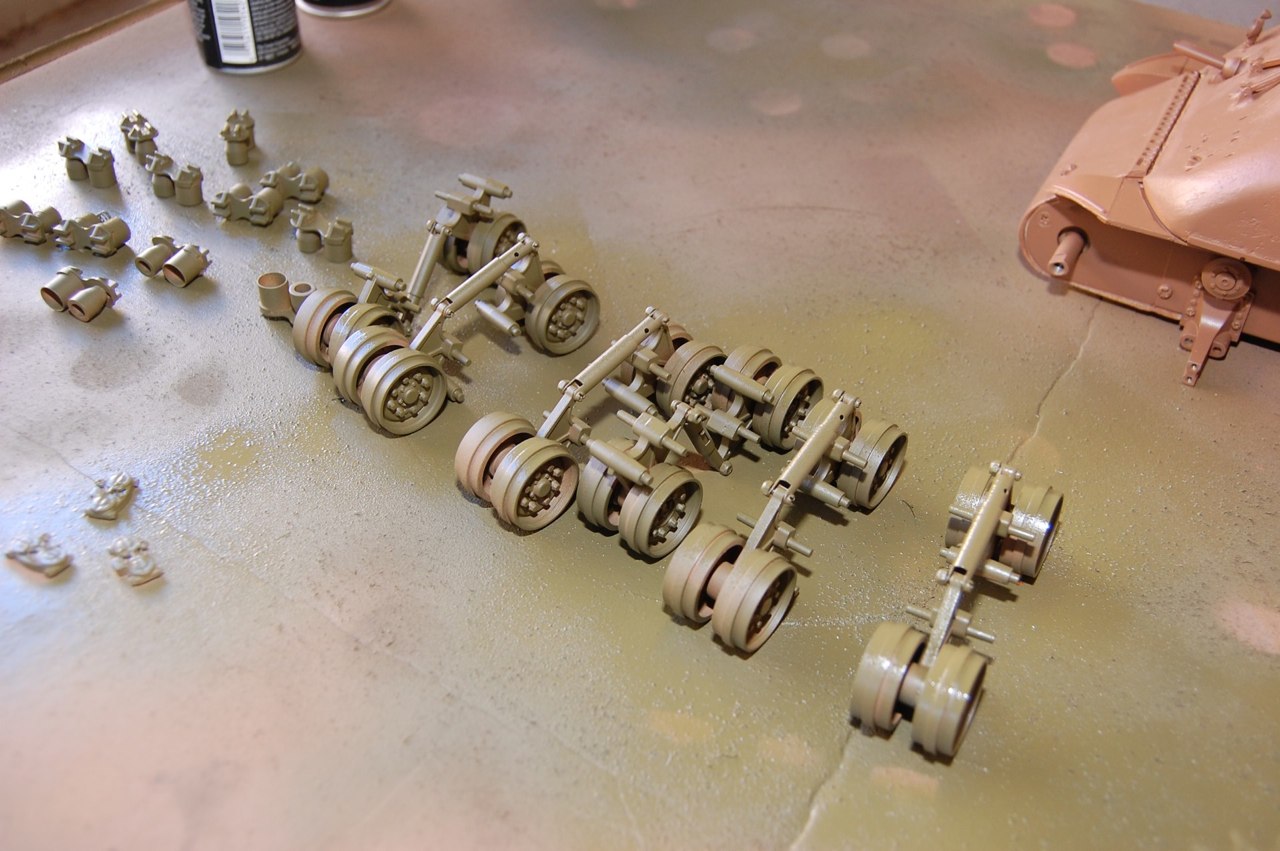
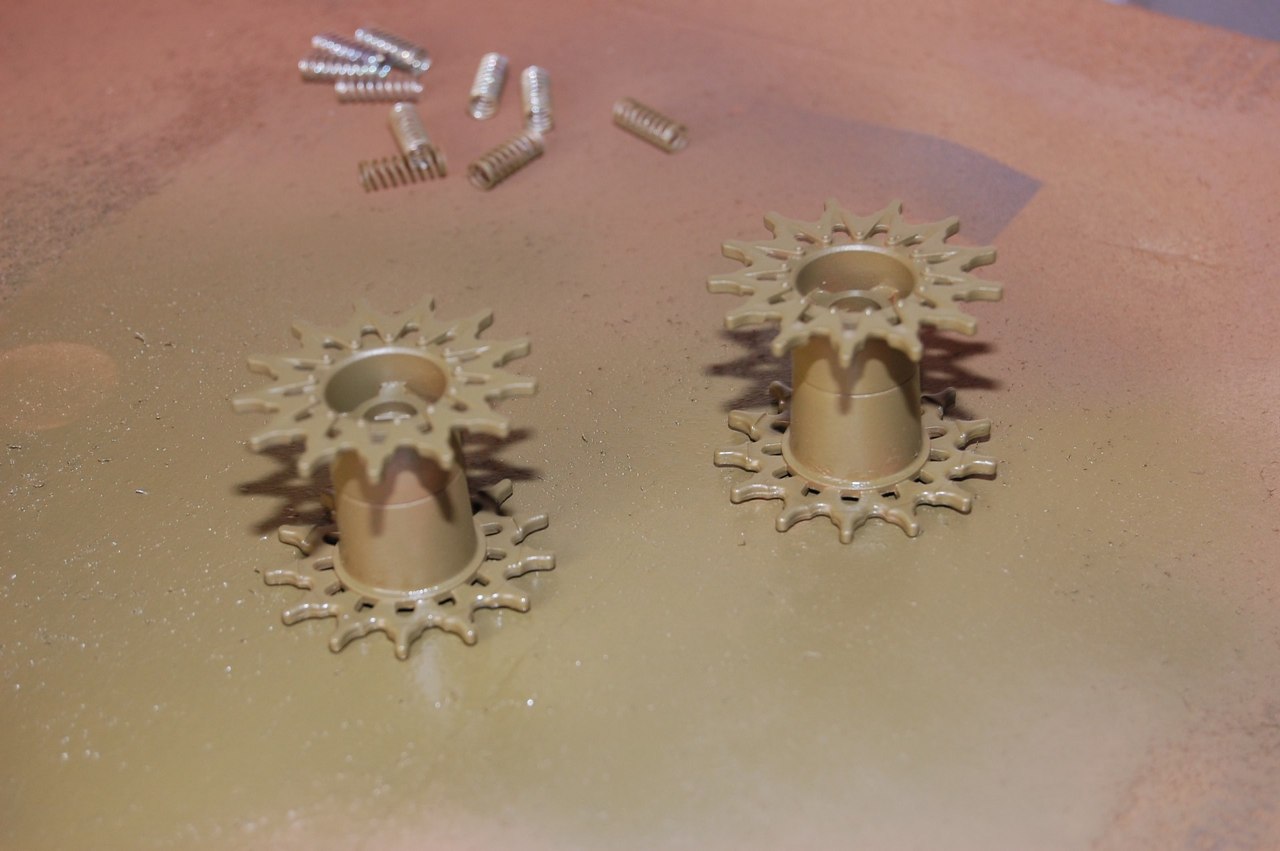
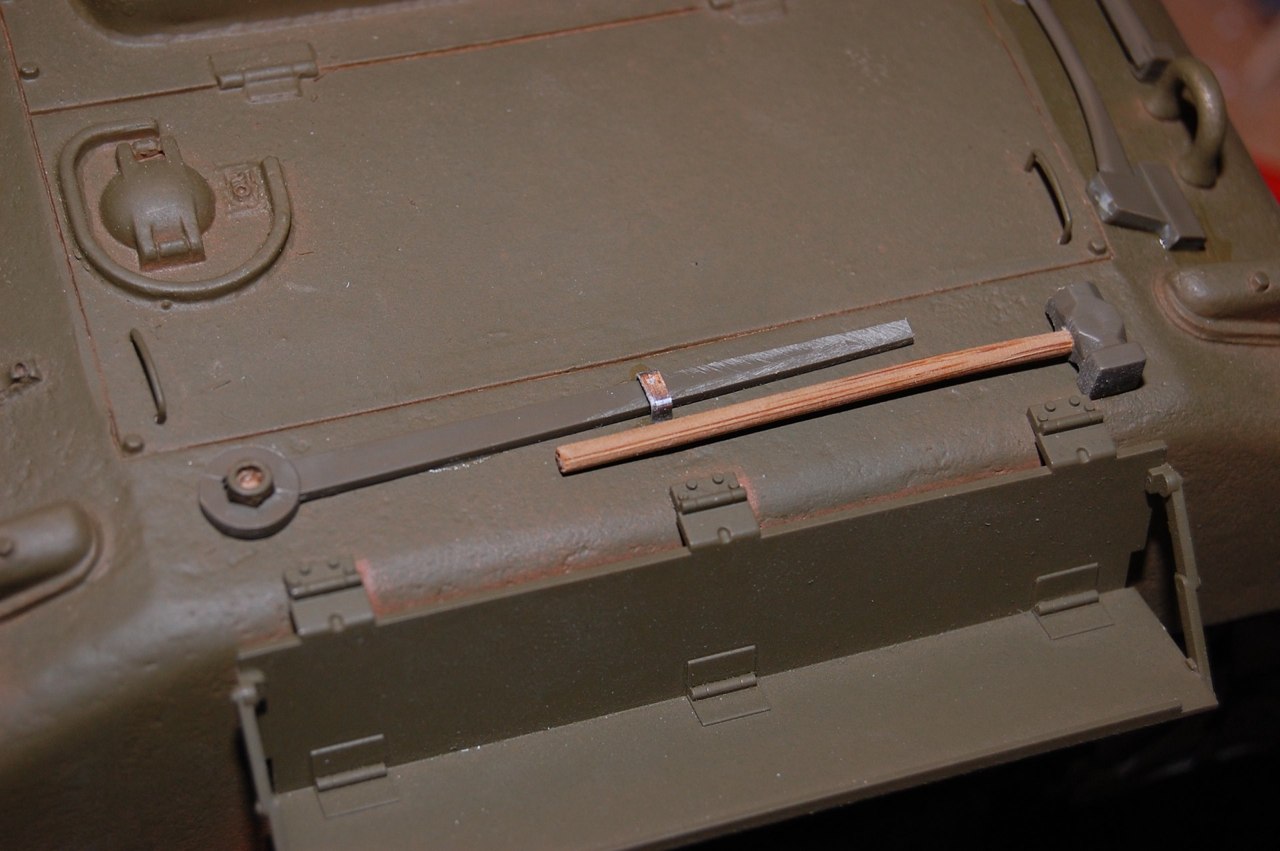
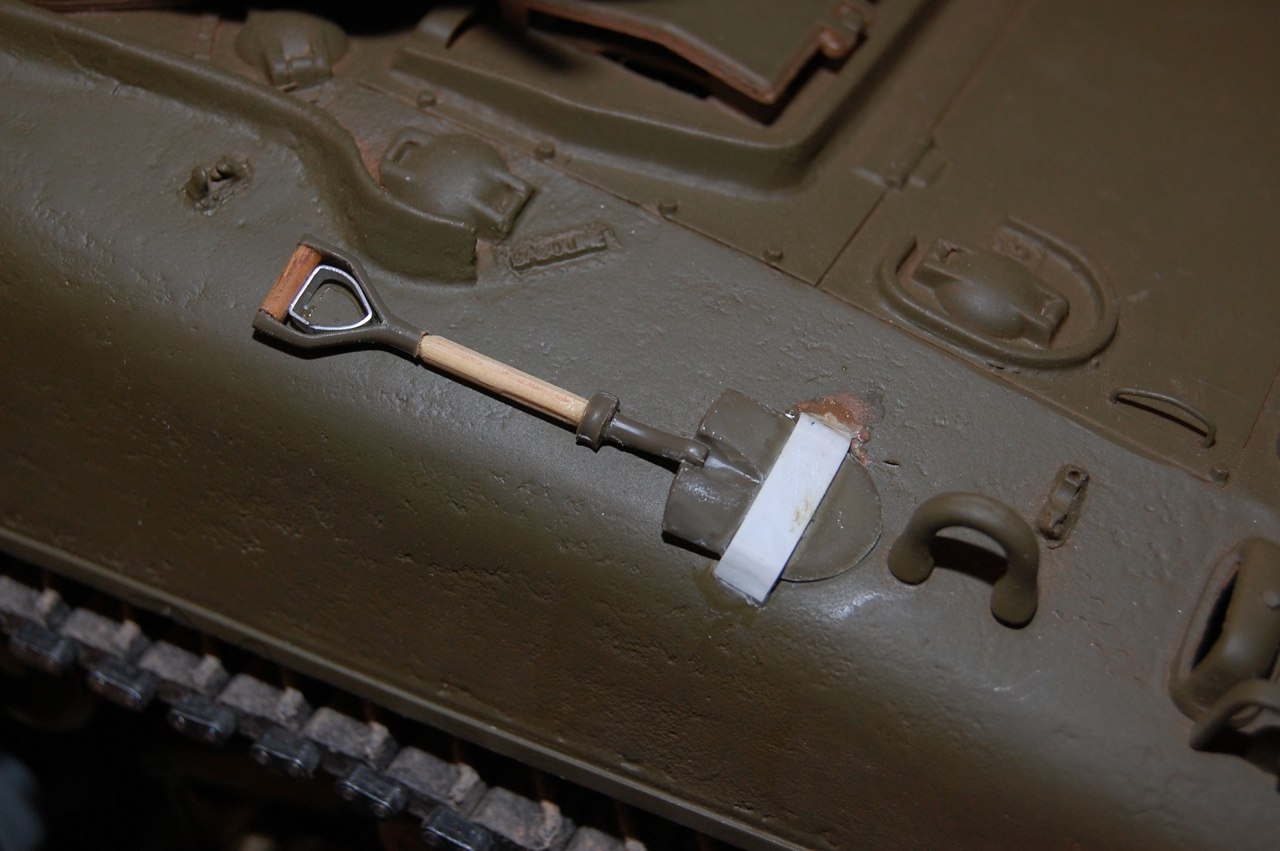
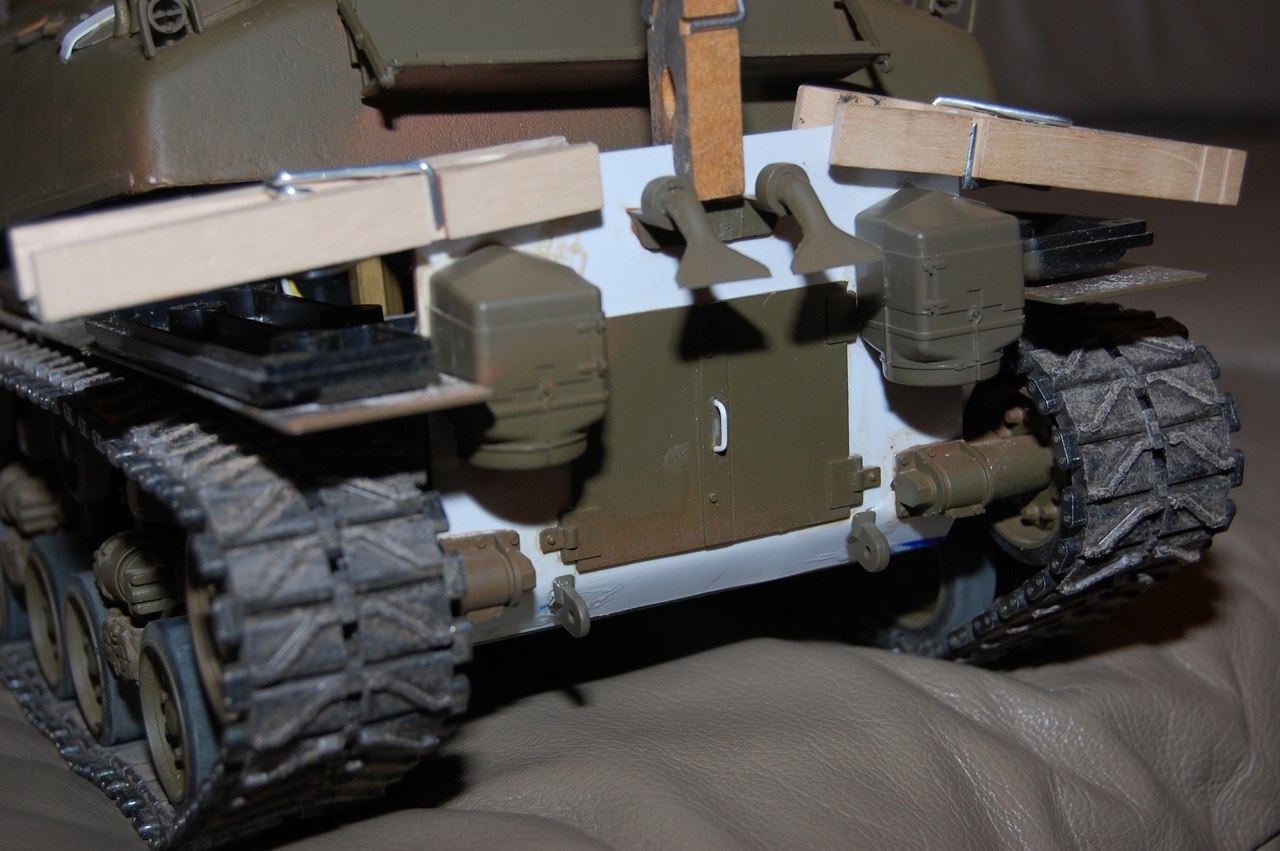
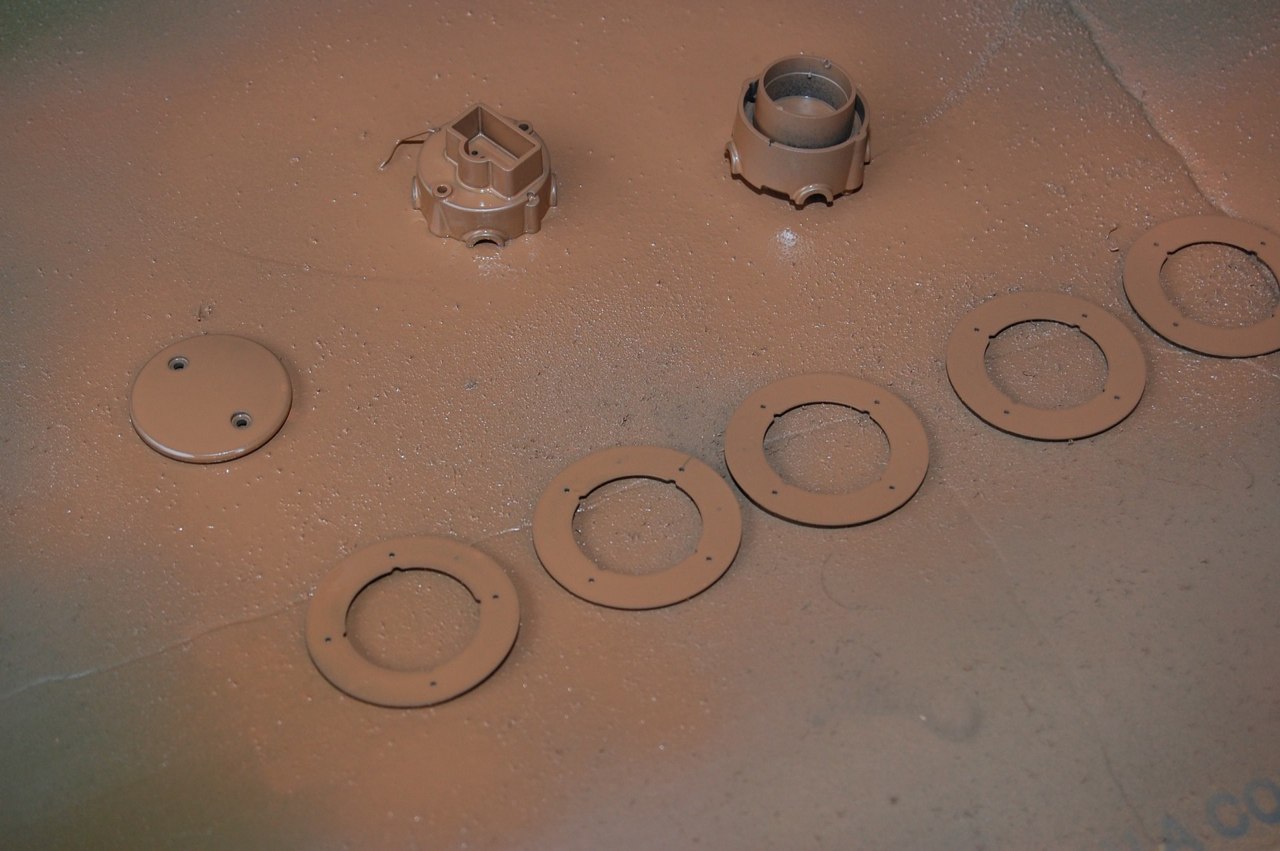
IN the Mood was sold to a new member: Mitch. Mitch sold it to Joseph, who then sold it to another new member James.As usual, the project begins after the tank components have arrived, this time the Tamiya kit was from Canada. I got a great deal on Ebay, only to have a scary custome situation almost ruin the fun. Aquired Nick Aquilar’s Cast hull and T23 Turret to build the version I wanted.Construction begins with priming the Lower pan and Suspension mounts with Testors Model Master Enamel spray paint.Tamiya has designed this kit well. Despite it being HVSS it is functional and realistic. I always plan to add metal parts but my first kit has been running trouble free for two years and countless battles.In order to use up some half empty spraycans, I used Light Earth to act as Red/Brown Primer. Also Painted in this stage were the transmission adaptor metal parts. the Idler Wheels.....I now install the gearboxes to the metal hull. This way any modifications have to be engineered around the key moving parts.I use MR RESIN primer. I learned from preparing resin parts in my static kits that paint can often choose to leave the surface of a model at odd moments. This provides a good surface.....and the Drive Sprockets. I set these out to dry for at least twelve hours ands began assembly by mounting the Gearboxes and installing the return rollers.We tend to forget resin is a chemical process that may not be finished. I continue with the painting of my turret by finishing the can of light earth and moving on with a can of dark tan.The Transmission cover gets the same treatment. This part really looks sharp.Rocker arms get first coat of paint.As other projects take time to dry I place the upper hull to test the fit and make adjustments.Bogie wheels get painted. I tend to line them up to maintain the correct count. Saves time later.This modification is a must for smooth operation.Here is my technique for placing the bearings. I use an old crimping tool to place even pressure on the bearing.I assemble a shock absorber.I tend to paint them in the closed position in order to keep some metal bare for later.Bogie comes together.Mounted on the hull. My bear metal patch on the shock looks good later. It is not 100% accurate but I like it.Completed suspension side.I begin the upper hull by grinding out the areas where the upper and lower clamps will go together.Common flaw is the traverse mechanism. Usual solution is to glue the clutch to add tension to the process.Underneath I add the traverse guides.Next phase, turret innards. Traverse ring, elevation unit, and the metal brace for all those parts.More Dryfitting with the turret. A gap has formed between the upper and lower halves above the transmission cover.James sold the tank to Jeff, who sold it back to the builder, Ethan....Still a great fighter... didn’t win this time though.The only major defect of the upper hull is the large bulge near the bow machine gun. I kept looking at it and decided to grind it dow and fix the location of the mg ball turret.And the hatches.I ground a little much and added CA. I will feather everything together with some epoxy putty soon.I drilled and pinned the travel lock.I also began adding the turret detail.Track tensioner gets metal bracket and the sledge got a real wooden handle.The shovel got a wooden handle, metal retainer, and the hold down strip. I am using generous amounts of CA to simulate the rough weld you see on the real thing.Shumo included a replacement for the dust jacket ring around the bow machine gun.An OD coat was applied for the December battle but more putty work and sanding was need to fair in the brush guards and finish my work on the front glacis. Now is the time to add other surface details.The rear plate gets a homemade styrene filler plate to give the plastic a better surface to attach to. Very thin card stock was used and my liberal use of MEK welded them in place. I borrowed some tow hook brackets from my Perhing parts box.TBU gets usual treatment starting with prime coat.Masked with Tamiya tape and painted with Tamiya NATO black.several light coats were usedVoila, so far so good. Next comes Glosscoat for the decalsBack on the bench for a complete over haul. VVSS, Recoil, the works!!!!Tank gutted of all electronics.