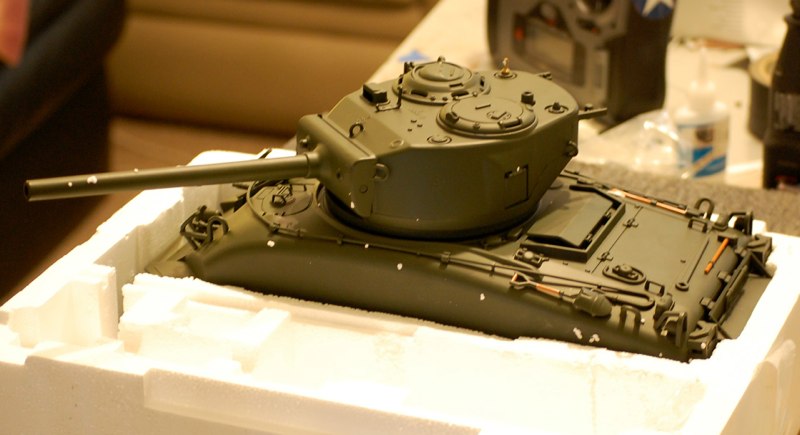
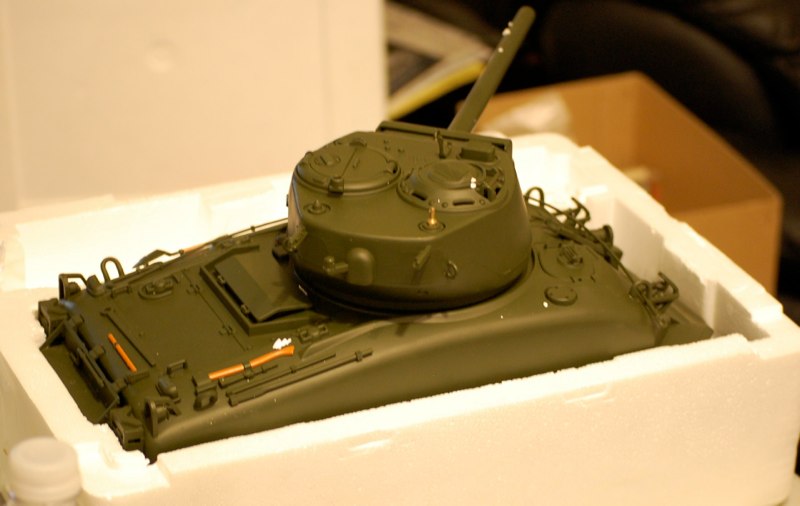
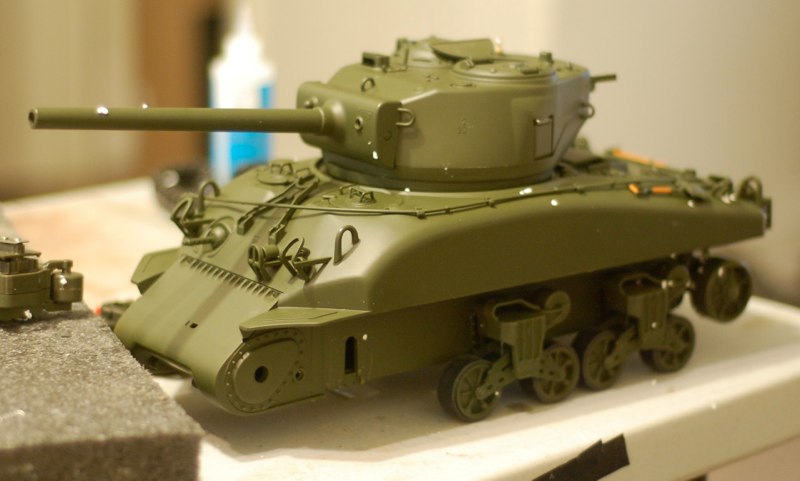
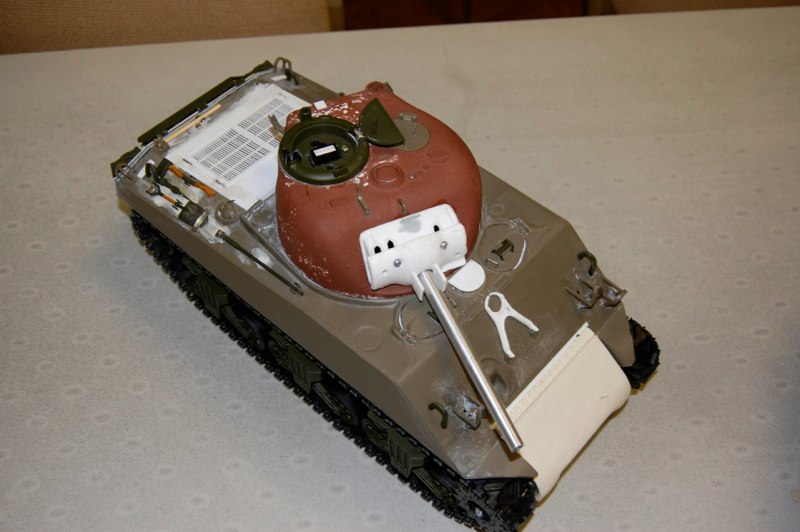
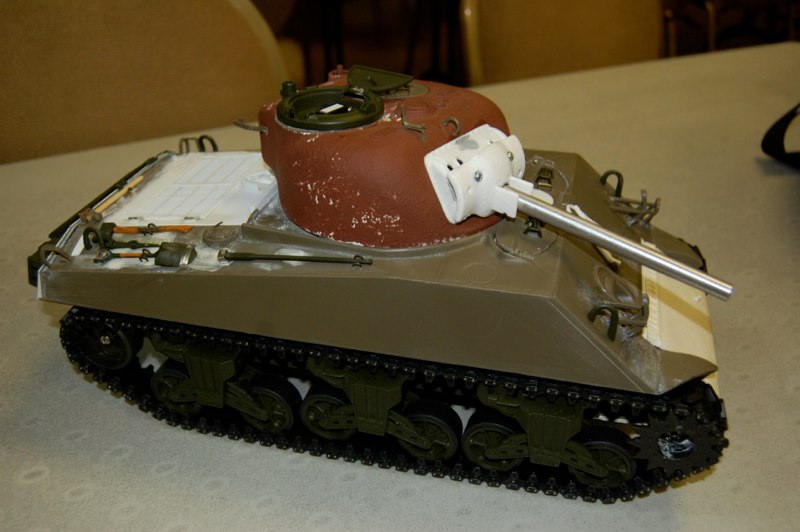
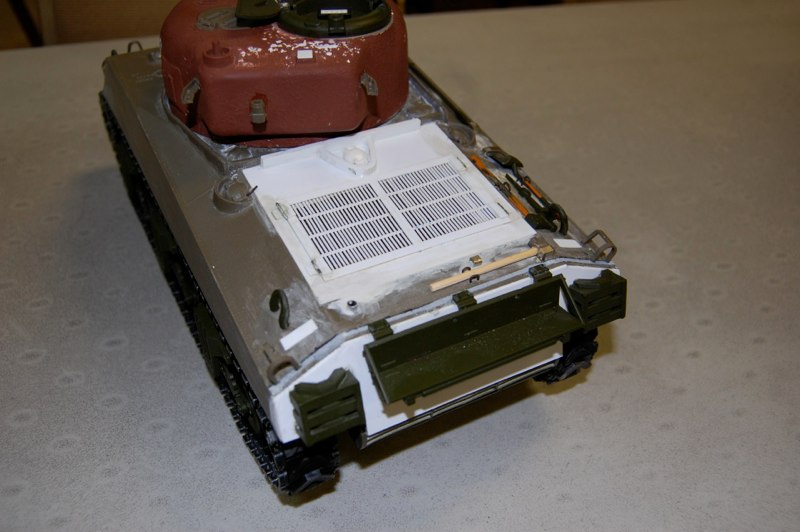
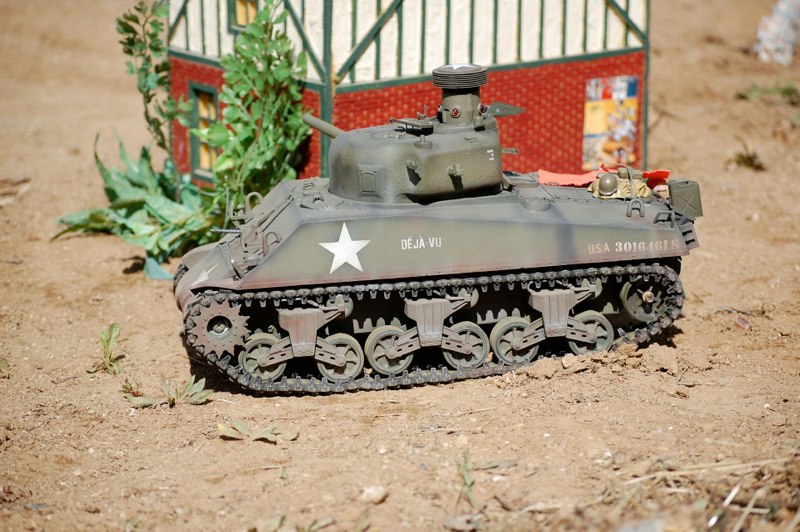
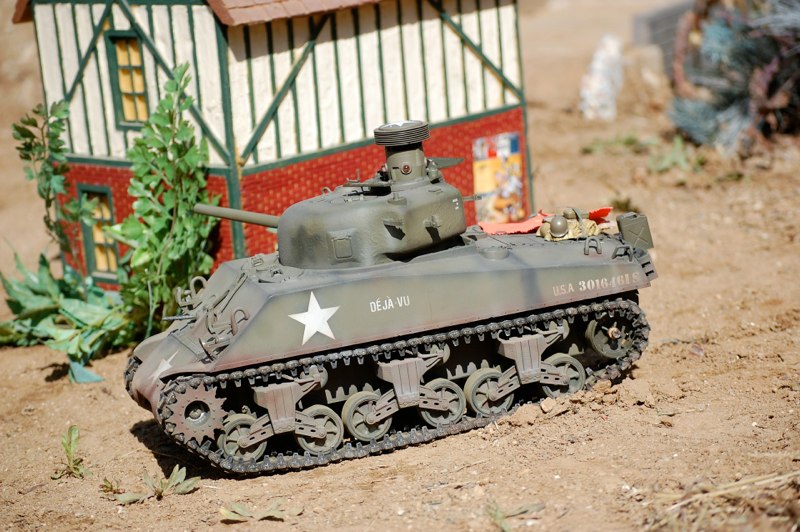
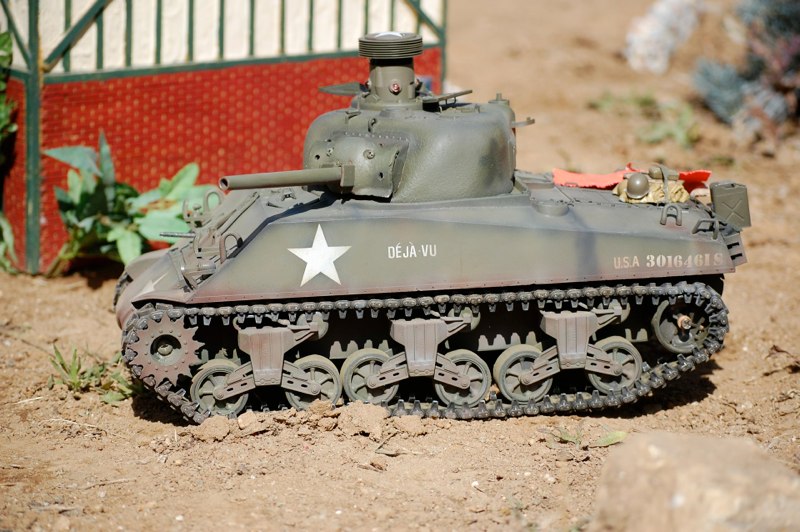
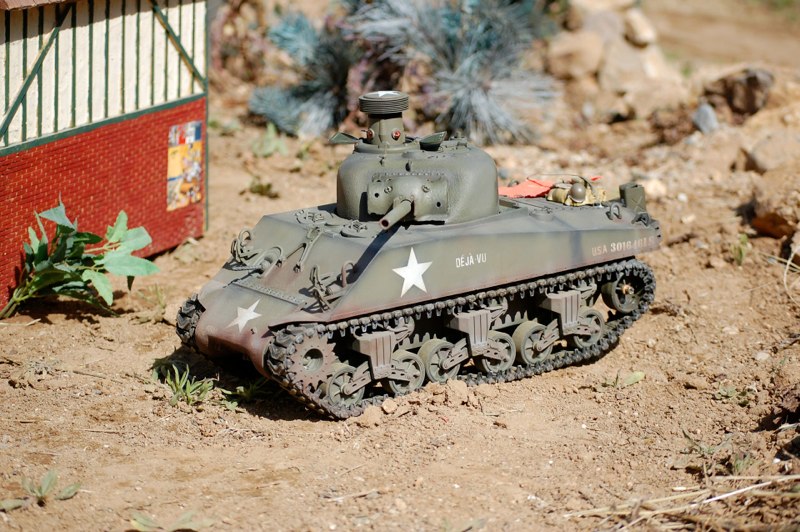
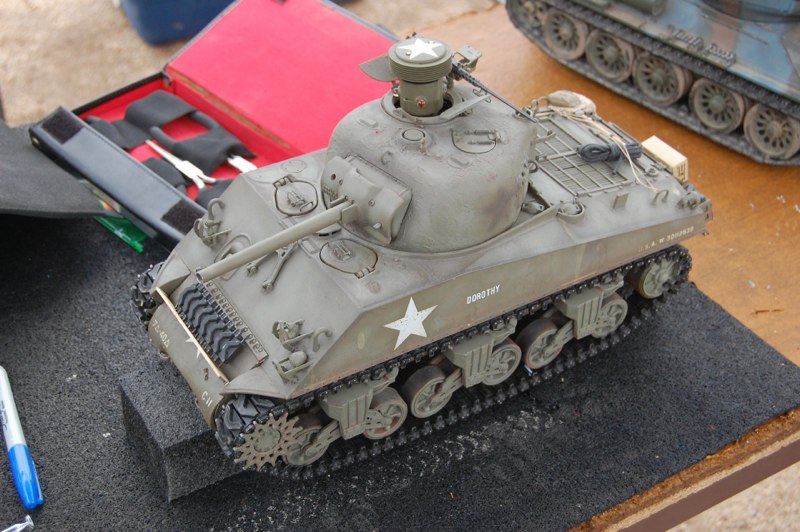
My previous M4A3(w)75 VVSS Build was both enjoyable and rewarding. It took Far longer than I hoped to get running but and Now it is my favorite vehicle (so far). At the Feb, 2010 battle other club members helped me get it running and admired it from opposing lines. as a matter of fact, I have been commissioned to build a similar version. I have many of the templates and parts ready to go, including our custom 75 mm turret parts, this should be fairly straight forward build.
What is needed:
MAto M4a1 for VVSS
Tamiya Kit parts for upper/ lower hull and turret
Tamiya Pershing electronics, recoil, and BAttle system.
Custom Dak 75mm Rotor Shield and Mantlet
Custom Back plate and Engine Deck.
Nick Aguilar Armored Transmission Cover and Air box
Spares box and Styrene
Building a Sherman for one of the Club
Initial Build
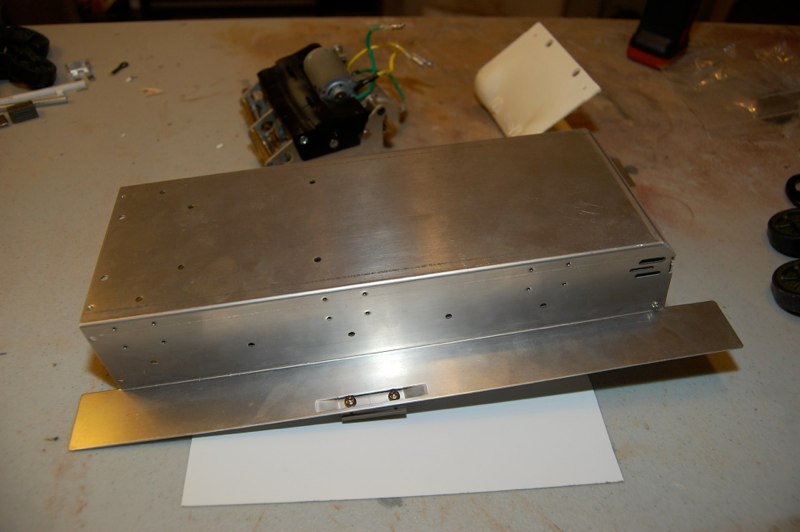
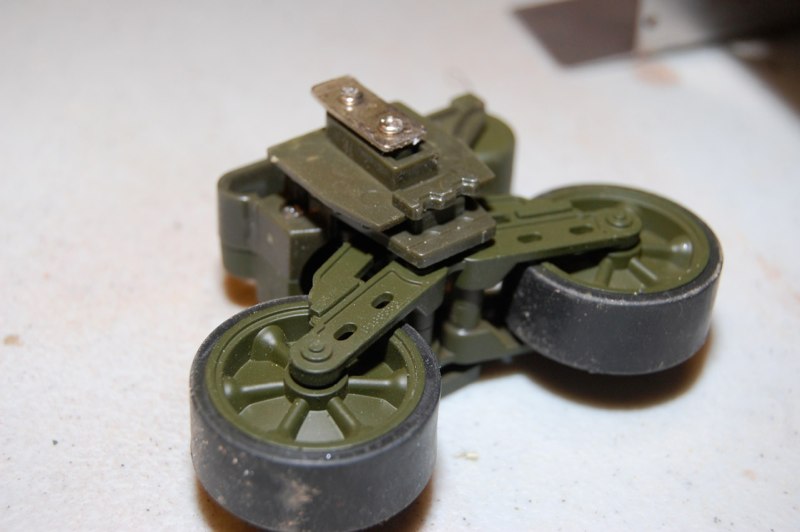
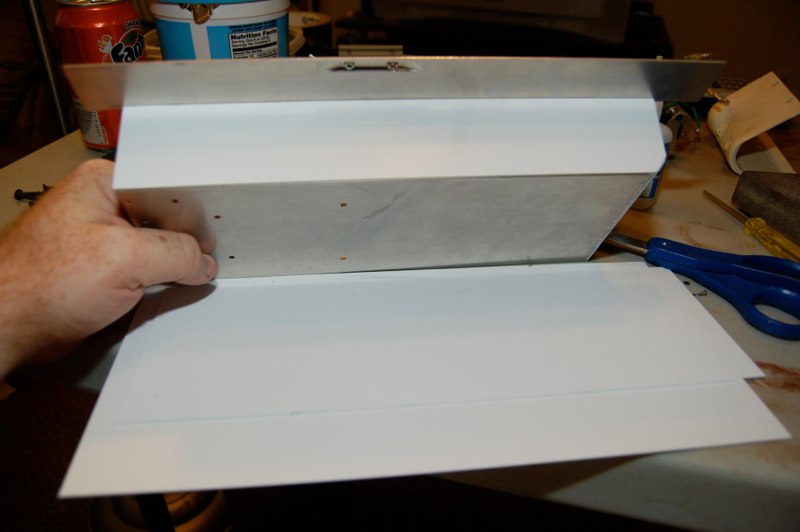
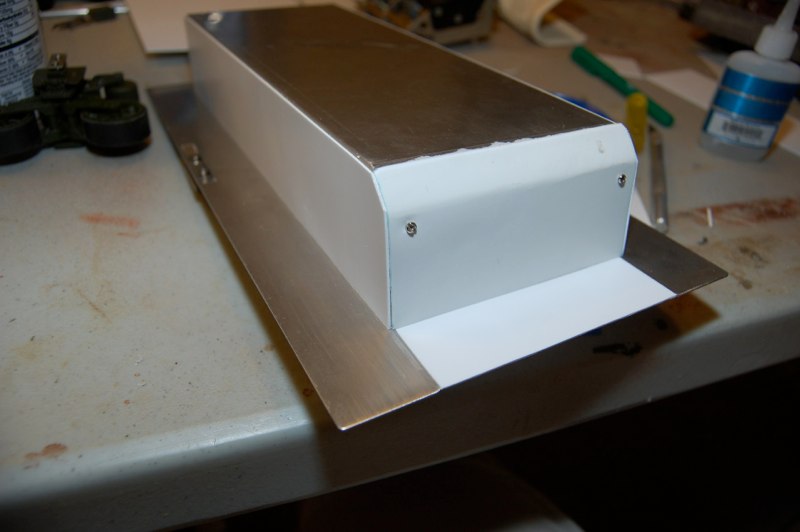
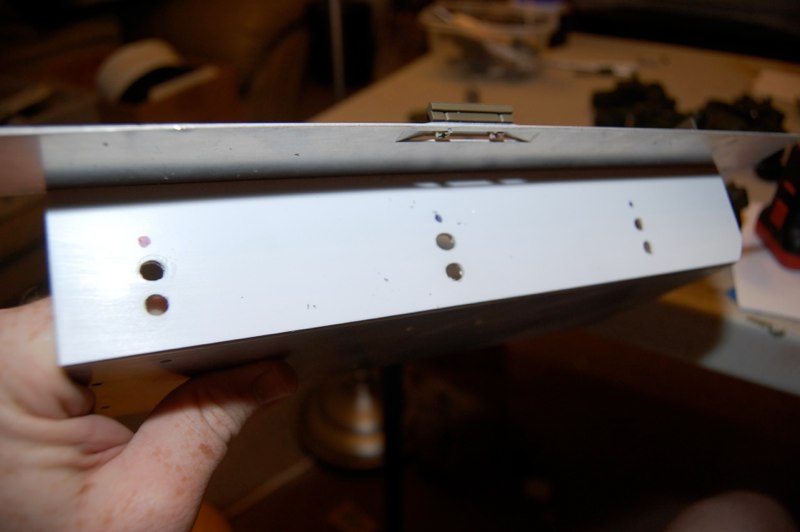
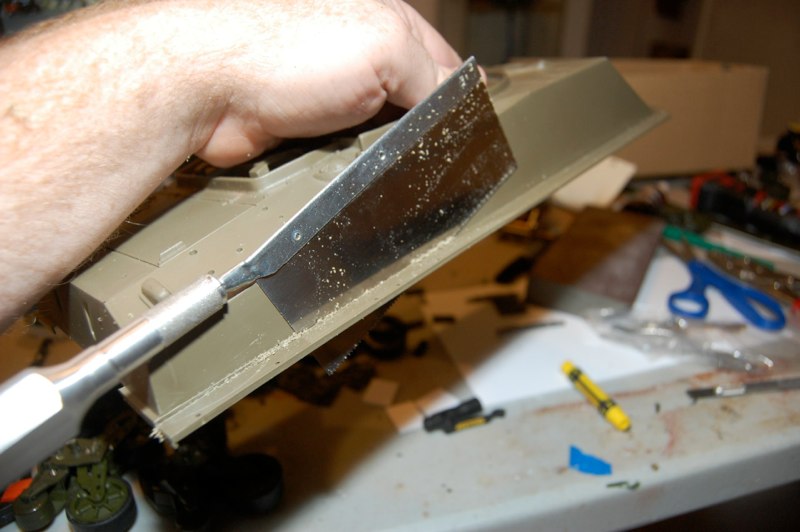
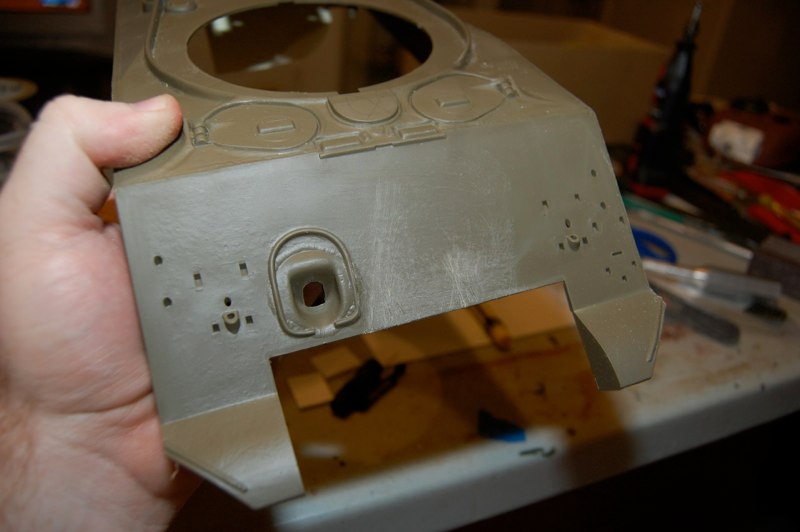
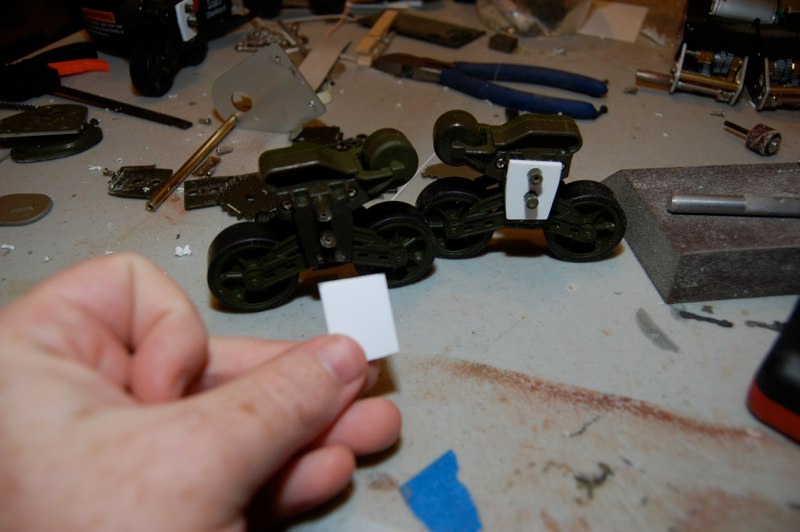
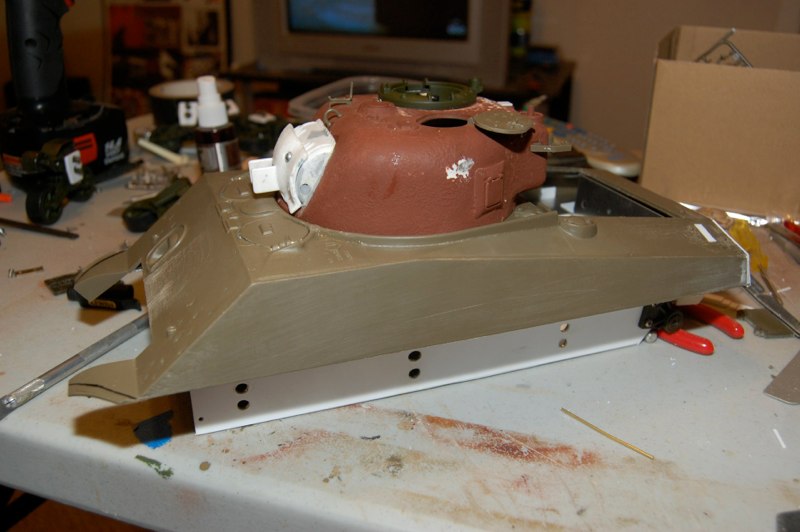
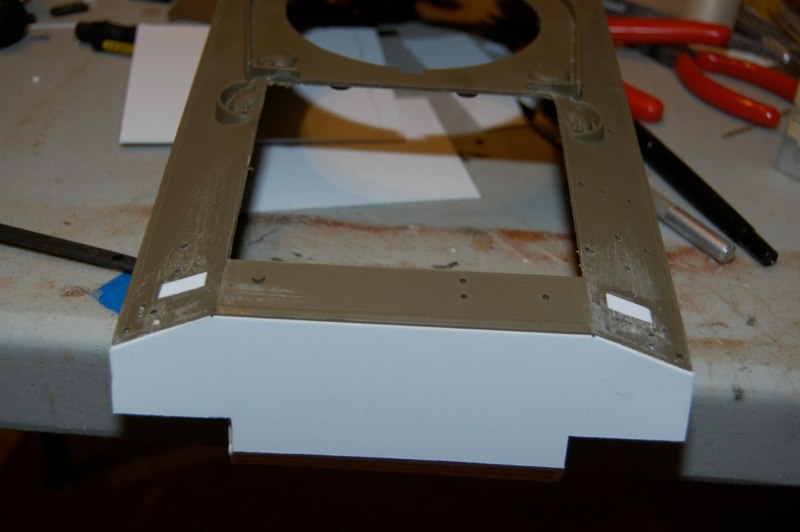
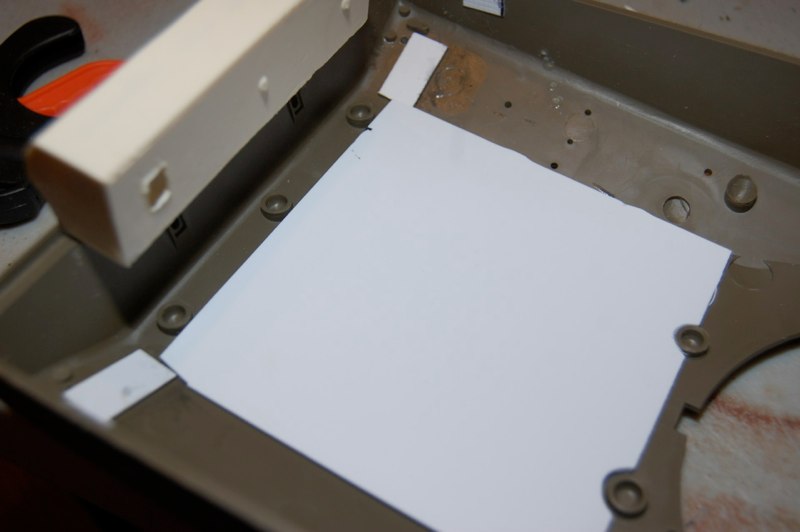
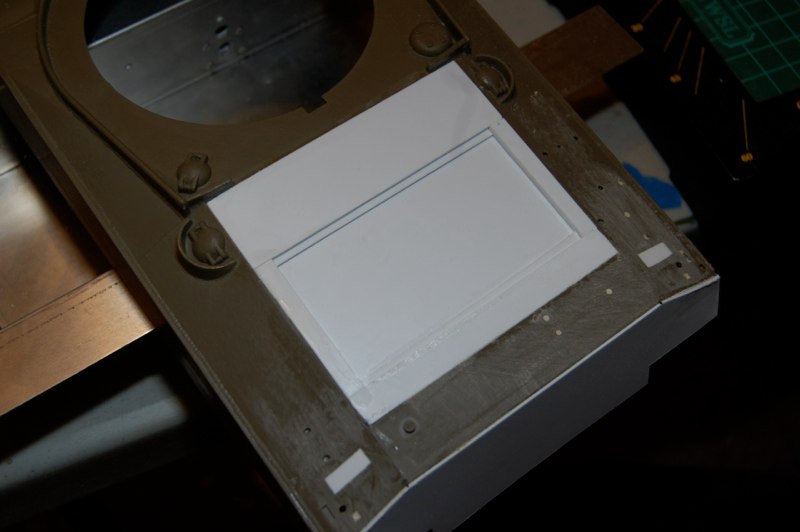
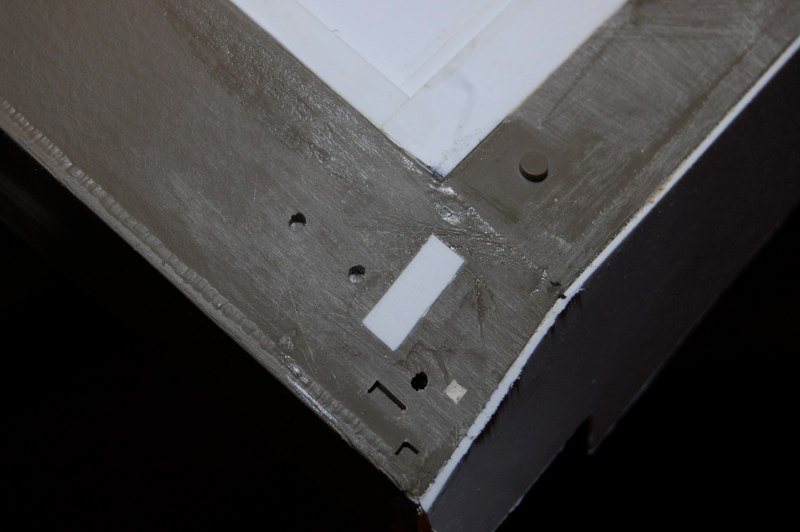
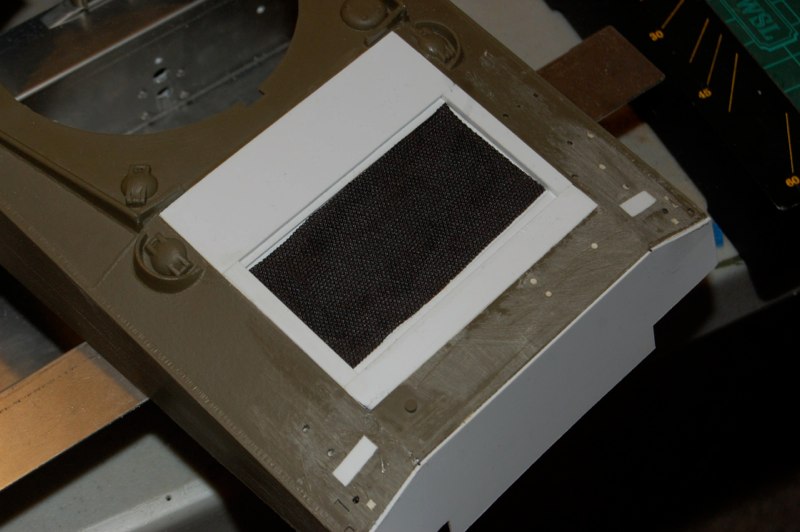
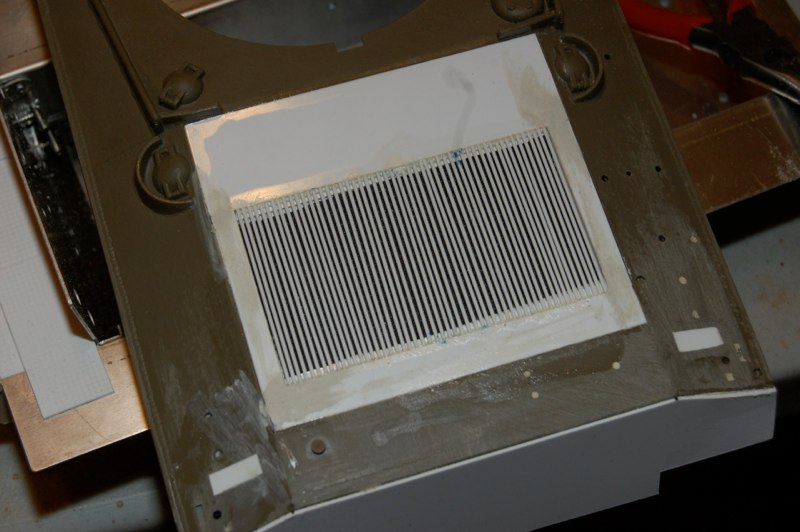
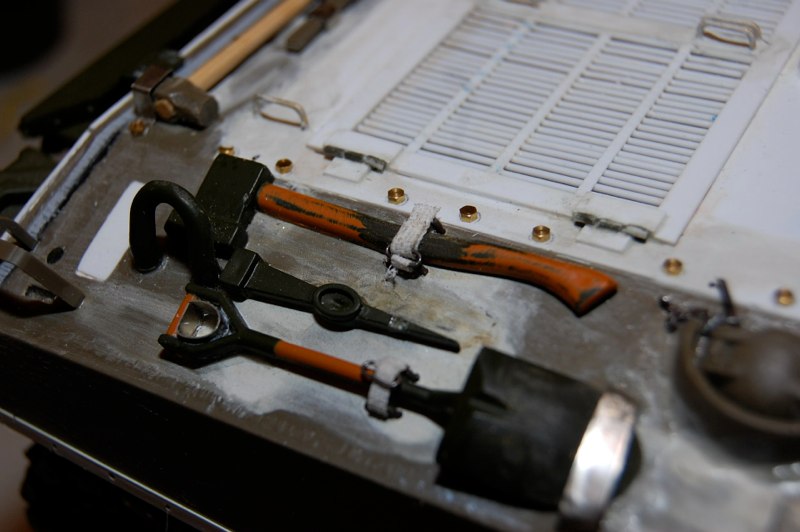
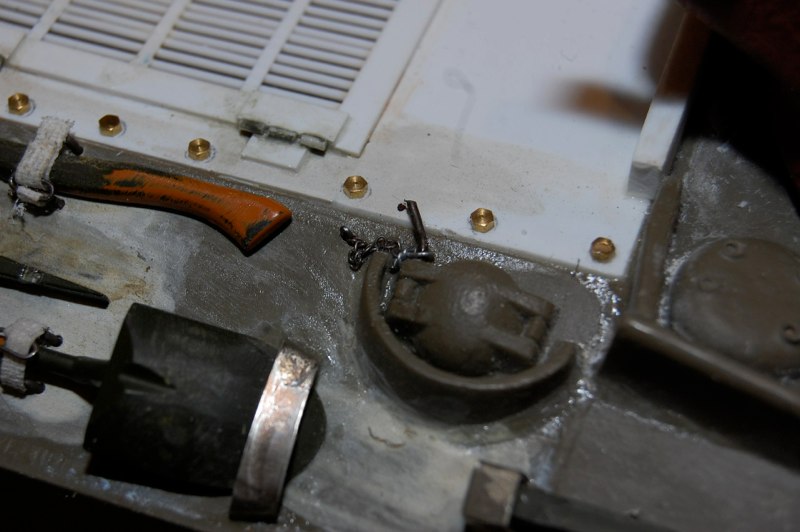
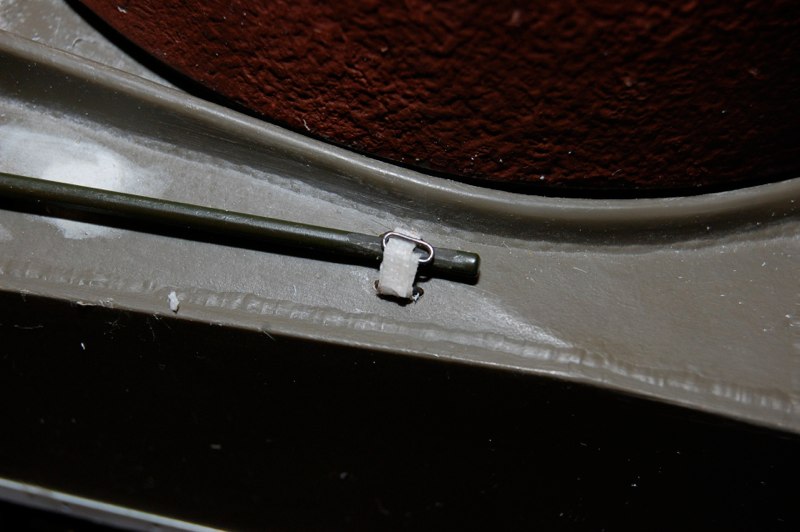
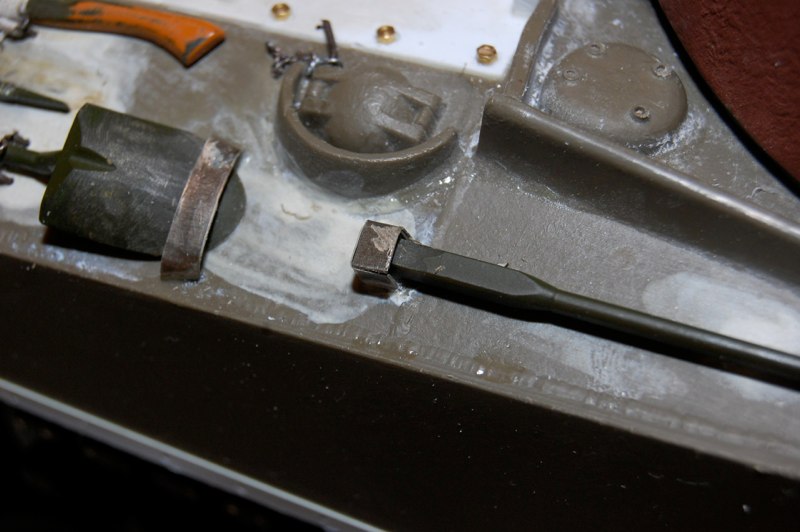
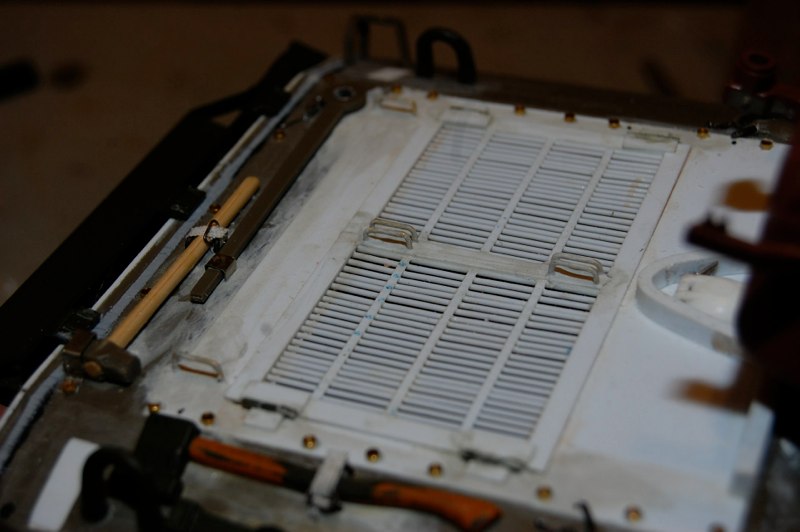
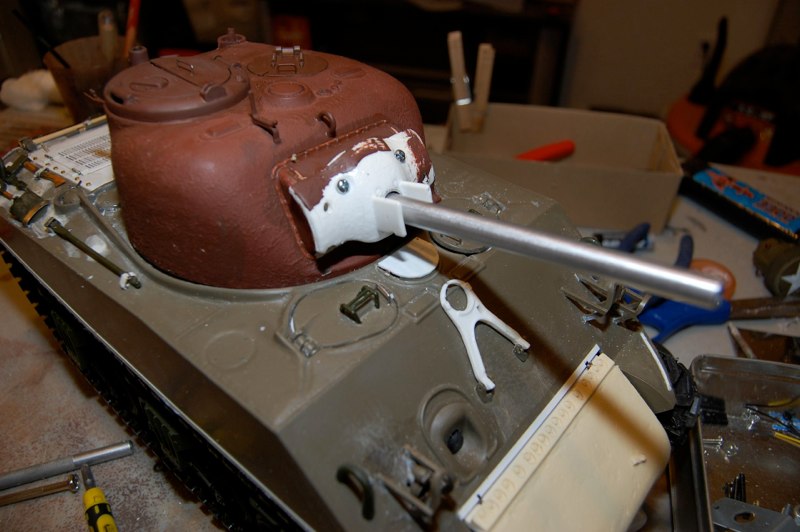
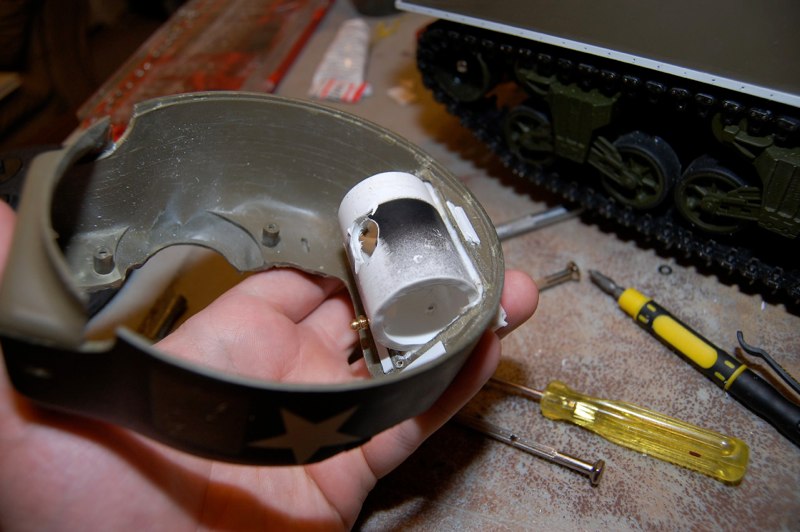
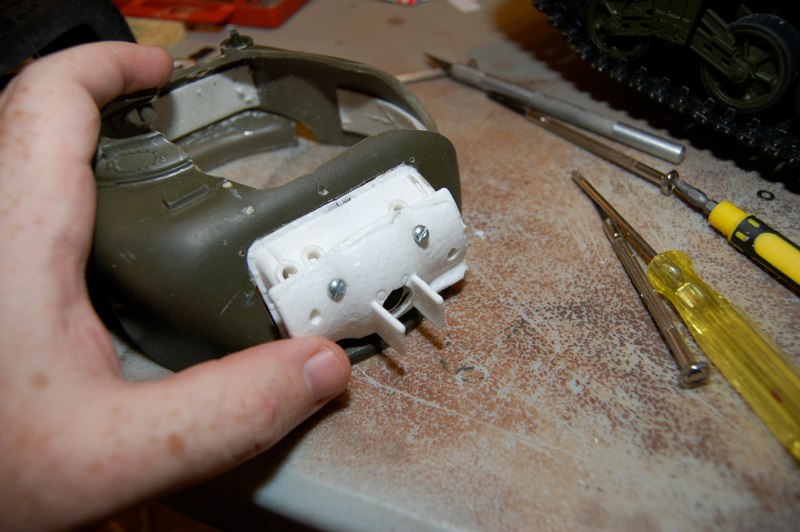
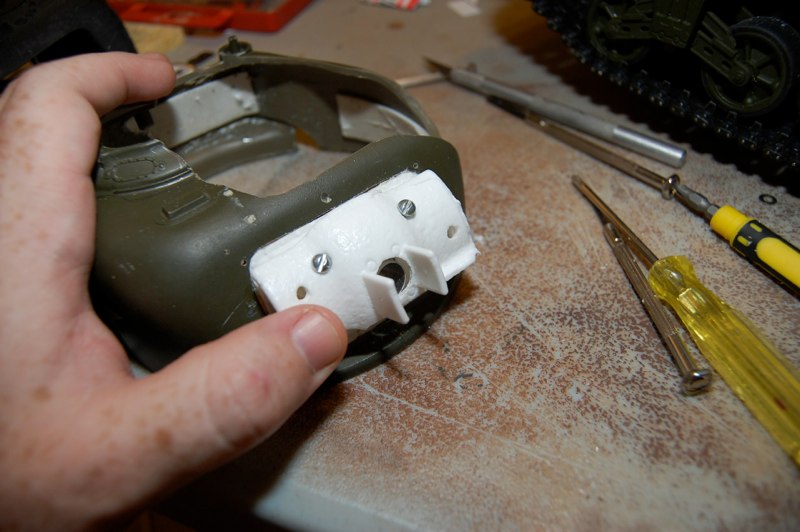
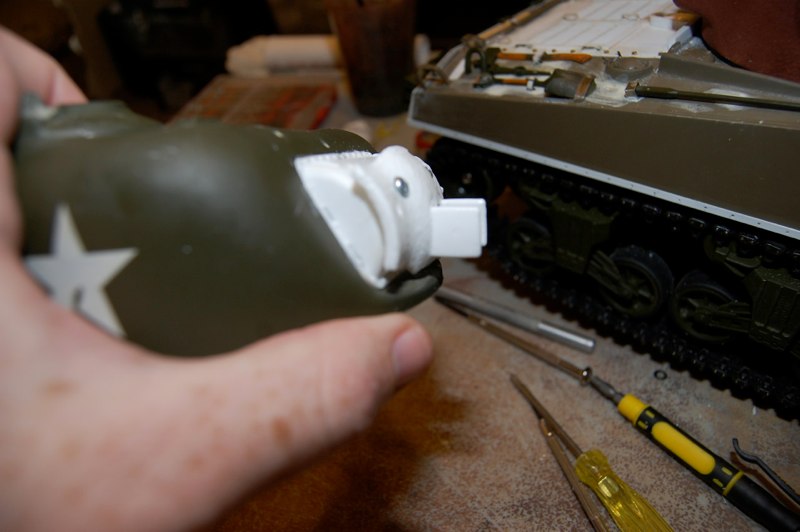
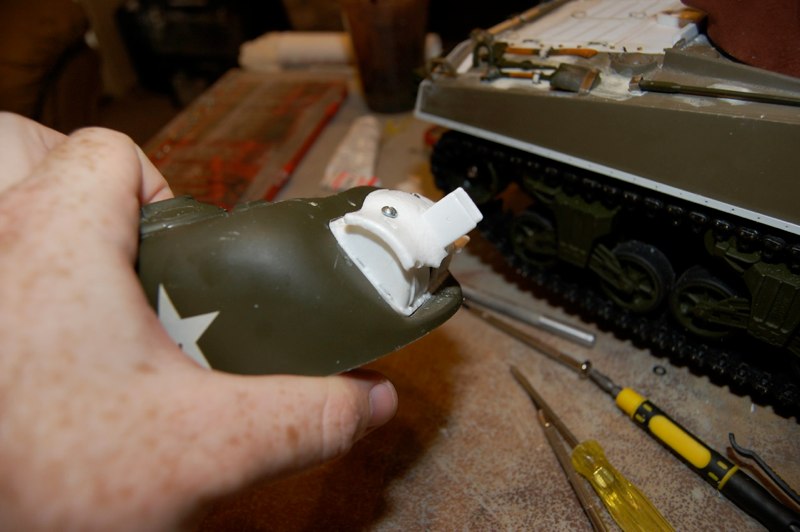
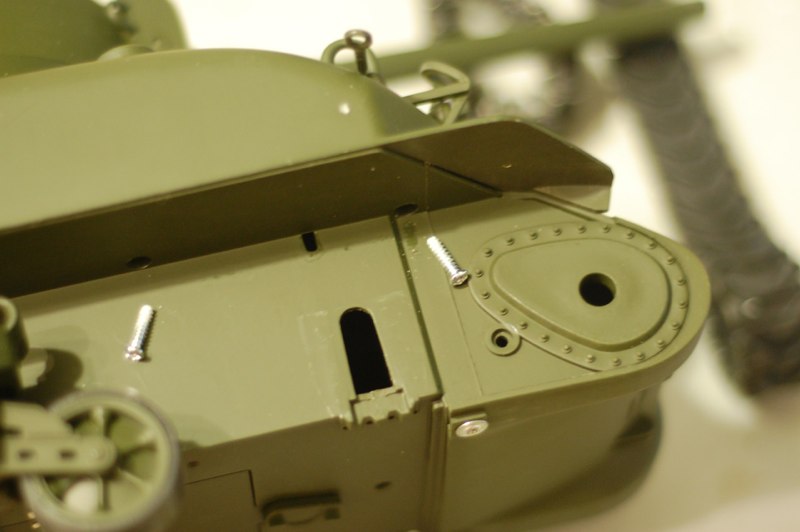
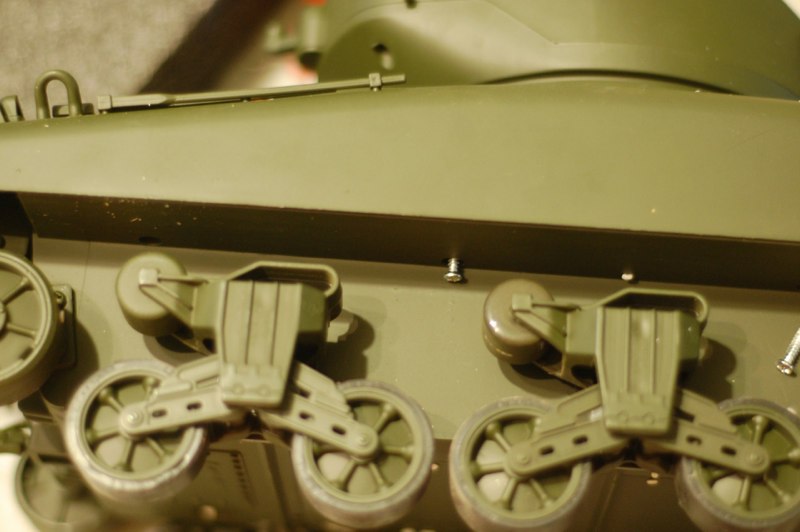
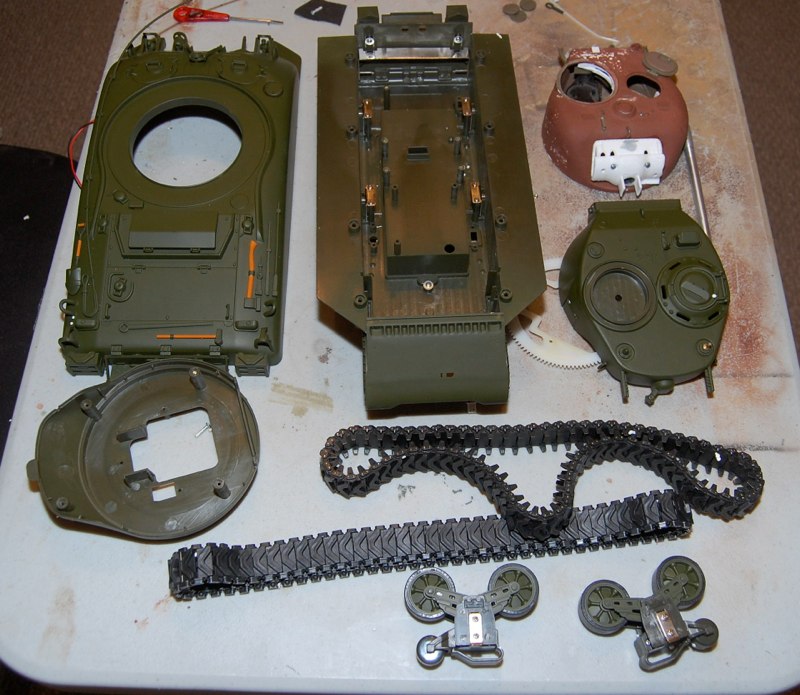
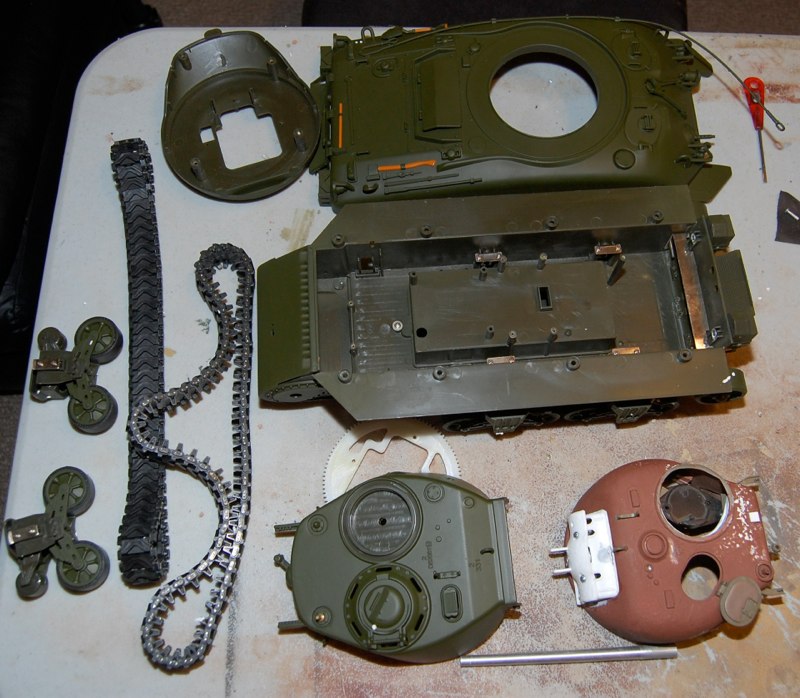
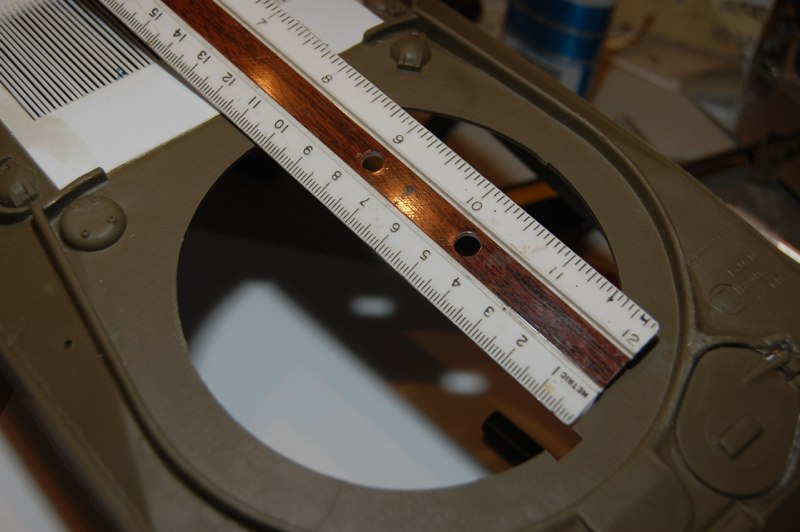
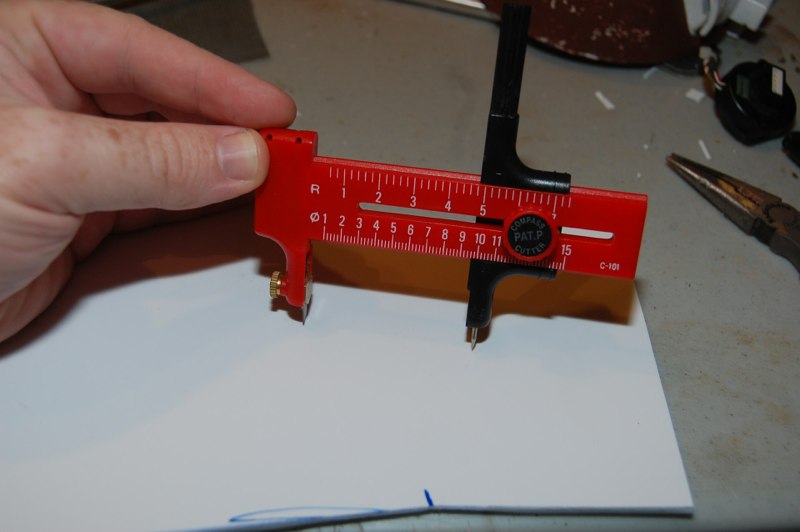
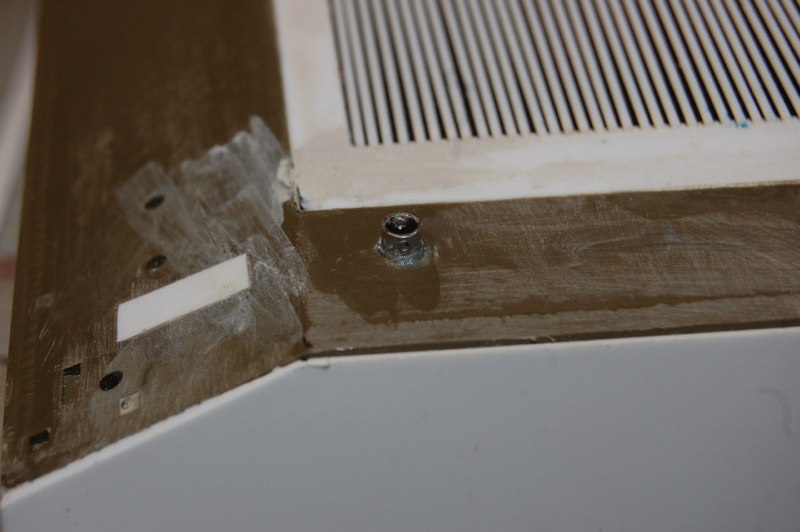
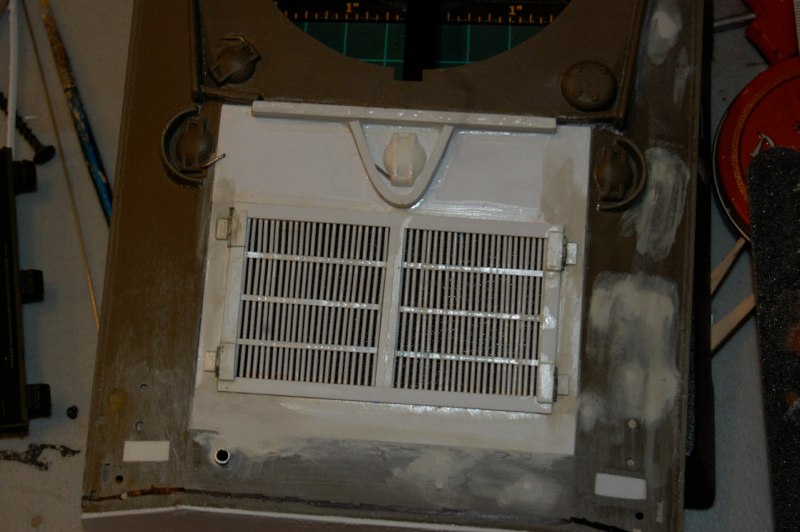
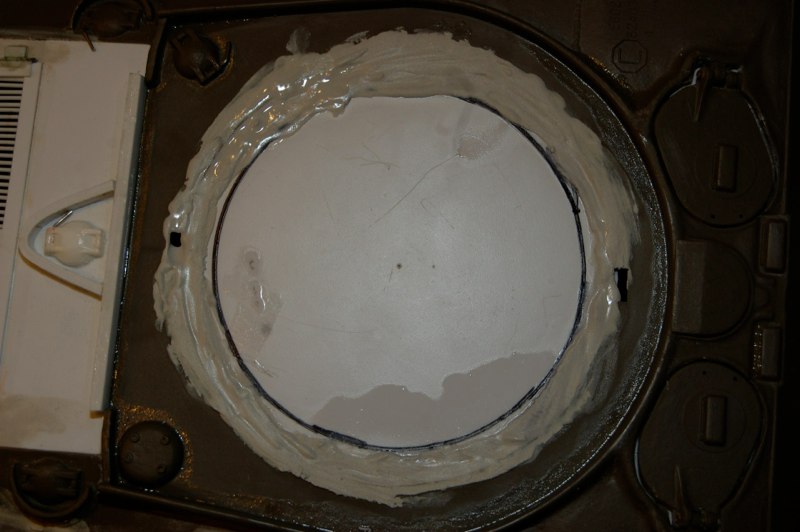
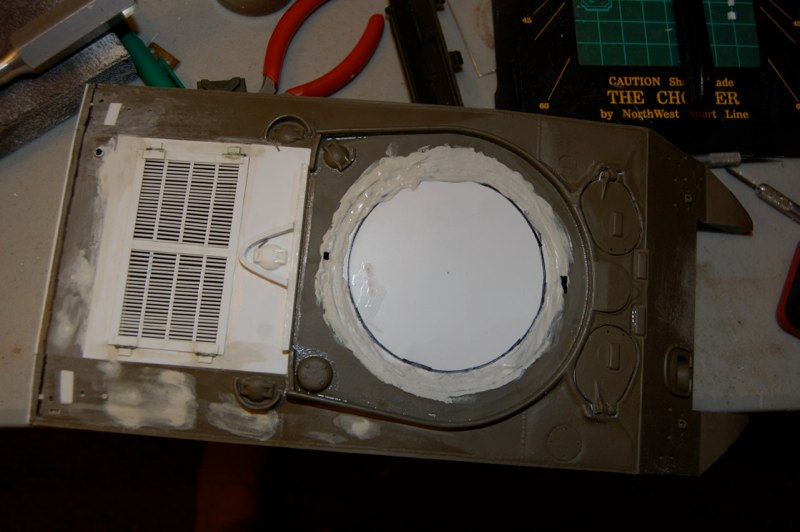
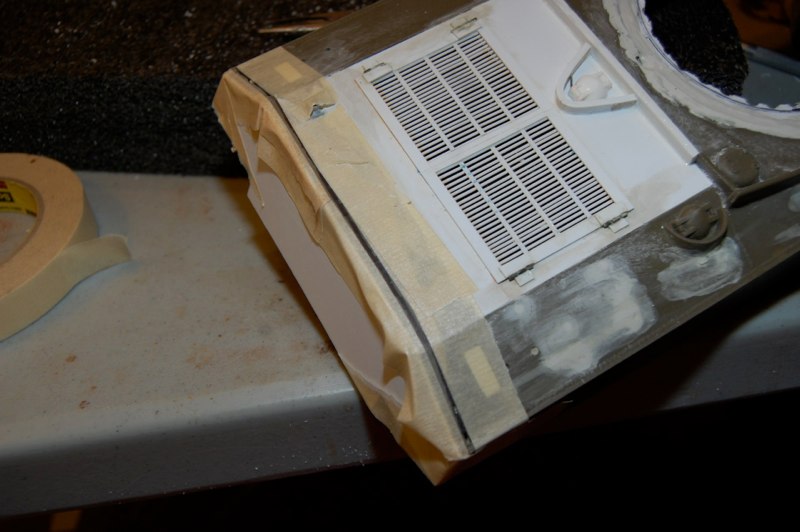
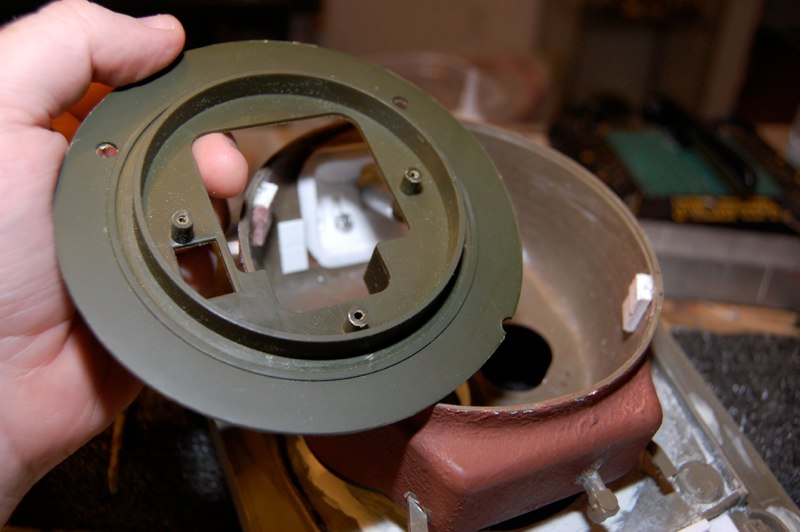
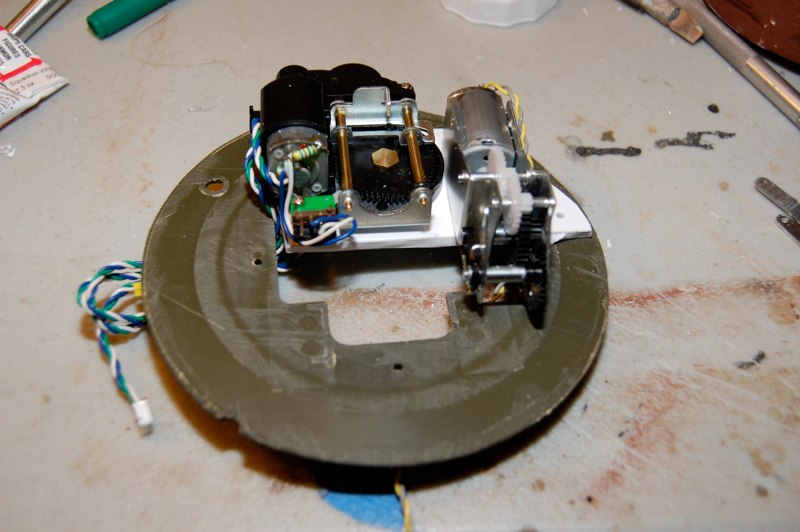
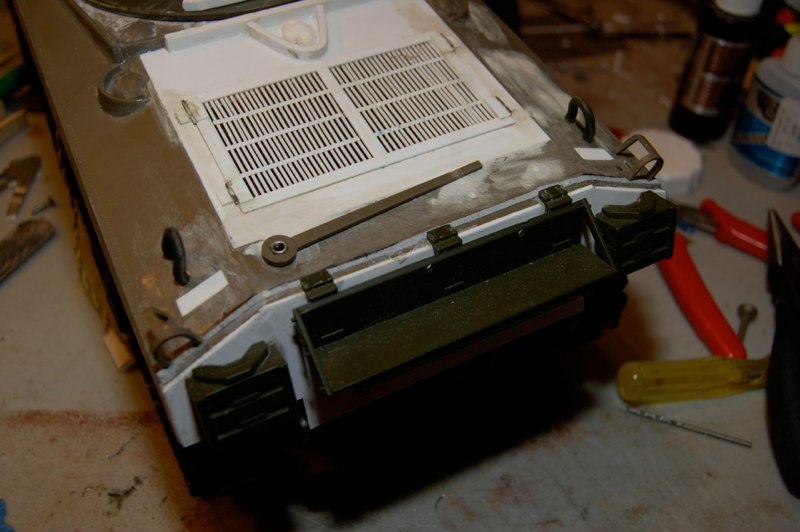
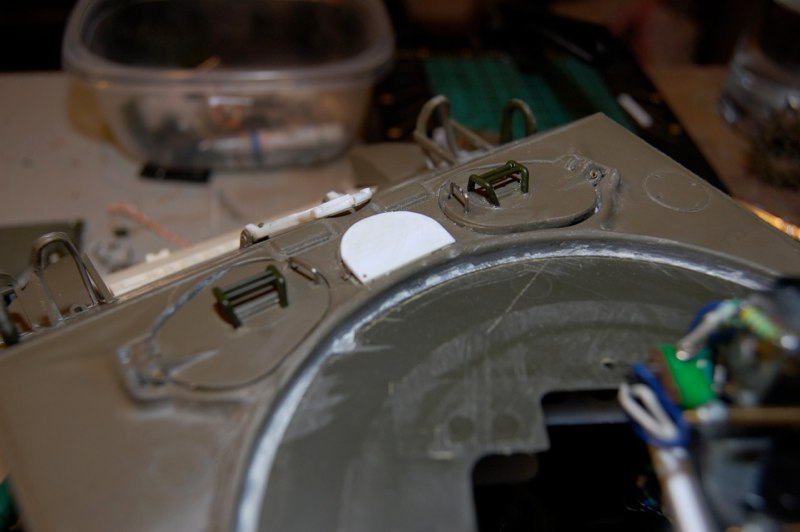
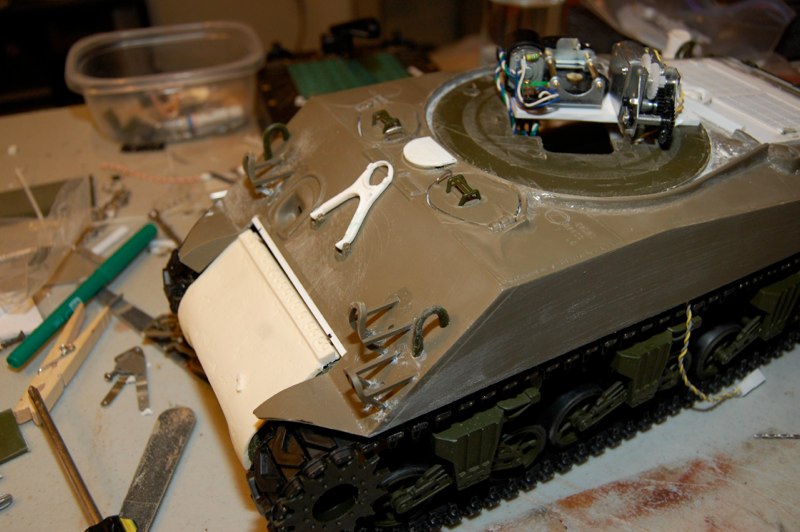
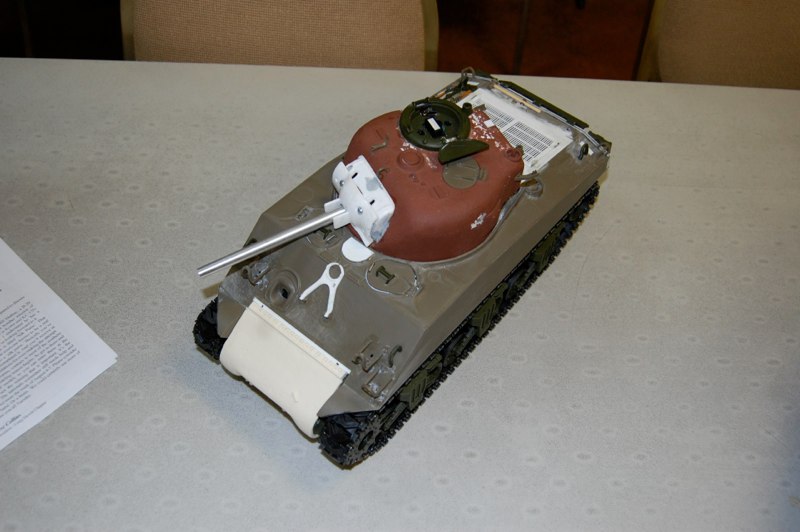
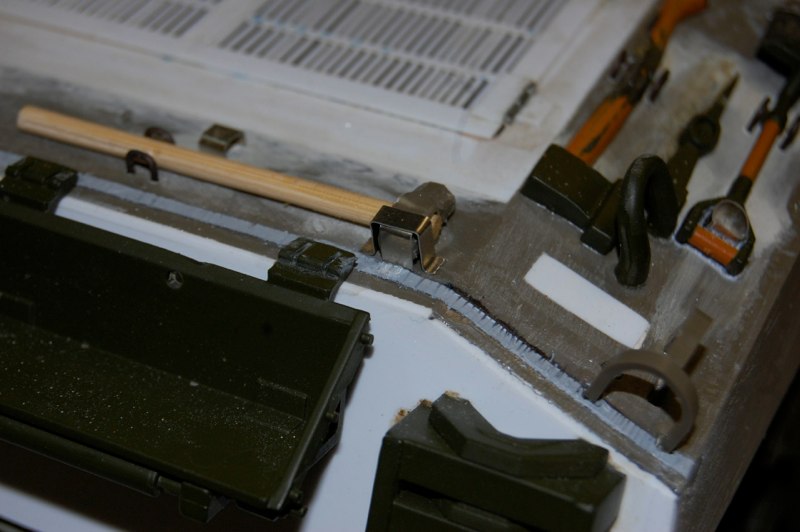
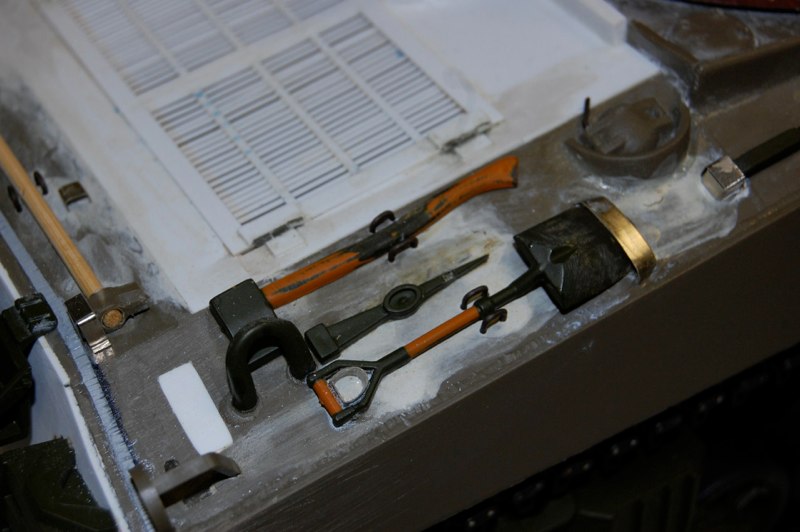
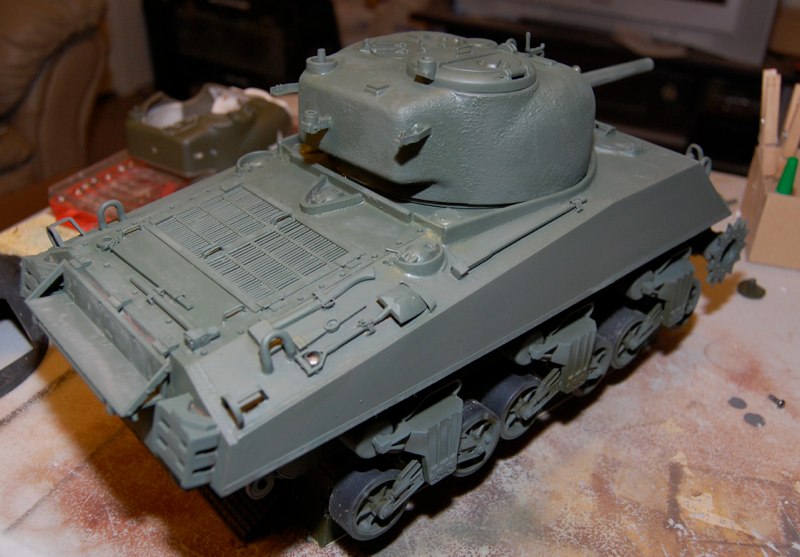
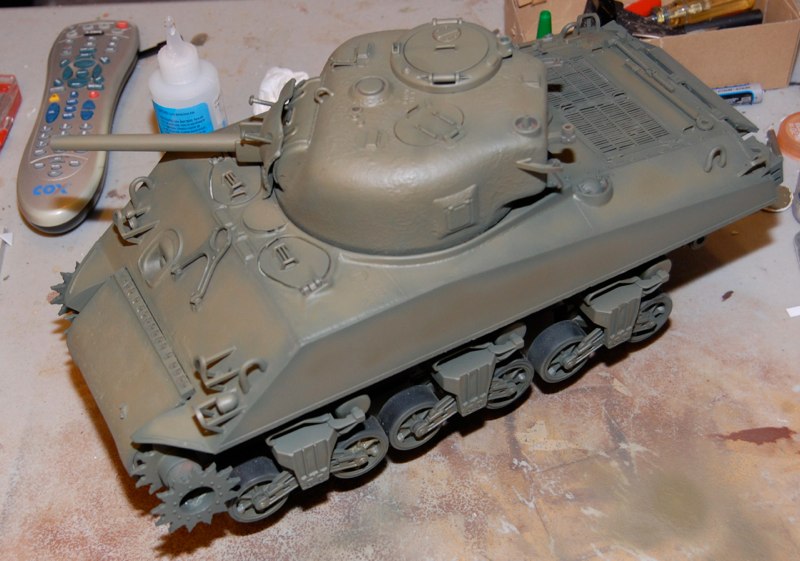
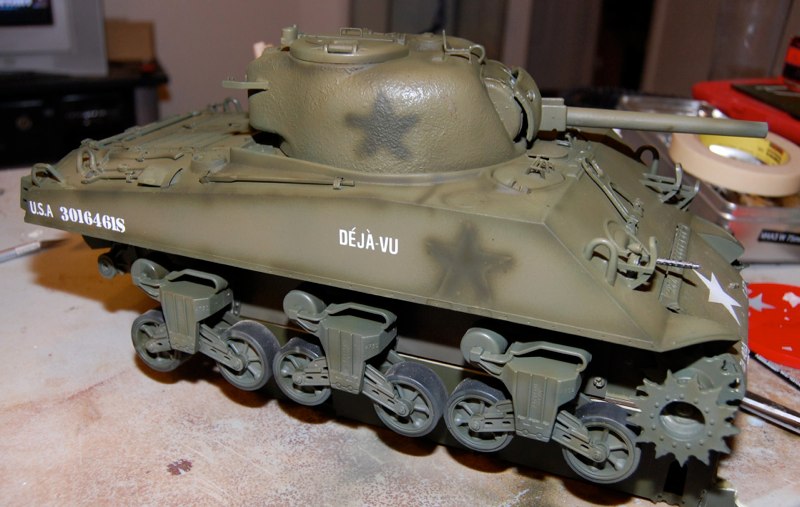
Hull pan has arrived. As this is my first build that incorporated the VVSS as the only suspension I plan to fill the existing holes by skinning the entire lower hull with thin styrene.The usual bogie work includes unscrewing the retainer parts and slicing the column off that will become the backing inside the hull.Skinning includes the rear. I usual skin the rear of my shermans to add a glue-able surface for the rear details.I always use the small screws to stiffen the hull as tamiya provides.sides done.Sanded and fAired in.VVSS locators drilled.Minor diversion as i prepare the upper hull. Side skirt shelves musT go!Razor saw used to relocate the gun cradle brackets as the 75 mm tanks had a different setup as the 105mm..60 sheet stock used to make the spacers to fill the void behinD the VVSS Suspenion.Parts dry fitted for a group shot! Looking like a tank!Rear hull plate added. M4A3 hulls had a different rear hull slope and exhaust arrangement. Engine deck also removed to accomodate the GAA engine grilles.Underside of new engine deck.Step made to fit grilles.hull grousers for exhaust vent filled in to replicate late model M4a3Speaker cloth added to simulate depth. Not seen is I cut a series of Channels to let the actual speaker resonnate.Rod in Place. Each bar is cut from evergreen .35 rod stock (#422).Straps made from athletic tape. Buckles made from hobby chain links.Fuel filler caps detailed with chain and pins.Straps look pretty good.Old Photo etch runners used to make tool brackets.Handles made from brass wire. Covered in testors putty for paint adhesion.Take reassembled fro paintingInspiration hit me for the elevation mount. I am using a piece of surplus PVC (from the club banner) to make a pivot inside the resin rotor shield.Angles are right on the prototype.Screws directly into the PVC, Adjustable, and removeable. Metal tube allows for the gun recoil.Depression OK,Elevation OKNow you may ask why am I starting with a cast hull M4a1? I’m not, just pirating the suspension again.I will pirate may of the surface details for later.OUt of the box and and dis-assembly beginsTo take the kit apart you have to remove sprocket, remove tracks and then undo the 8 screws below the hull sponsons.Two more to go.Sub-assemblies required!I already have a prototype Turret in Progress with the DAK custom Rotor shield and MAntlet. Barrel from Nick Aquilar.Measuring the opening for corRect diameter.Use a circle cutter to make a pilot channel.Customary detail, replace the Idler adjustment wrench bracket with aluminum tube.Bullet spashguard in place with extra fuel filler cap from a surplus hull. I will add the chain retainers closer to painting.New Idea for traverse. I filled the Tamiya turret hole with .60 sheet cut in a circle. I marked the turret diameter from the Mato and began to cut it with my Circle cutter.Oh yeah, to make a smooth surpace I puttied and Ca-ed the surrounding area and went to work with wy sanding implements.Simulating the new weld bead on the rear of the tank. Masking tape and then Tamiya putty. Notice I puttied and filled all the equipment holes.scavenged turret ring from the mato Sherman. CuT down to fit inside Tamiya 75mm hull.Lower portion of turret ring in place and functional.I made a ledge for the recoil and elevation to sit.Change of pace... Start adding the Tamiya brush guards and some accessories taken off the Mato. I am using their lifting lugs as they are more scale.Ventilator and Hatches get the treatment.Nick aquilar resin trans cover added and travel lock pinned and workable.In progress tank brought to local IPMS club meeting for a meeting of the minds.Starting to really come together.Almost ready for the primer coat!Tools and brackets underway.Once again old photo-etch runners and wood handles added. This tank will get the overall OD on the tools as that is most common.I need to find some good buckles!
Painting and Detailing
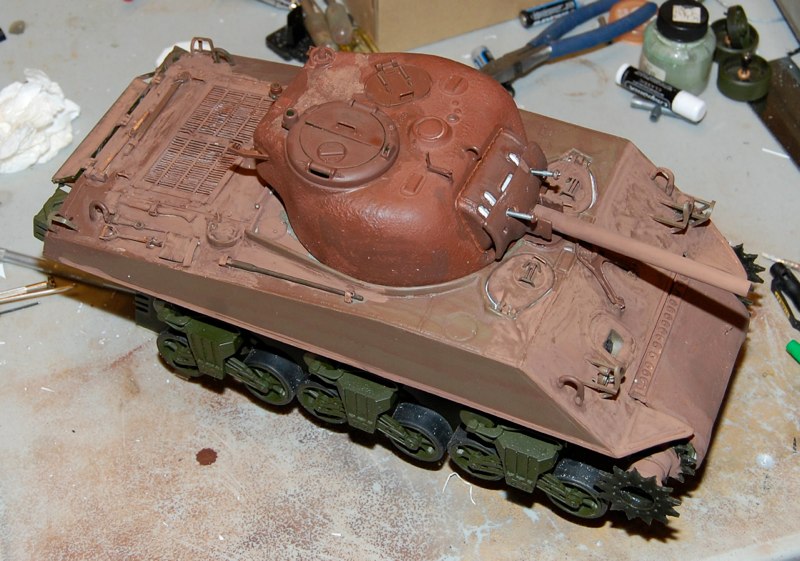
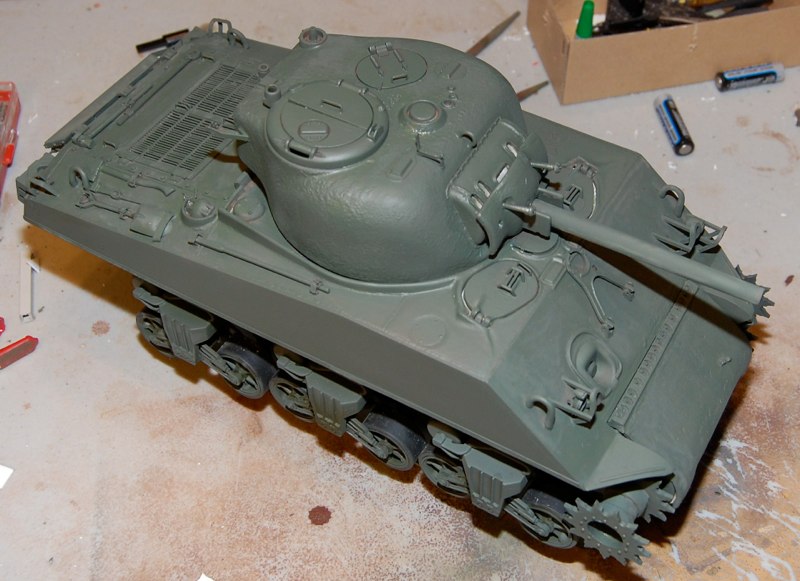
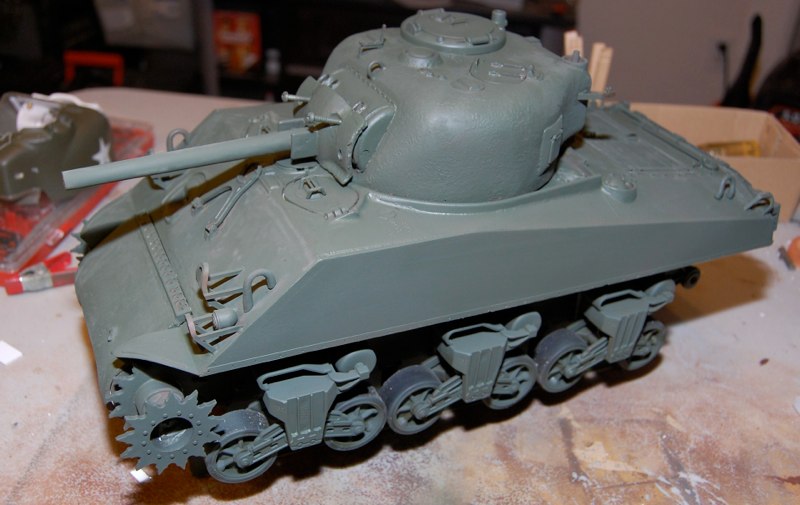
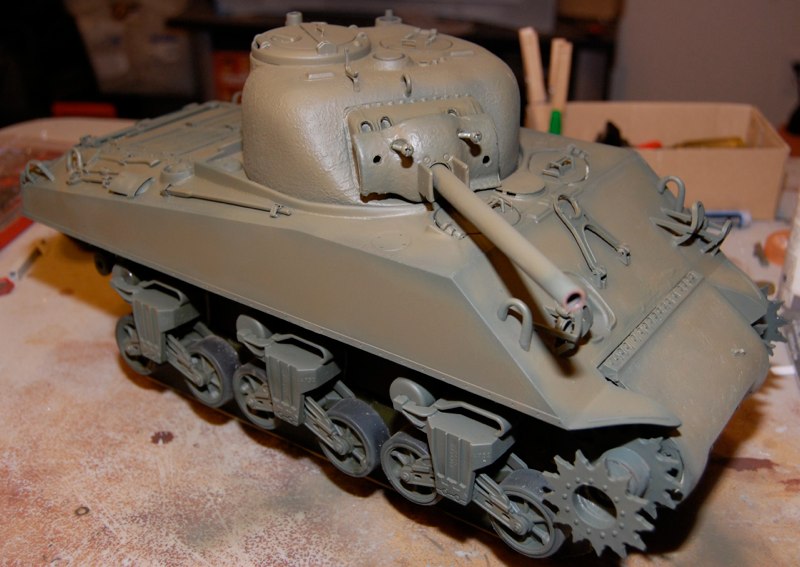
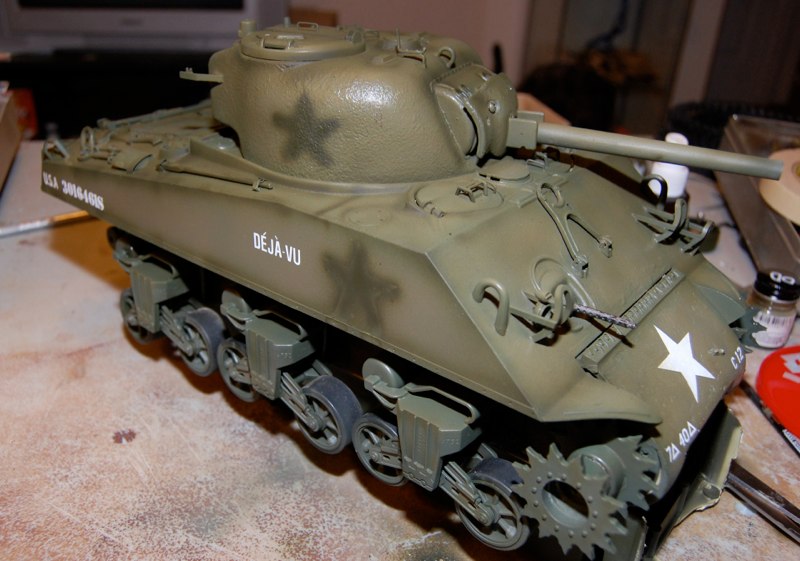
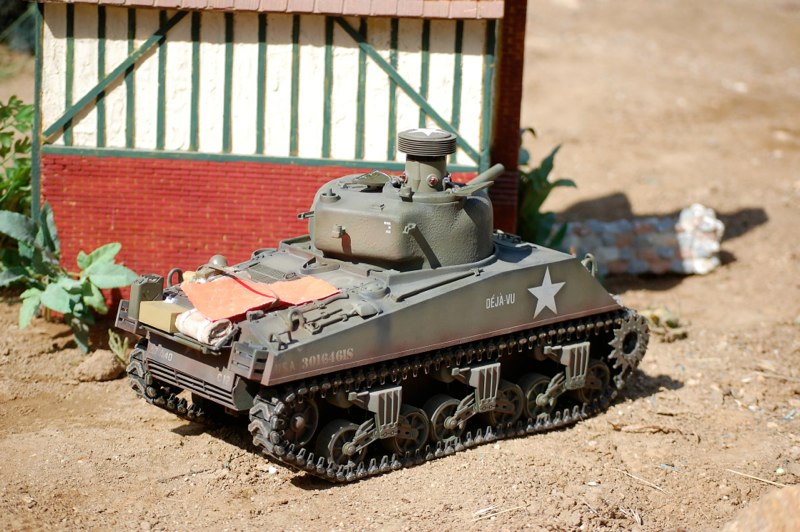
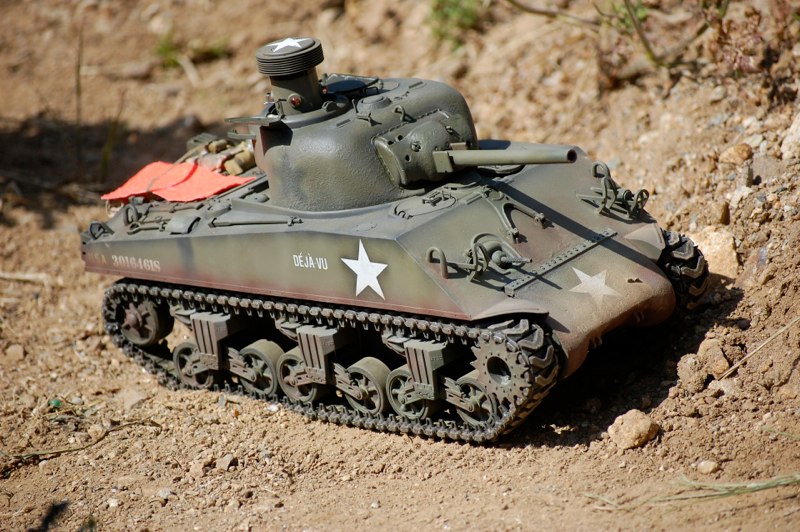
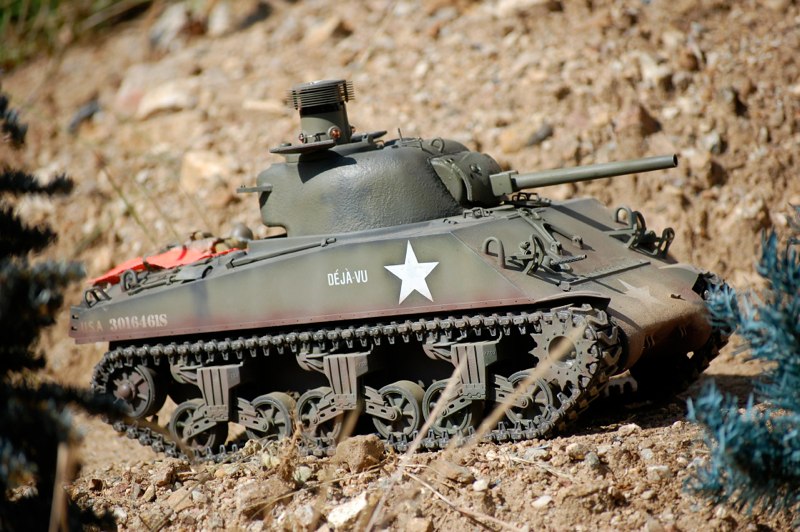
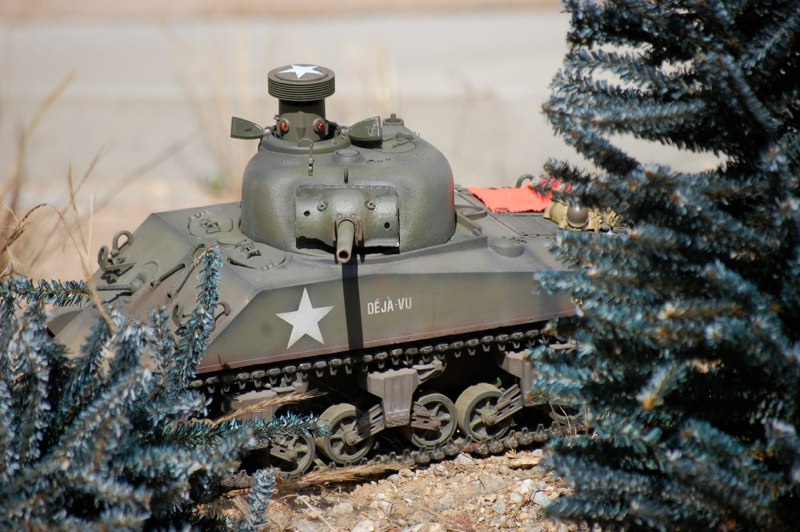
Tank upper surfaces get Brown Primer (more of a thick wash)This time I am going for a slightly greener Hue, I found out my personal version of OD was too GRey.Tank sprayed over all in tamiya field grey.This is a good color for russian and British vehicles.Next I cover in my testors OD. I am using a color modulation technique and a pre-shading pattern. Basically I fill in the center of the main panels leaving the edges darker. This adds depth and cointast to a monochromatic vehicle.I continue the techniquE on the lower hull and Suspension.After some more Post shading witH Tamiya OD, (XF-62 apparently is a good match for wartime OD but I like a more faded look) and a Tamiya clear laquer coat, I applied tamiya decals and dry transfers.The request was to “copy Dorothy” but I wanted to make a few subtle differences. I marked the same unit as my Great Uncles (7th armored, 4oth Tank battalion) and named it Deja-Vu for obvious reasons. I masked the painted out star regions and used Tamiya OD.
In Action
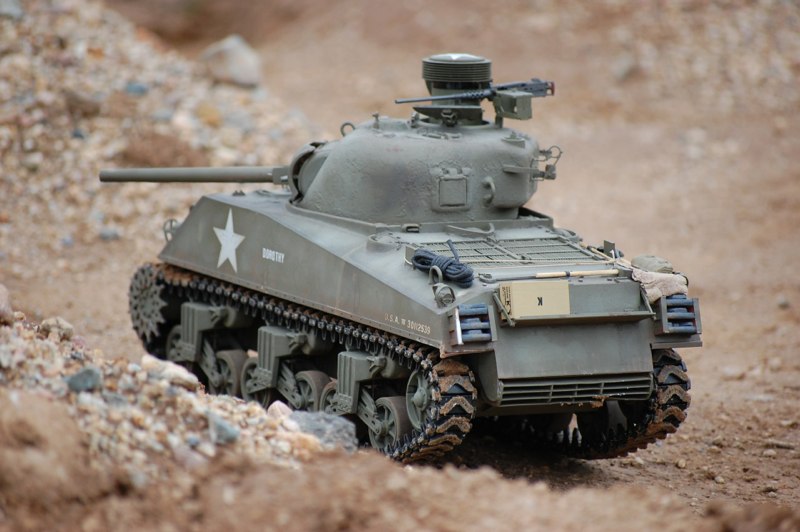
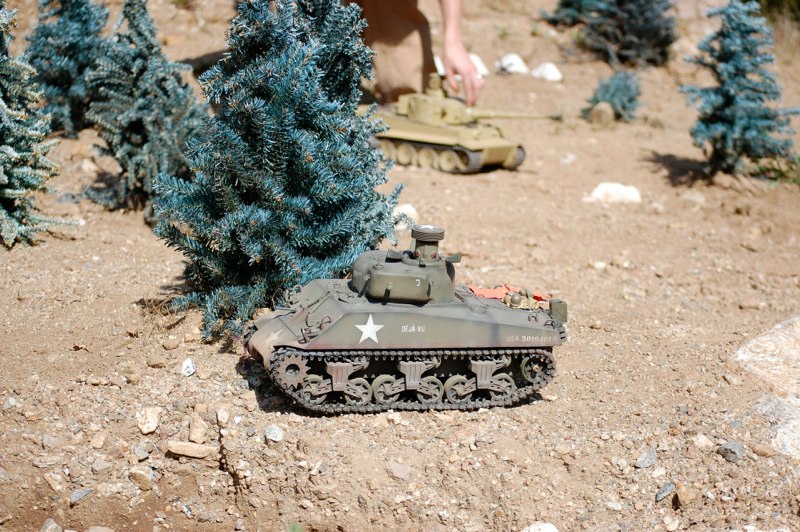
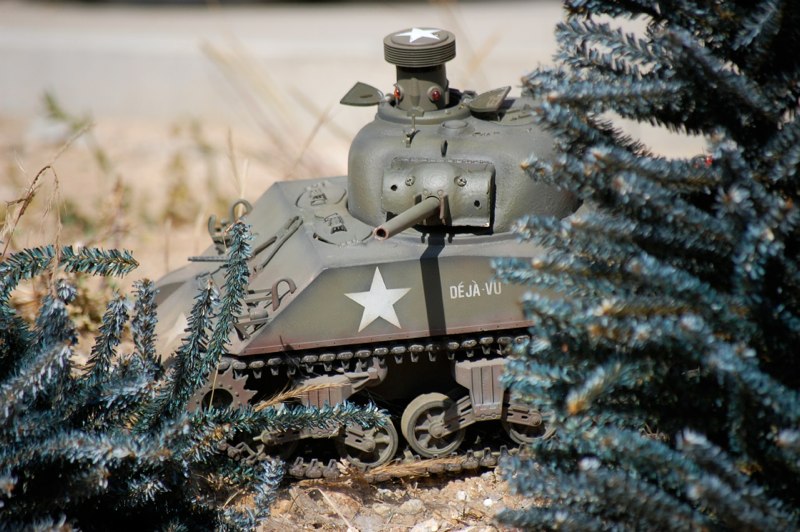
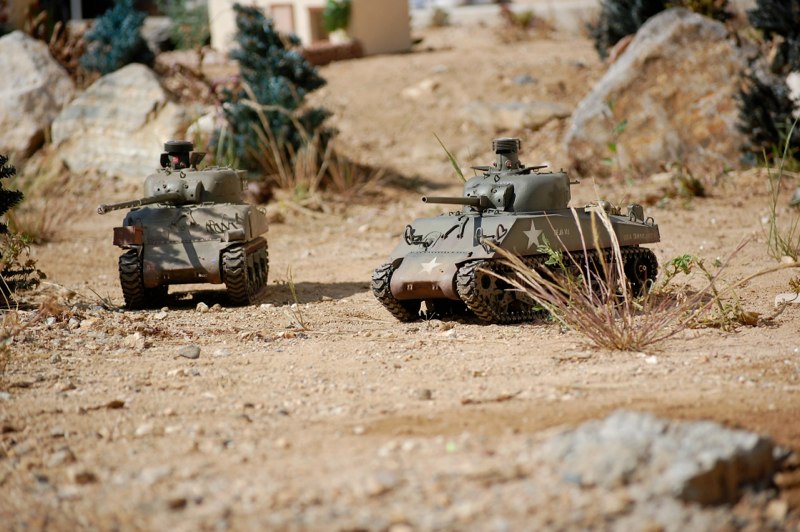
Very good runner. I am pleased the MAto vvss is durable and can handle the terrain.After action report, tank handled VERY well (better than dorothy!) and was the victor in one battle. On the day, Deja-Vu took out 4 tanks in battles and was only knocked out once in an organized battle.The steep terrain and tight quarters in the village were no problem.Need to touch up paint and add idler/sprocket hubs, and we are in business!Bring on those panthers!Deja Vu takes out Mitch’s tiger!the client rEquested the stars be retained on the hull (#$%#@) so I added them and adjusted the paint scheme. I added brown dust and mud to the lower hull and added a grimy black filter to the entire upper hull.We’ll let the elements do some more weathering on this baby as I field test on the SCAT battlefield!AlL functions A-OK. Needs a little work on the barrel depression.I am adding crew stowage and a recognition flag to the back deck.Side by side with the VVSS Firefly!My earlier effort on the table at the feb 2010 battle