Over Christmas a few years back, my wonderful 98 year old grandmother casually mentioned during a dinner conversation that her older brother had served as a sherman tank commander in WWII. As I have been running the DAK club for 3 years (at the time) I was shocked and wondered if there was just pure coincidence or karma. I began doing research and found the following information.
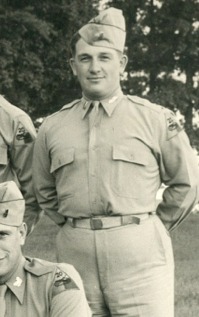
1st Lt. Robert M. Schultz
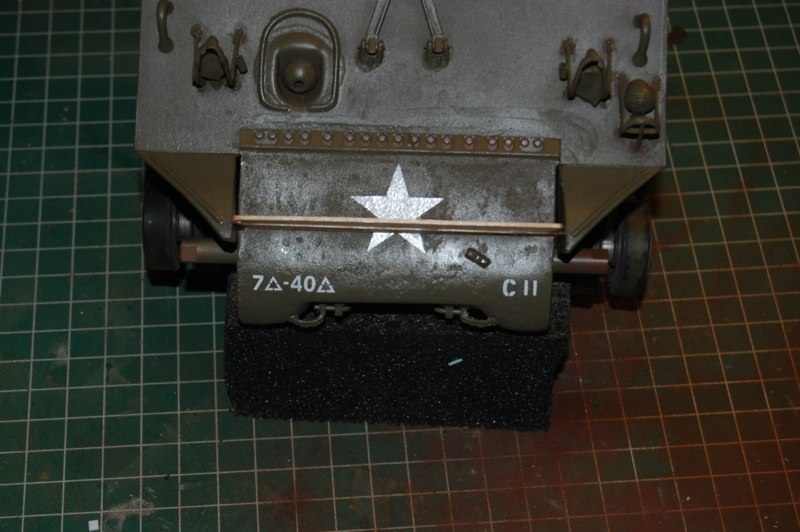
Schultz, 1st Lt. Robert M. (O-1 018 552) - Company C, 40th Tank Battalion, 7th AD.
FIRST LIEUTENANT ROBERT M. SCHULTZ,
AWARDED THE SILVER STAR for distinguishing himself by gallantry in action in Germany, on 29 March 1945.
◦KIA: March 29, 1945 - Kirchain, Germany
◦MOS: 1203
◦Home State: WI
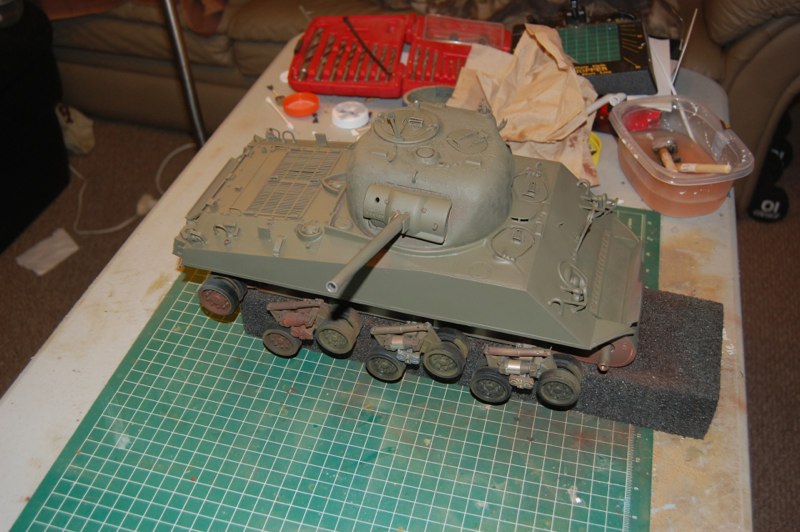
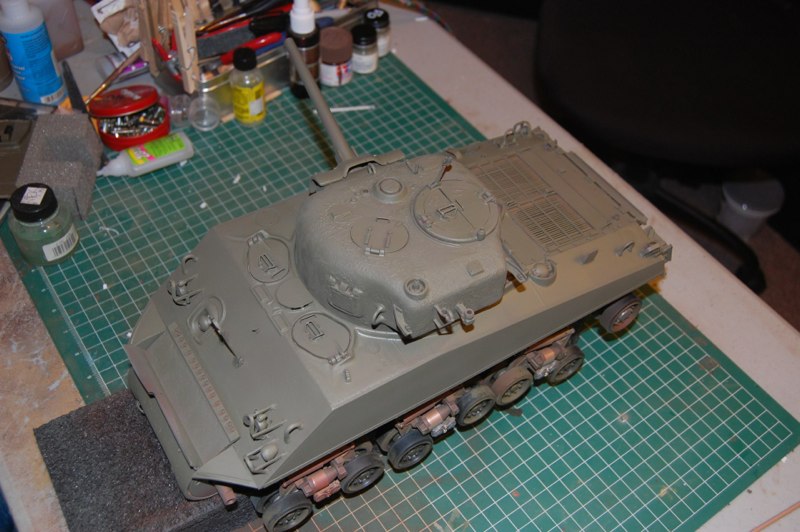
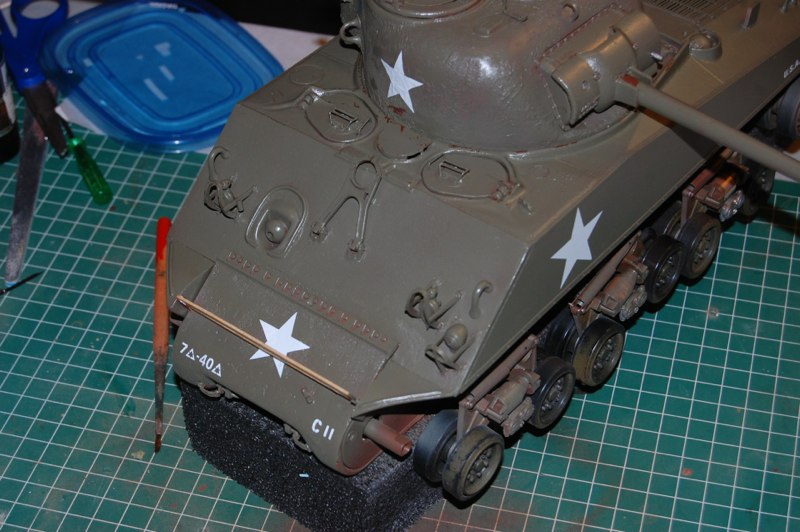
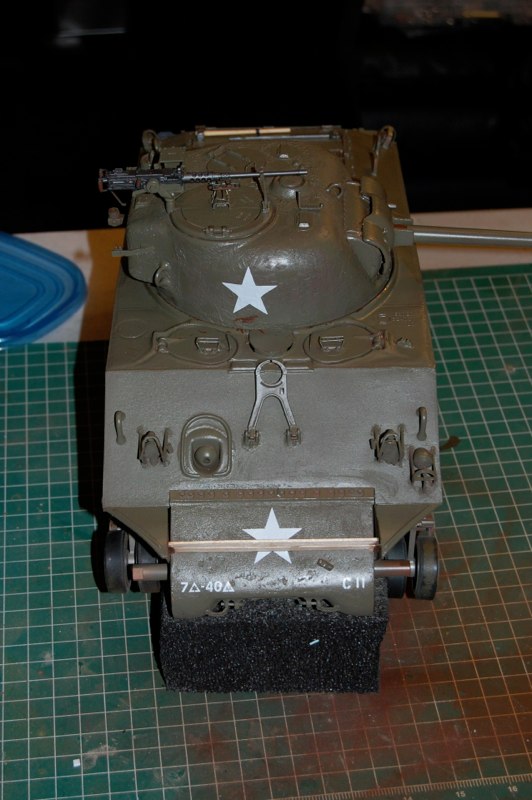
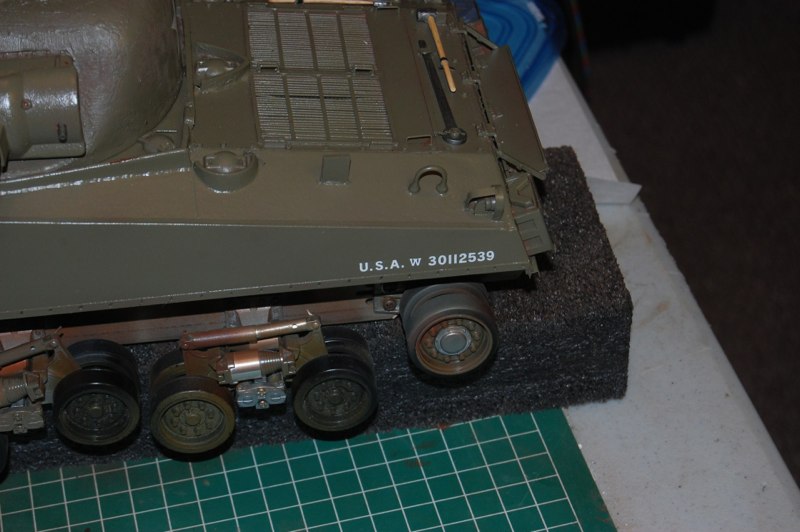
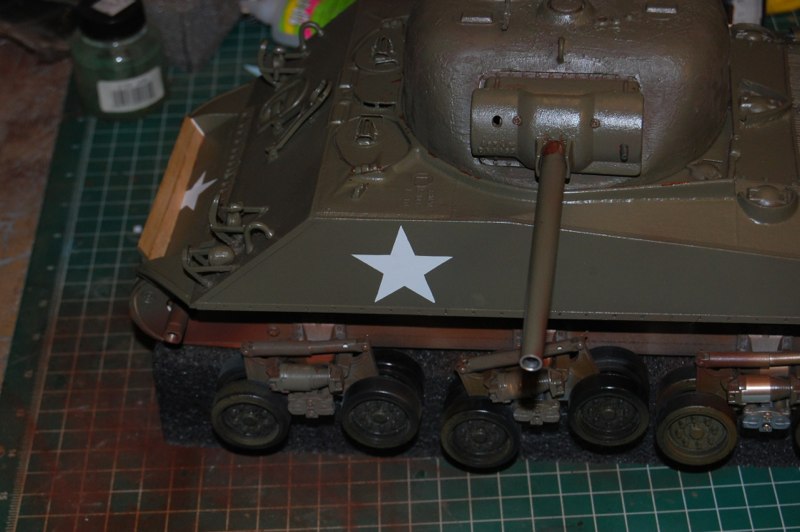
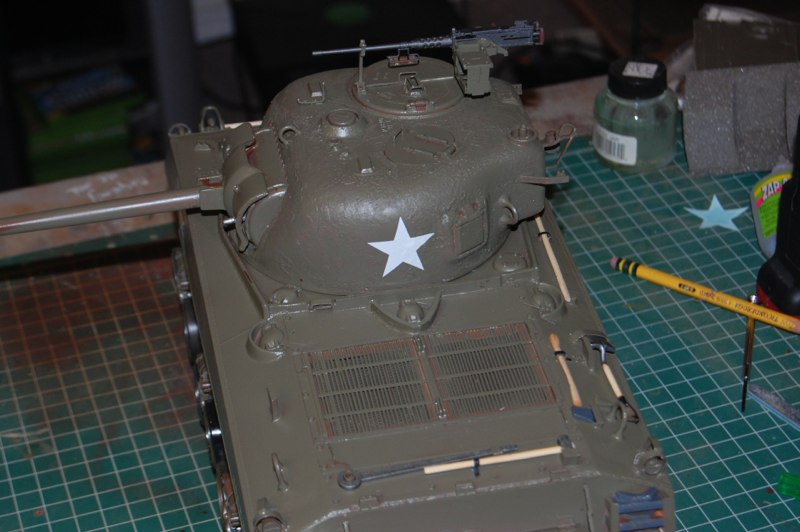
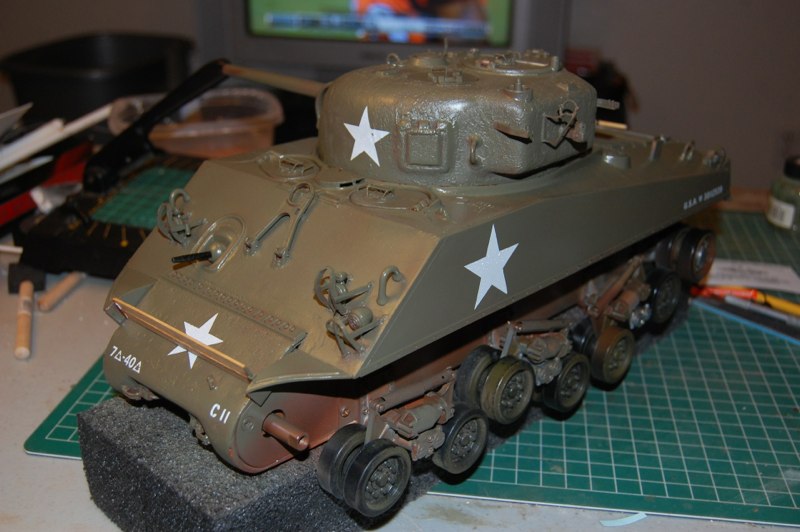
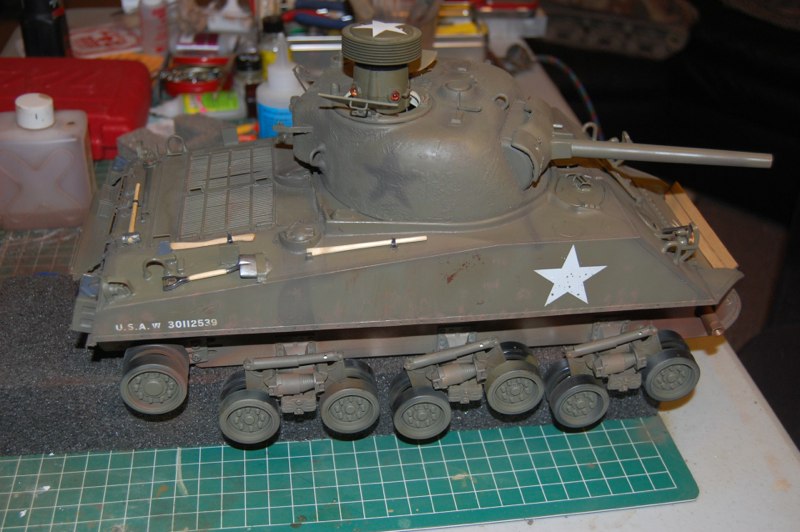
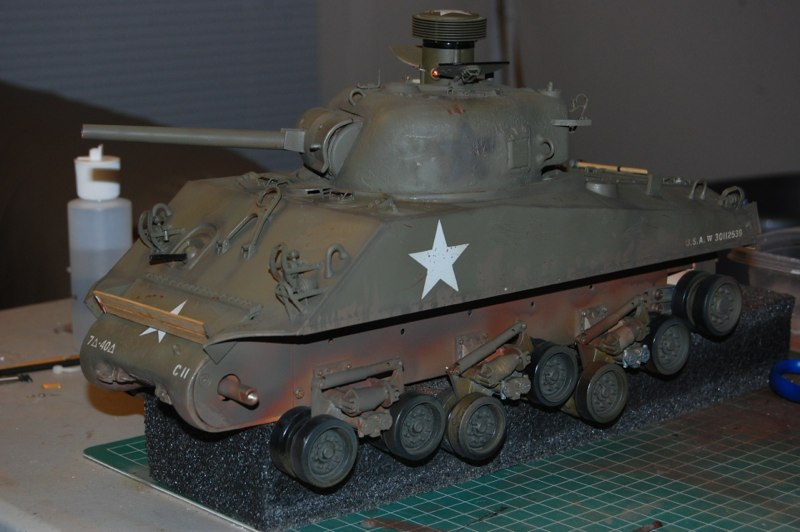
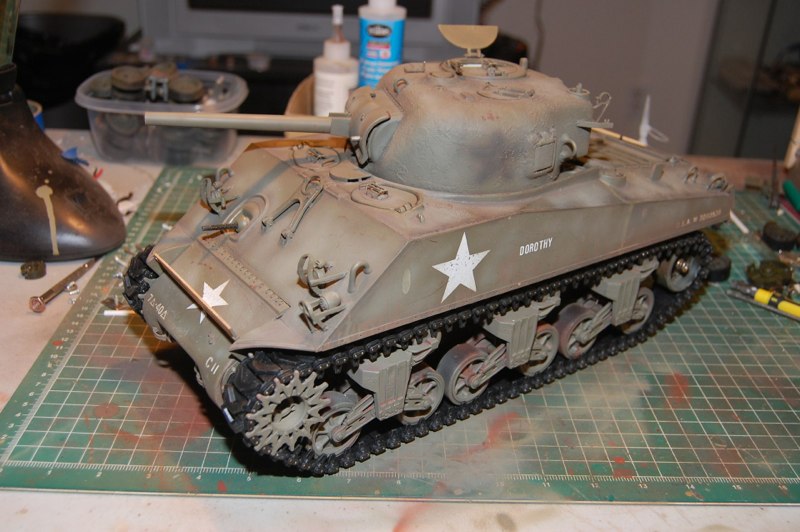
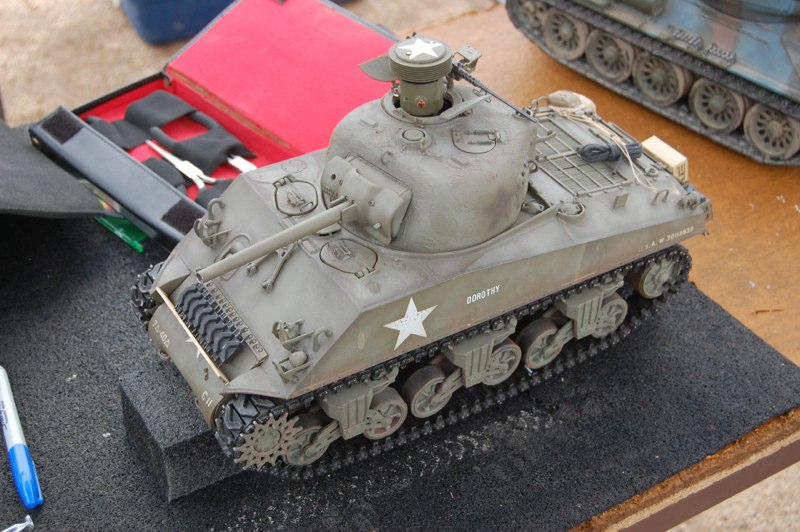
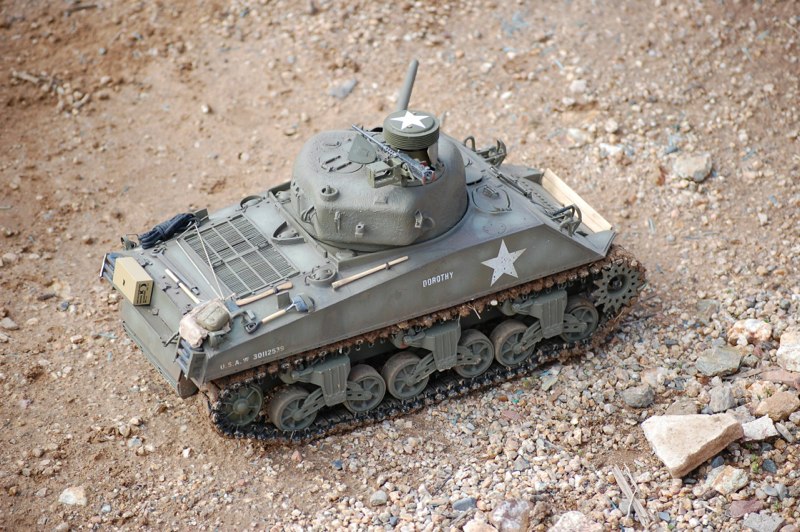
in his memory I will build an example of the tank he most likely commanded. I have a few photos of vehicles from the unit a few days after his death and the most common vehicle at the time was a 75mm M4A3.
Building a Sherman for one of the family
Paint and Detail
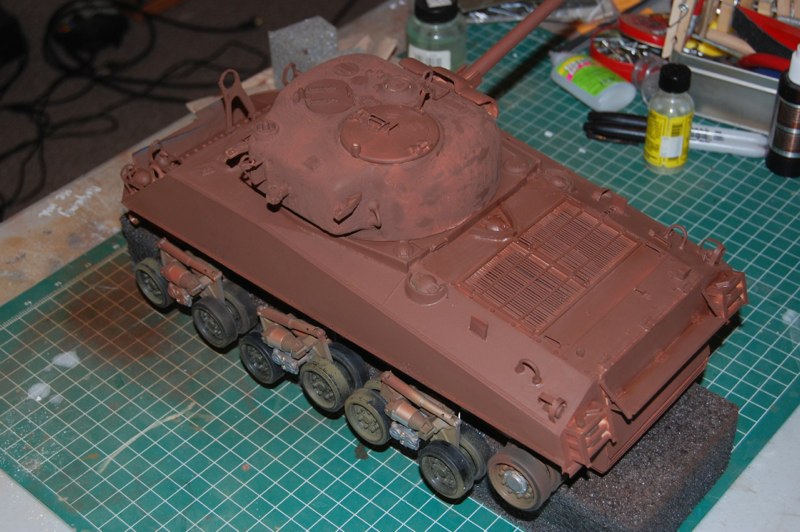
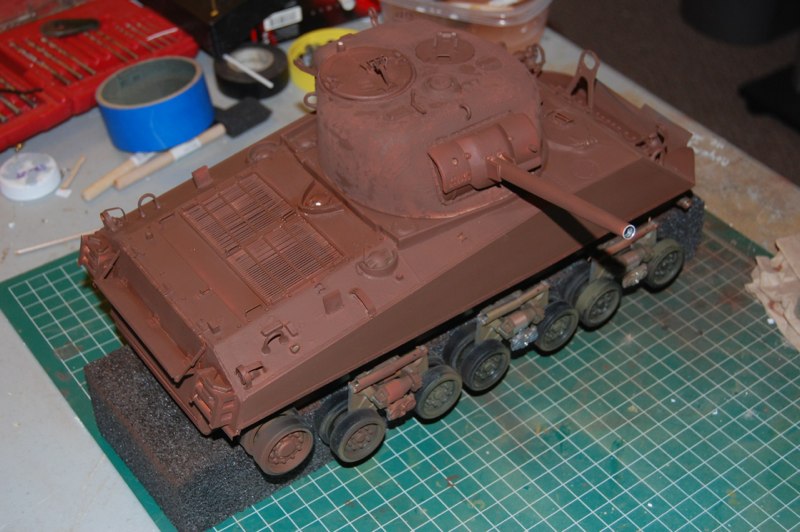
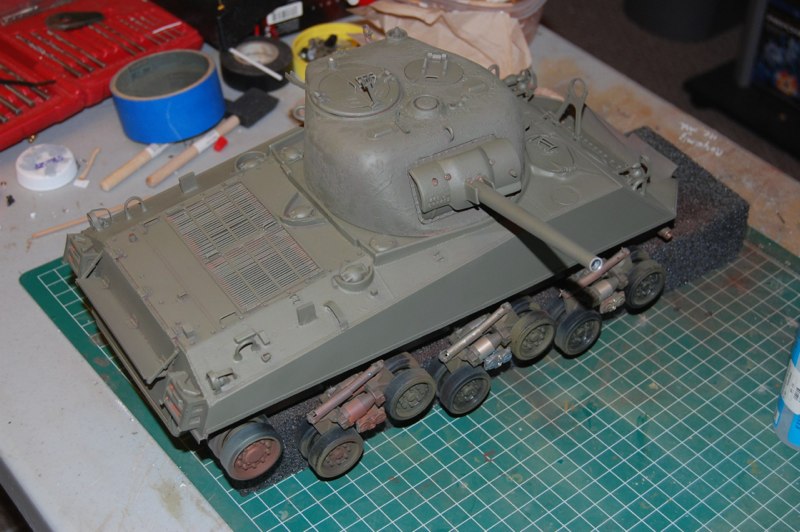
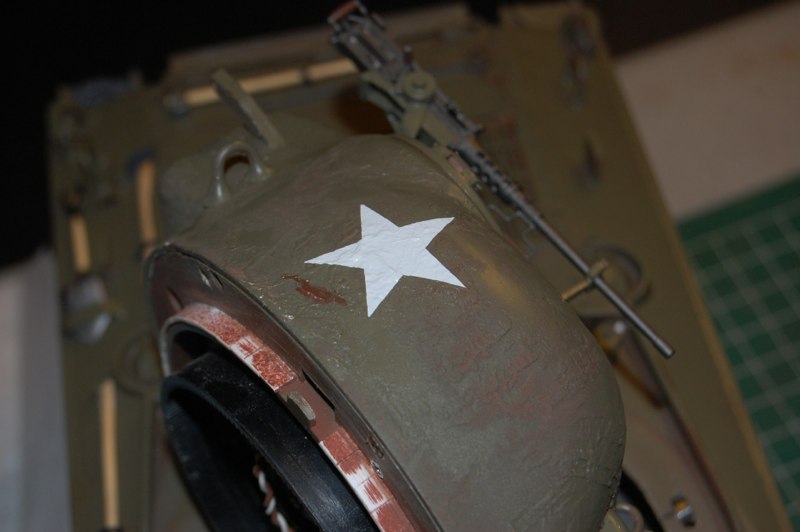
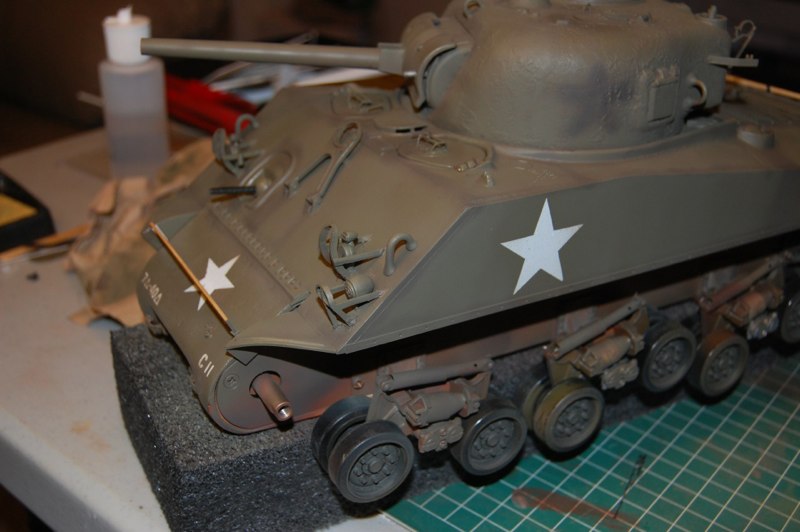
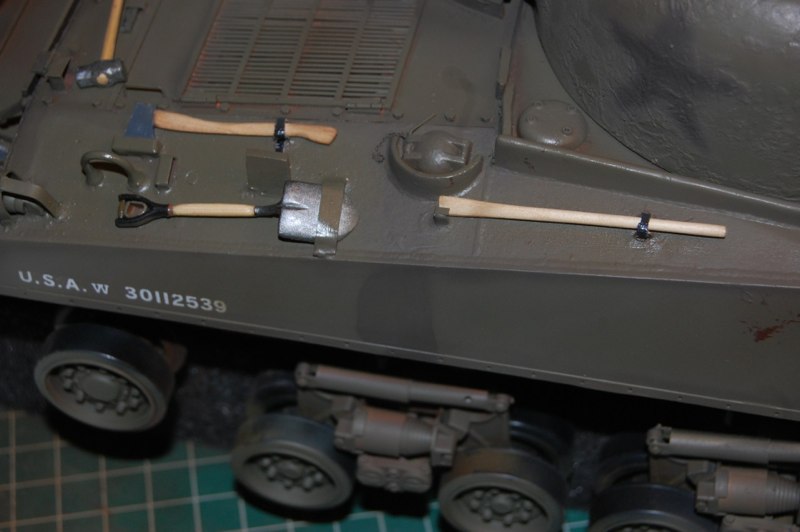
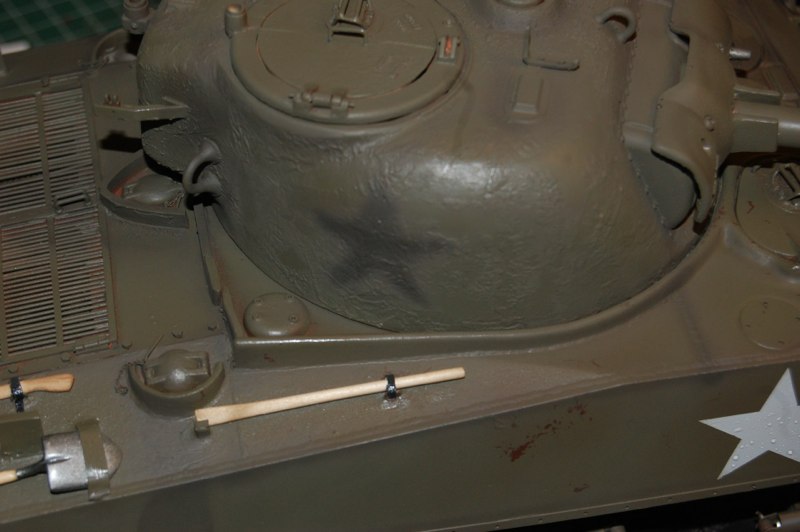
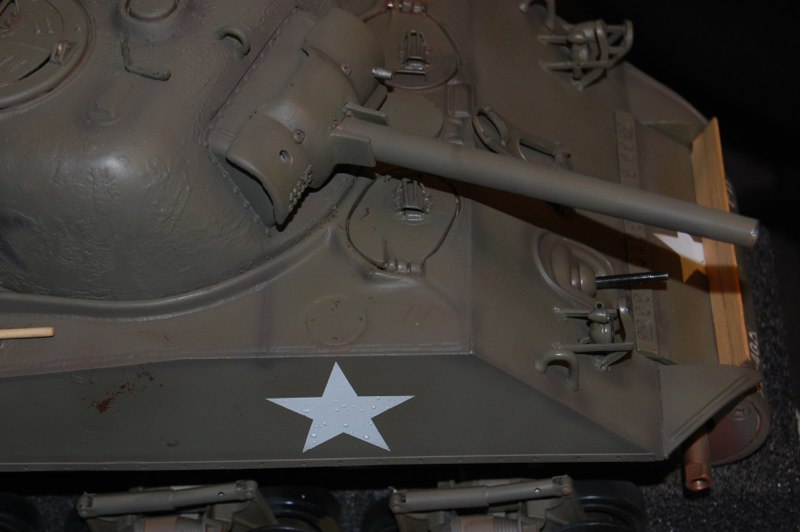
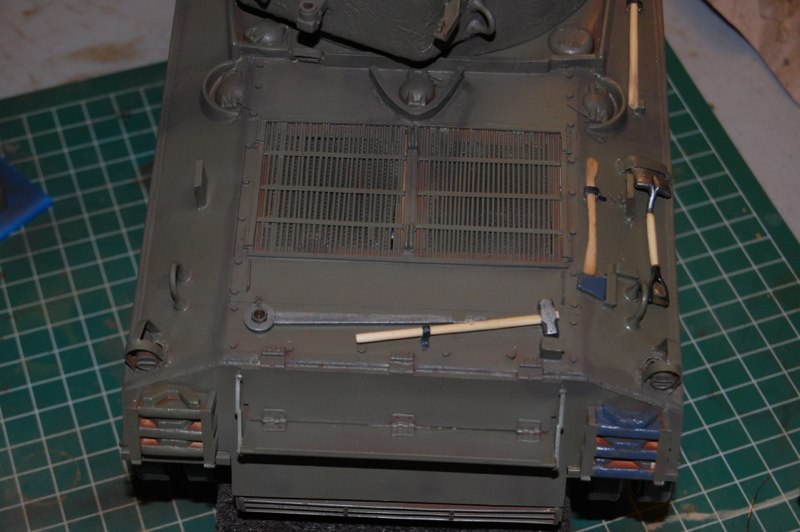
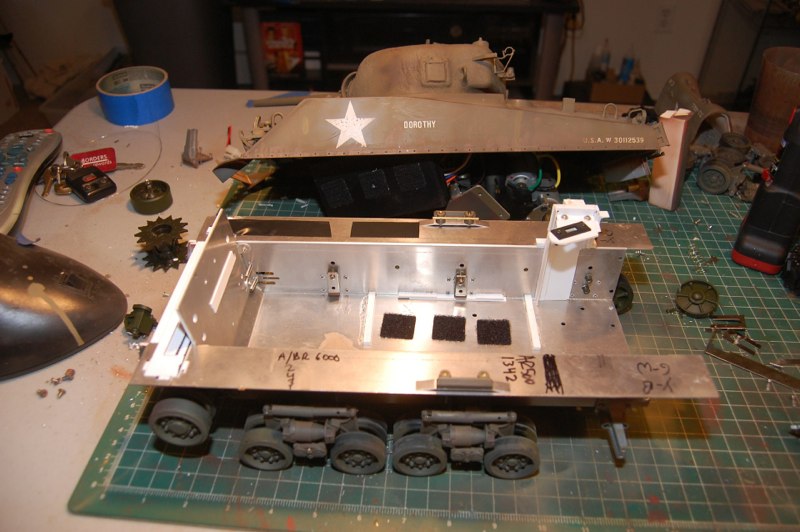
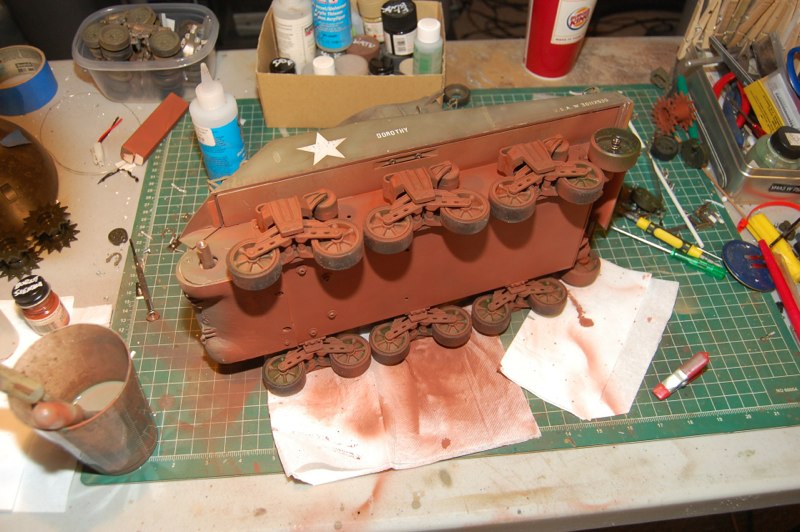
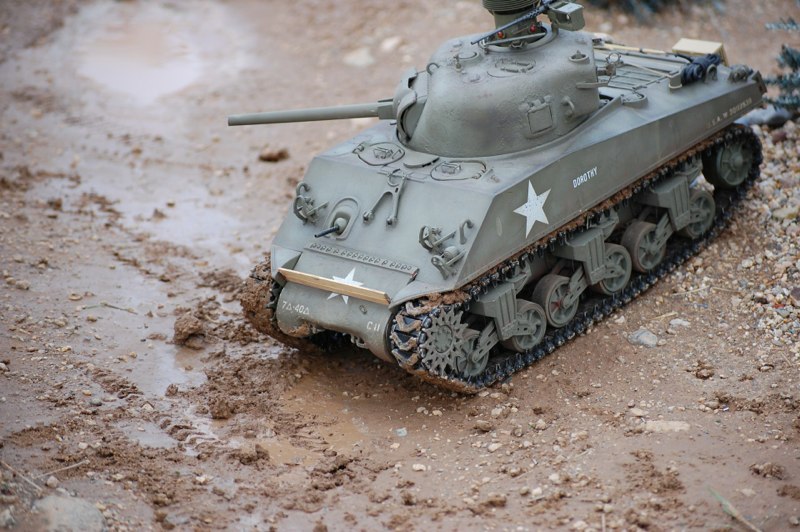
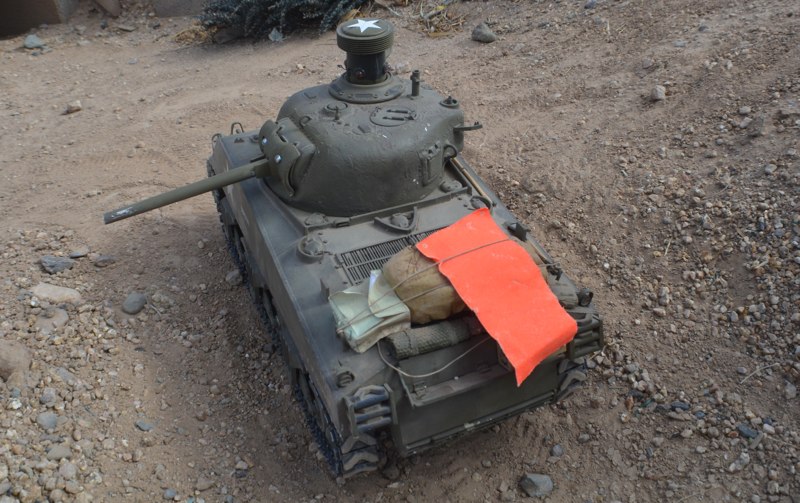
If you were following my M4A3 hull and Turret builds I will skip to the detailing to avoid repitition.first coat, red primer. In this case Tamiya nato brown.OD coat, Testor’s Acryl OD thinned with testors acryl air brush thinner.Lower hull will be redone with VVSS suspension so painT was minimal.I like Testor’s od for the scale look and natural fading. The rust primer shows through in areas and acts as a pre shade for the corners and recesses.After a coat of Tamiya Clear LacquerStandard Tamiya decals with a layer of Micro Sol to soften the film over the texture of the vehicle. Unit markings added to front bumper.Starts added to turret as well.Shipping number. Tanks began with a 30- than the unit number.The hull star is a tamiya decal.Turret is star is also Tamiya.ONce applied I used Micro SOl to soften the decal and make it conform to the texture.Another clear coat to seal the decalsUsing Tamiya Khaki Drab, I begin to shade the Lines and mask the Turret star. A common camoflage was to obscure the large and painfully obvious stars.Common weathering is fuel stains below the filler caps.Right side star covered with airbrush.the trick iS to darken the edges to add depth.Engine deck gets same treatement.I use Tamiya earth to add mud stains to the lower hull.I also used diluted brown and grey to “wash” the entire vehicle. It adds color where it is needed.
VVSS Update
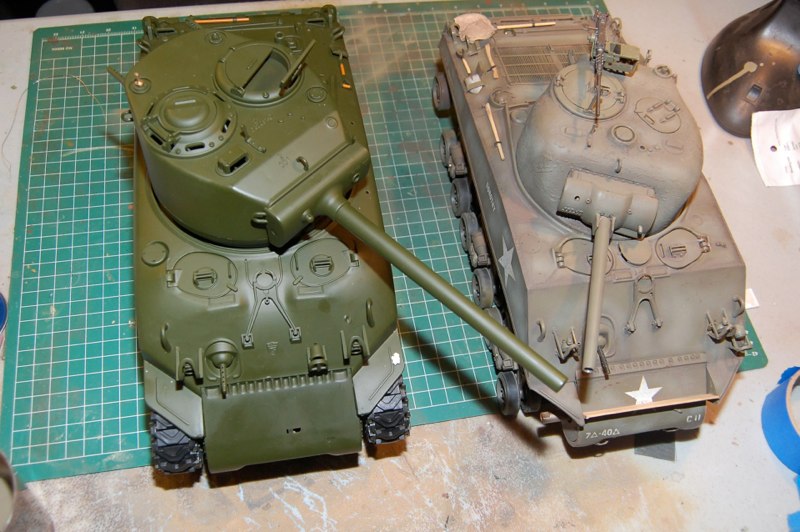
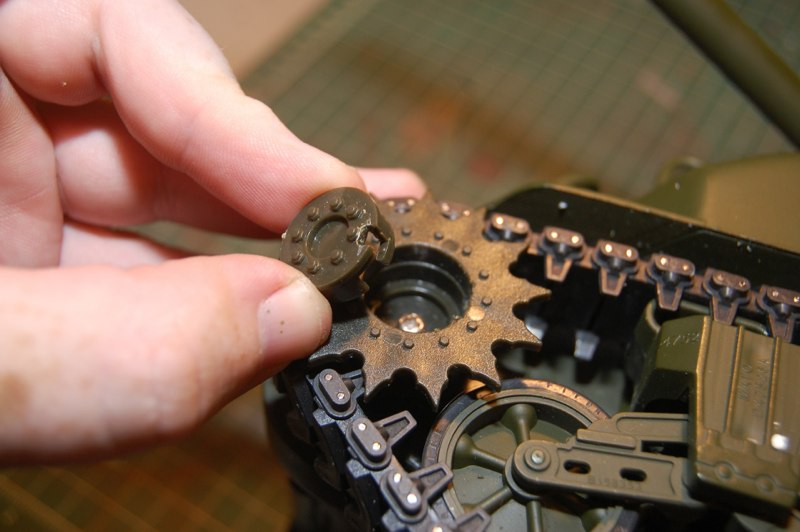
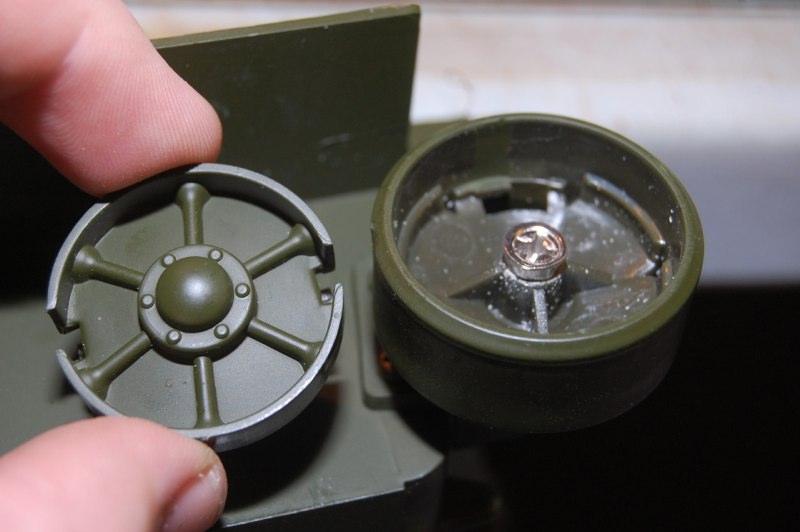
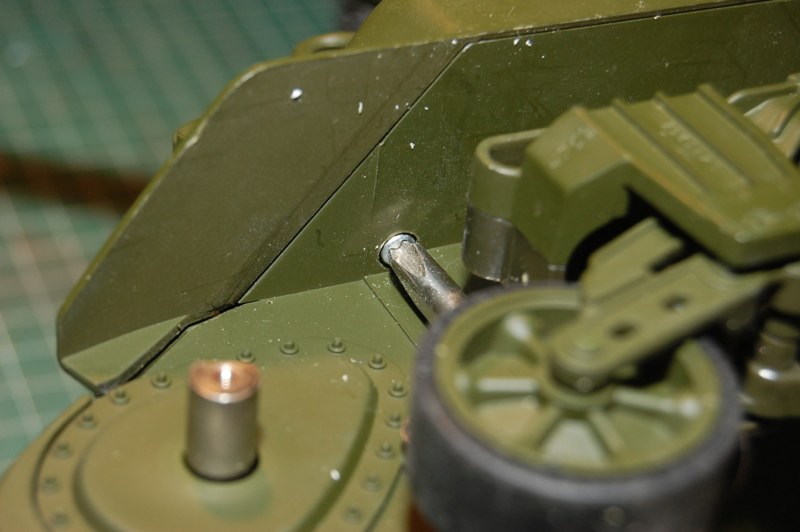
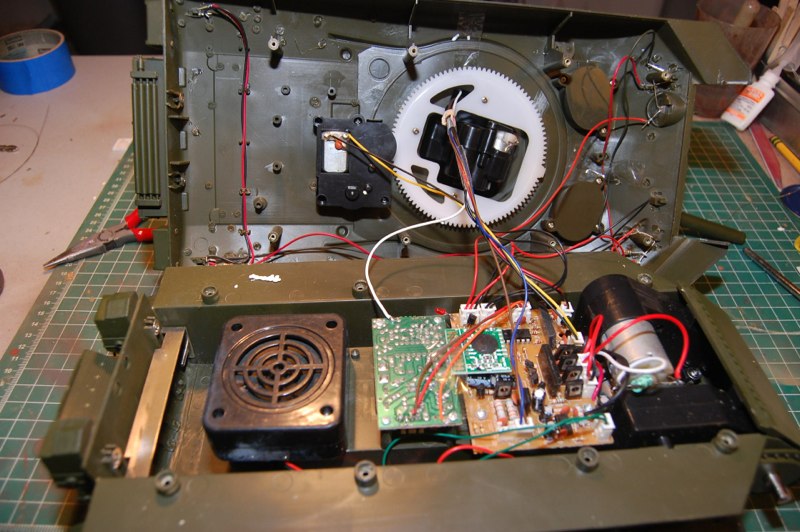
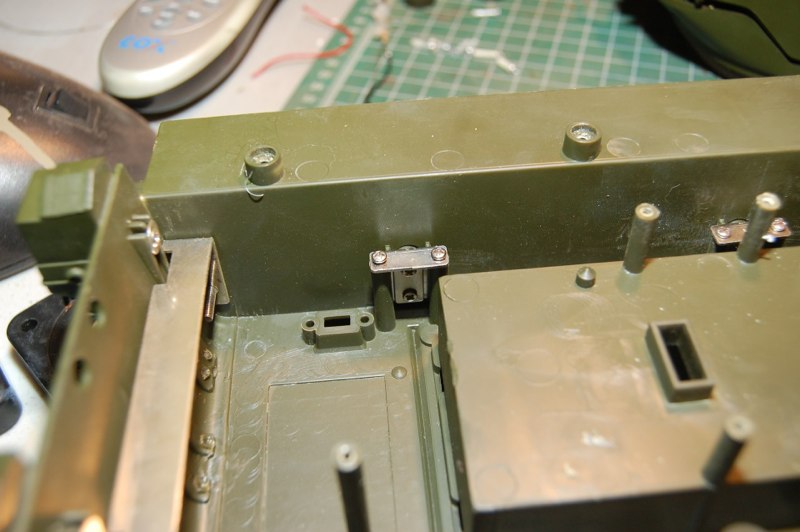
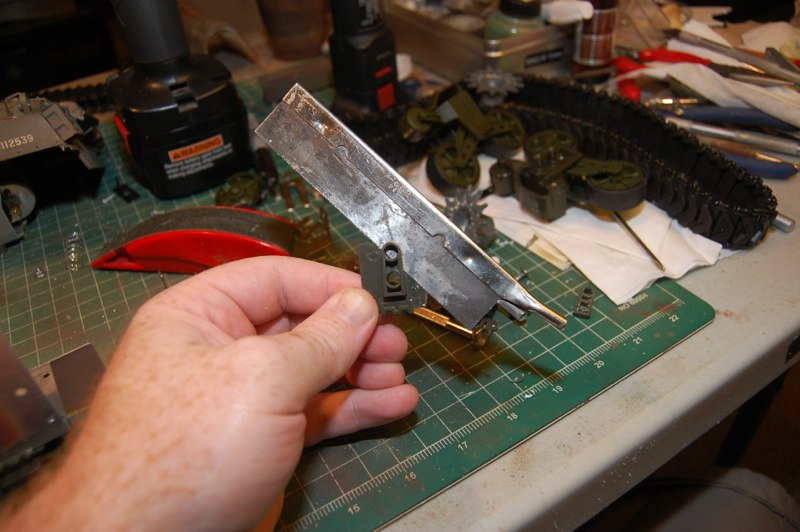
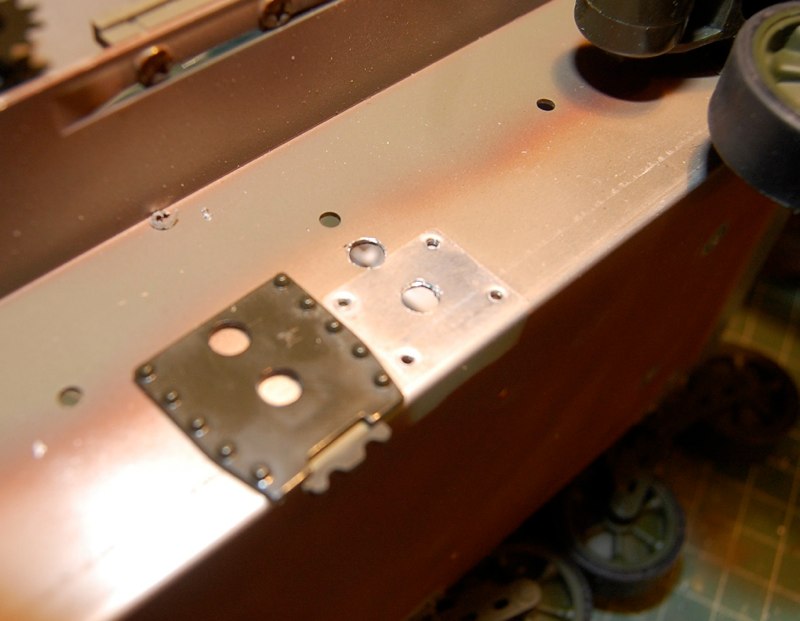
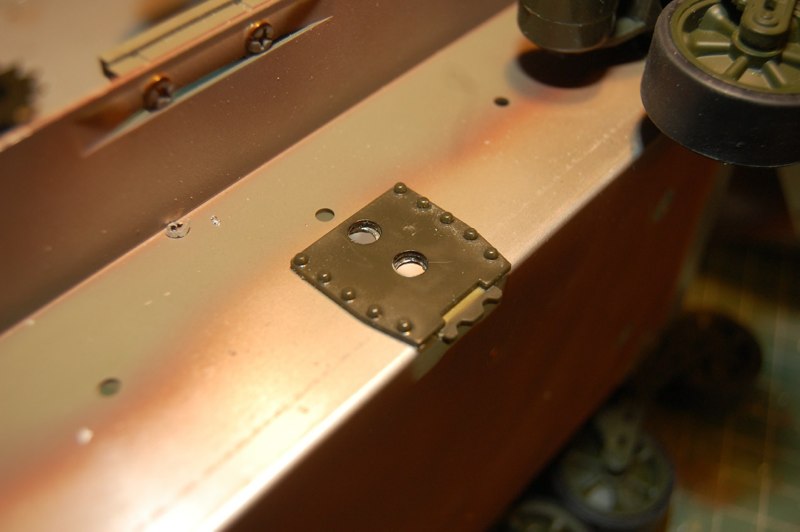
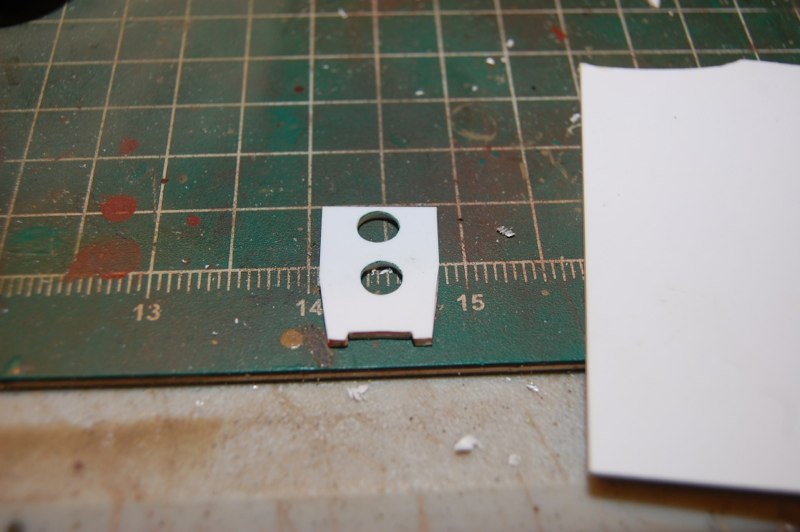
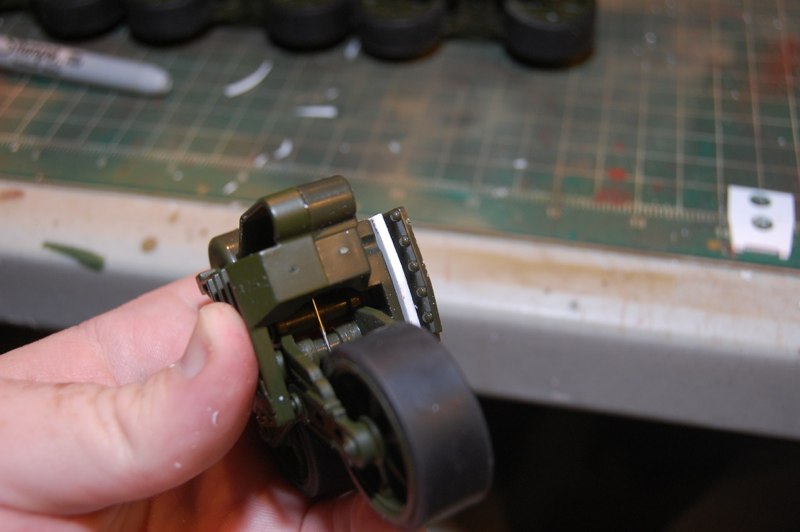
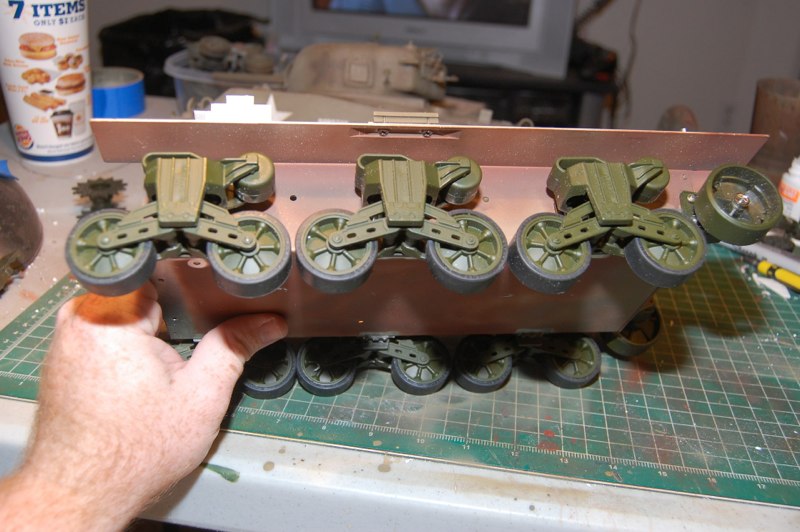
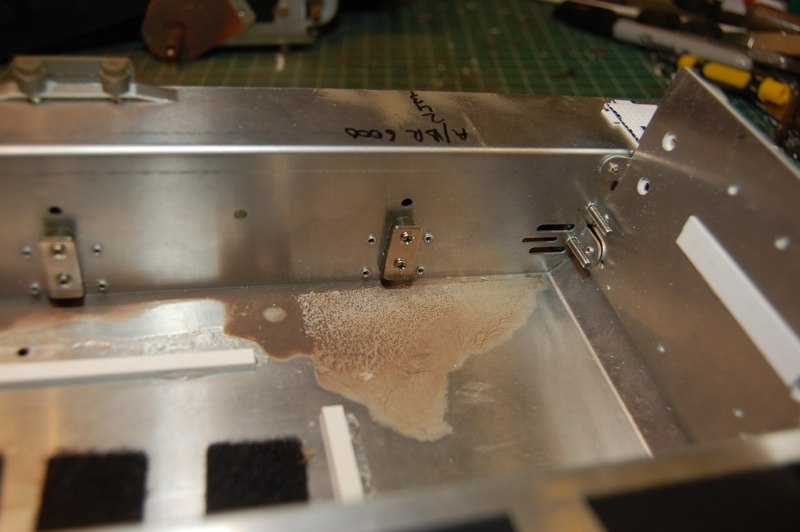
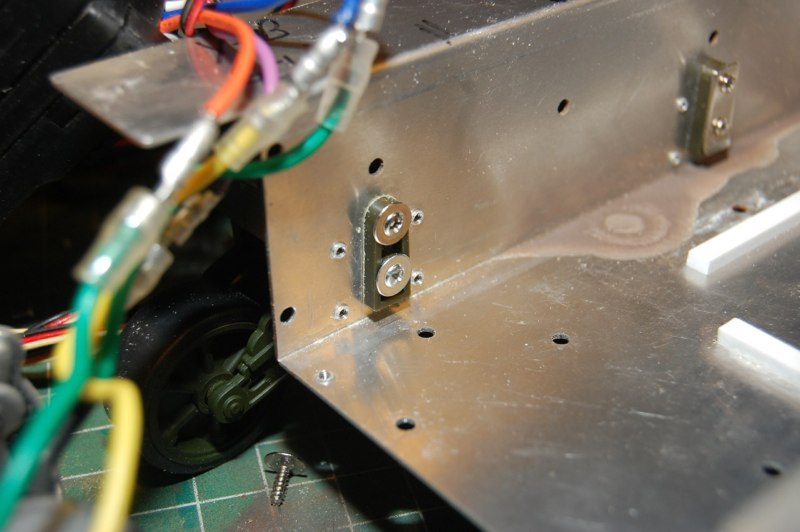
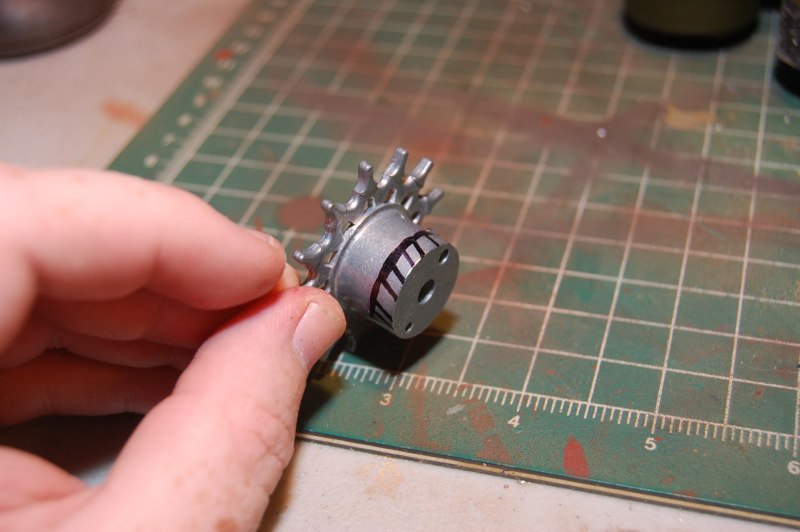
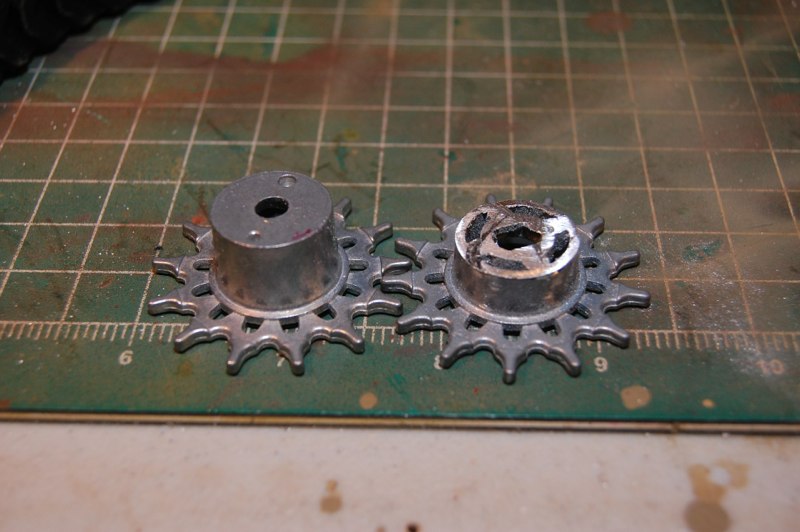
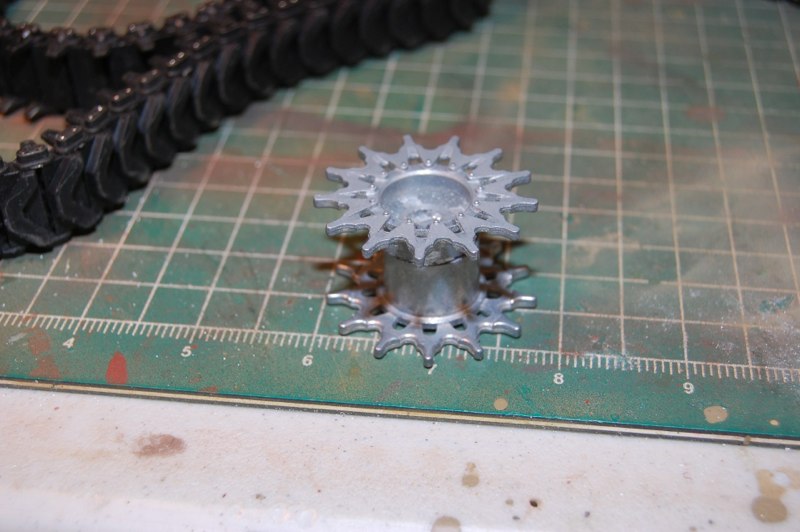
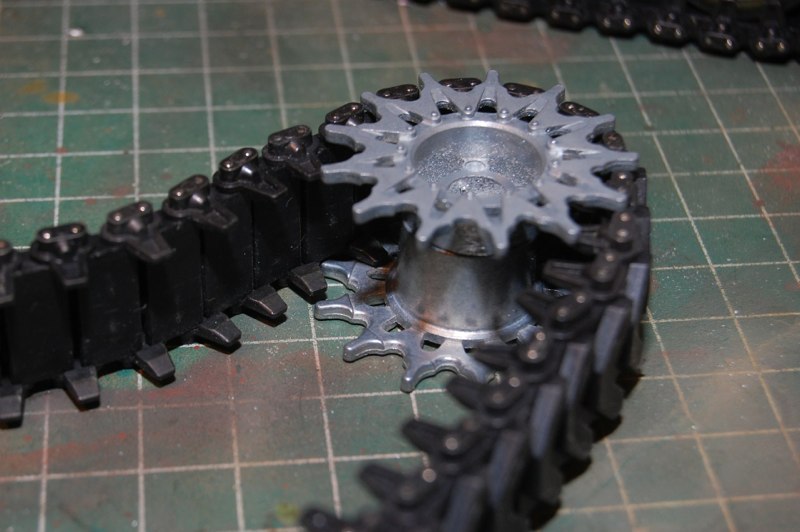
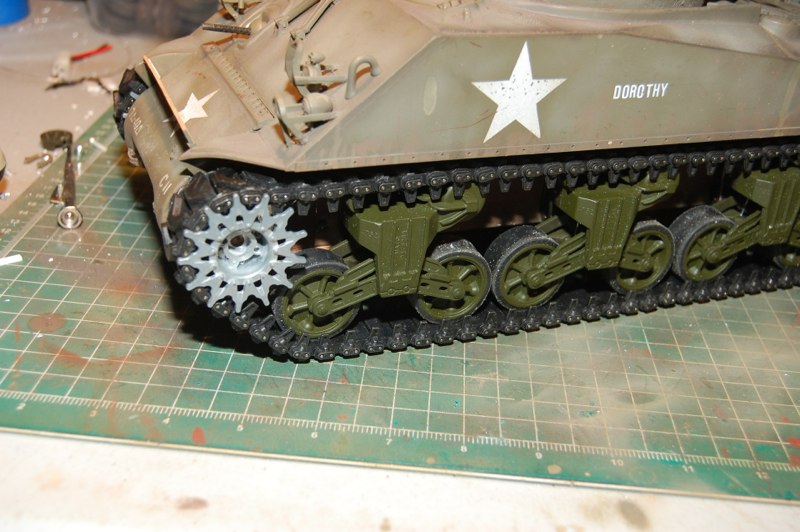
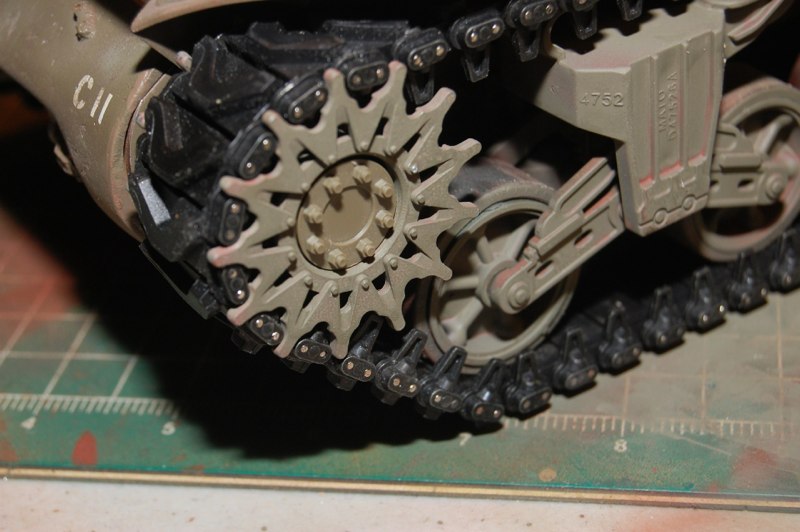
Now for the VVSS. Donor tank, the new mato m4a1, has arrived.The sprocket was engineered to come off. Just a twist and a pull (I used a small flathead screwdriver to help.Idler also pops off to access the mounting screw.Once the track is removed, access to 8 hull mounting screws is simple.OPened up. Most of this will be disarded.VVSS mounted to mato hull with a metal plate that slides up on out and the suspension then pops off the hull.Tamiya metal hull must be adjusted to fit.Start by cutting the backing off Mato suspension mount.use the older hvss return rollers as a guide and drill two holes to match the posts on the vvss trucks.I mounting bracket plate in place and ready for trucks.there is a bit of dead space in the bogie mounting assembly., i fixed it by making 6 filler plates...that now make the mount solid.all six in place.the preiviously removed piece now holds the suspension to the hull. I also mounted the mato idler by using it as a template to drill new holes in the hull.the front bogies needed a slightly different method to make room for the Tamiya gear box.Sprockets were made from tamiya parts by using two “inner” halved and cutting one down with a hacksaw.i make some pin holes but also used CA to hold them together.Finished and ready to mount.checking the track fit as my guideonce attached the presentation become much more convincing.time for a repaint. Hull red used to prime.Testors OD used for Camo coat. I used a set of pershing shaft screws (hex head) and was able to the glue tamiya’s cosmetic cover to the top. Looks almost perfect!Painted,buttoned up, now time for the road test!FINALLY! Got the electronics straightened out and am now on the bench, ready to fight!
In Action
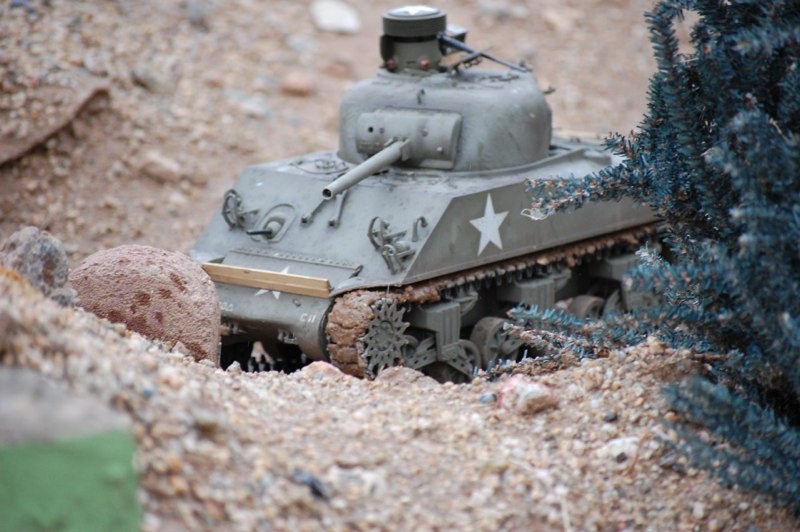
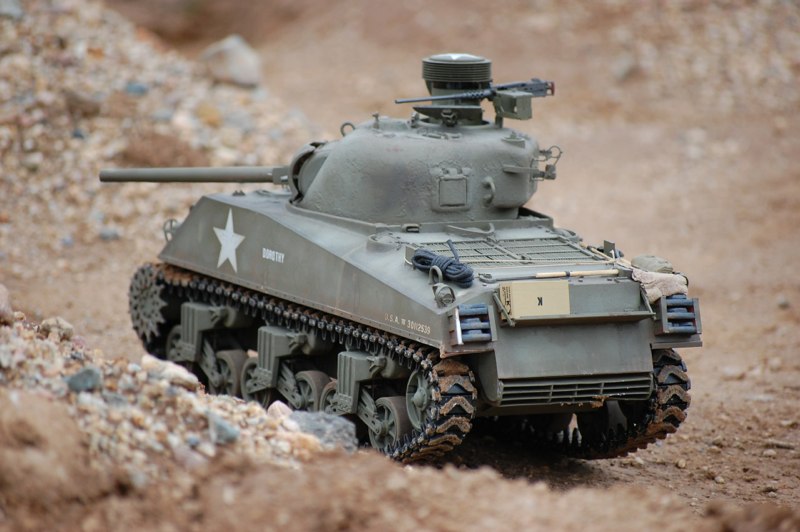
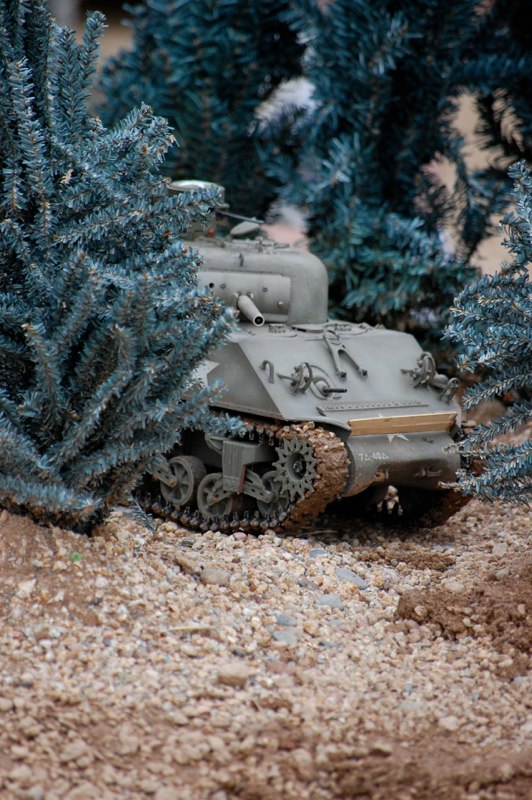
Our combat debut was appropriate, rain, mud, cold conditions were a test of the VVSS suspension and the tank emerged a true veteran and Worthy of its legacy.VVSS makes all the difference!Handled rocks, mud, and elevation like a champ.GUN WAS VERRU ACCURATE AS Well. recoil and Elevation worked perfectly and the only snag is the usual Tamiya Traverse. That will be dealt with soon.Chew up that field Baby!Still running 4 years later. Modified elevation setup is the only appreciable change.