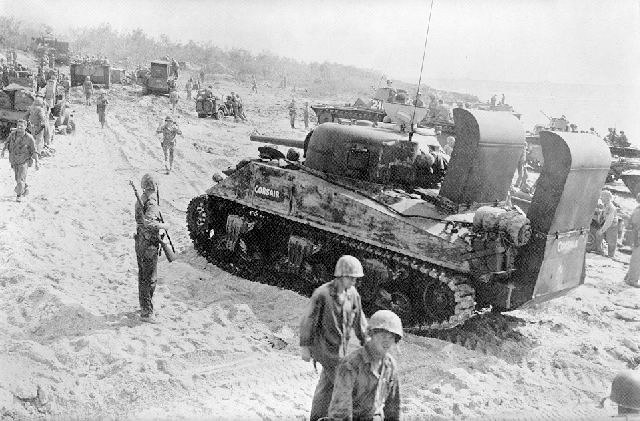
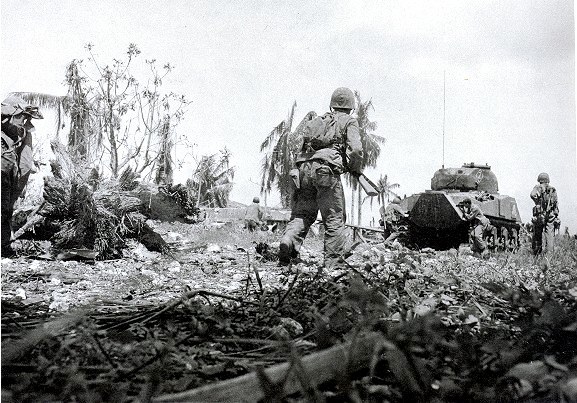
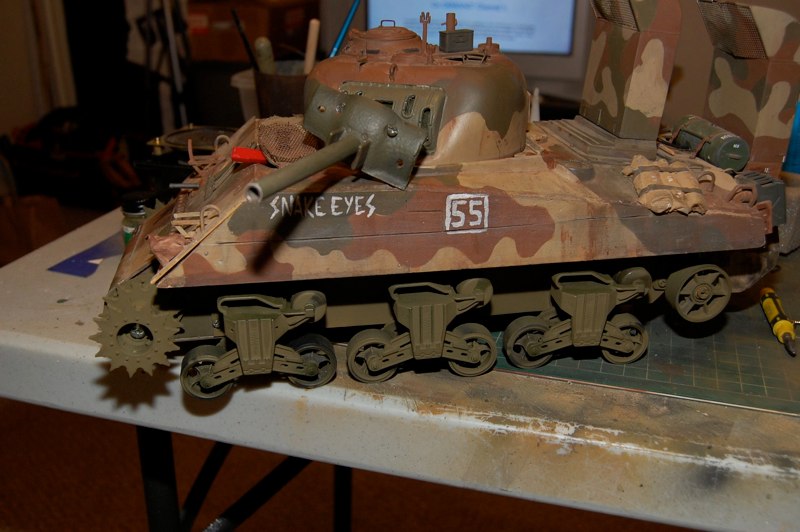
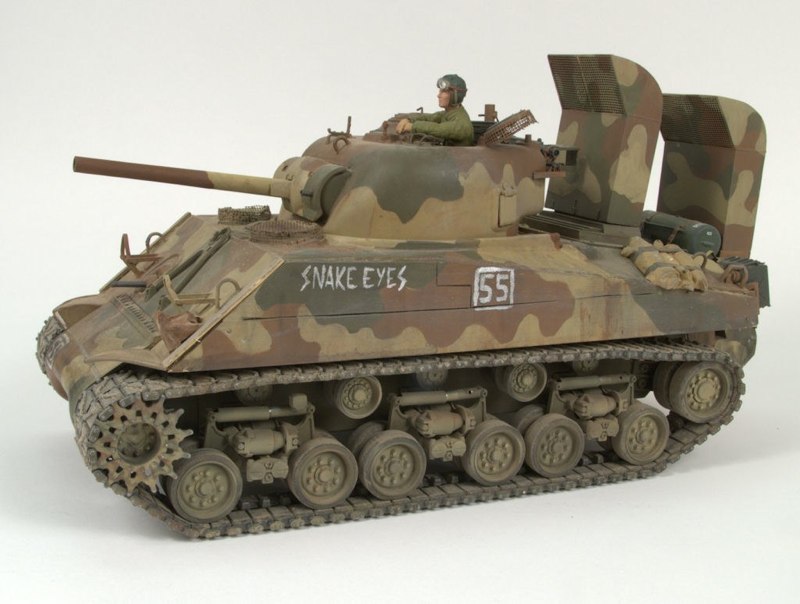
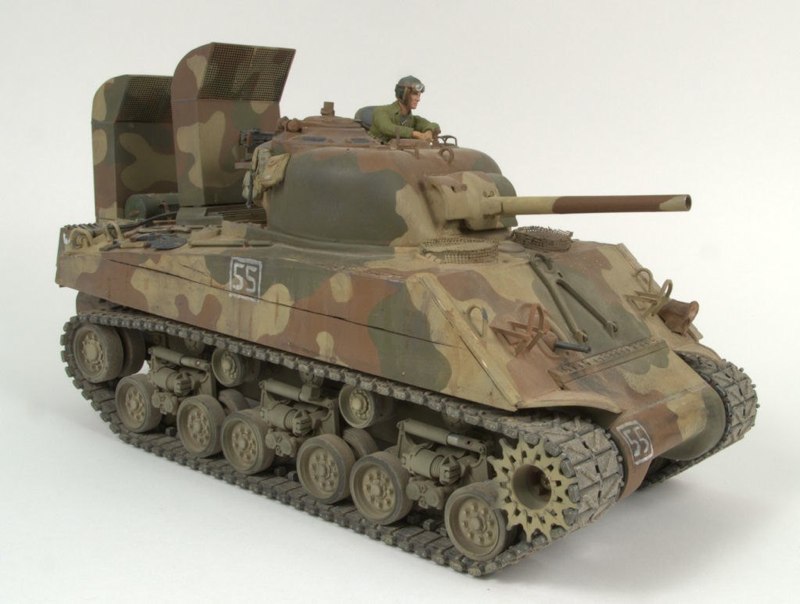
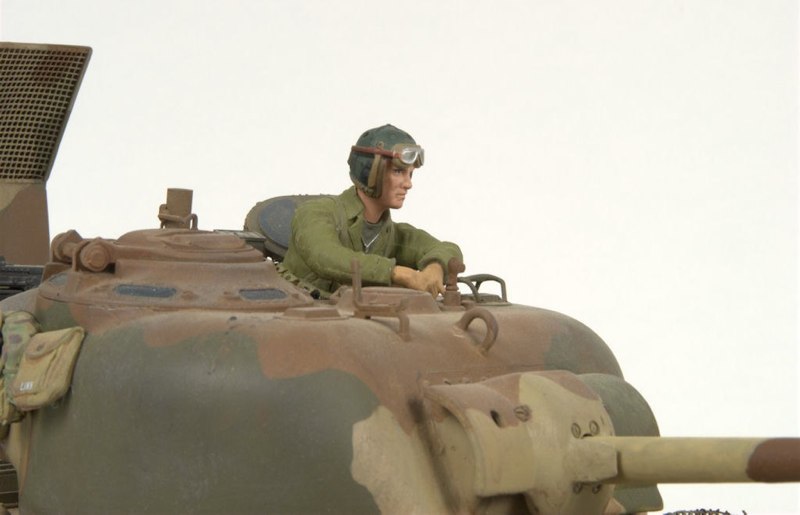
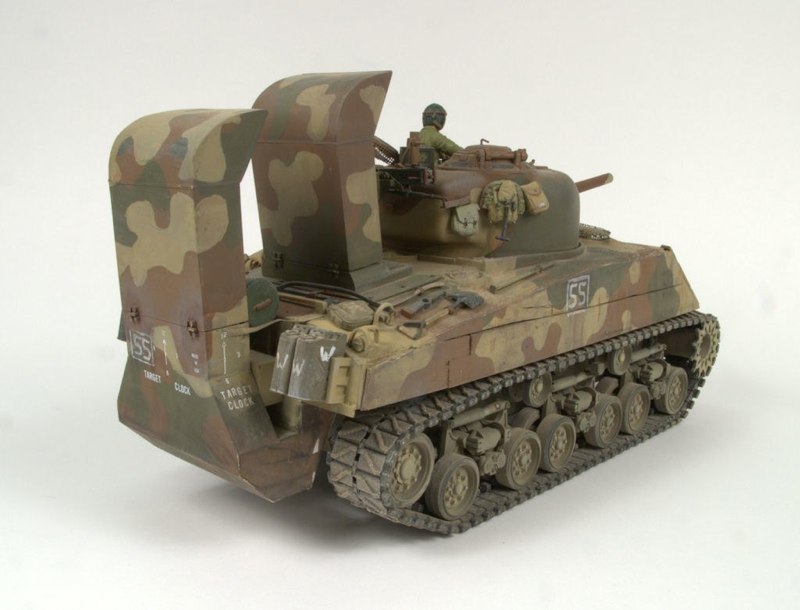
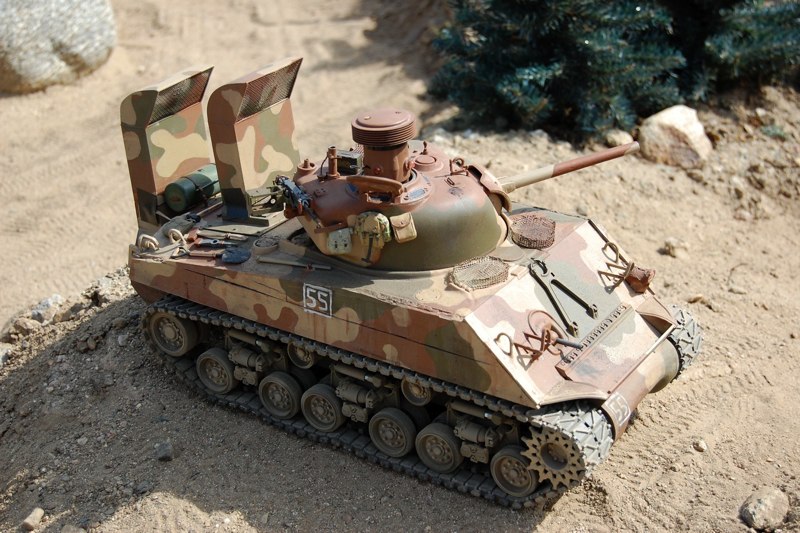
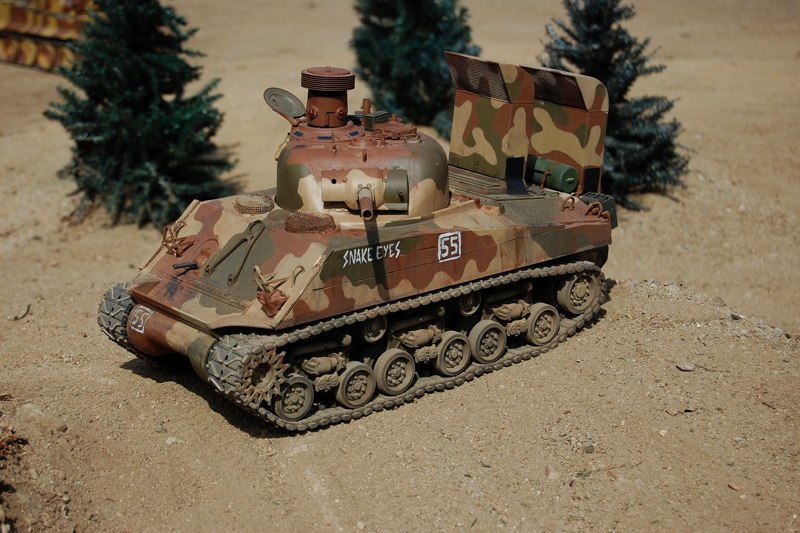
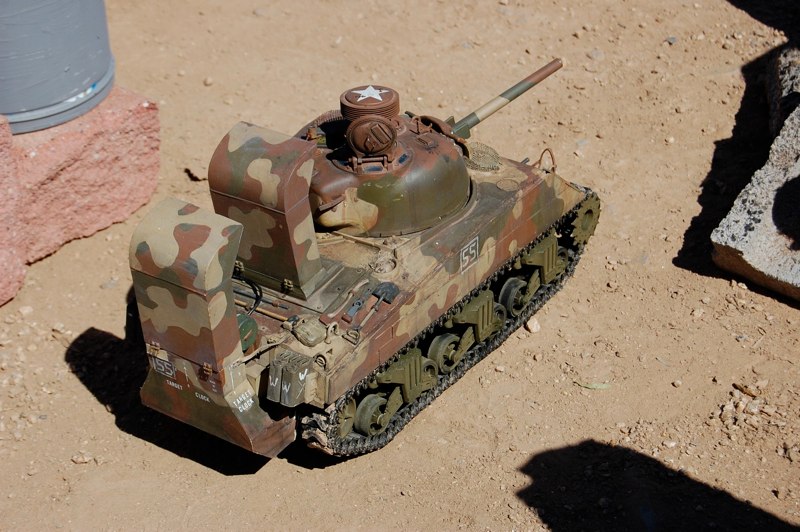
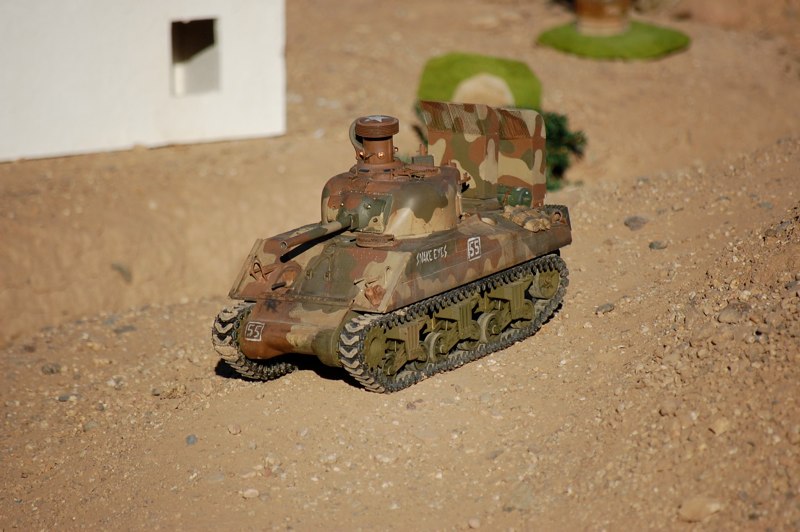
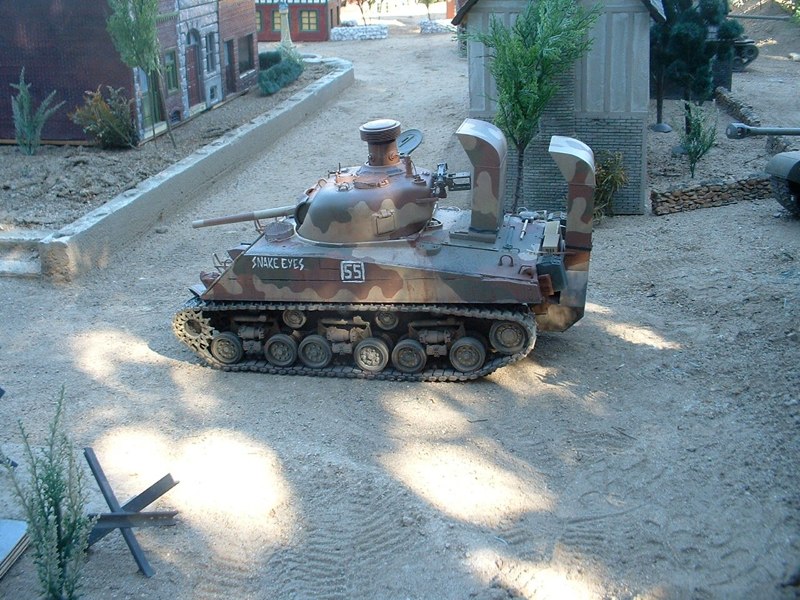
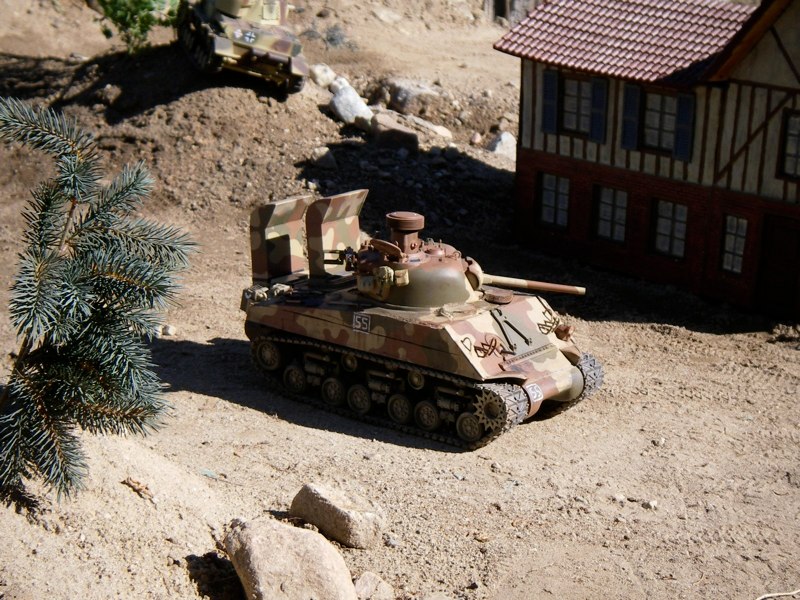
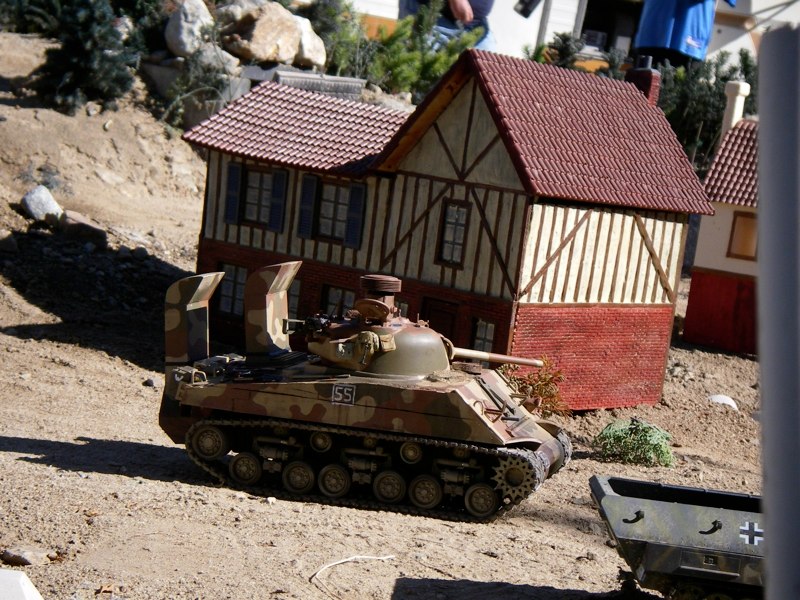
The Marine Corps armor battalions in WWII supported the Leathernecks from Guadalcanal to Okinawa. Sherman tanks saw extensive service and underwent exotic modifications. Even more unique to the USMC variants were the defensive armor configurations and paint schemes. The sheer volume of modifications is Definitely A scratch builder’s delight.
I am often asked why I chose to build this variant? “No body else had one”. In fact, I built it for Tamiyacon 2007 to impress the Marines, and Mr Tamiya. As you may know, there was no Tamiyacon 2007 but I still enjoy the novelty
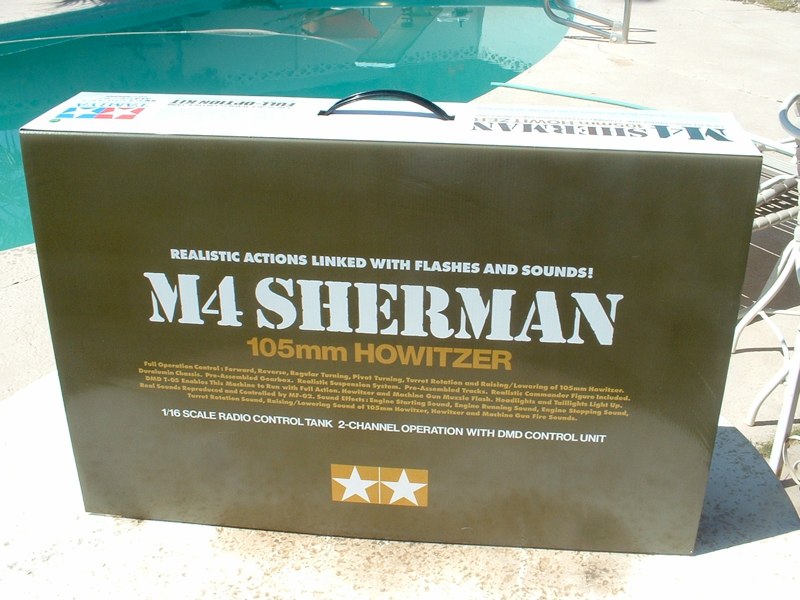
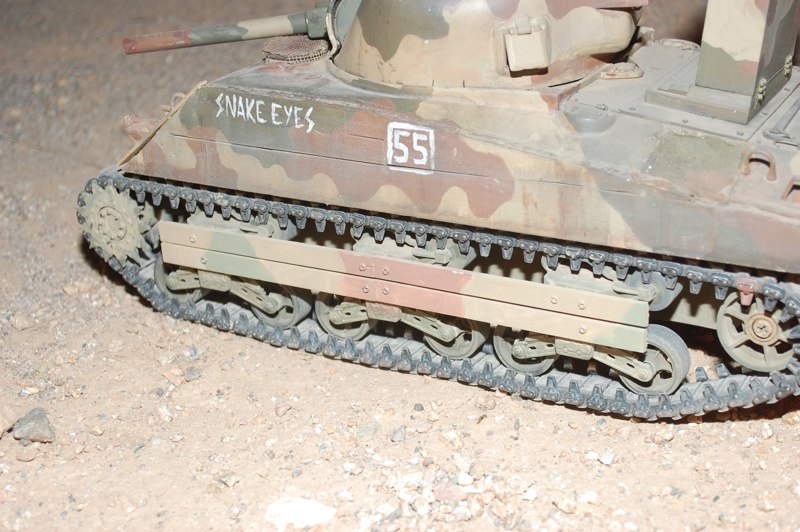
The “Snake Eyes” moniker refers to the true story of a trip to Laughlin and my learning to play craps. I turned $100 dollars into $1,400 and used a fair chunk of the winnings to pay for a new-in-box Sherman.
Reference
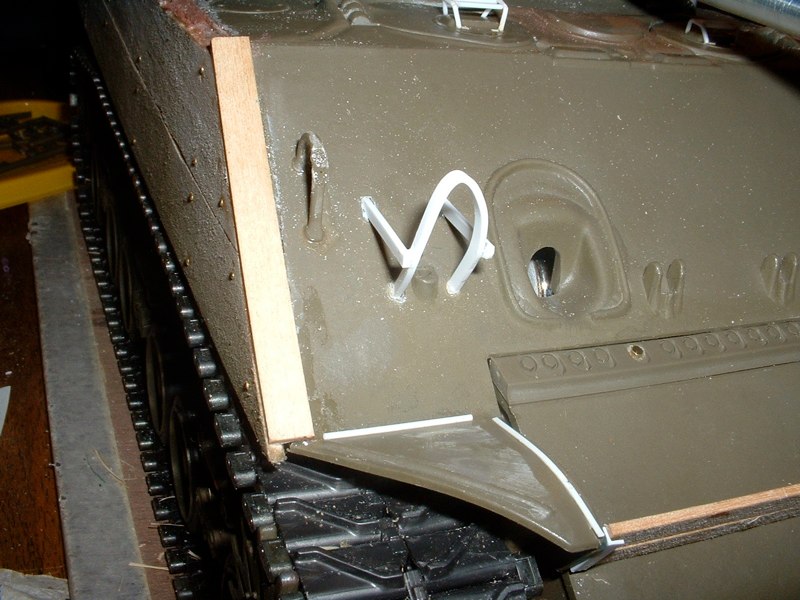
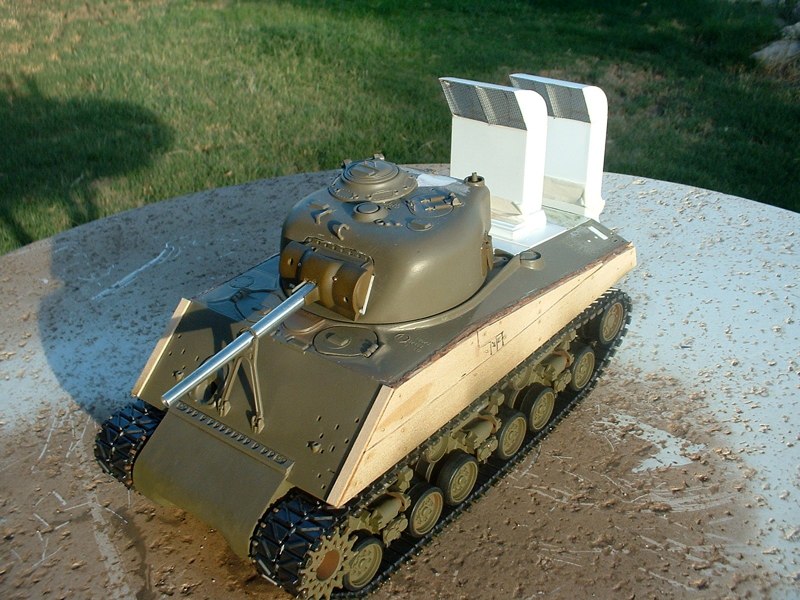
The highest danger to the crews was from suicide attackers. They would throw themselves between the tracks with explosives. They also climbed on the tanks to try to open hatches or attach magnetic mines. Countermeasures included barbed wire, sharp corrugated aluminum, welded spikes, and chicken wire.
Original 2006 Build
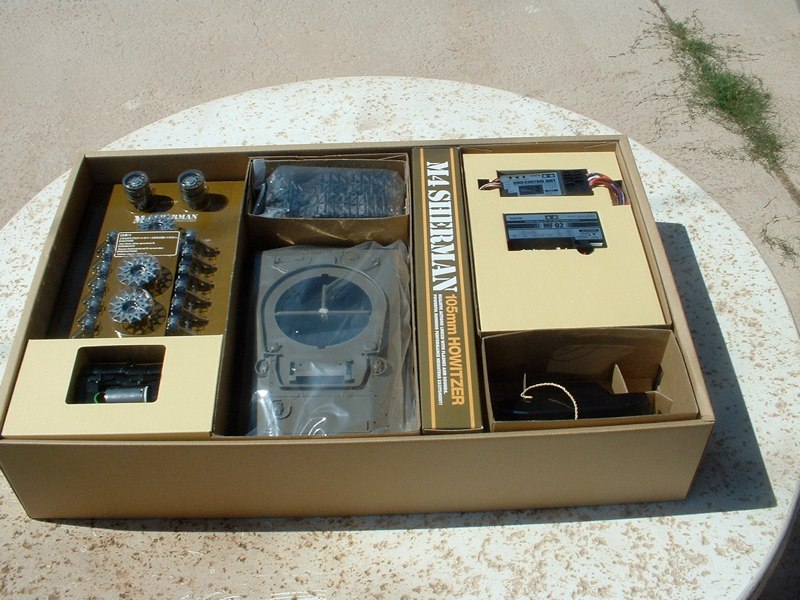
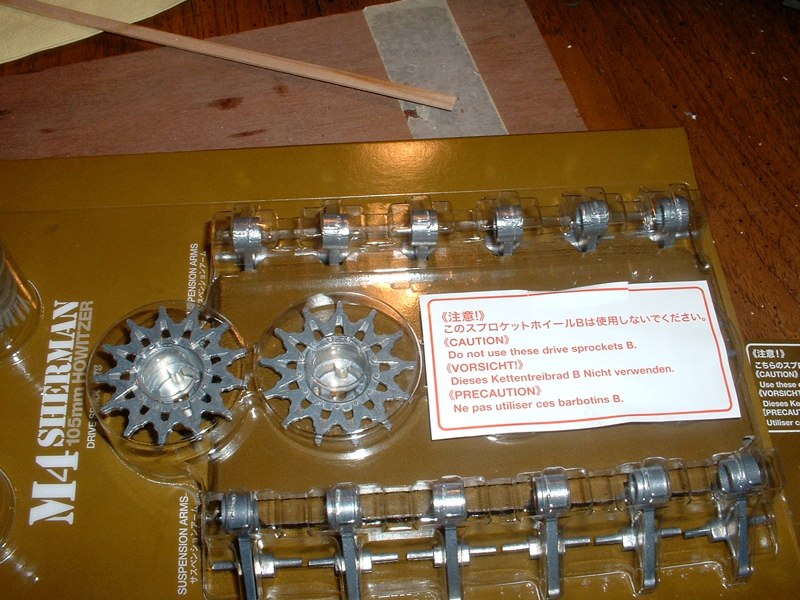
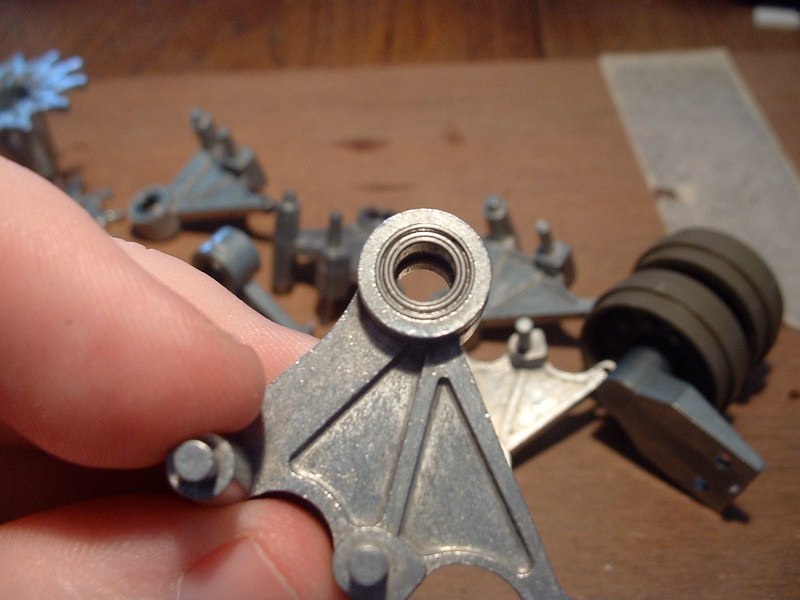
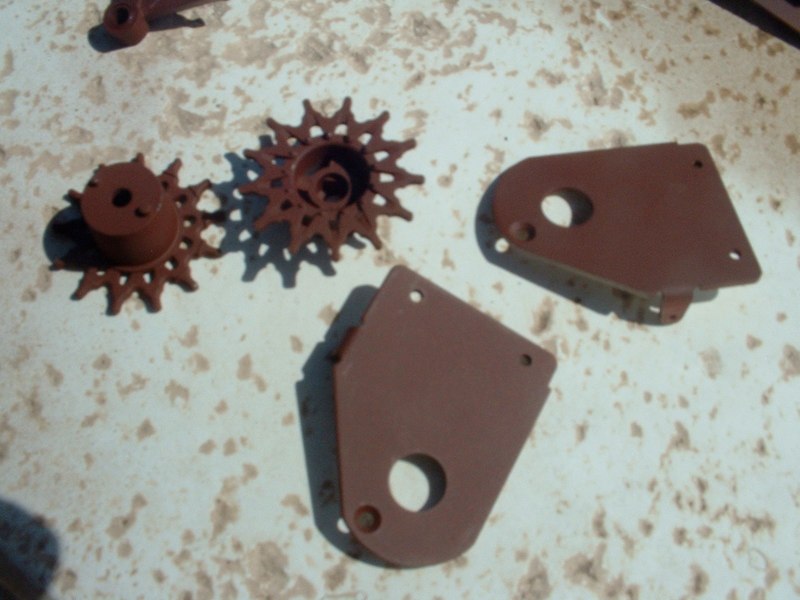
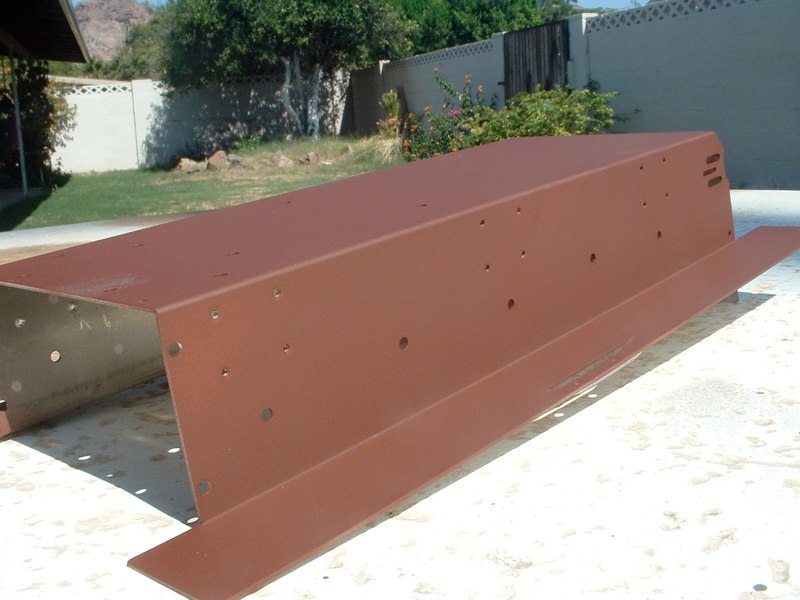
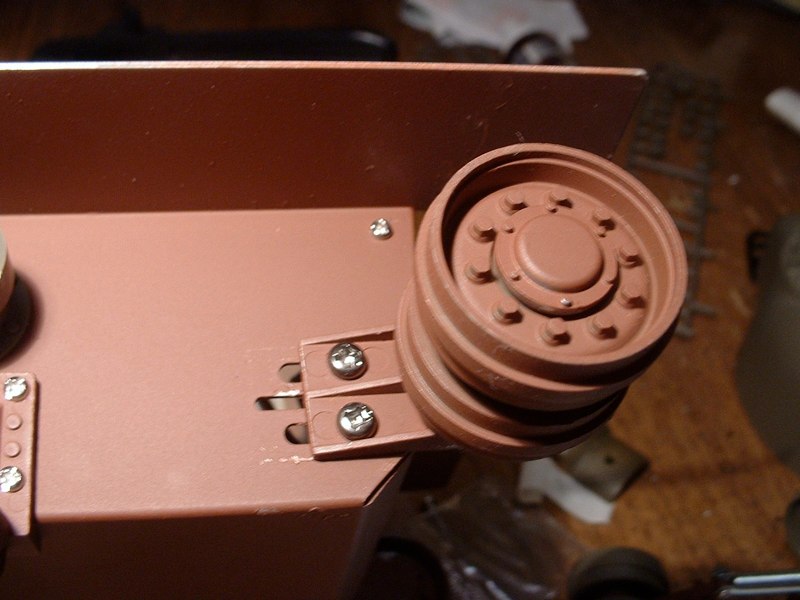
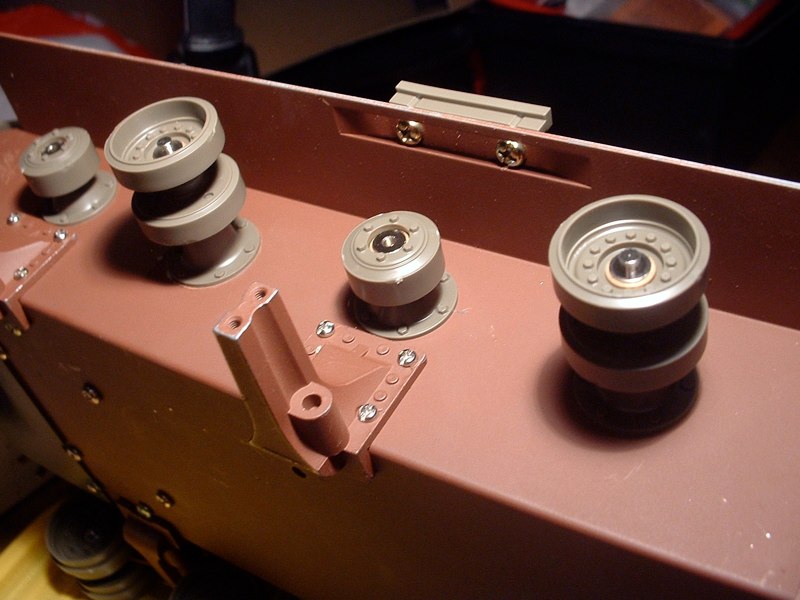
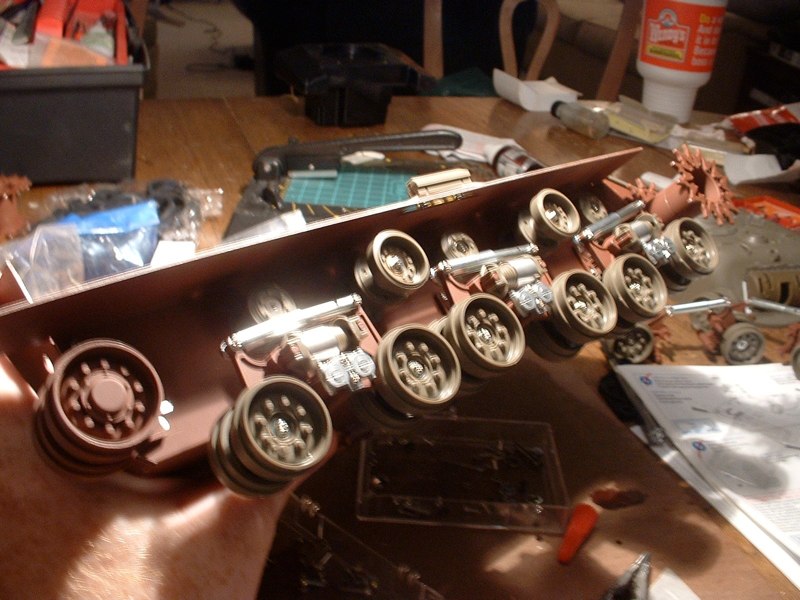
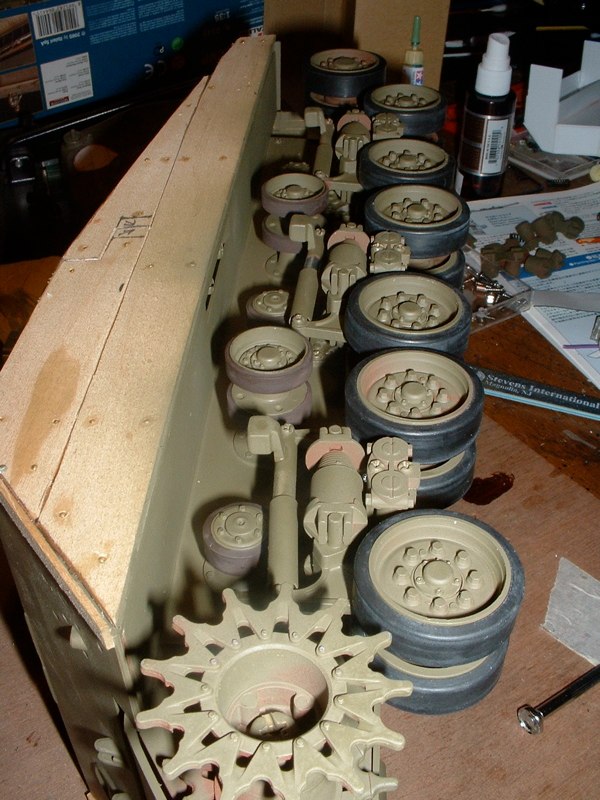
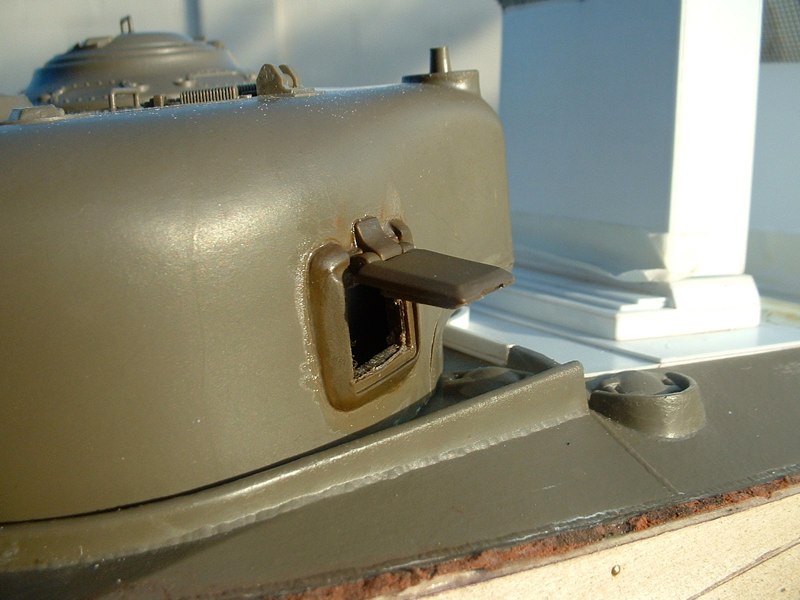
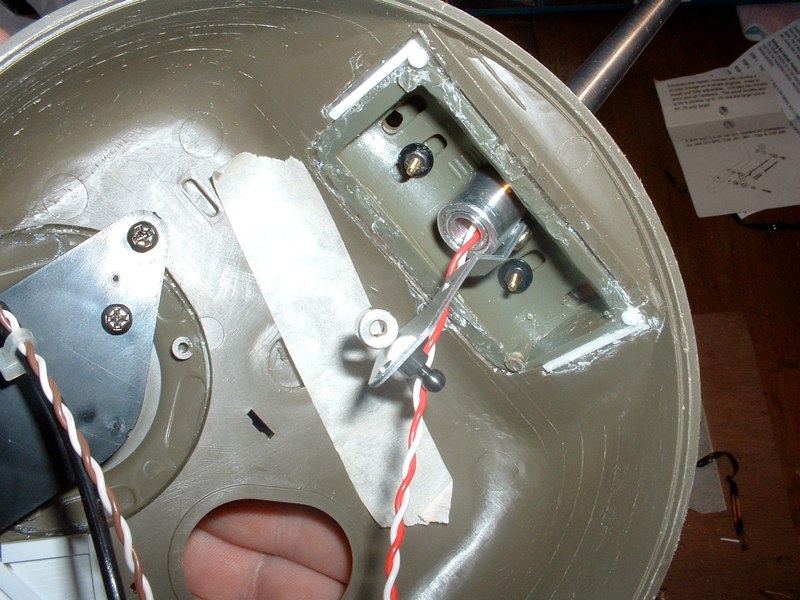
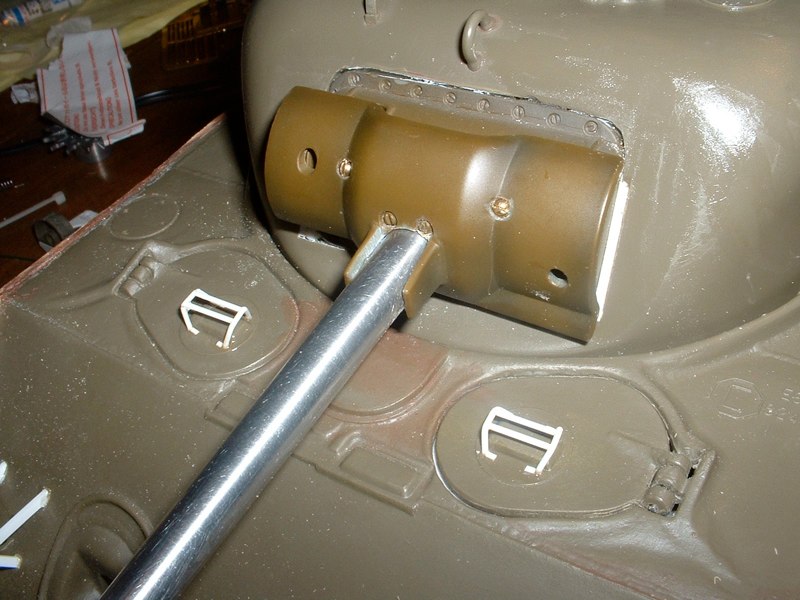
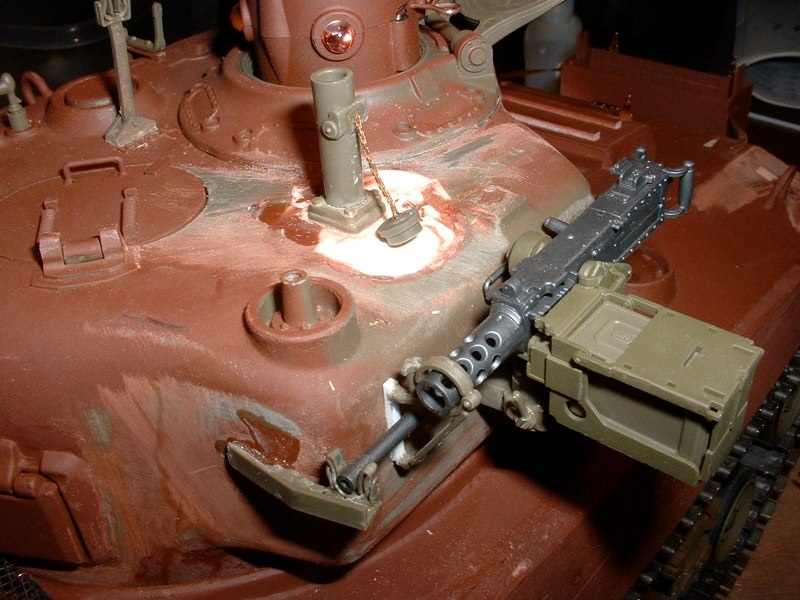
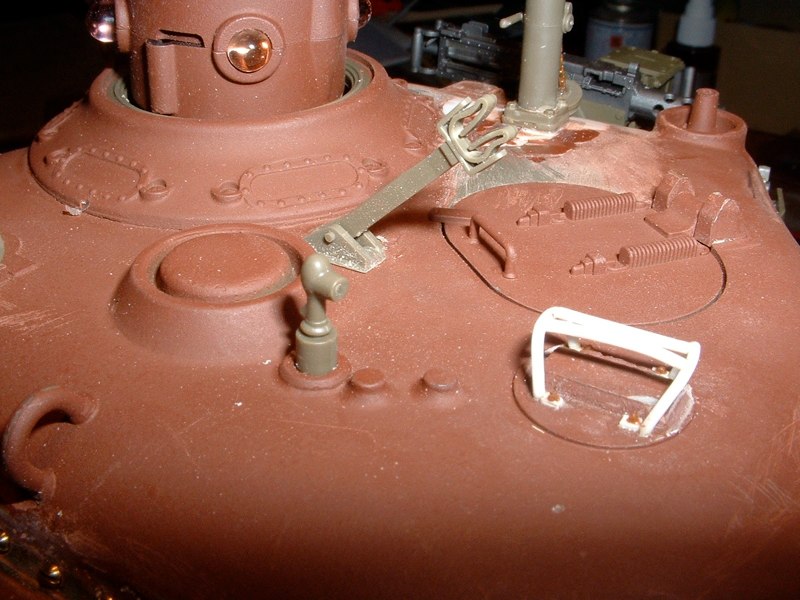
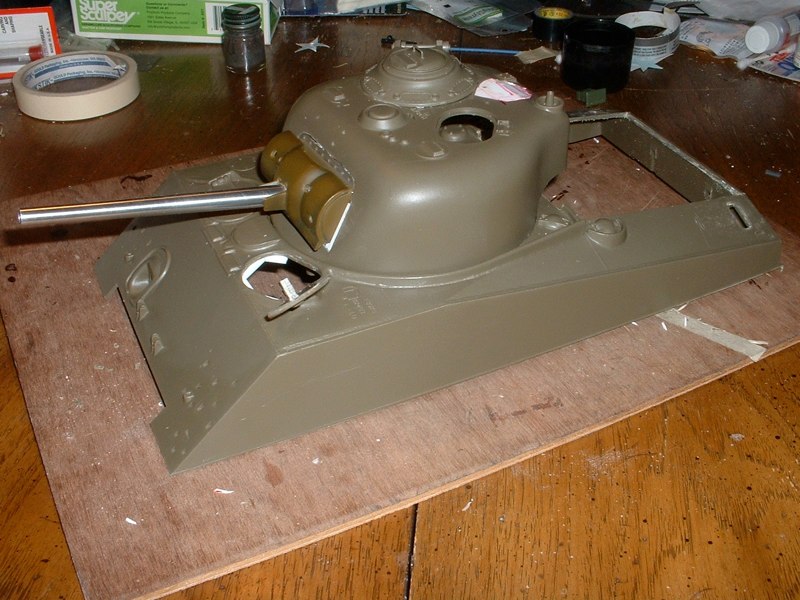
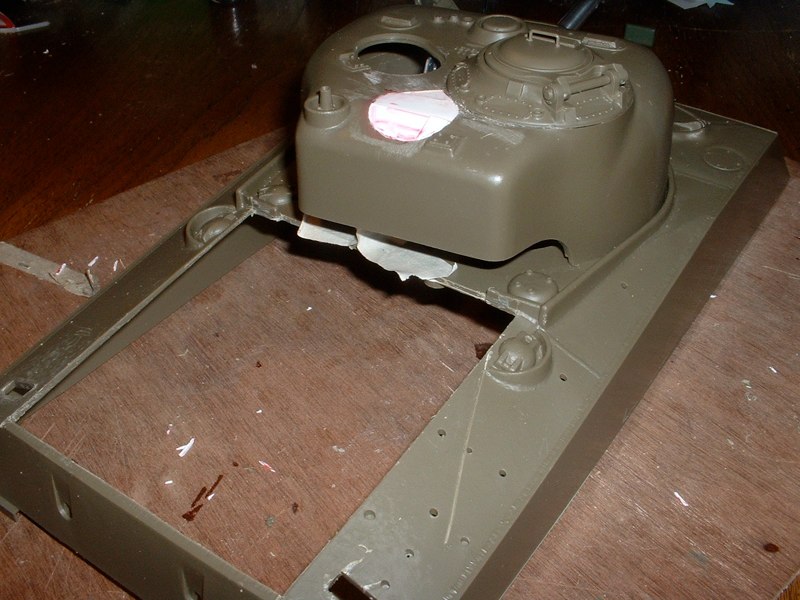
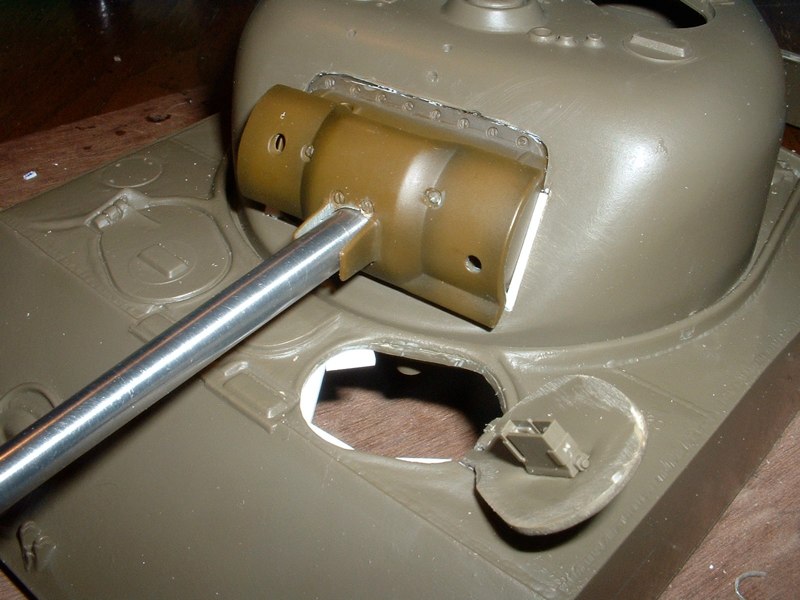
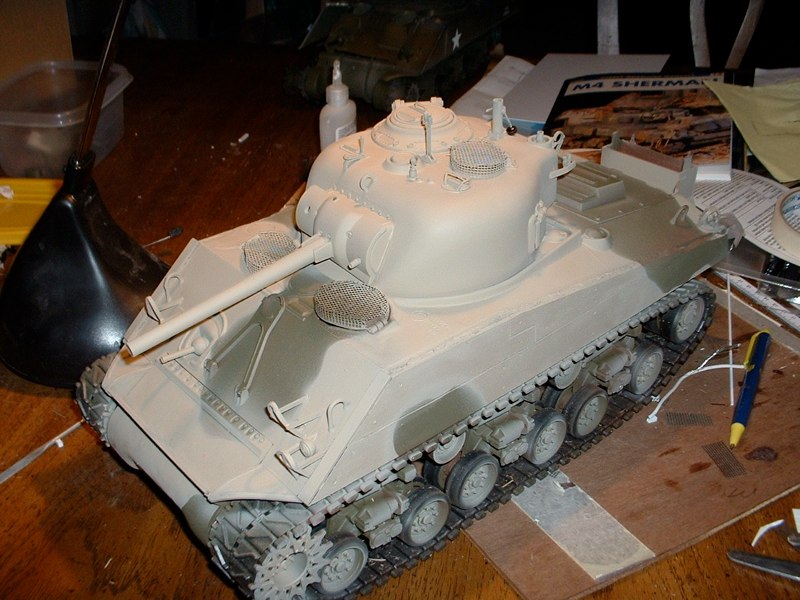
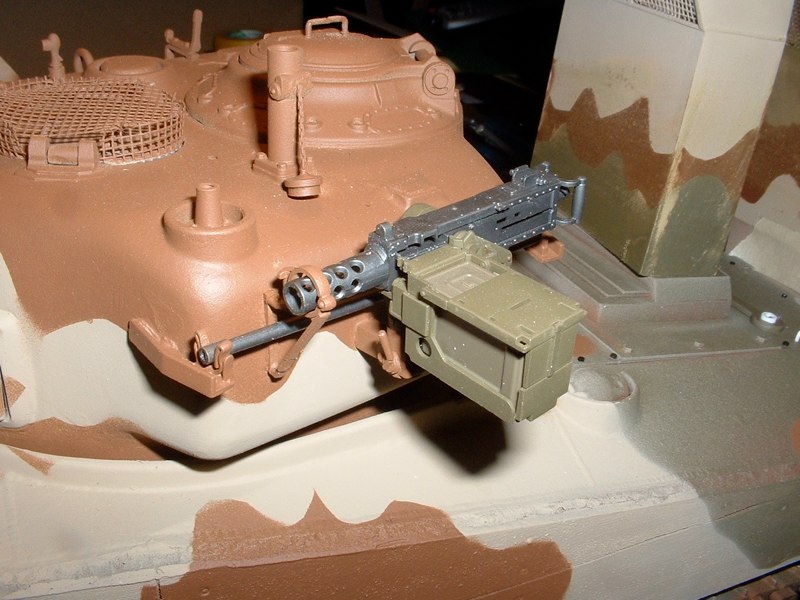
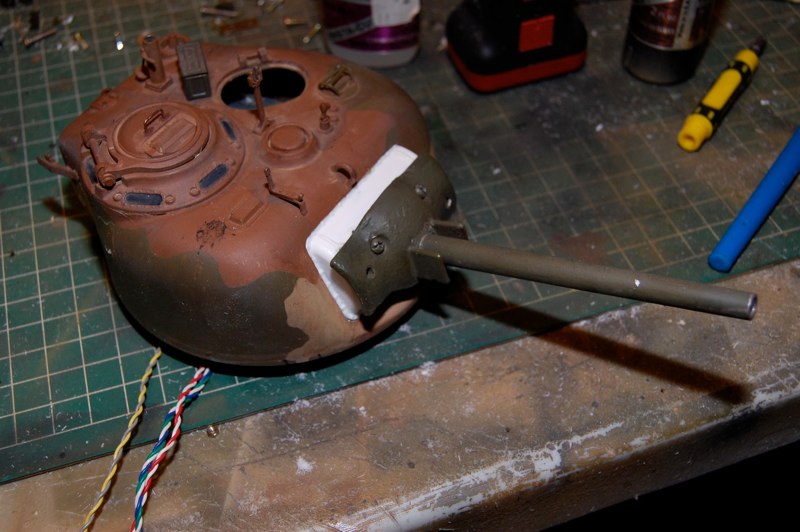
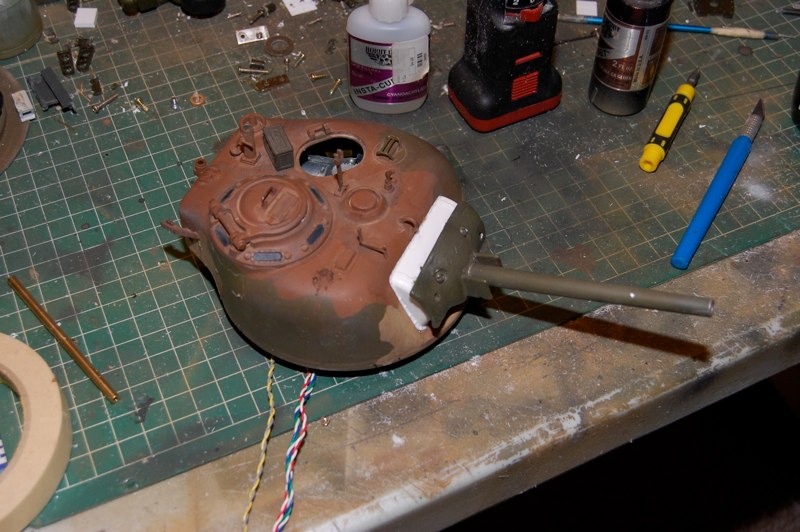
The next step is to actually get a Sherman kit for the suspension and full option components. This was made possible due to a lucky weekend in Laughlin where yours truly learned the game of Craps. I made the money for this kit starting with $100. I purchased the kit from my old hobby shop manager.Opening the cherry kit is always a pleasure.the only change from my first Sherman appears to be two new drive sprockets and a warning not to use the old ones as I did on my Easy 8. Very interestingI installed bearings into the bogie arms to improve performance.After a morning drying in the desert air the components were ready to assemble. I don’t worry about the consistency of the primer coat as I plan to add at least two more coats before I’m done.I started assembly with the washing and priming of the metal tub and suspension parts.I added the idler assembly and worked my way forward. The exact location is not important now since the tension will be set later.The return rollers are next and it is important not to lose any parts to the carpet. I spent a few minutes looking for a few bits here and there and managed to finish the suspension within the length of the OSU-Penn State football game.I used to work for Ohio State after all. Don’t forget to organize the plethora of screws, nuts and washers. I managed to sort them into two clear plastic boxes that allowed me to breeze through the process much faster than the first time. I will add the vinyl tire components after painting is done.We all wish it was a VVSS but it’s a good HVSS at least. I removed the completed bogies for painting and addition of the oil reservoirs.The kit gets an OD base coat and the USMC paint scheme as seen on Iwo Jima. Now to begin final suspension adjustments in preparation of the dreaded Tamiya thread lock stage. If you are wondering why I didn’t apply it the first time, the stuff has a mind of its own and is easier to apply all at once.I Used more of the 21st century toys parts. I scammed the pistol port as it is more to shape and workable!I have to modify the turret again as my plan for recoil isn’t going so well. After wrangling with it a bit I modified the elevation with two R/C aircraft throttle linkage components to simplify the process.While feeling ambitious, I also scratch-built thinner headlight guards even though my Sherman won’t have the head lights in place. These will probably break, but I like how they look now.Now the 21st century toys mantlet works just fine. I replaced two of the molded in screws with brass bolts that matched perfectly. Next came the brush guards on the drivers hatches made from .030 rod.I was trying to figure out a good way to hold the transmission cover adapter in place without the tape provided or gluing and I came up with .90 hex head bolts that match the molded in bolt heads completely.While detailing the front end, I modified the mud guards to fit the thinner hull style, and scratch built the wood plank brackets in front for stowage.I finished the reconstruction of the turret roof by replacing the MG mount with parts from the Pershing. I even added the rubber cap used to seal the mount. I plan to leave the MG in the rear cradle for no other reason than it looks cool. I will add chain and retainer to the mount soon.I also replaced the kit part with the Pershing MG barrel holder and added a brush guard to the periscope on the turret roof.The Project has begun with the modification of a spare Tamiya 105mm howitzer turret and a replacement hull ordered from the Tamiya website. My spares box donated a Pershing commander’s cupola, Sherman 105mm elevation components, crew hatches, and machine guns.After some debate I have decided to forgo recoil on this particular machine and concentrate on the exterior detail. I will put the flashing machine gun in the turret this time, and add a flame thrower to the hull.I began the turret conversion by borrowing the correct M34 mantlet and gun mount from a 21st century toys 1/18 Sherman. I have accepted the scale issue to compensate for the 105 mount being completely different than those used by late M4A3 75mm versions.
Joining the Marines
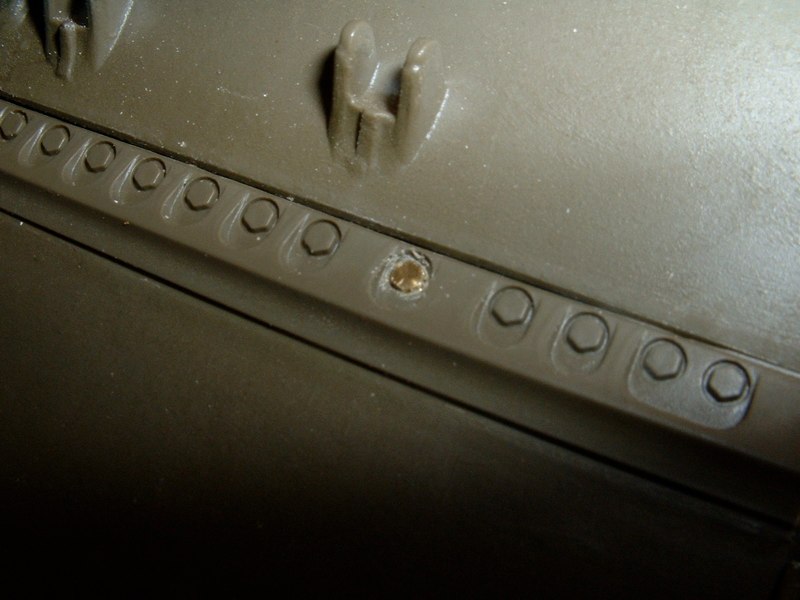
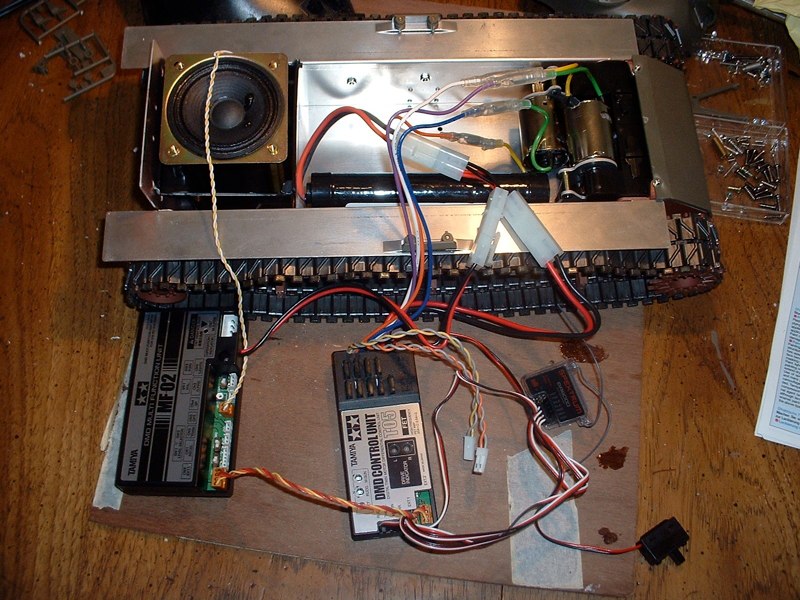
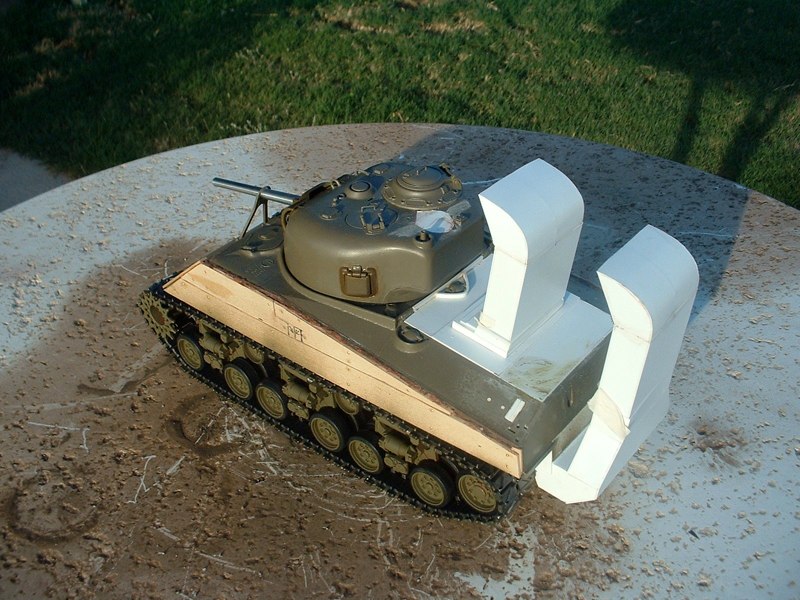
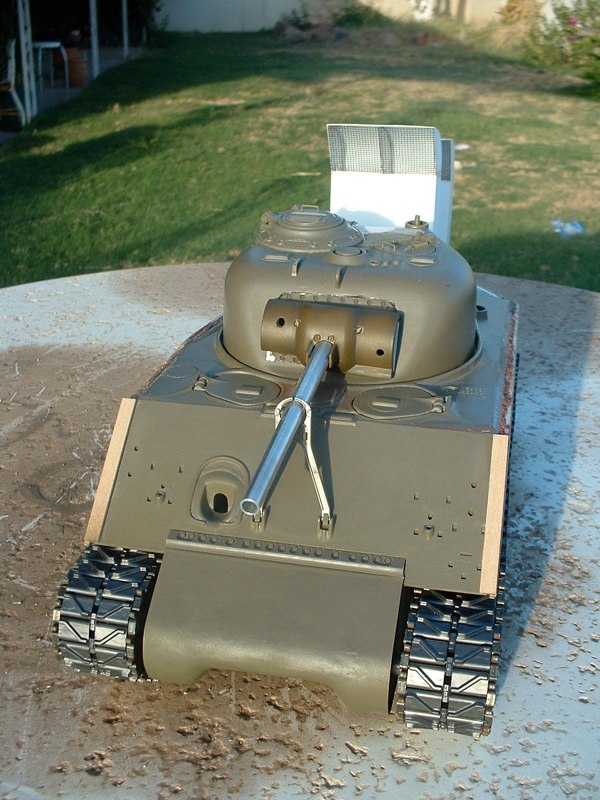
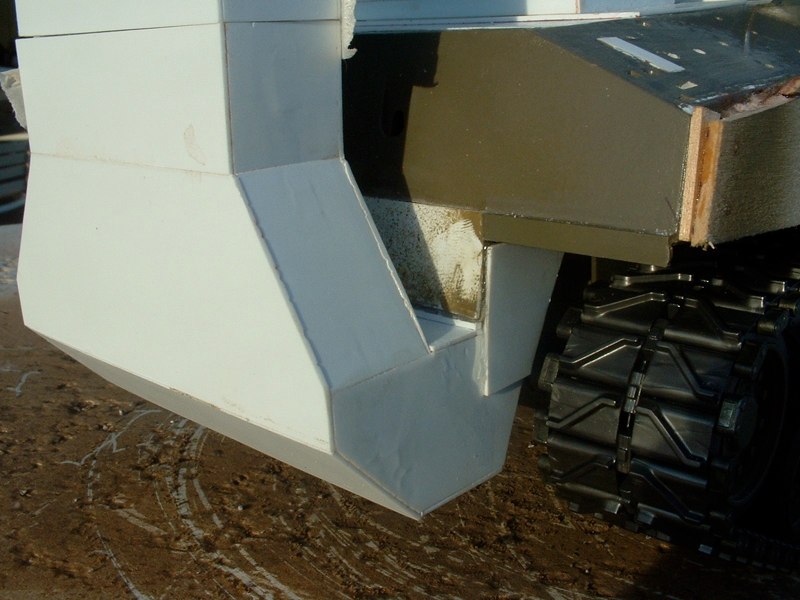
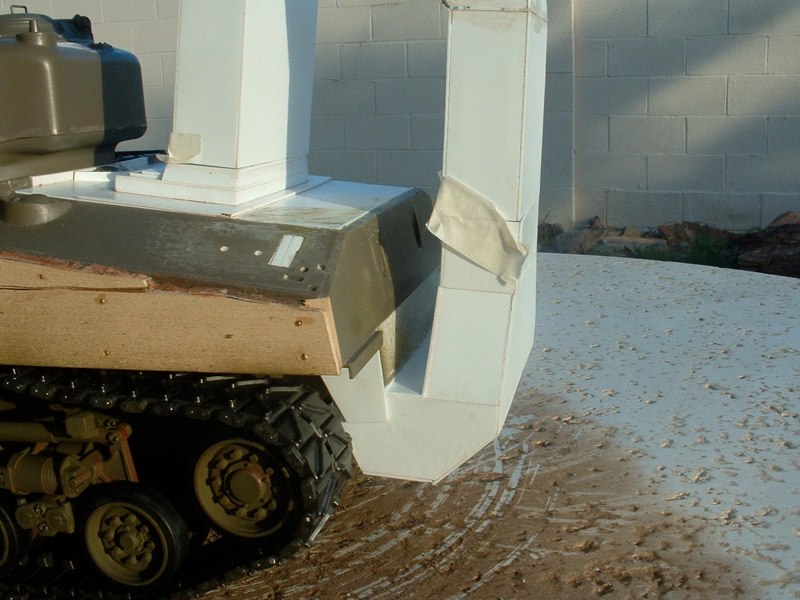
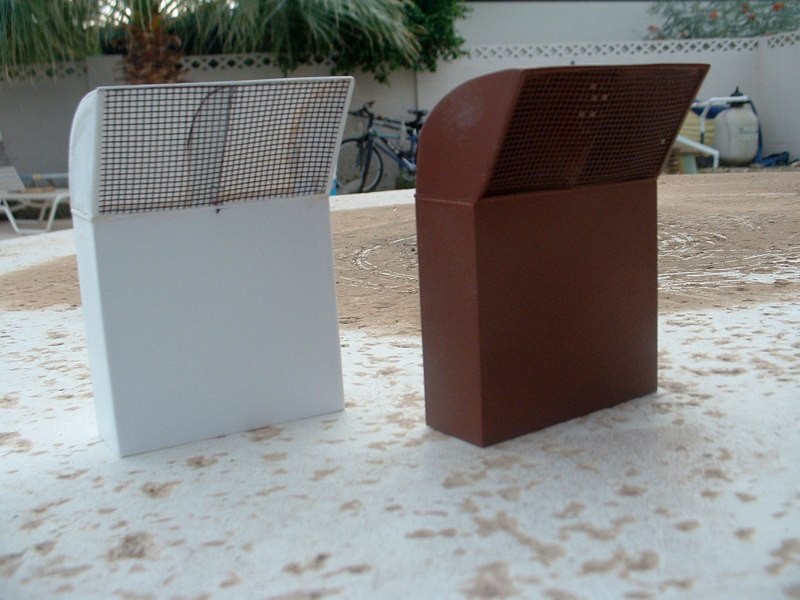
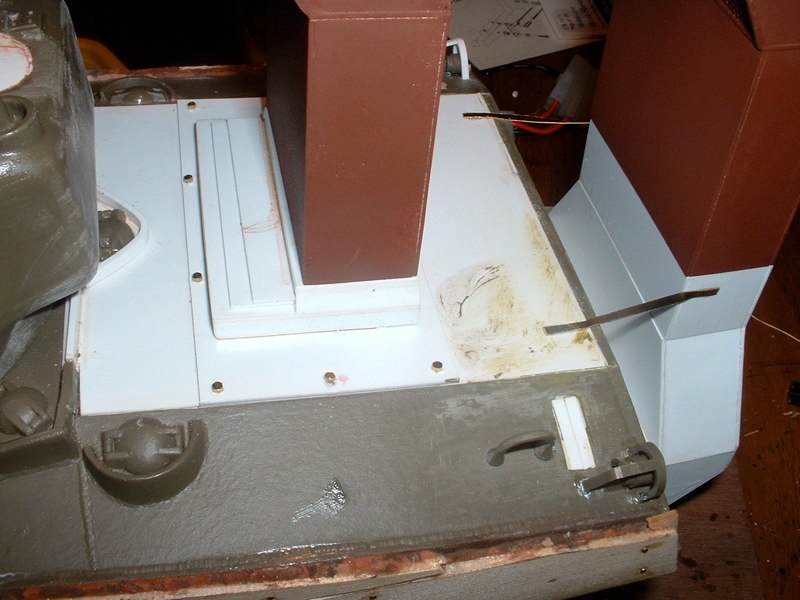
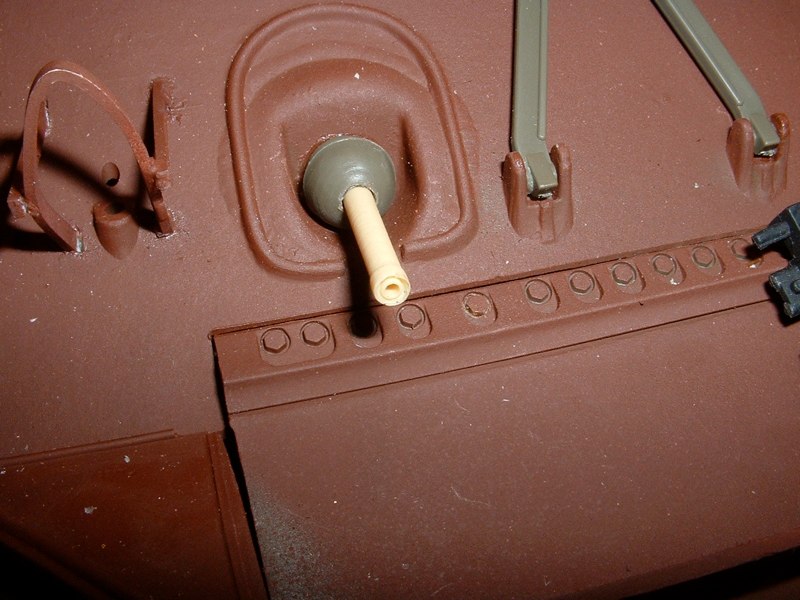
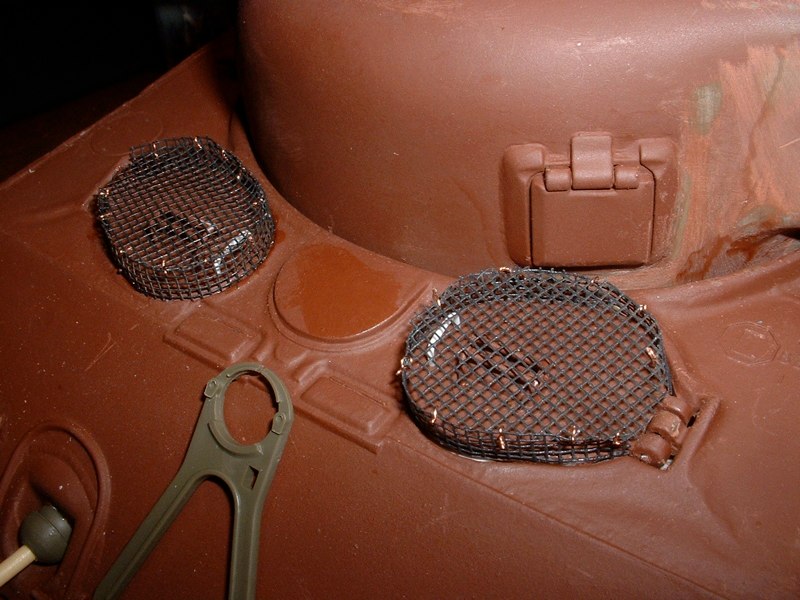
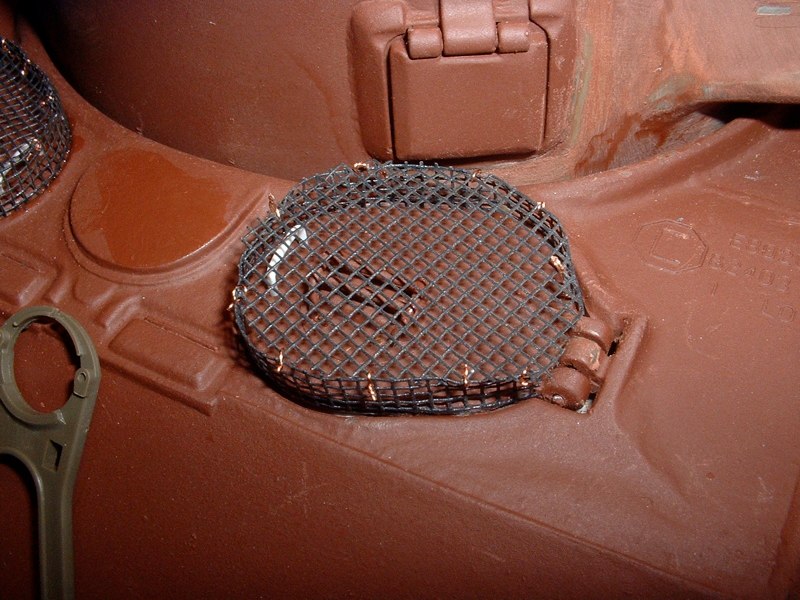
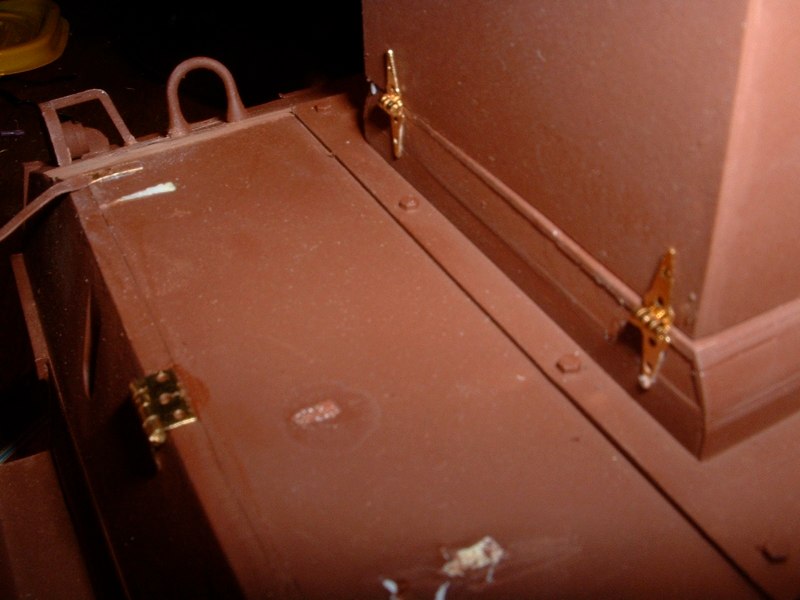
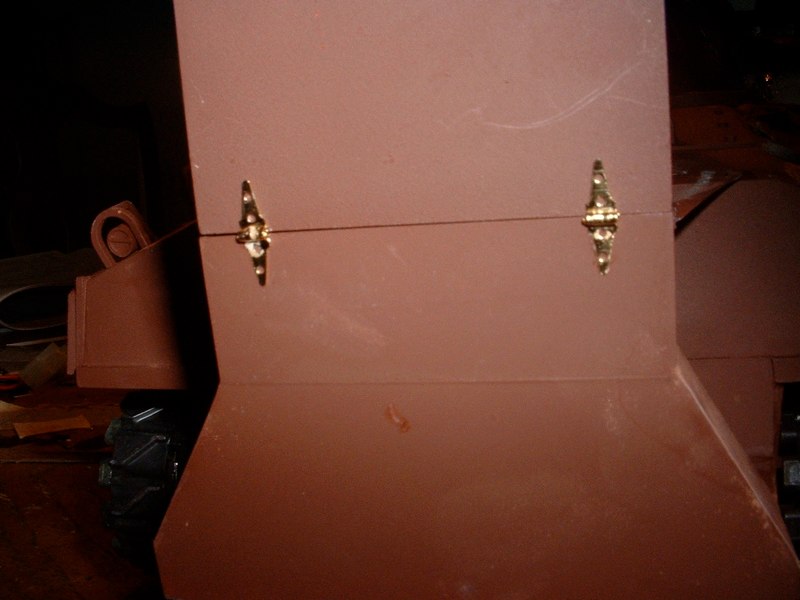
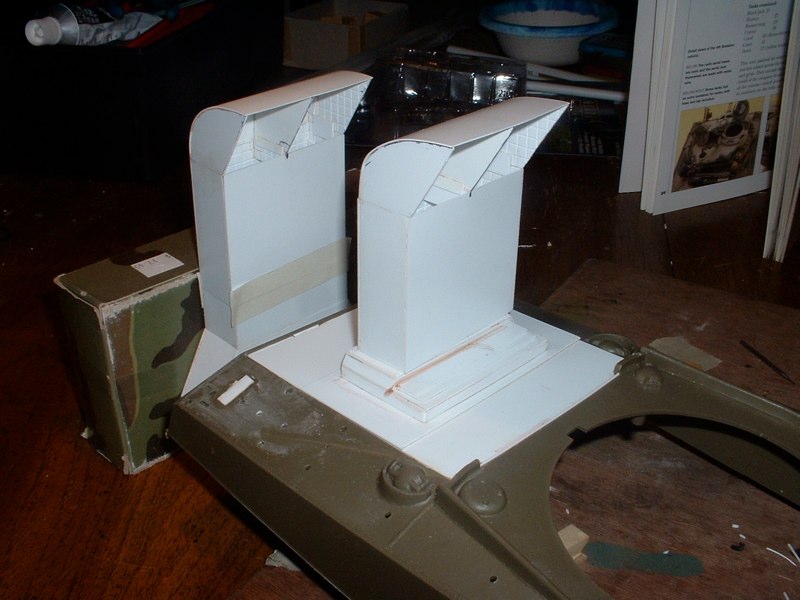
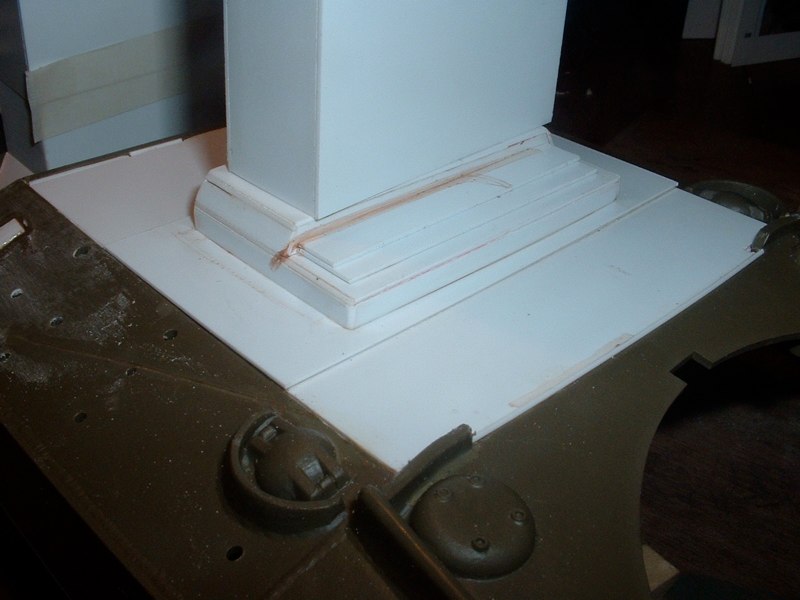
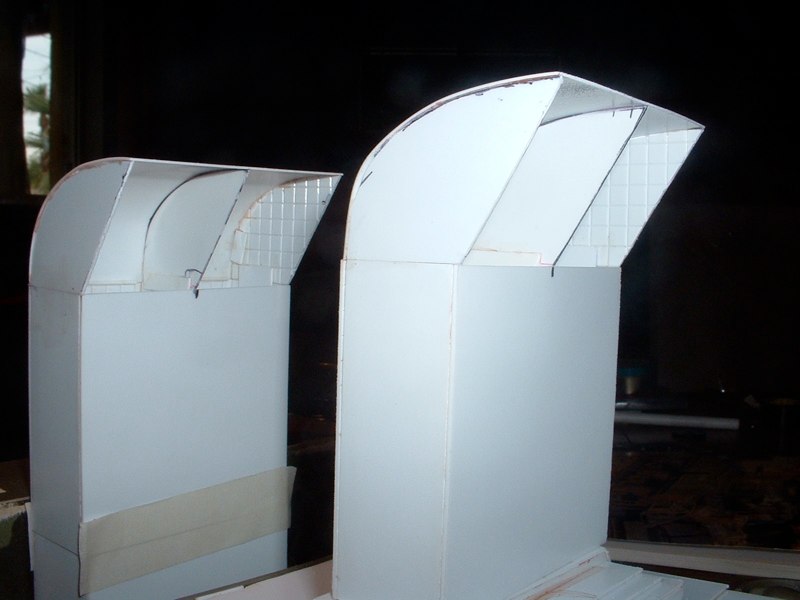
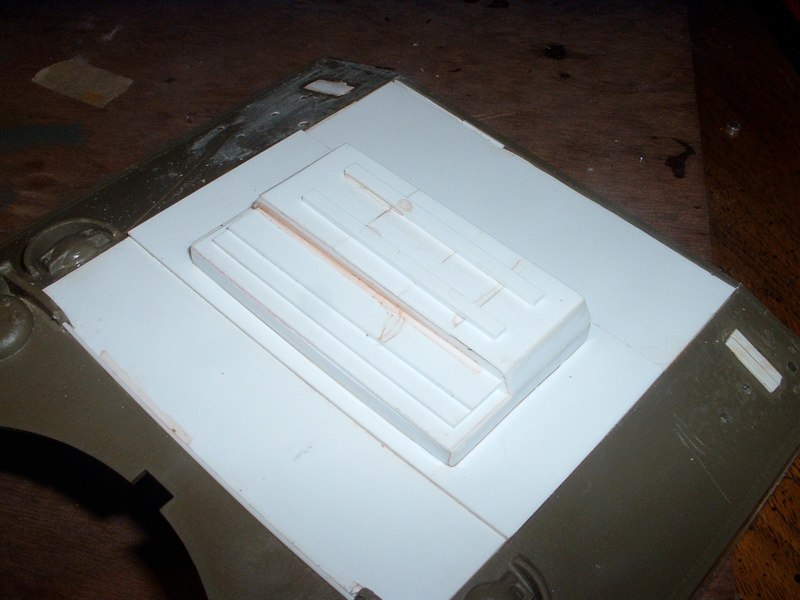
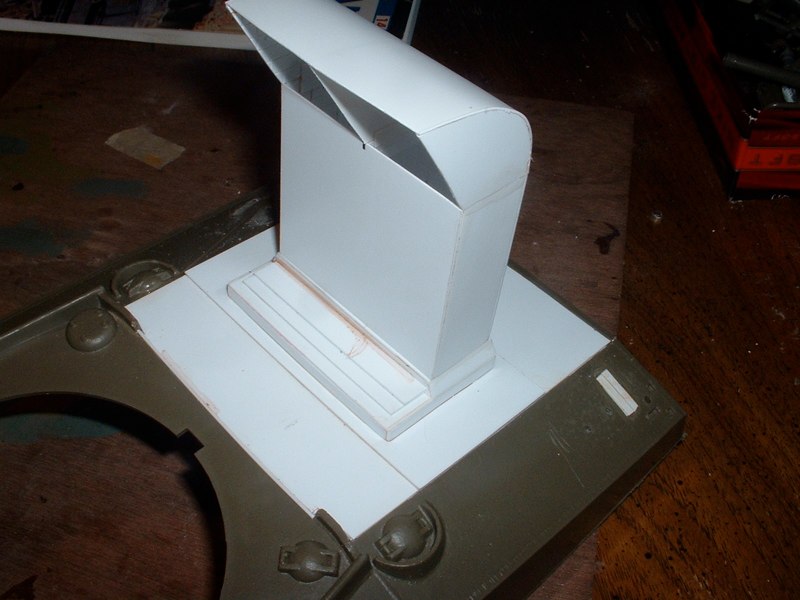
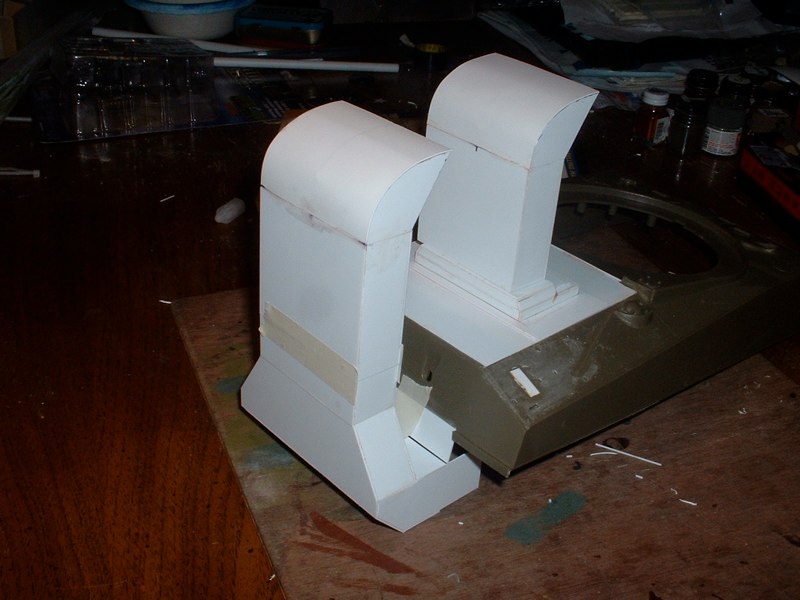
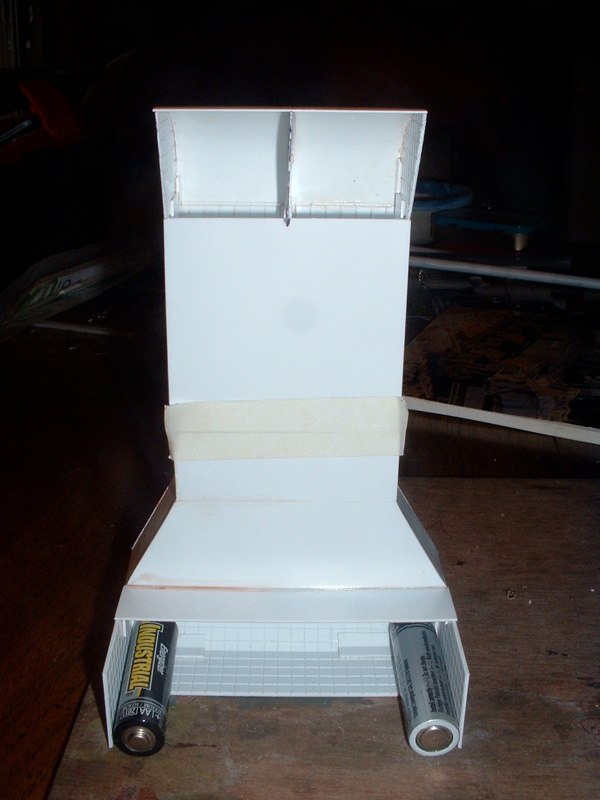
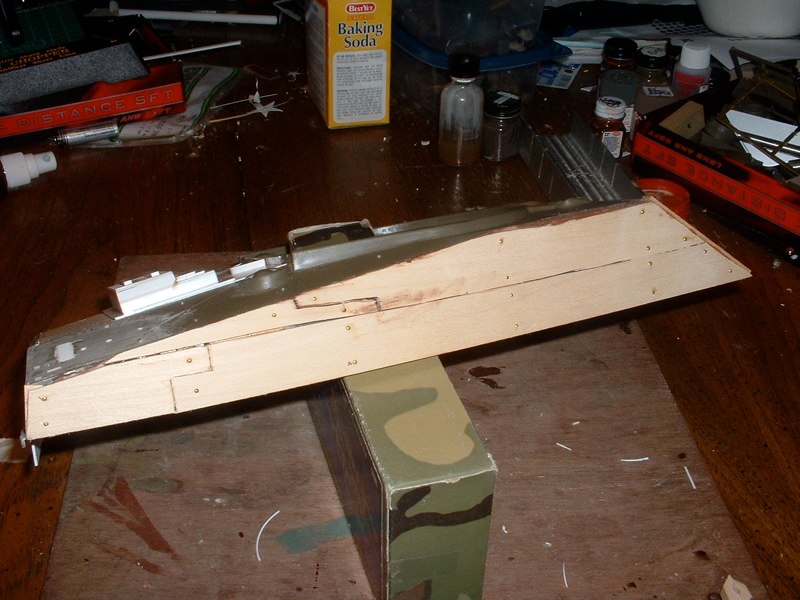
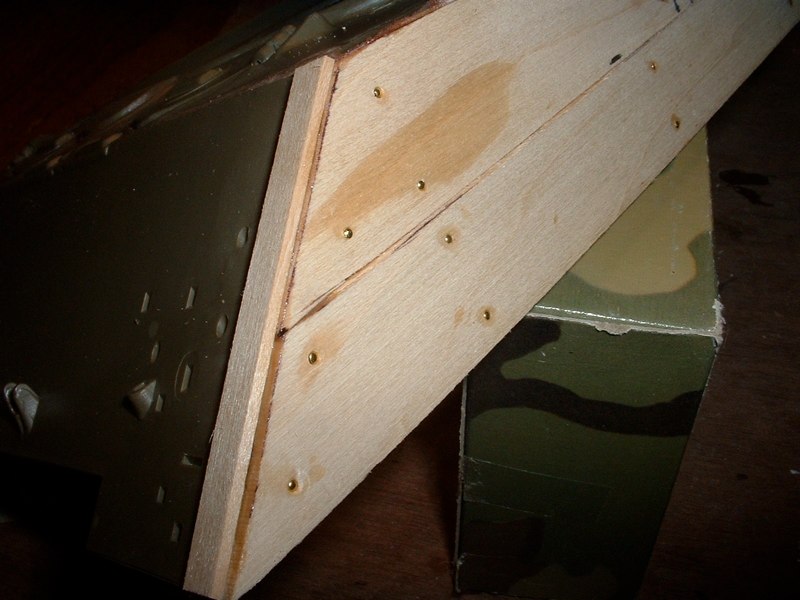
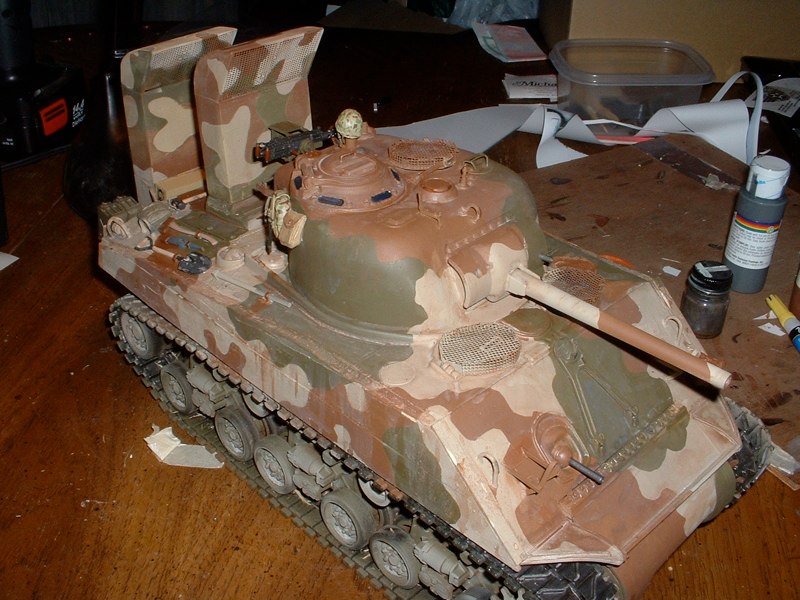
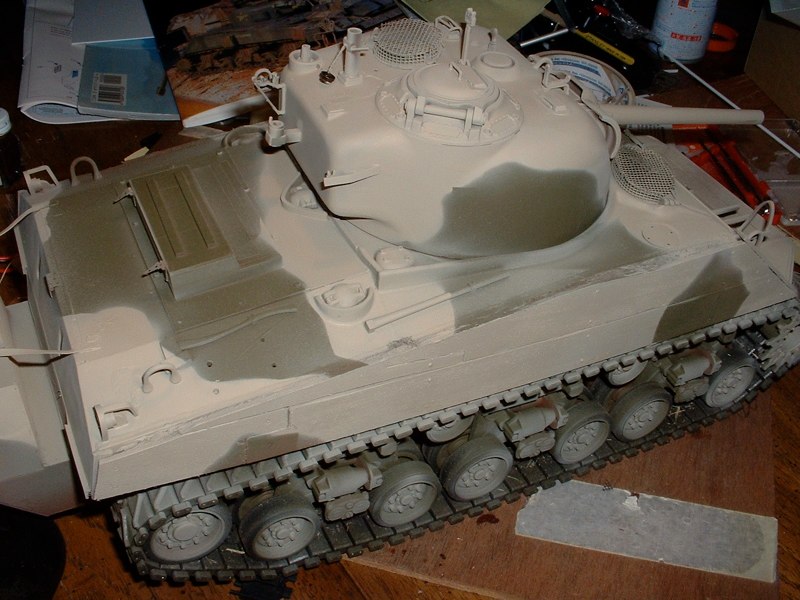
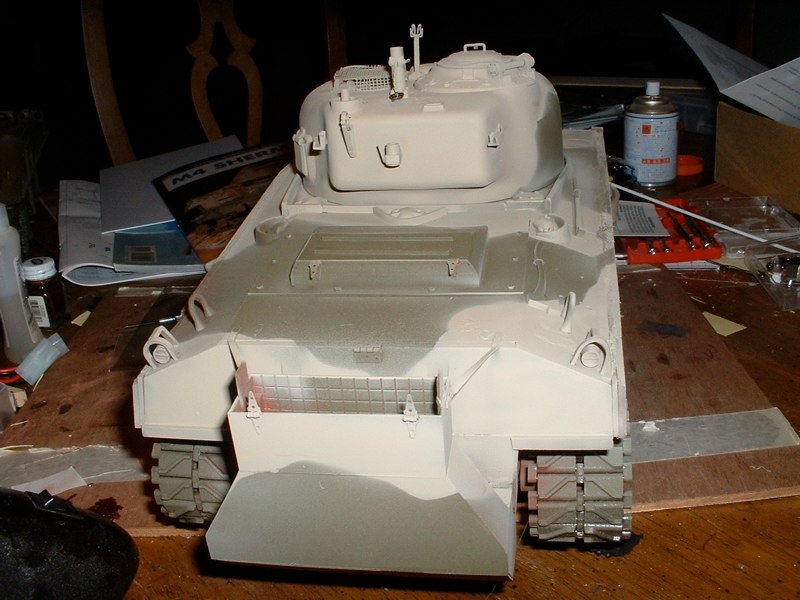
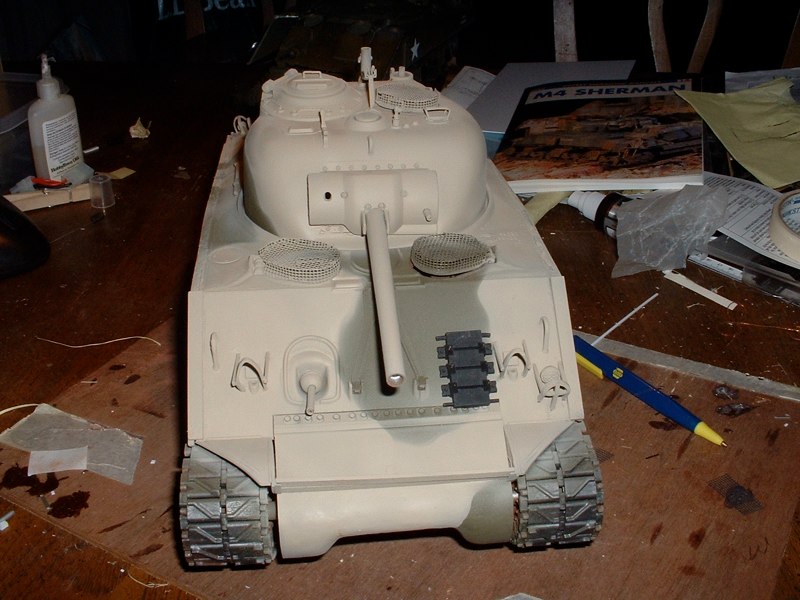
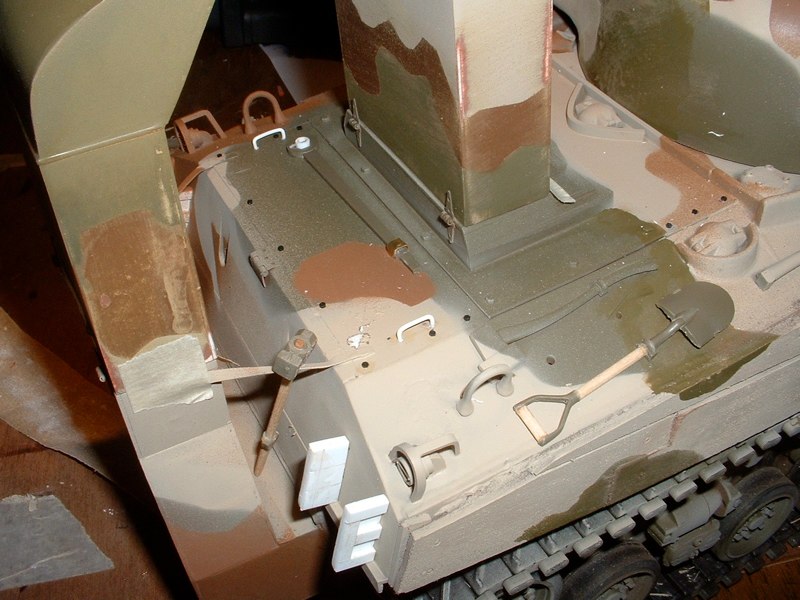
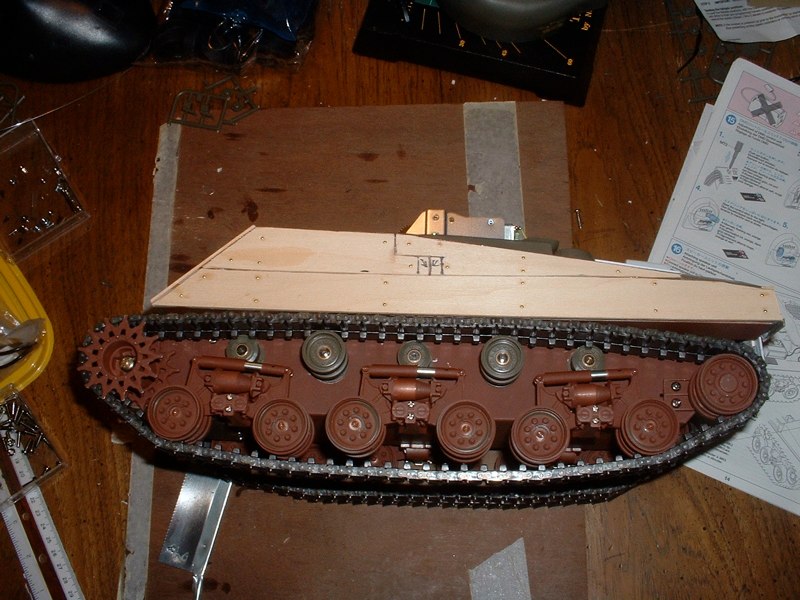
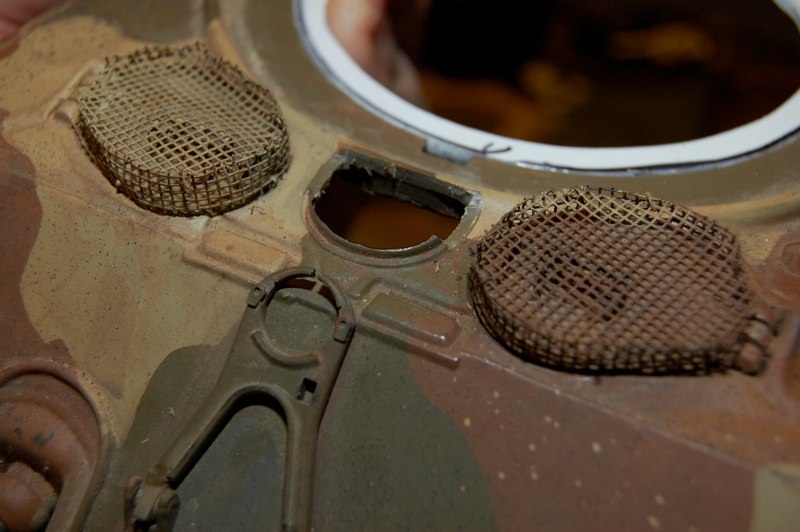
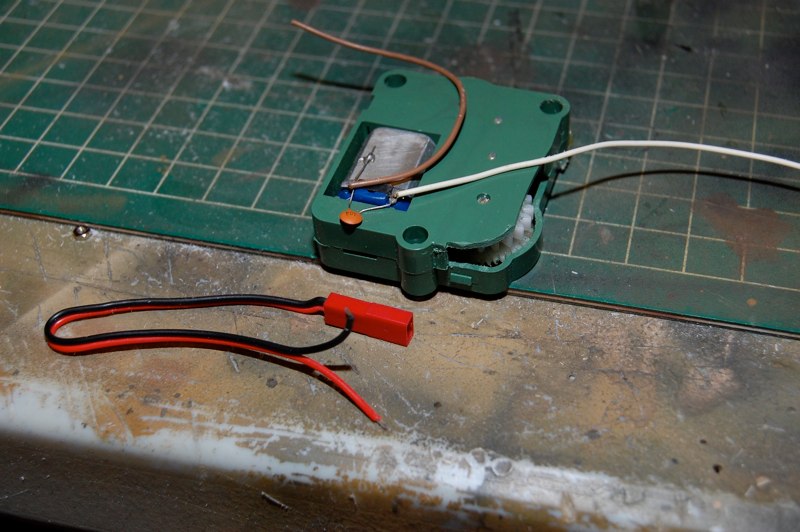
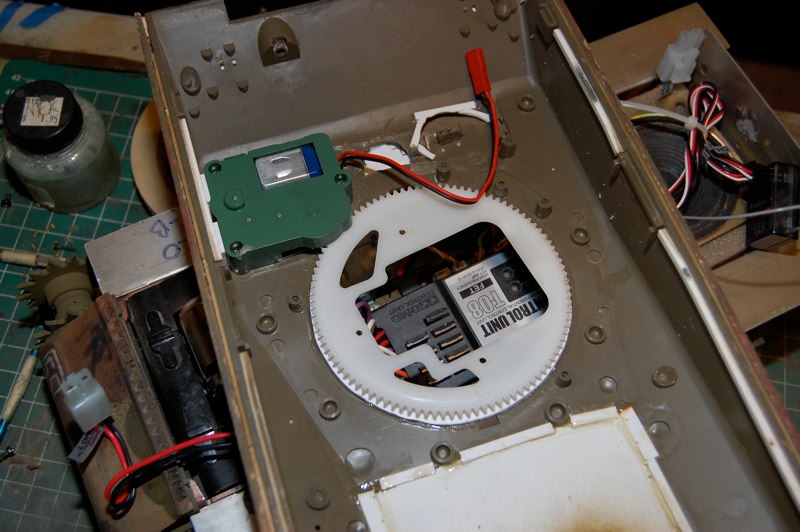
I have painted and reassembled the lower hull. All the plastic coverers have been glued into place and the suspension works as advertised. My application of the OD over the rust primer has allowed me to pre-shade many of the areas I plan to weather later. Now comes the tricky part, electronics installation. It makes me nervous to cut the wires, but the slop has to go. Much of what you see here will be trimmed or replaced soon. I tend to solder as much as I can to prevent the breakage from the turret dragging the wires around the hull. Some day I will Dean’s Plug the power cables, but not today.I continue to fit the wading trunks as they must fit tight, but allow the removal of the hull for maintenance. Once ashore they could jettison the upper ducts and continue fighting.The ducts will be taped in place with some gaffers tape I have and painted. One of the scratch-built details necessary is the latches at the base of each stack that will help make them removable if needed. I didn’t get the rear angles exactly right but once completed the errors will be minor.Time to fit the trunks.I plan to add more waterproofing details to more areas soon.I primed more parts with the red primer, including the full upper hood sections.I did two for now, but on a later vehicle they may all be replaced. Moving backward I added more of the hex bolts to the engine deck and bent brass strip to replicate the braces for the ducts. I primed more parts with the red primer, including the full upper hood sections.Everything seems to be coming together and I couldn’t help but add one more modification. I made the bow MG into a type E4-5 flame thrower with a spare resin part from the parts box. Is this the exact barrel? I haven’t found a definitive picture to prove me wrong. It’ll do for contrast.Now to the mesh cages attached to the hatches to prevent infantry from getting at the crew. I uses more of the window screen material and used fine wire and super-glue to attach them together.Now I add some hinges and clips to replicate the fasteners.ADAPTOR plate for the hull.The upper part of the trunks was hardest. I had to make six equal pieces and glue more card stock around the curve. I added screen material to the openings as the crew did to prevent Japanese hand grenade attacks. The stacks will be dented and dinged at a later date for that well used look.Here are the intake and exhaust trunks to replace the engine deck I cut away. These were all scratch-built from styrene and patterned after the 1/35 parts from the Italeri kit.I prefer to use the tile pattern Evergreen stock to scratch-build these parts as the lines help measure and keep pieces square. My references vary on the details of these trunks so I built a fair representation of the M4A2/a3 units.The rear unit will attach to the hull bottom so I left it rough cut for now. It sticks out much farther than I thought and looks huge in 1/16 scale.The gap was filled with sheet styrene and balsa strip with super glue on top to replicate the concrete. To give it texture, I sprinkled baking soda in the wet glue and bonded it with a thin wash of brown paint. The bolts/nails are tiny brass brads from doll house hinge sets. I tapped the locations with small drill bit and super-glued the brads in place. Once again I get to bolt something on!!Many Pacific Shermans were modified with wood planking to act as spaced armor to counter magnetic mines. The gap between the hull was often filled with concrete to deal with the Japanese anti tank weapons. I made my planks from balsa wood.
Paint and Detail
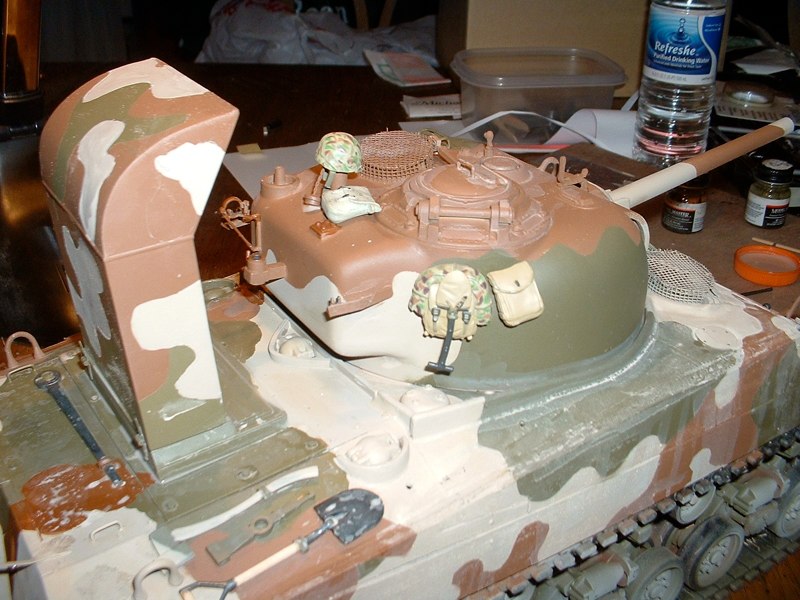
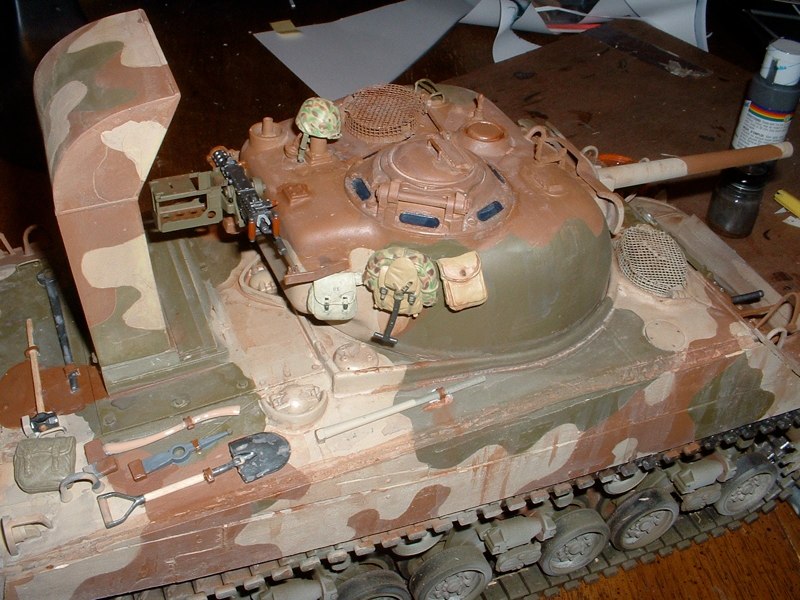
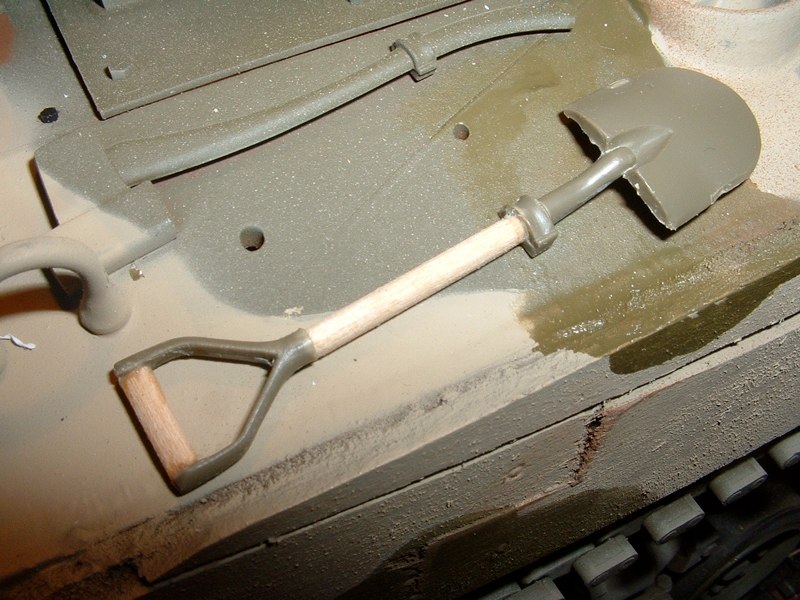
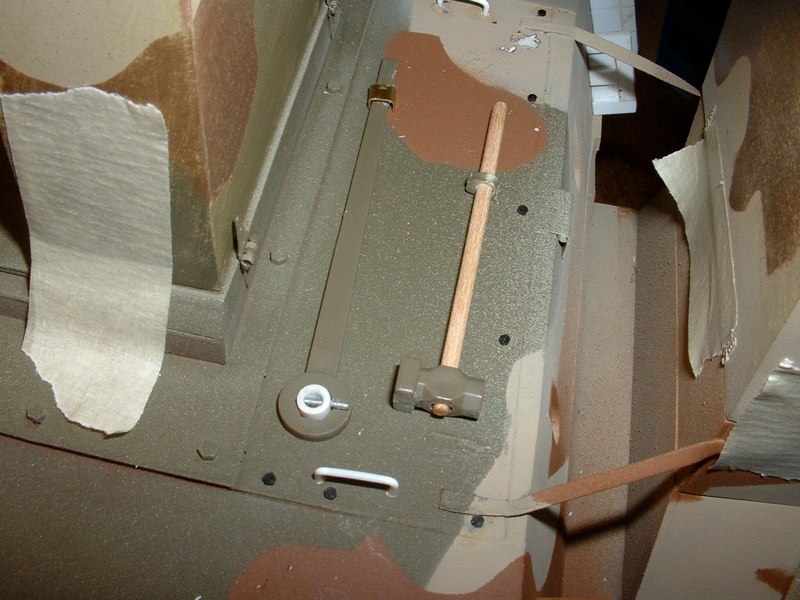
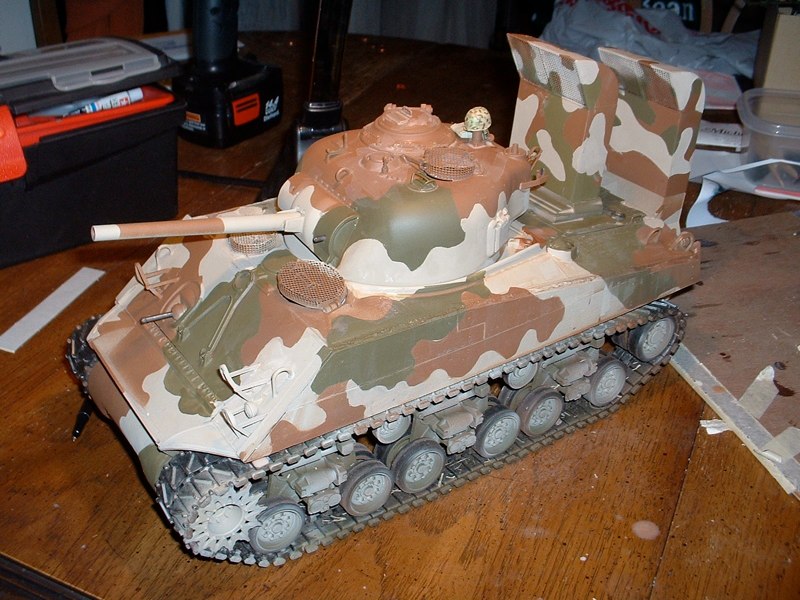
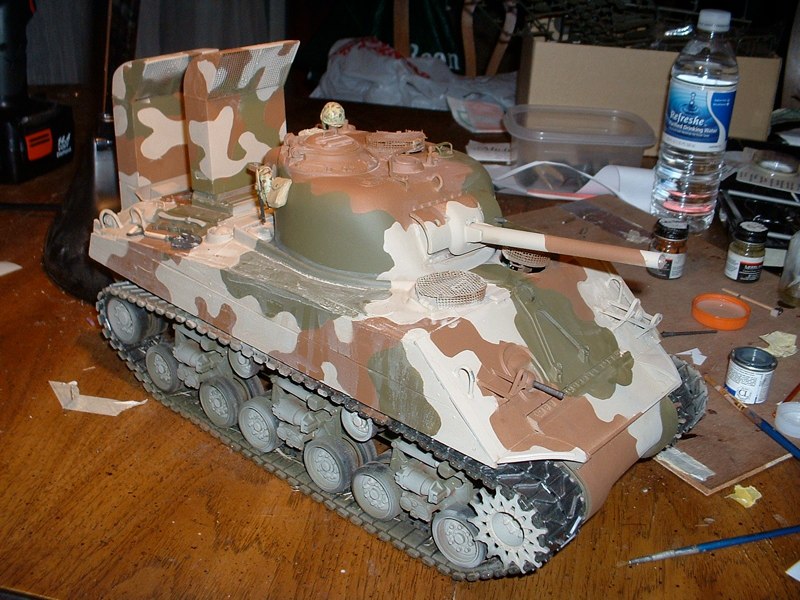
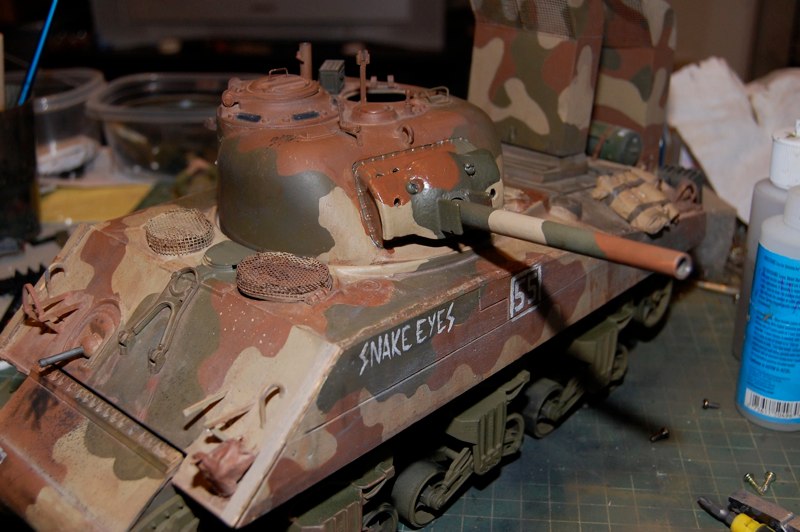
Testor’s MM OD sprayed onto kit and stacks in the appropriate camo scheme for the Iwo Jima vehicle. I cleaned up a few goofs and am pleased with the result. Now I begin to wash the vehicle with diluted acrylic paint. A few infantry accessories are added to the turret for diversity and I begin the weathering process in earnest. The washes are helping blend the colors and mute the overall scheme.You can see a before and after look in the pictures below. After the initial washes were dry I applied a dull coat to the vehicle and the applied a layer of black soot to simulate the “Sands of Iwo Jima”.The look is what I wanted so now begins the hurried process of final details to the tools, stacks and markings so I can display it at the local IPMS model contest. I hoped to add detail to the locks for the stacks to make them removable (and believable), but that can wait till after the upcoming contest. Must weather!!!!Now I begin the serious painting by applying and Testors OD enamel base coat and over spraying with acrylic Tamiya Buff from my new Iwata airbrush. (I won it in a raffle at Chilicon in May) I did these two coats mostly freehand with a few paper masks.I know these two coats look a bit sloppy, but I plan to carefully mask the brown coat that comes next. I need to have a hard edge on the scheme as much of it was applied by roller and brush. Depot level maintenance did use spray guns for the initial over coats, but many field units modified their schemes by hand.The irony of this was the modifications were done after loses in previous battles had shown the OD tanks stood out on sandy beaches. The new sand colored Shermans stood out against the volcanic sand of Iwo Jima. The USMC Forest Green and OD schemes would have blended better and most US Army machines remained OD. I like the USMC scheme.After a few fits and starts I have the initial paint scheme in place. I felt detail was lacking on the rear of the tank so I began adding bolts and grab handles to the engine deck. Brass hinges were added to the rear deck to simulate the rear storage rack that was removed on many of these vehicles.I super detailed the pioneer tools by replacing wood handles with.... wood. The track tensioner tool received an accurate circular mount with locking pin and metal bracket. The axe and pick may get the same treatment later.I had plans to add hex bolts to replace the out of scale screws, maybe another day.
VVSS and Recoil Update
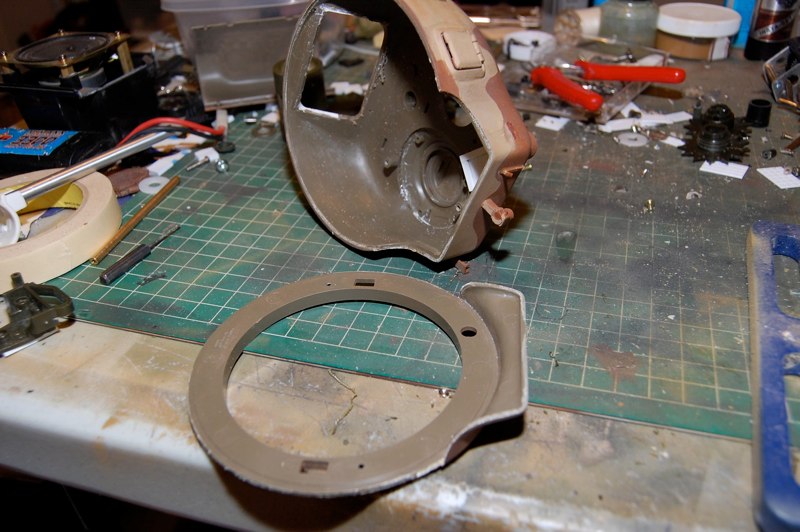
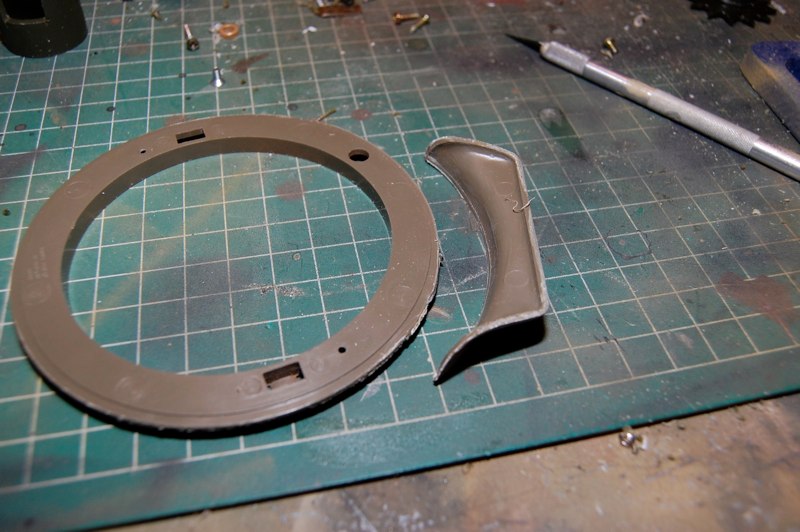
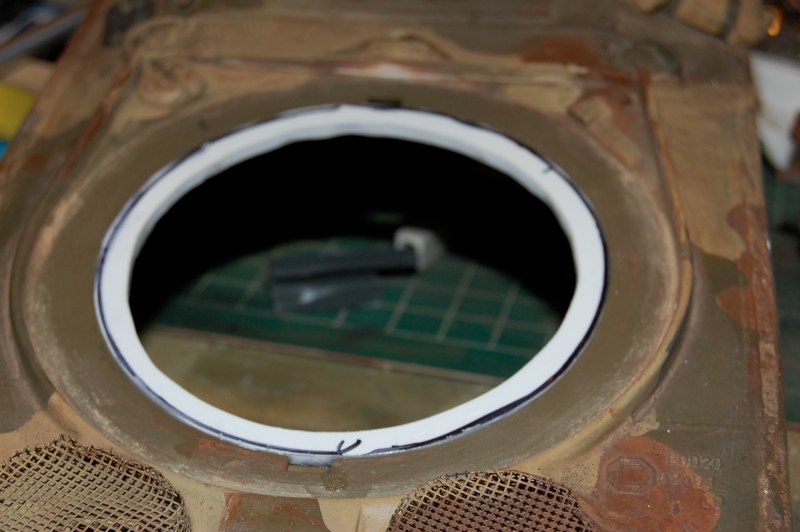
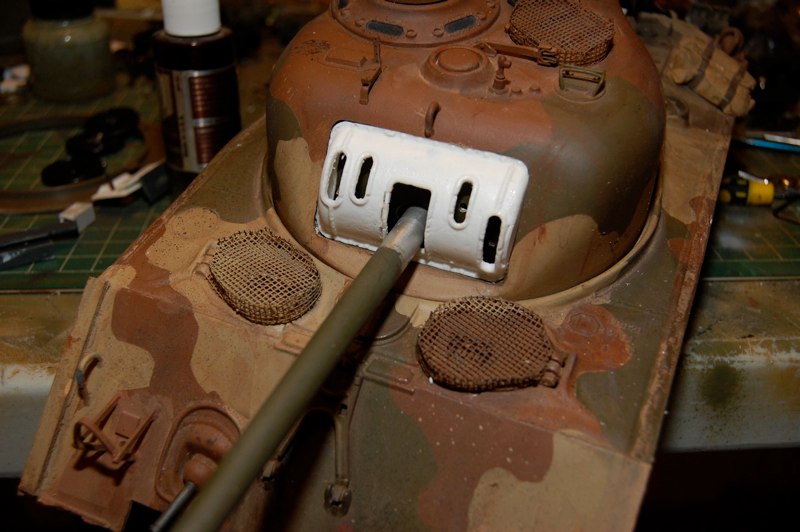
Time for the next generation. I am adding Recoil- KV Electronics- New mantlet and rotor shield, and a New 75 mm barrel. Step one is to make the lower Turret removable for working on interior.Cut the lower bustle off and glue it to the upper turret halfI am adding a Mato turret ring and Traverse. My own mod is to shrink the turret ring to fit A mato Lower turret by adding a plastic ring.DAK custom Rotor ShieldAdded mantlet and 75mm barrelDSC_0626.JPGCutting out ventilator.rewiring the traverse motor with tamiya compatible BEC connectors.VVSS Suspension transfered From a Mato Sherman.Trying to match the paint back up. I did paint this 4 years ago.....Ring and traverse in place.
In Action
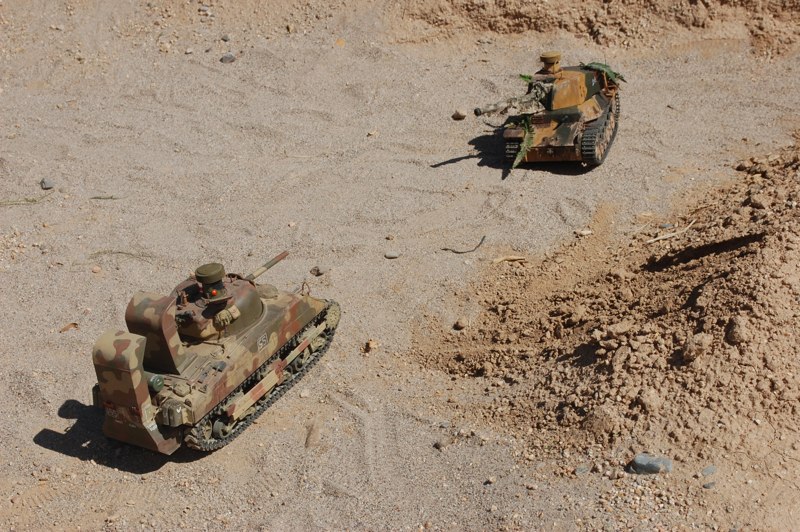
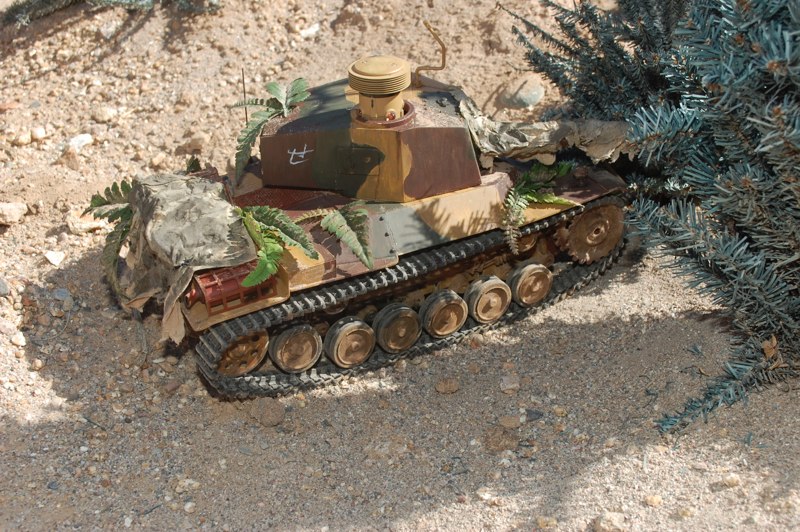
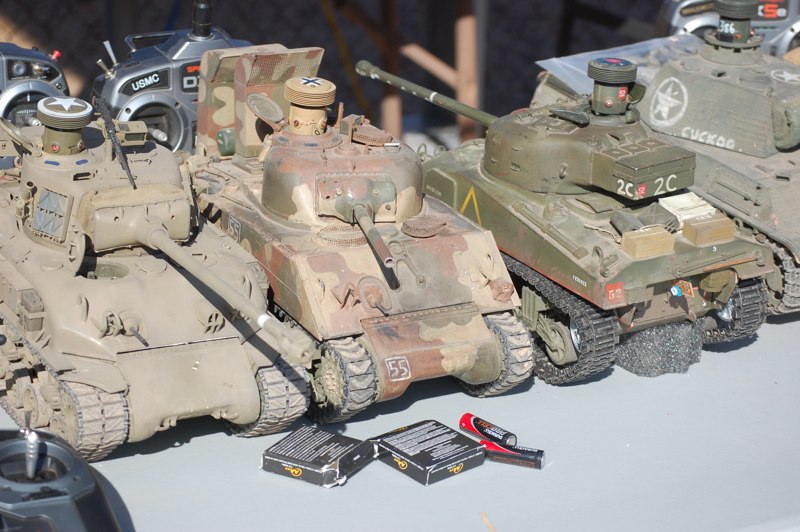
nemesis!!! JApanese type 3 was built to counter shermannon saw service but we couldnt resist!LATER MOD IS THE WOOD SLATS TO prevent suicide attacks between the treads.SHeRMAN CROWD GROWSDSC_0138.JPGOn the photo bench at IPMSDSC_0141.JPGDSC_0142.JPGOn the DAK battlefieldLooking Sharp!Back in business!I am using the Spektrum BR-6000 receiver in this tank so I can be free of channel conflicts and operate multiple vehicles off one transmitter. For $60 each, I can add up to ten vehicles. I keep a few kits on separate radios for fun and home battles of course. Recoil has been dropped from this vehicle. I want to keep moving to make my OCT 21,22 deadline for completion. I have a model contest and a Battleday in the same weekend! This is the whole idea as far as I am concerned.