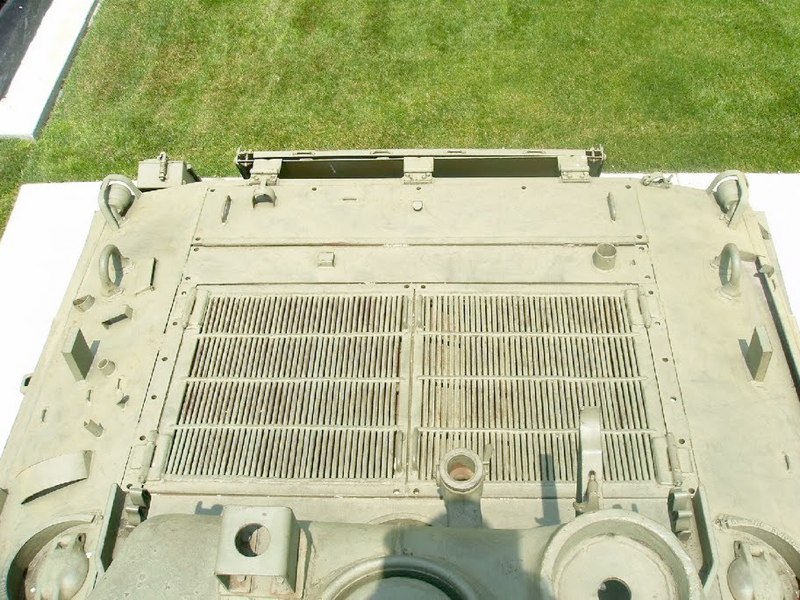
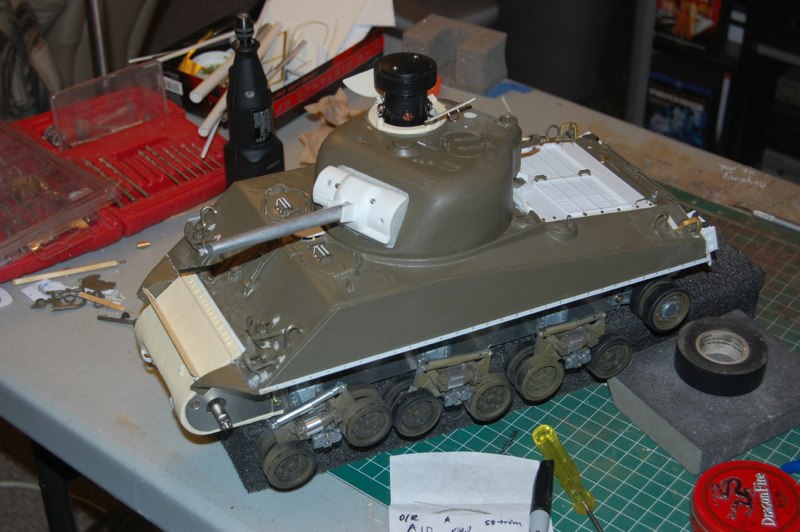
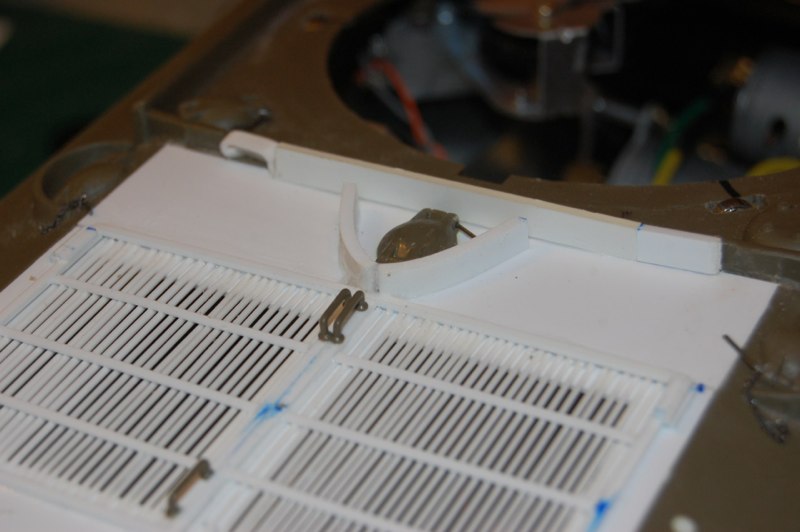
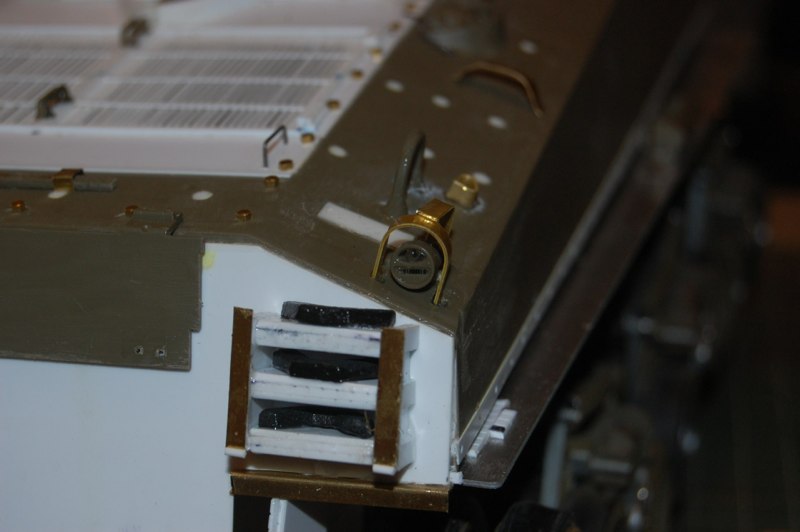
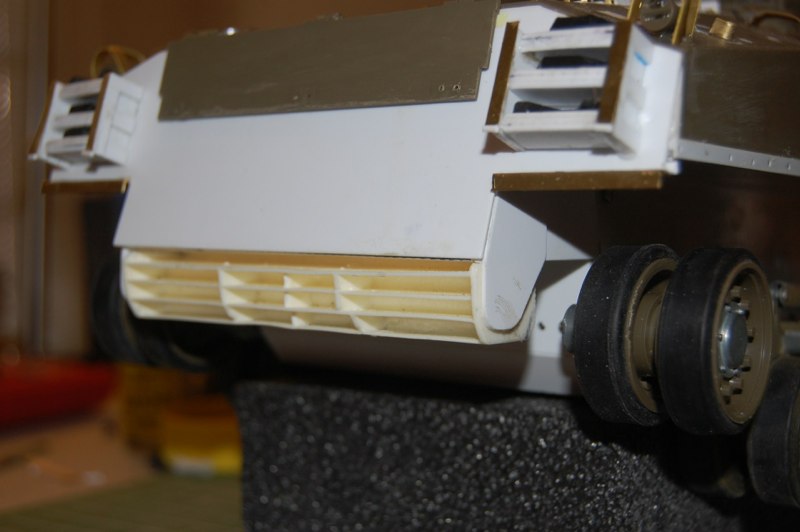
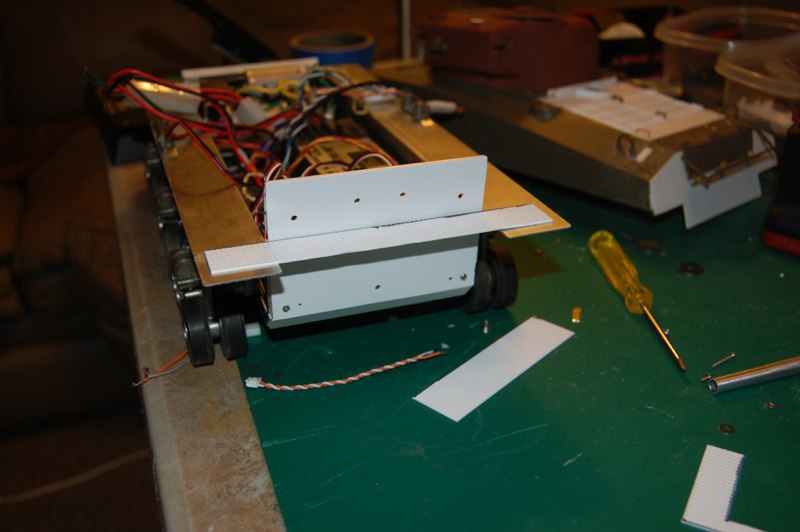
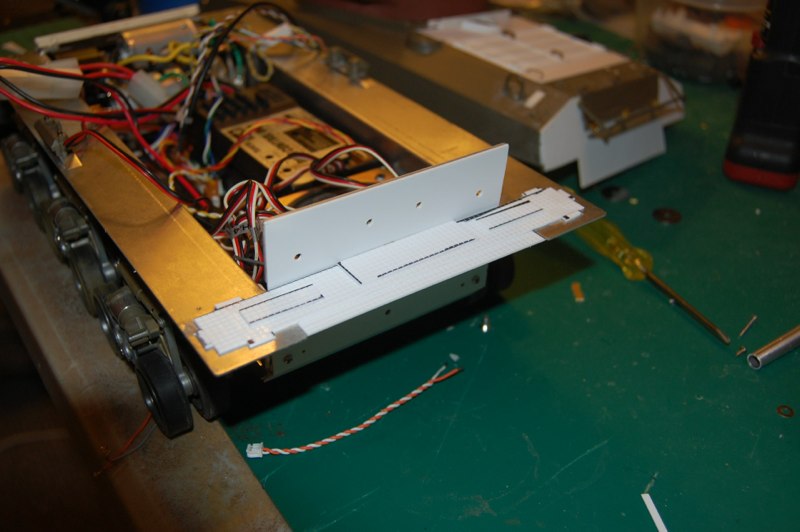
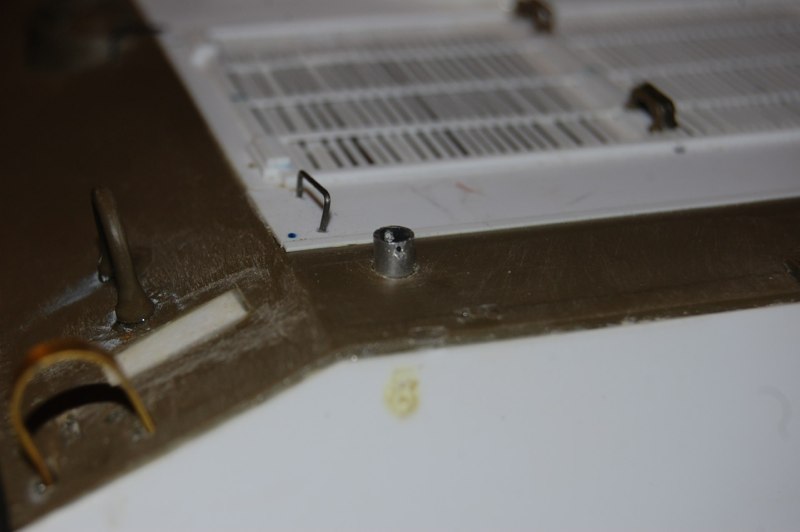
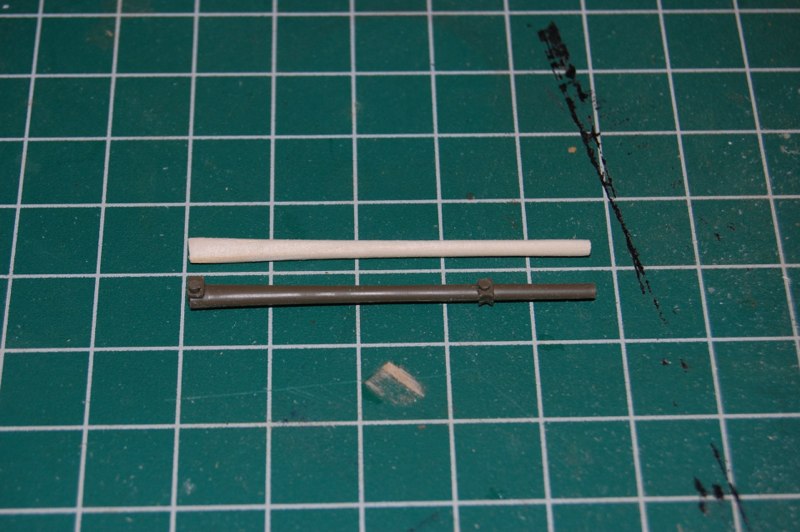
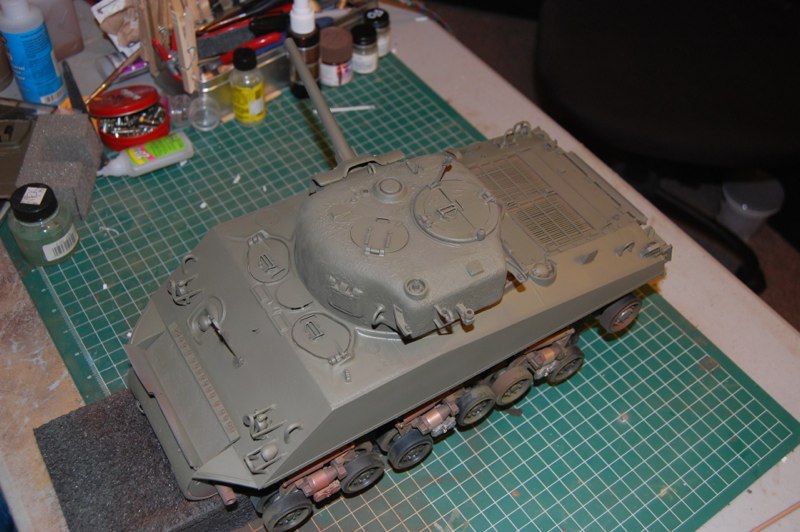
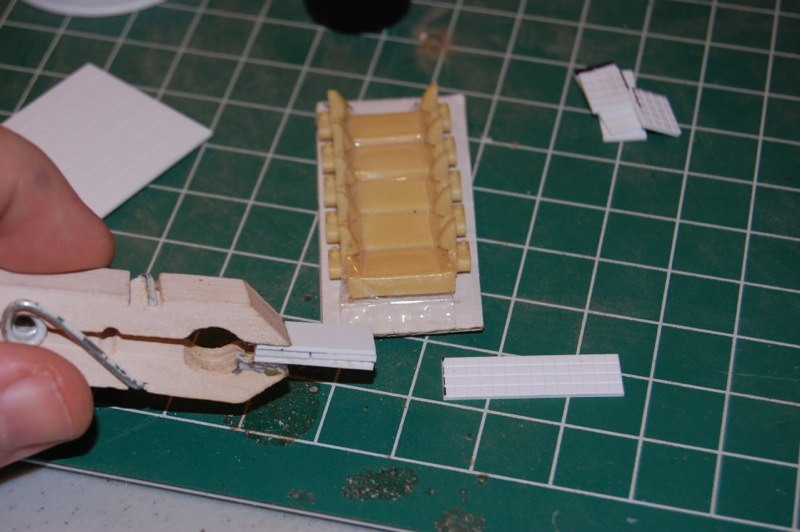
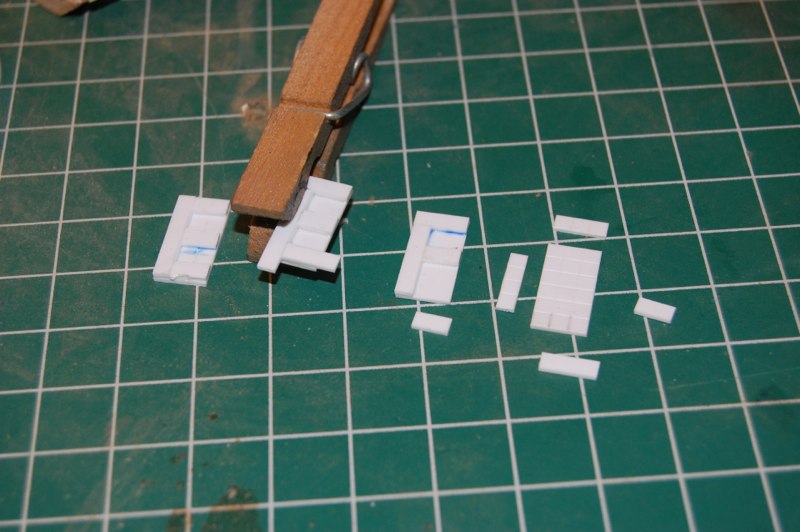
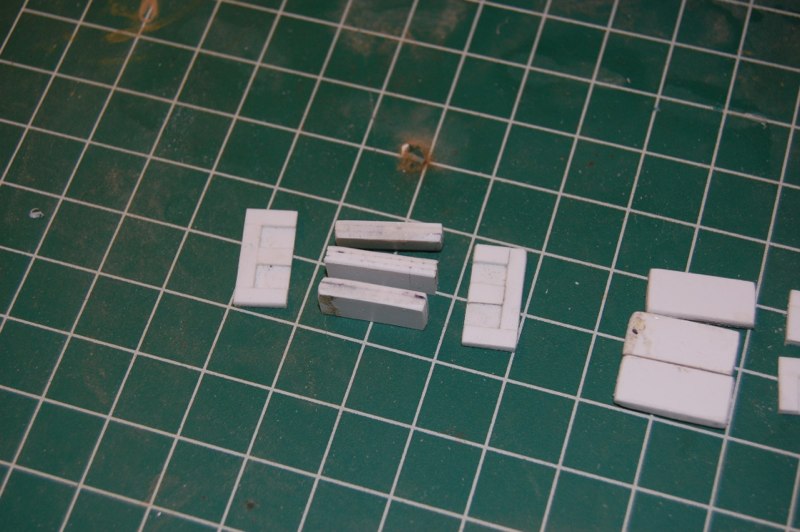
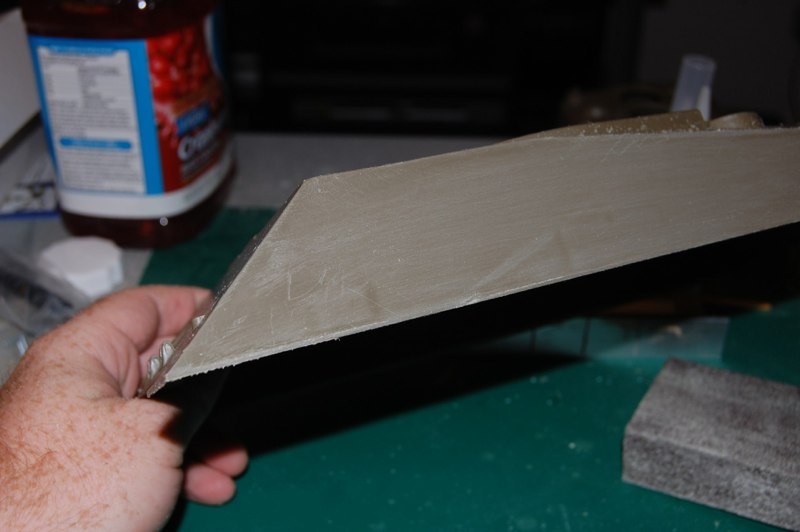
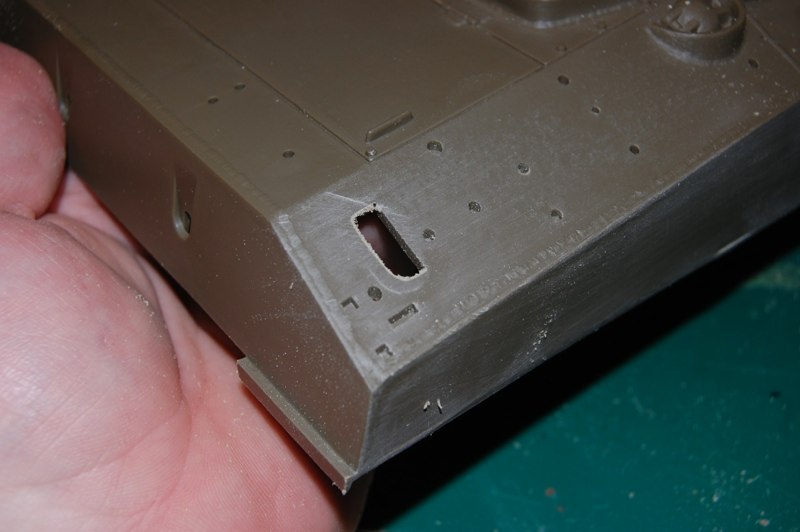
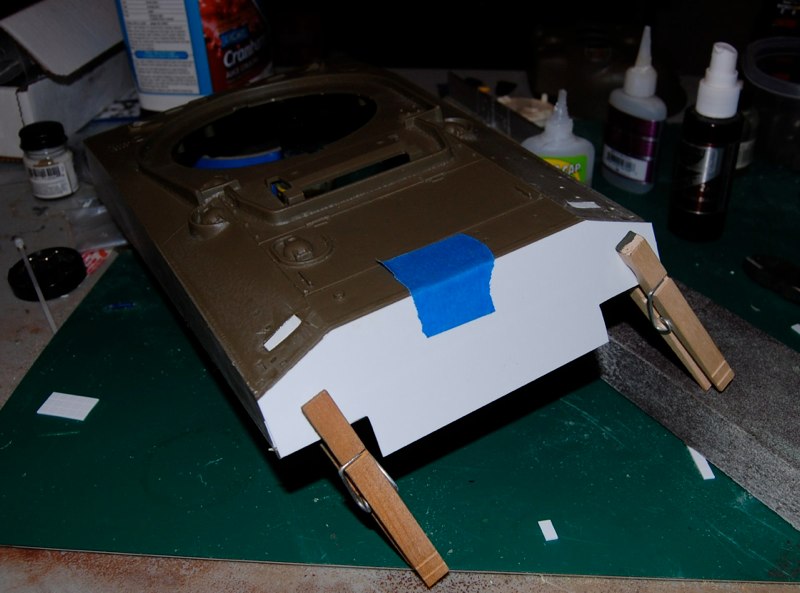
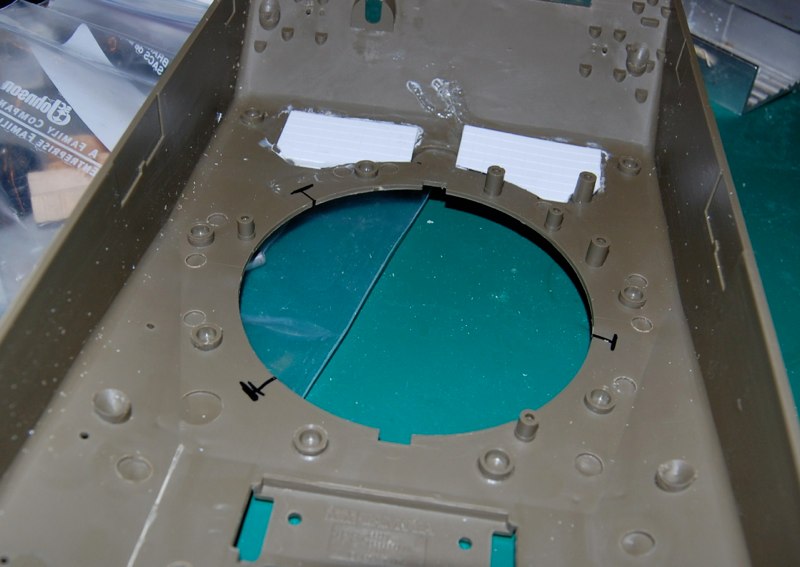
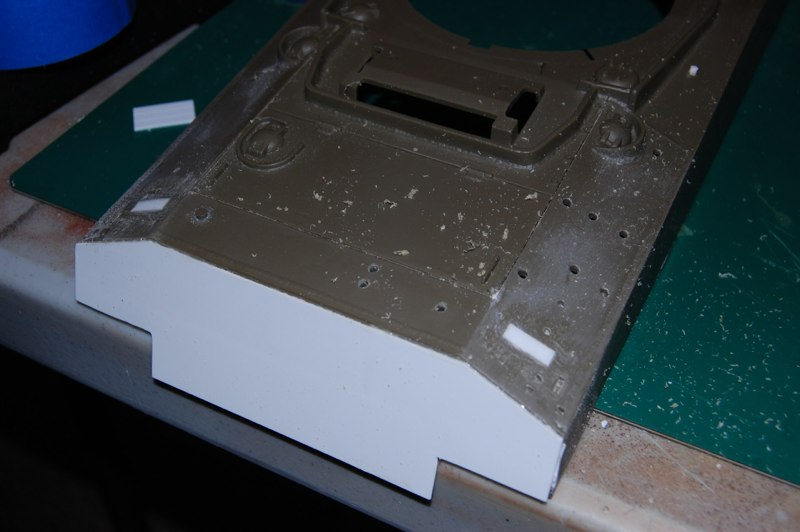
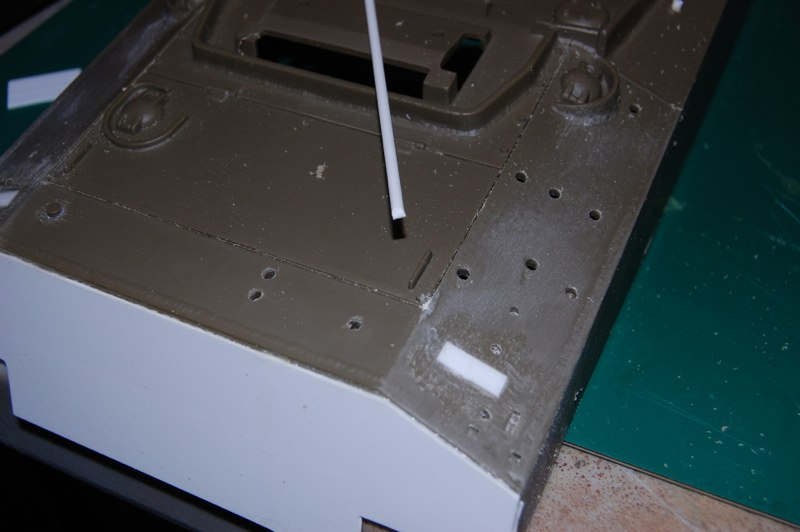
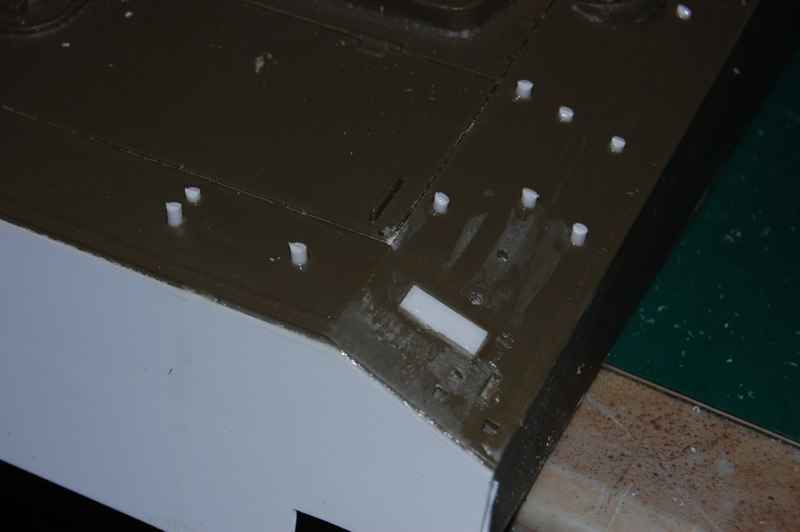
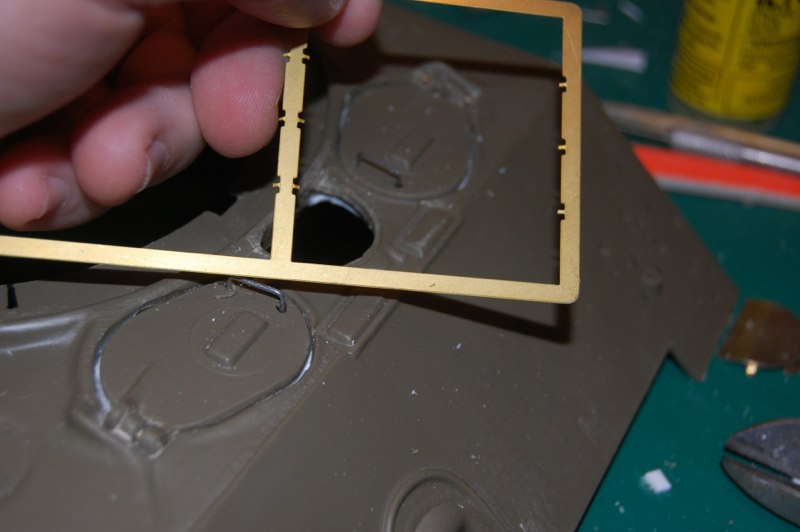
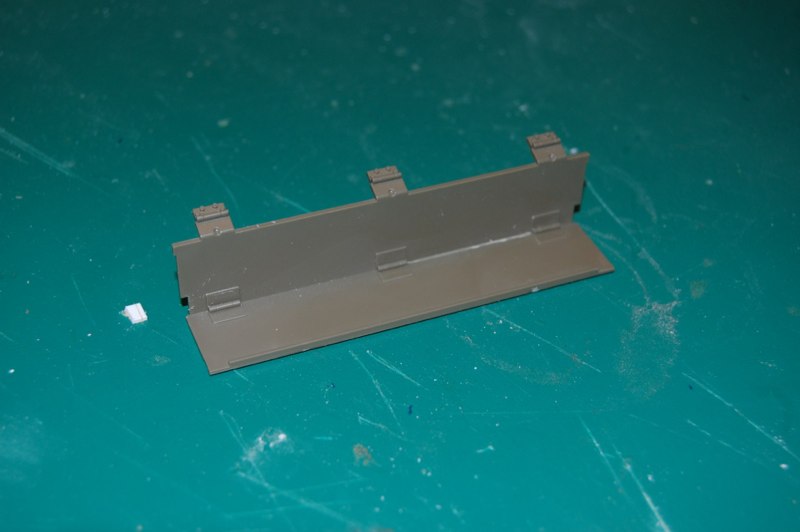
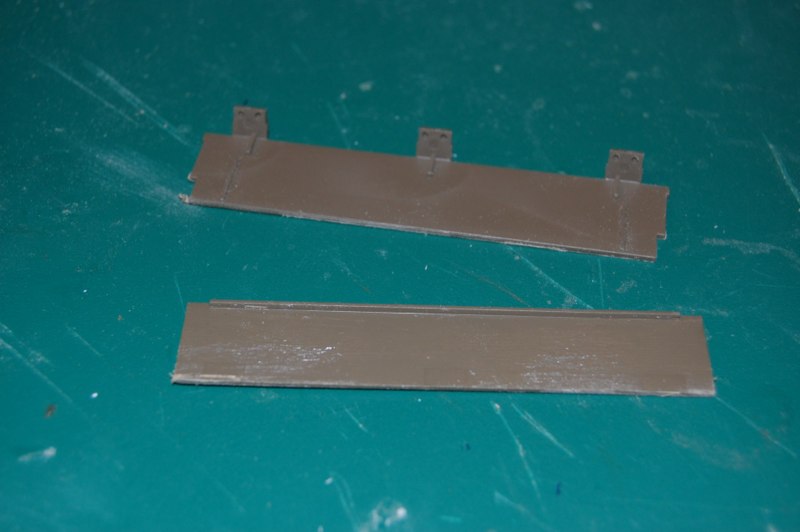
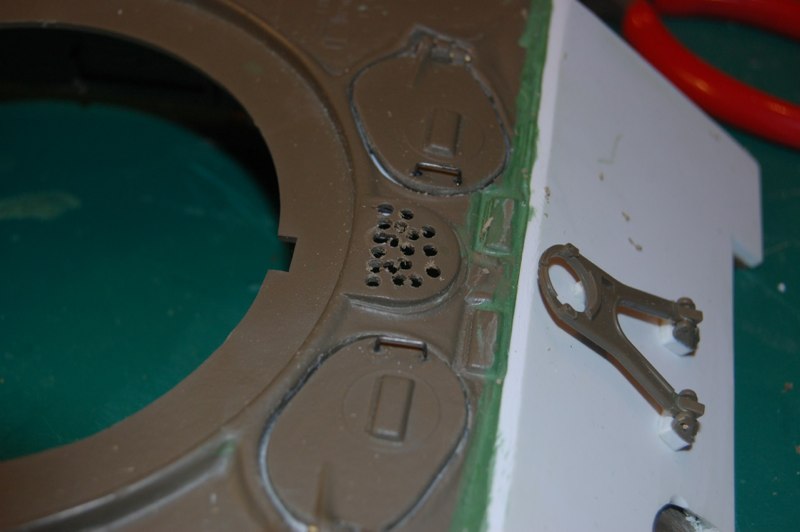
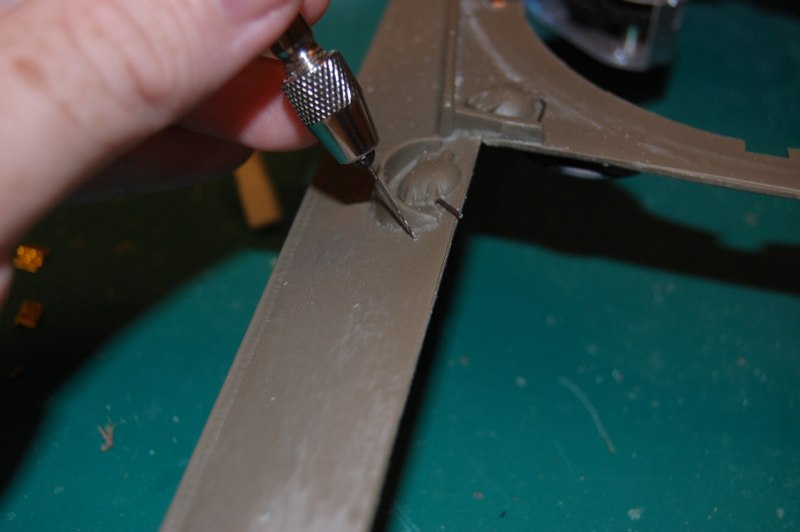
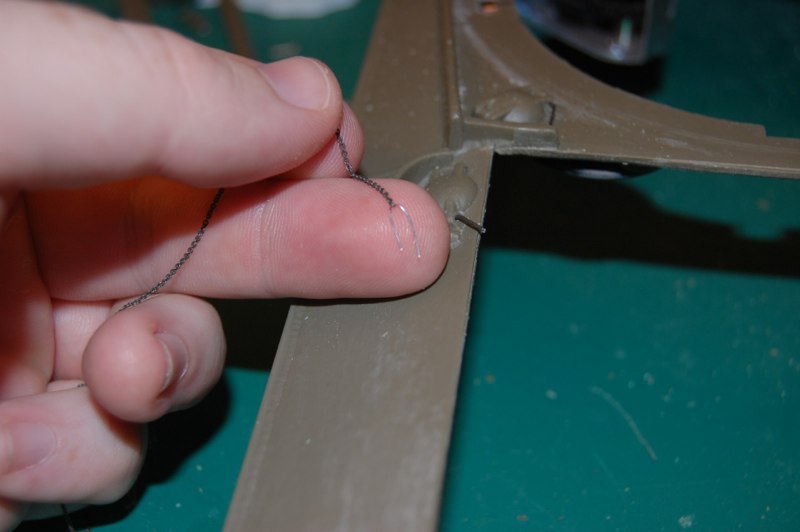
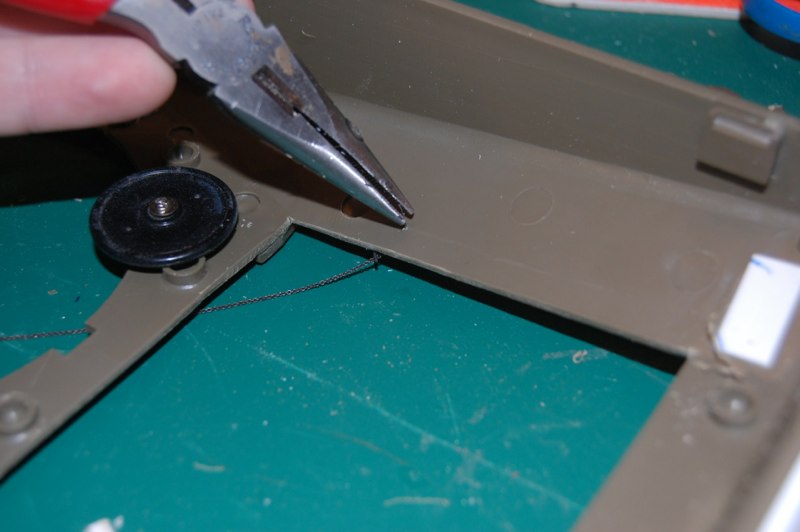
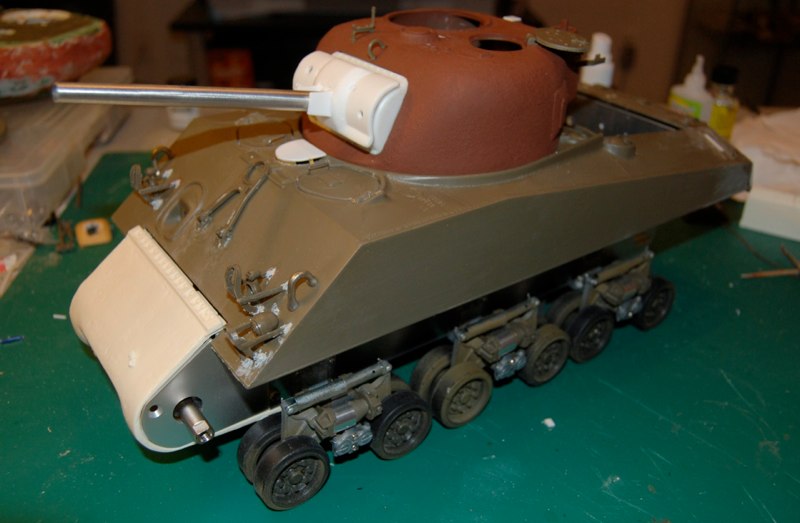
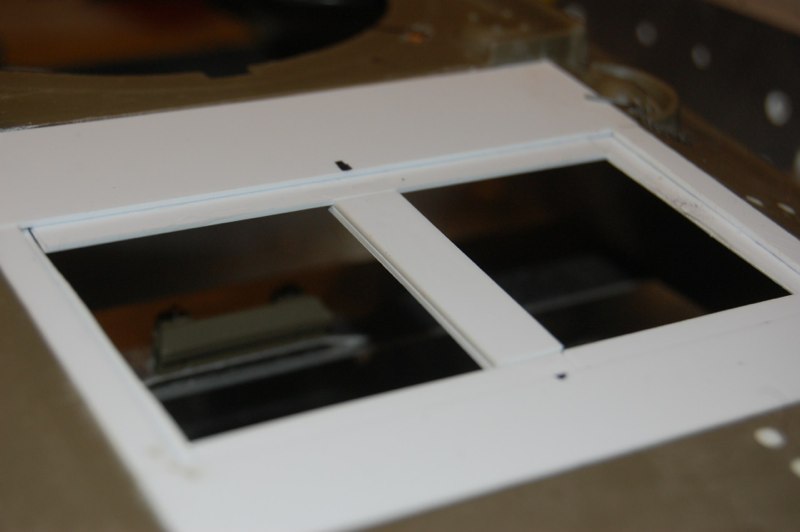
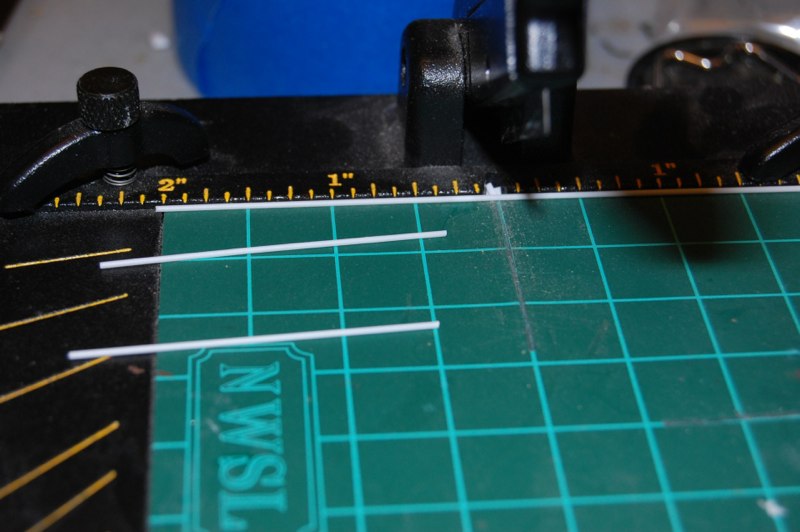
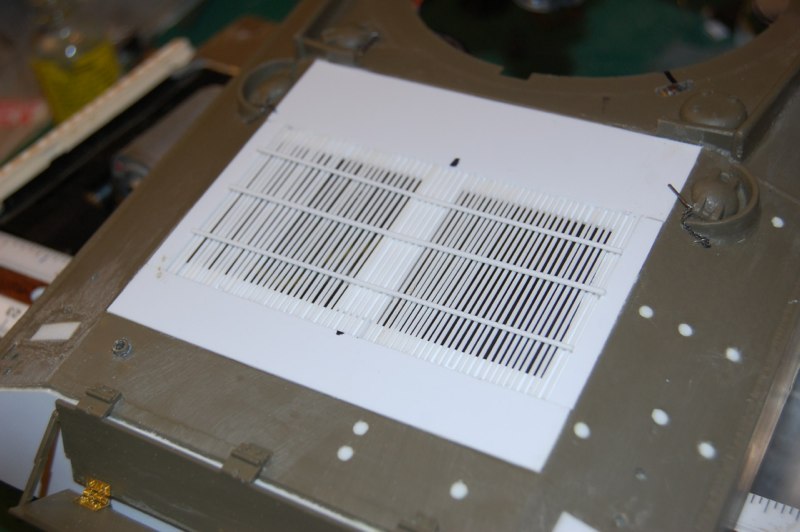
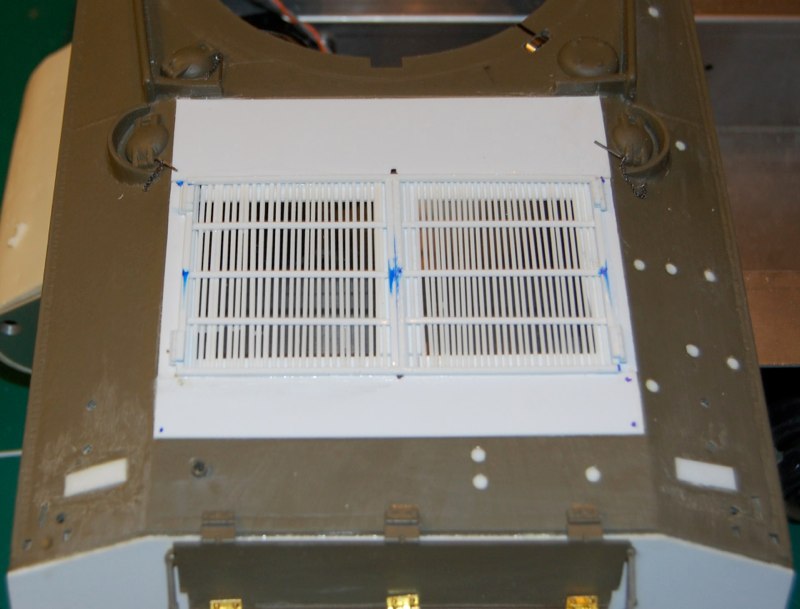
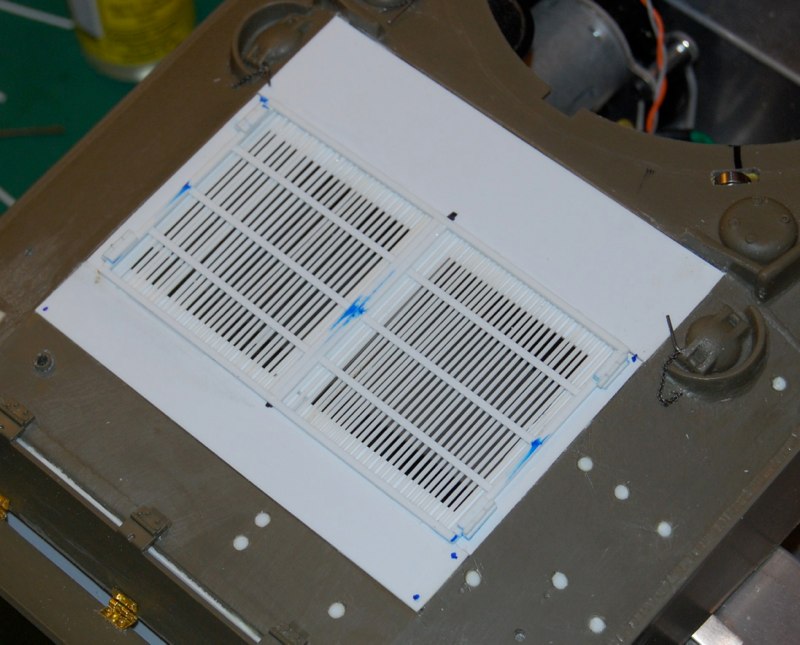
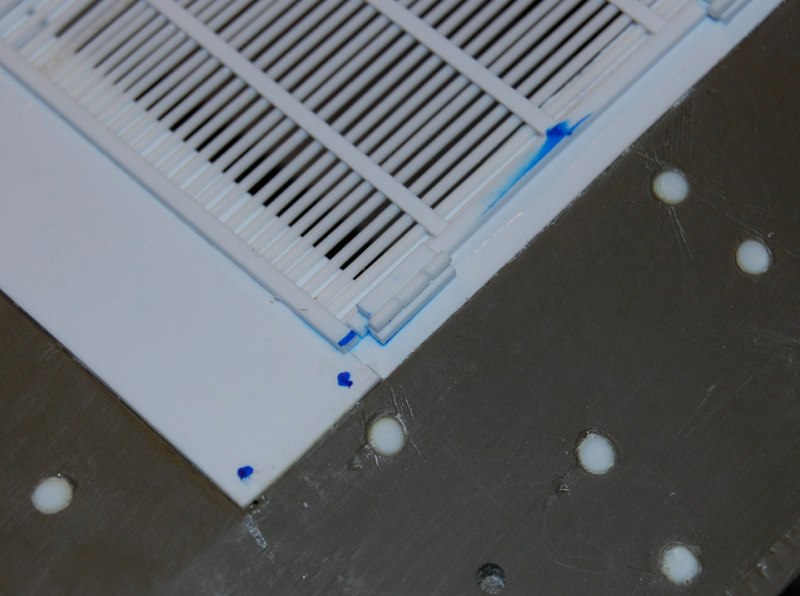
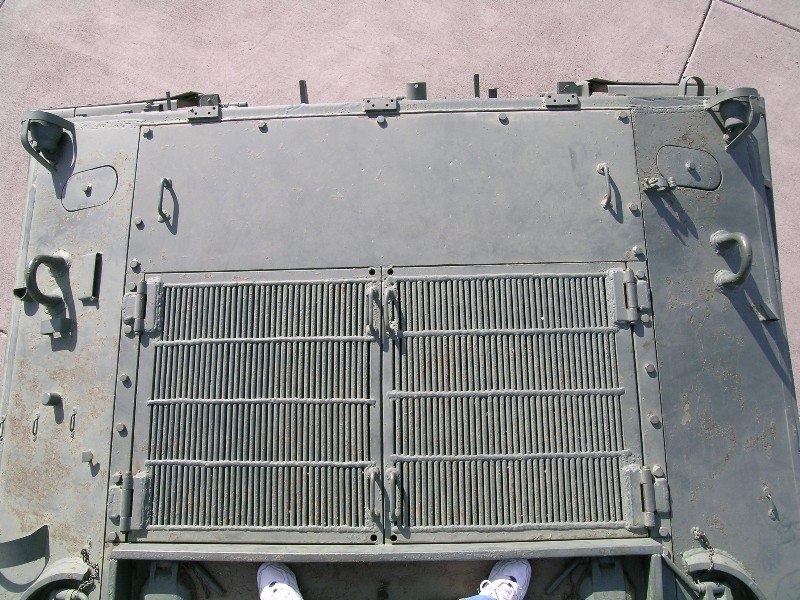
As we keep Repeating, the Tamiya Sherman m4 105 kit is a weird variant. It combines early-mid-late configurations to compile a less common derivative of the tank. Only 895 of 49.800 vehicles were fielded like this, mostly in the pacific. As I am a sherman-oholic, and want a more mainstream version of the 75mm, v-8 powered tanK, I will detail my efforts at a true m4a3 47 degree, big hatch, WET STORAGE Hull. who says rivet counting doesn’t have its rewards.
Converting the Tamiya hull to:
WET STORAGE m4a3 configuration.
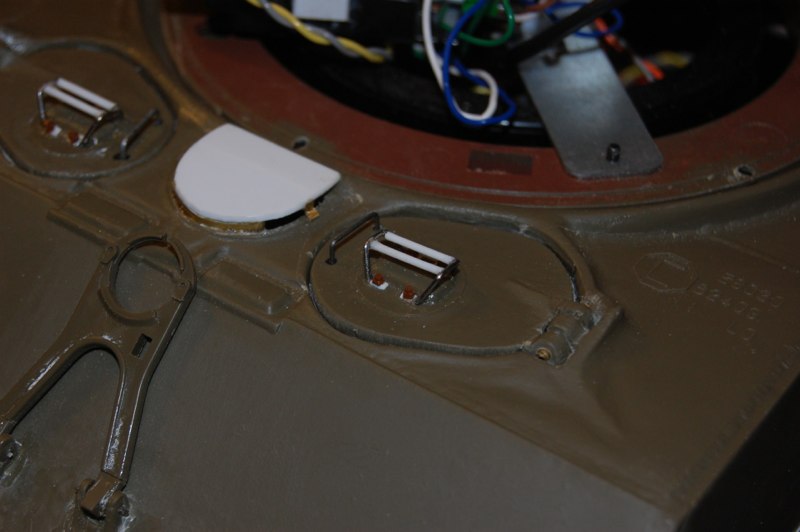
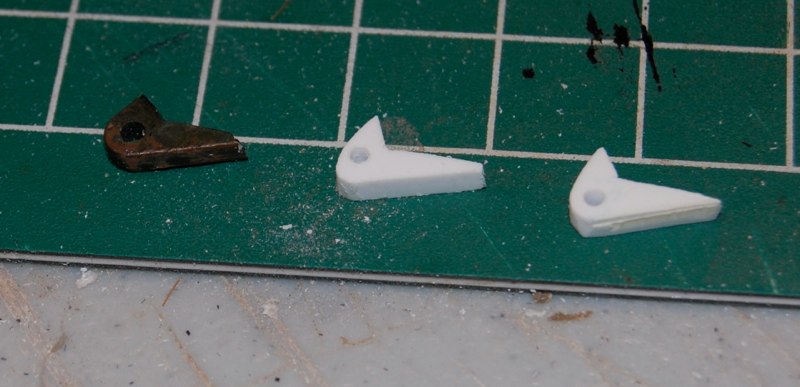
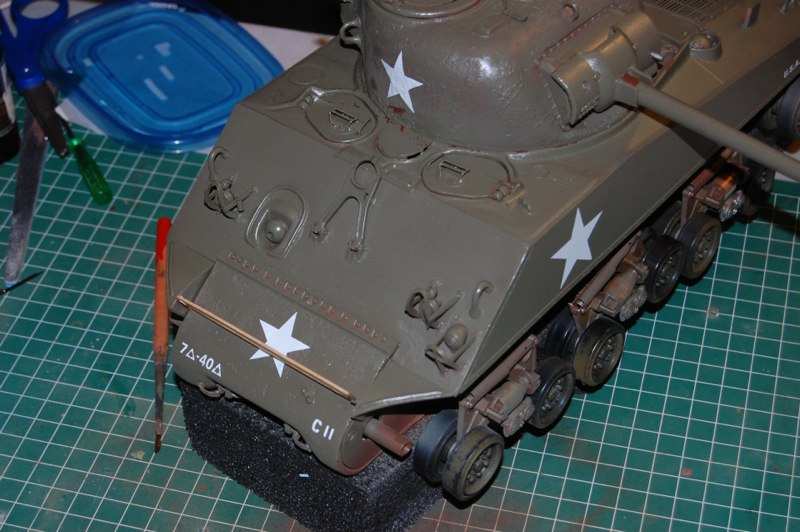
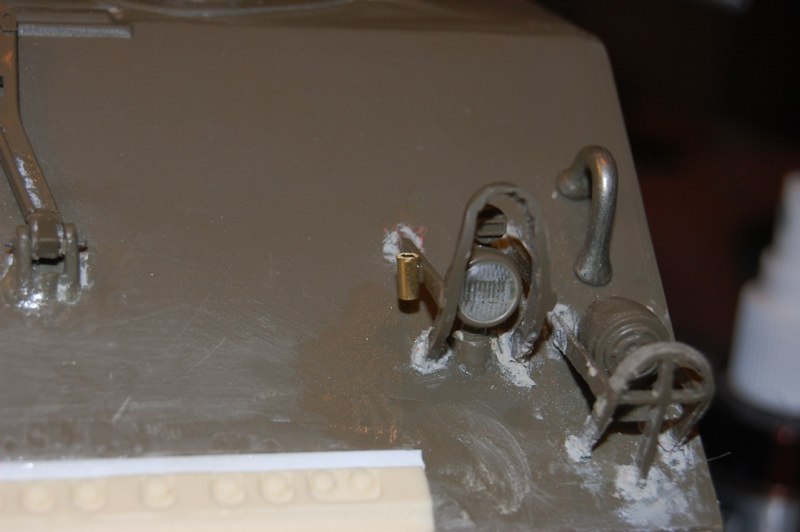
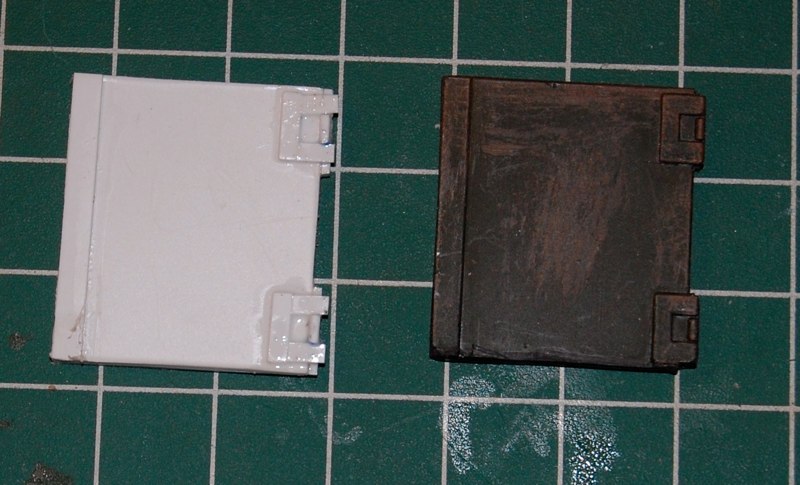
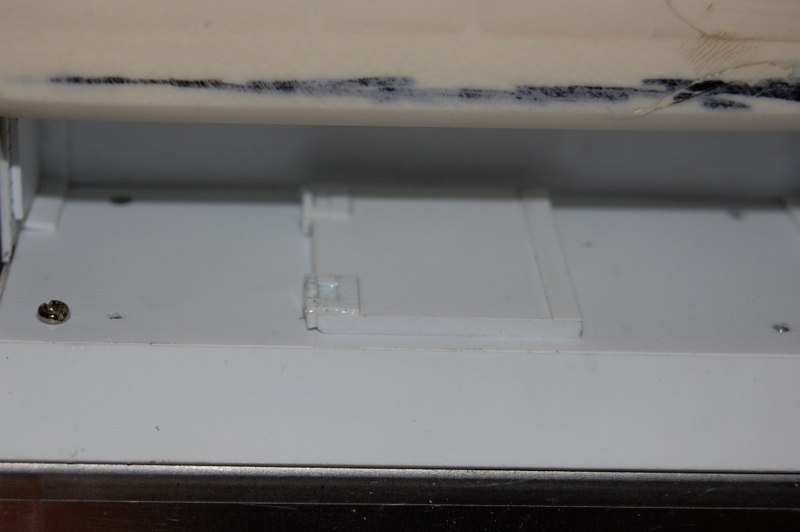
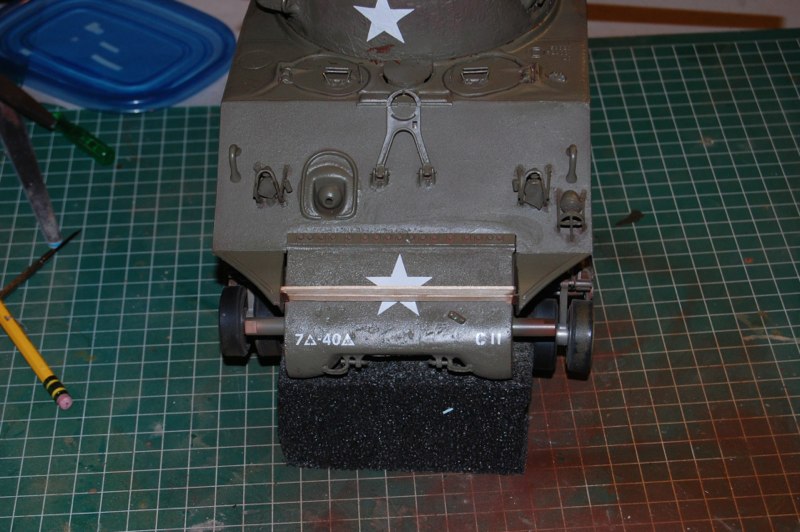
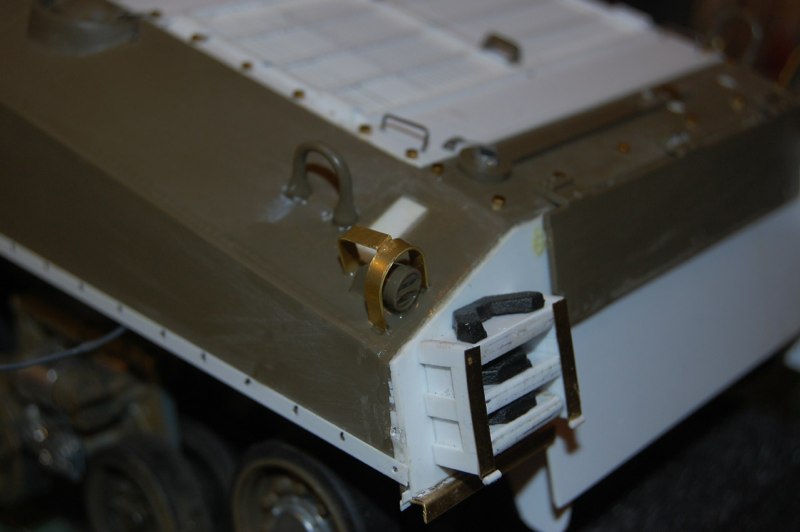
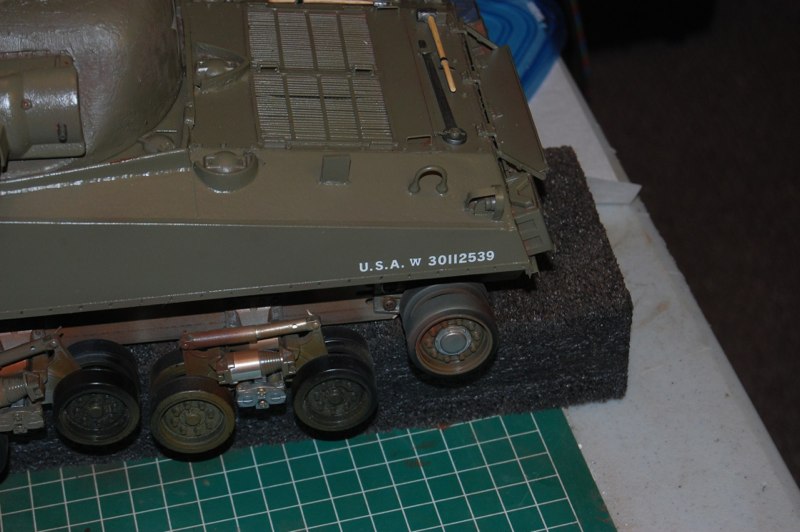
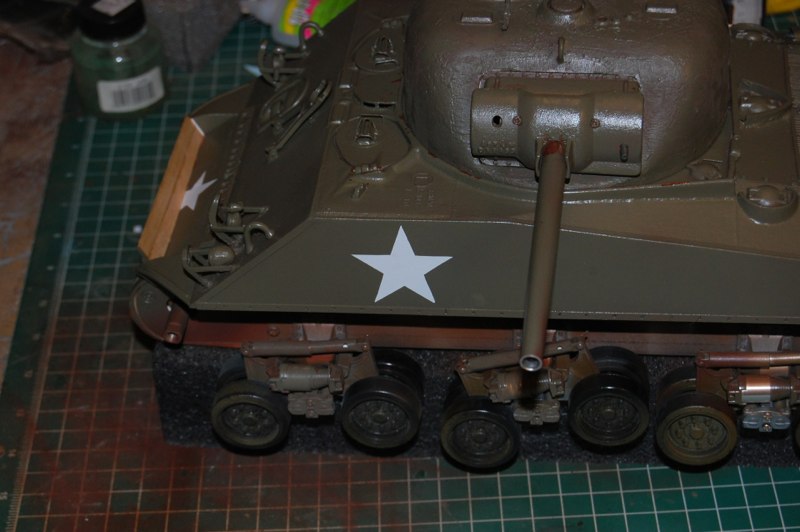
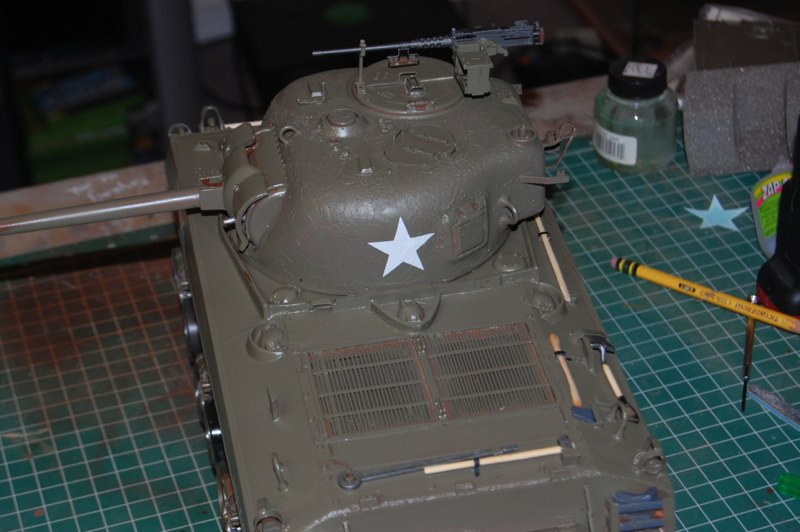
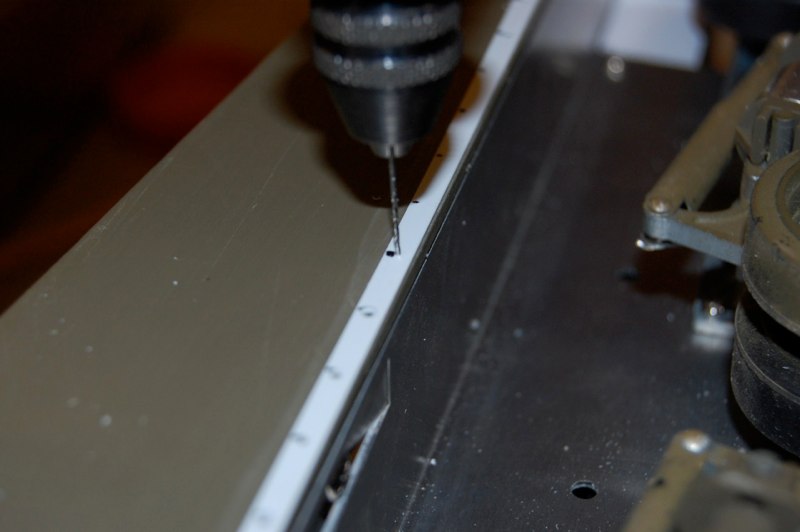
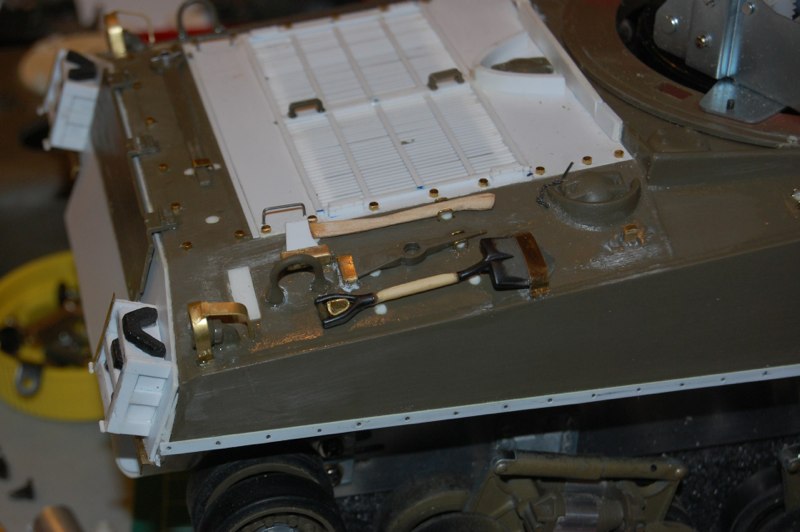
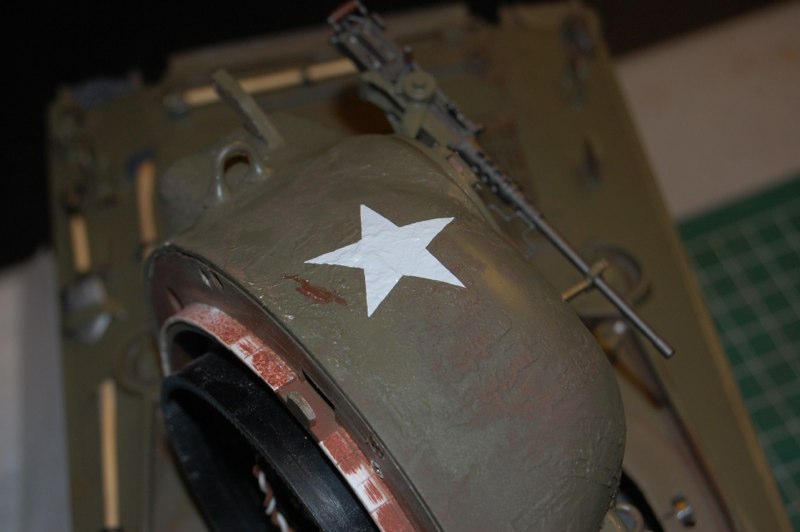
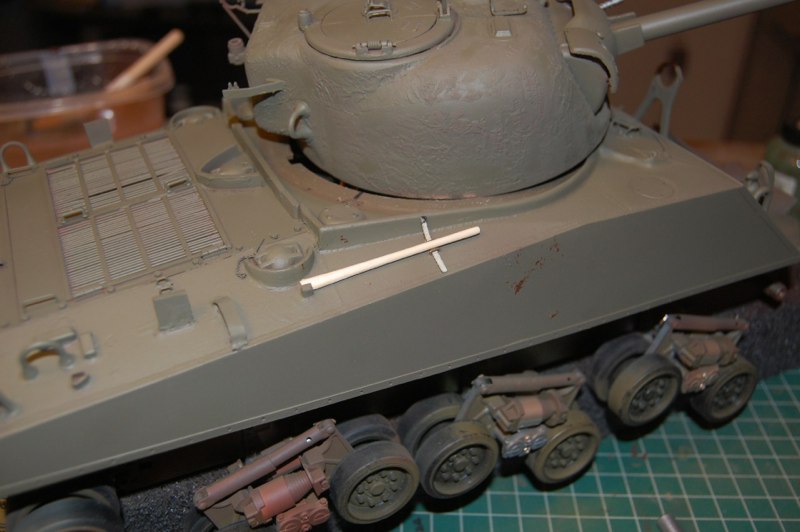
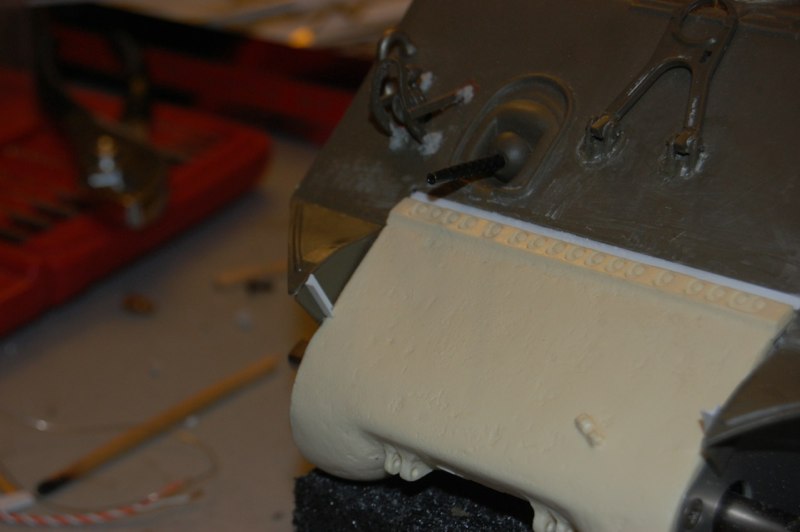
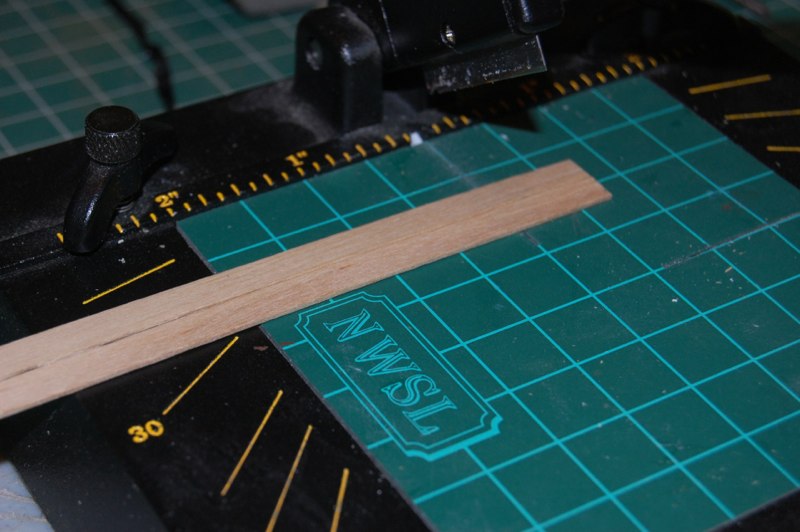
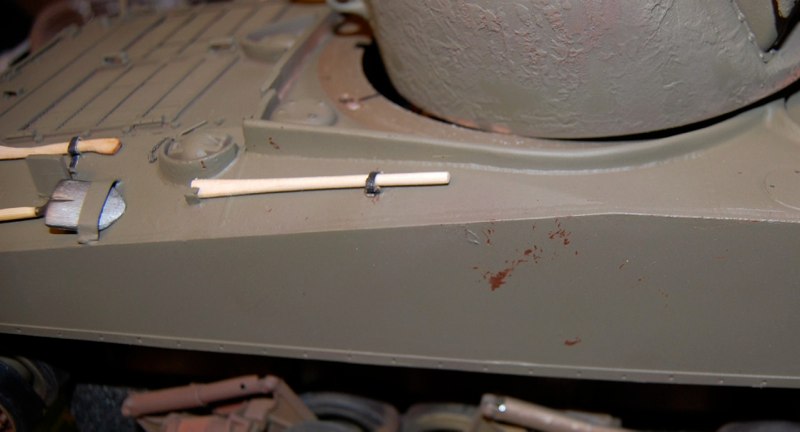
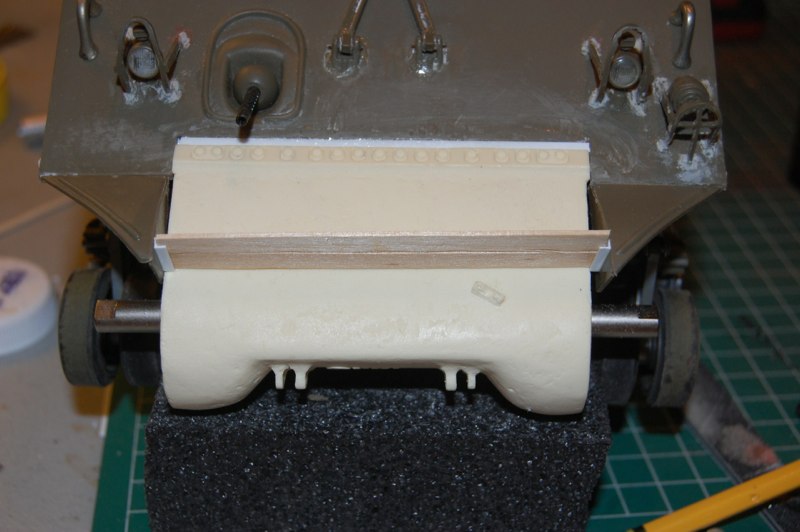
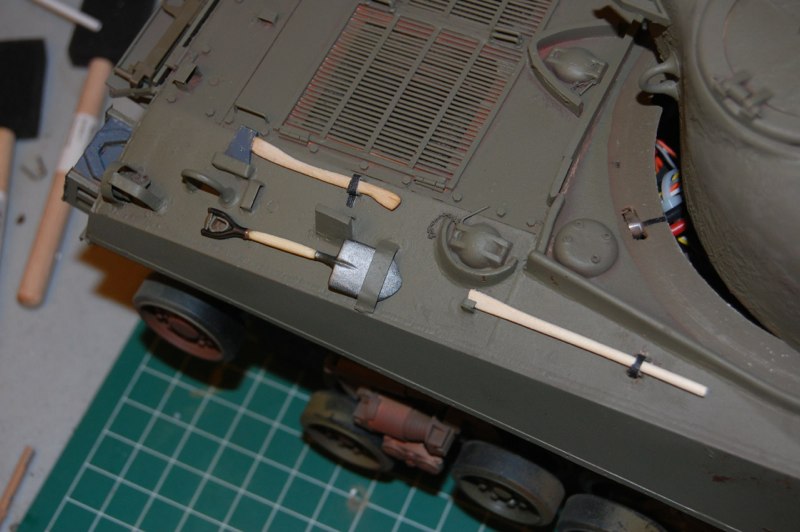
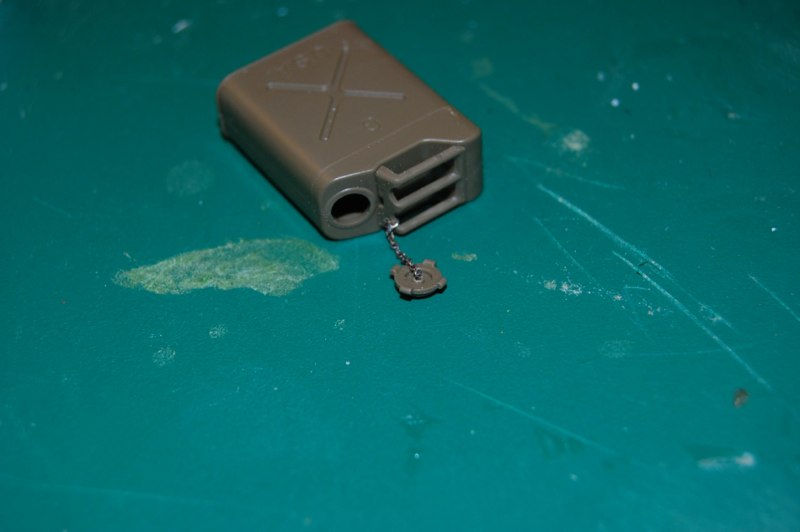
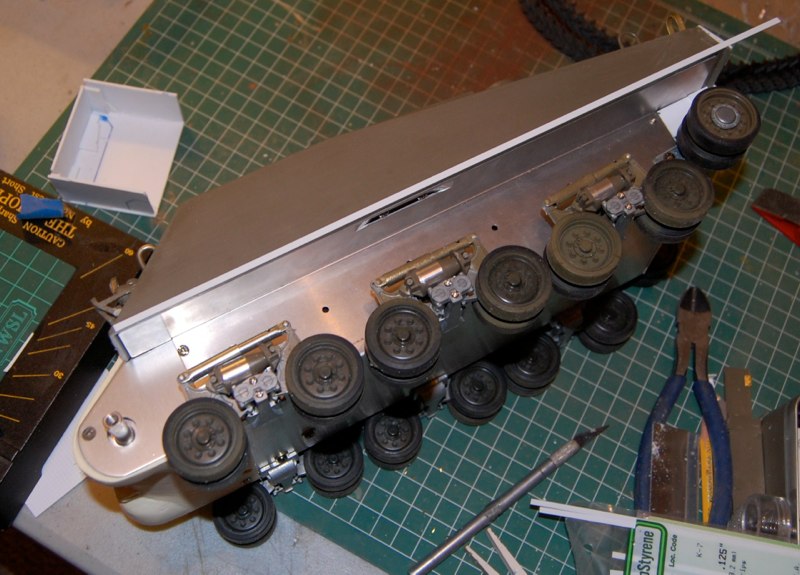
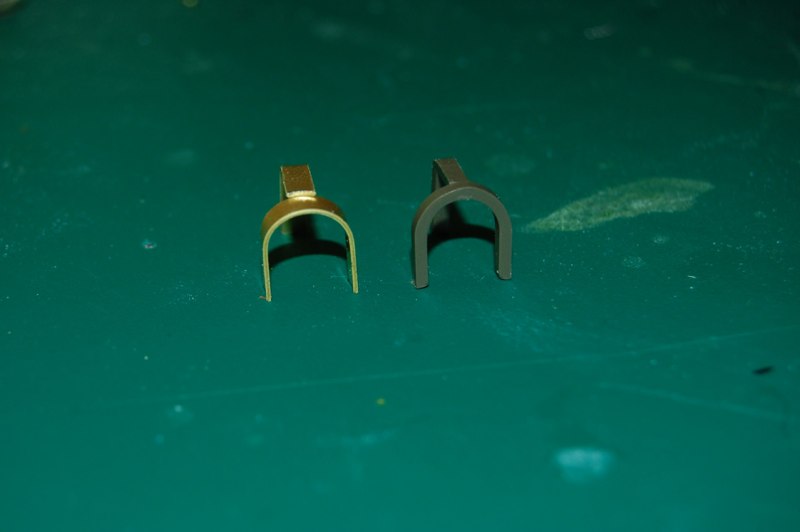
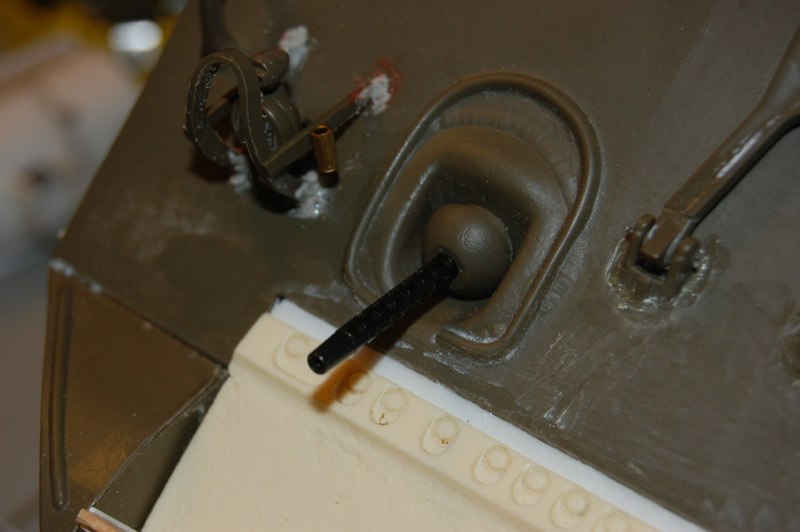
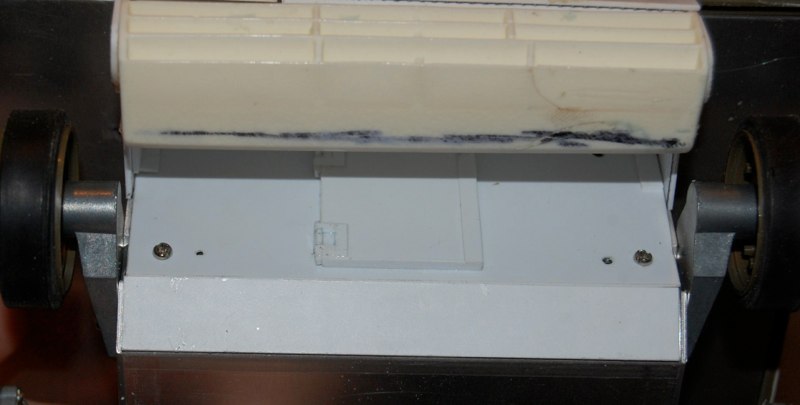
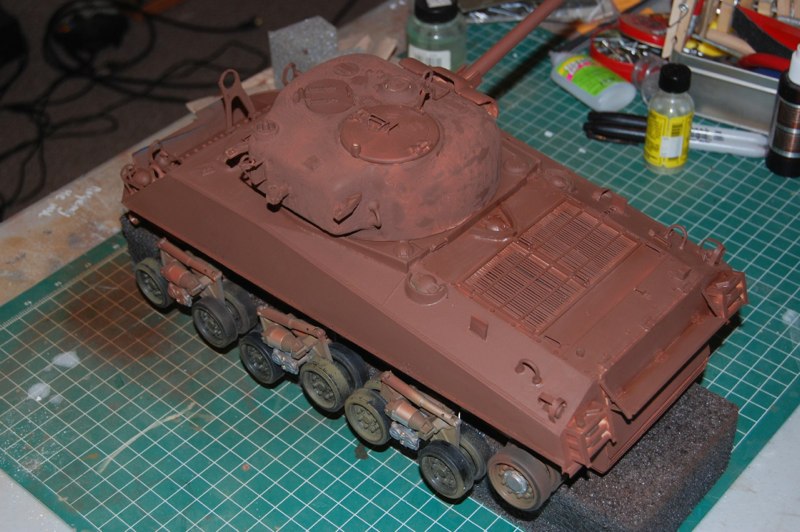
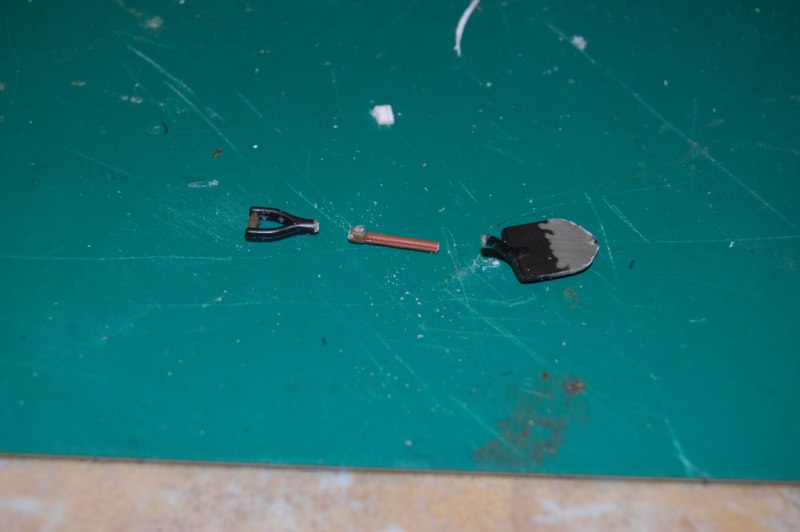
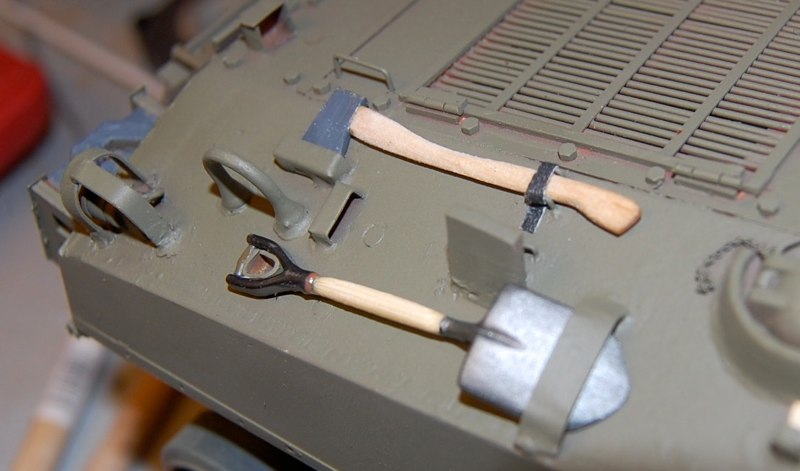
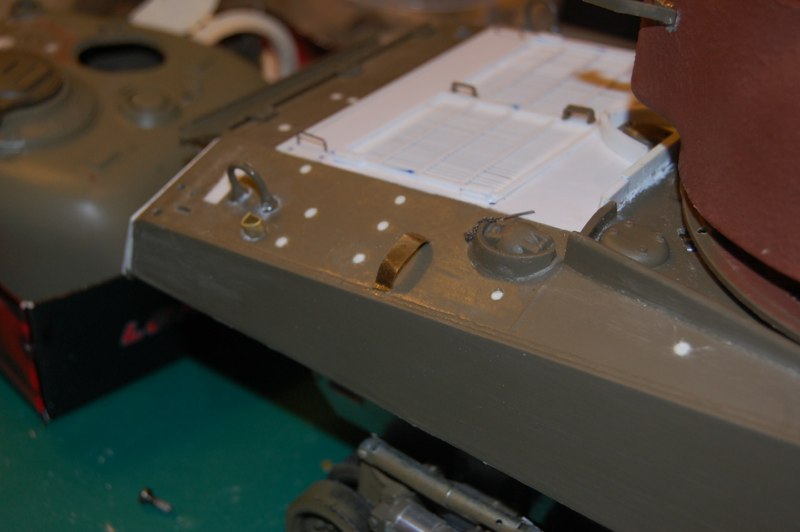
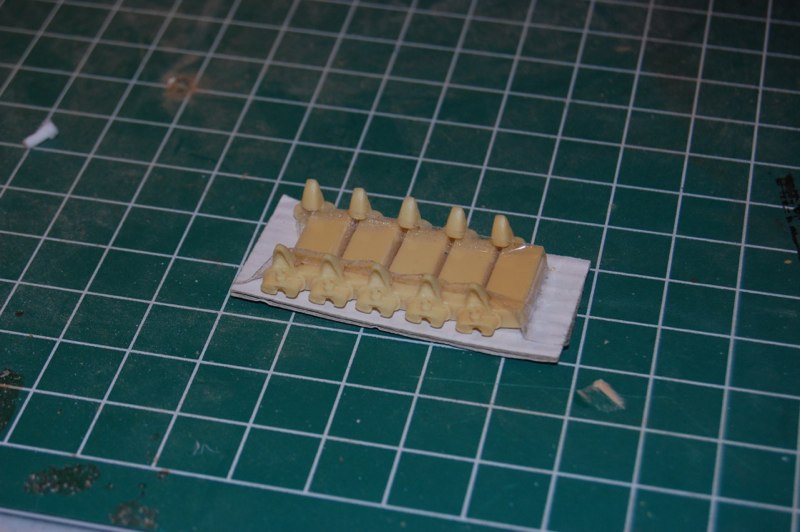
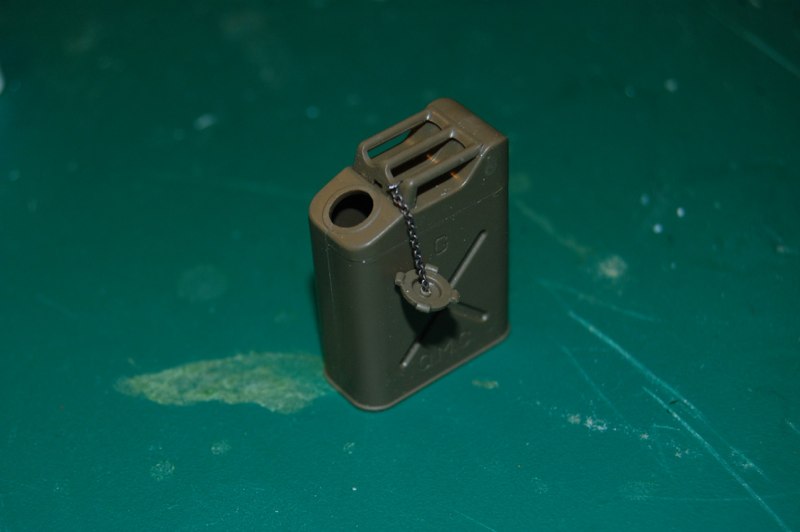
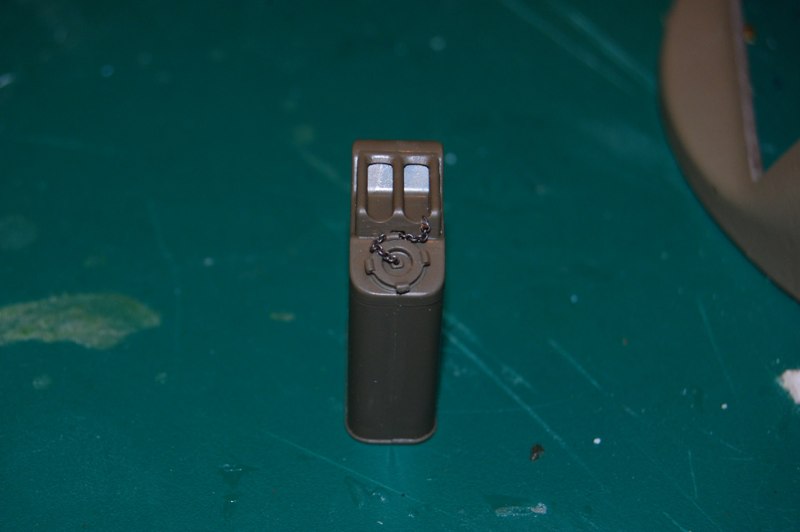
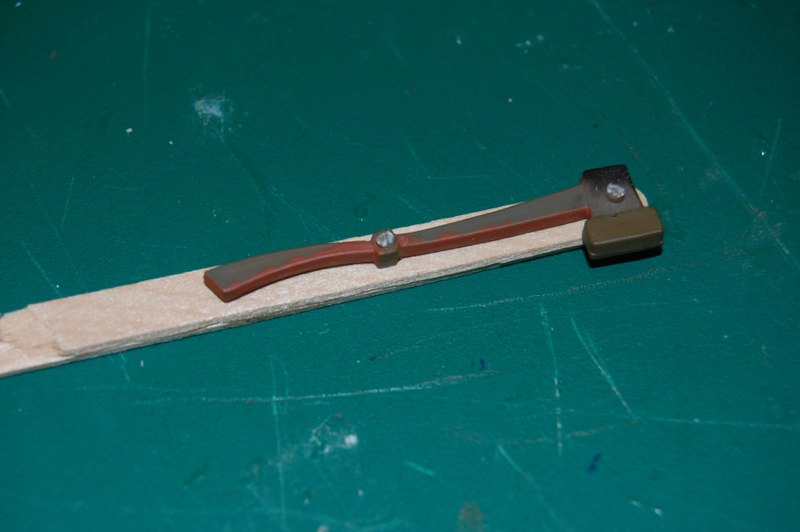
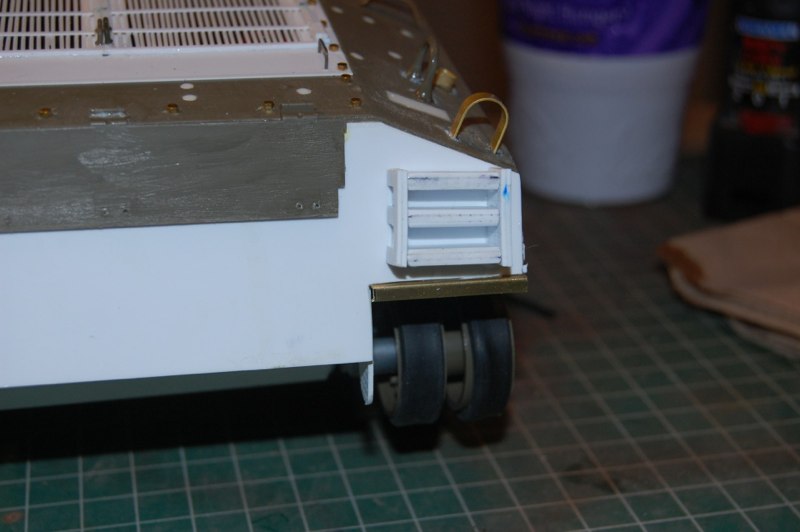
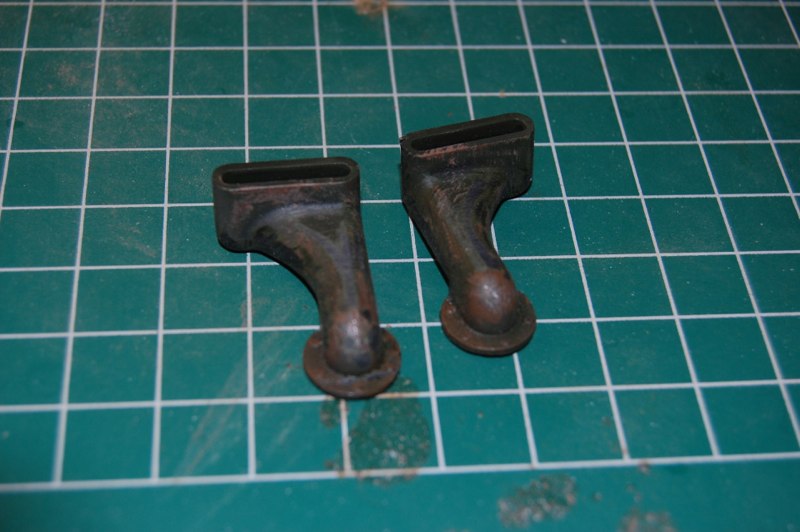
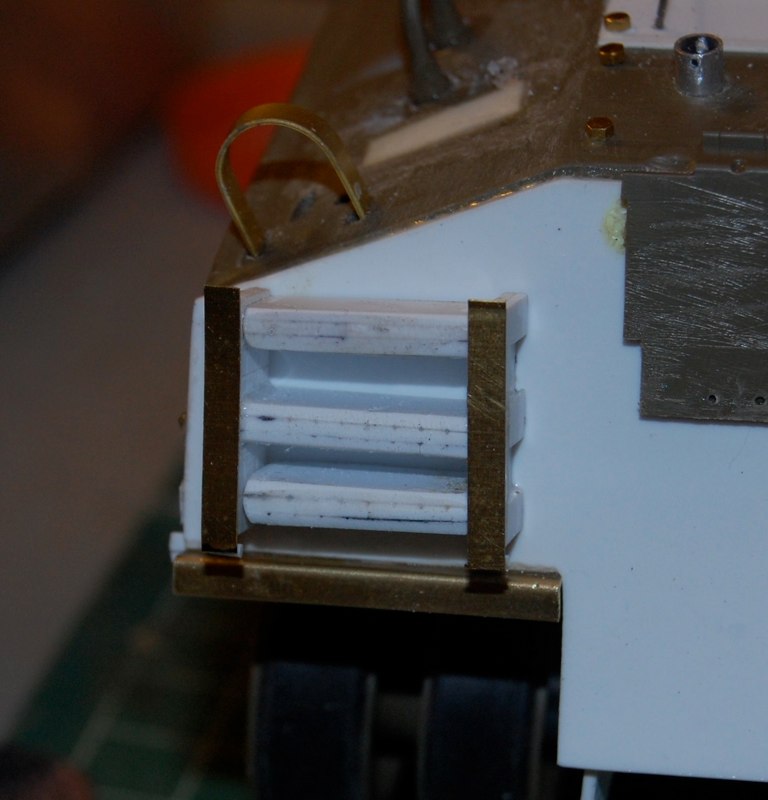
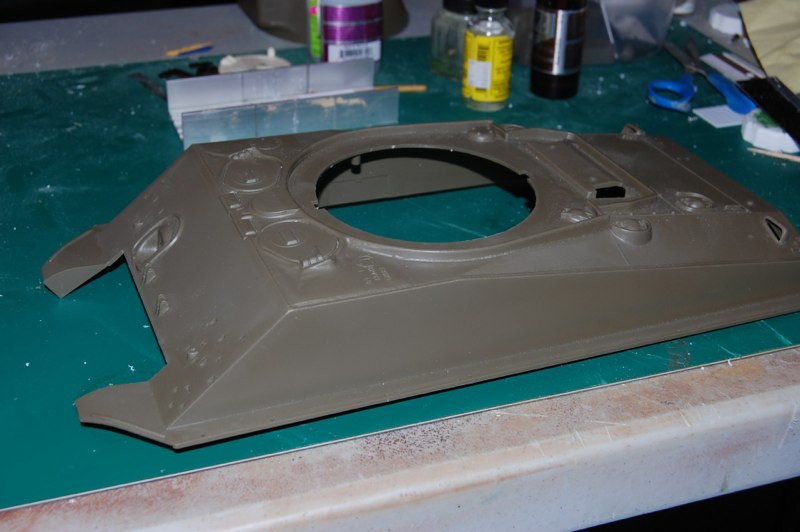
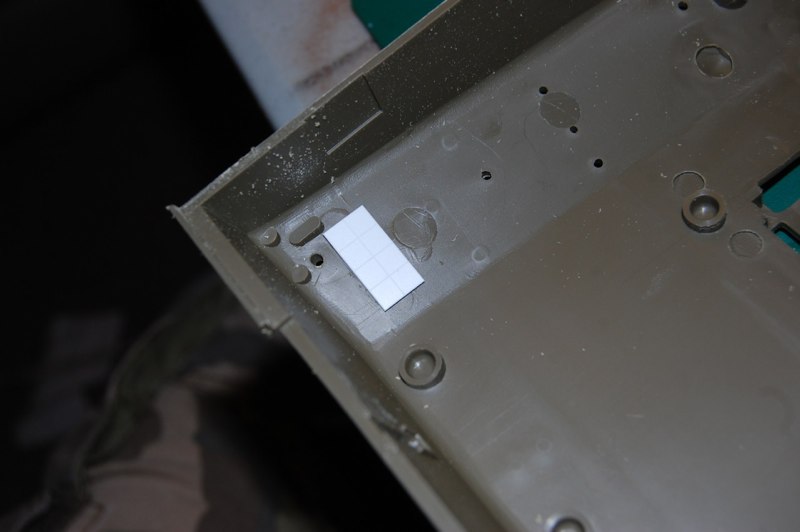
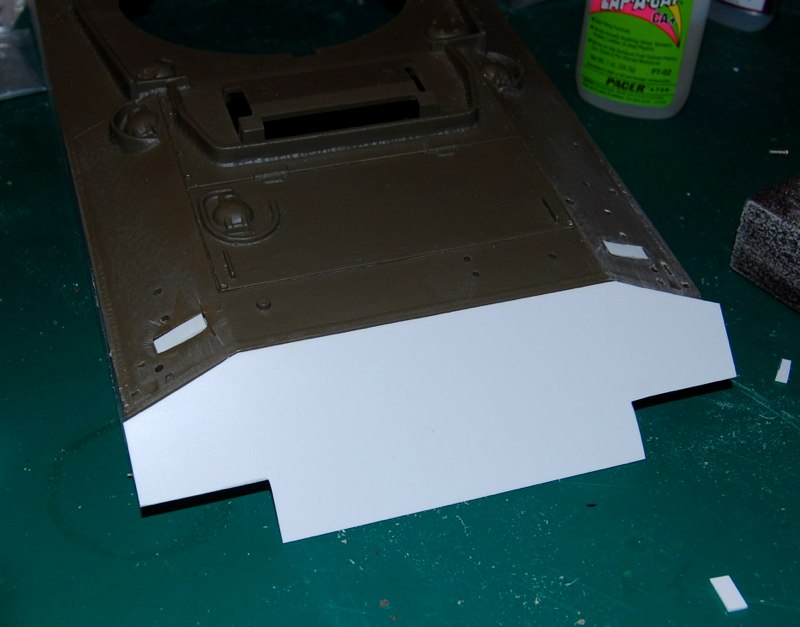
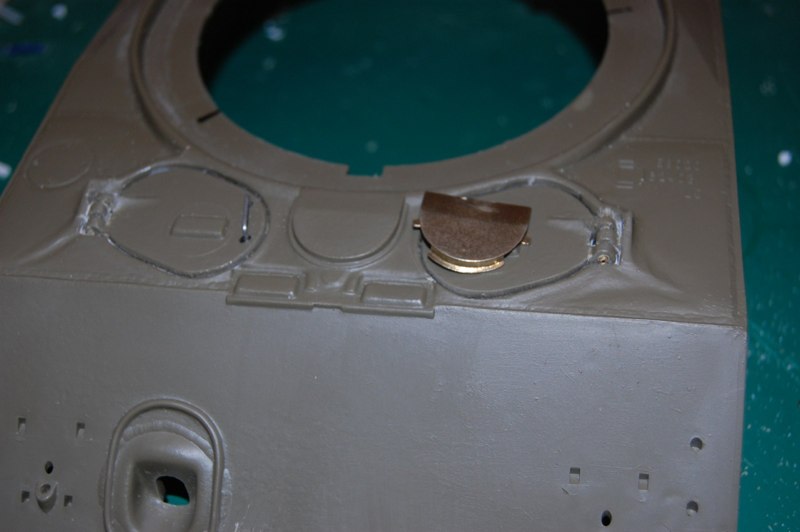
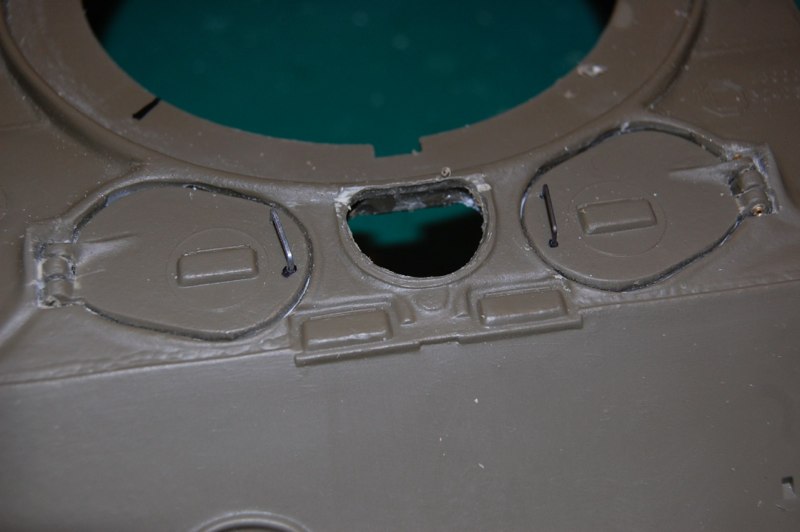
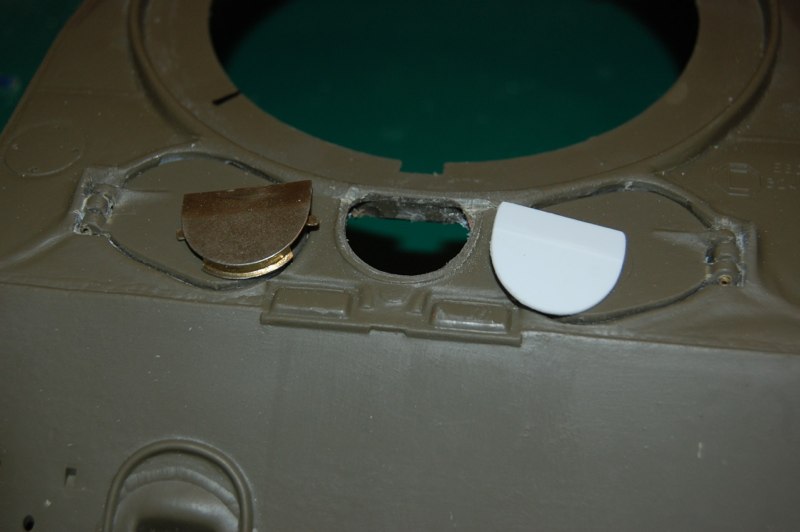
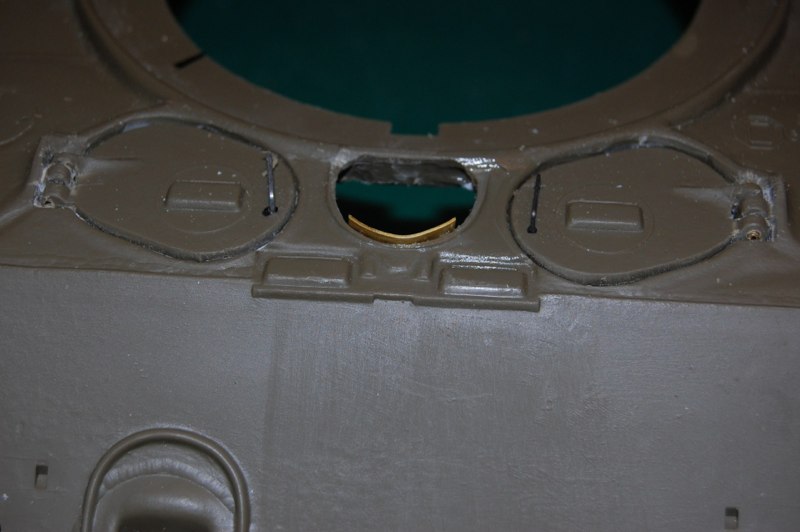
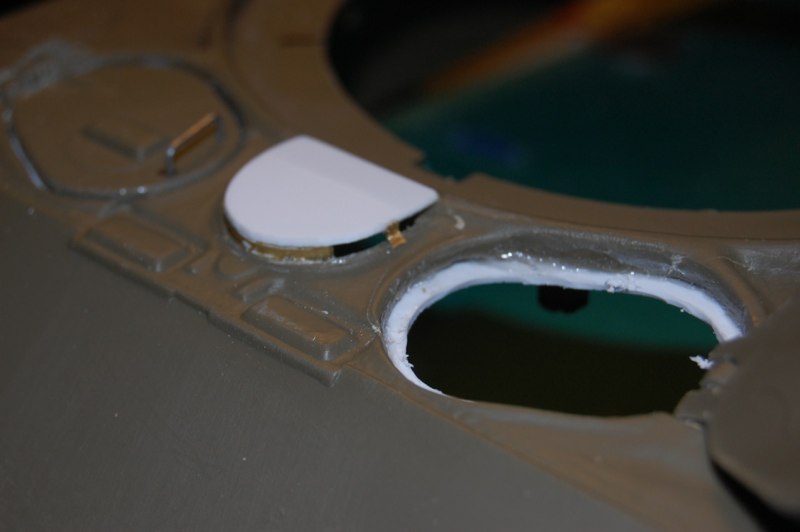
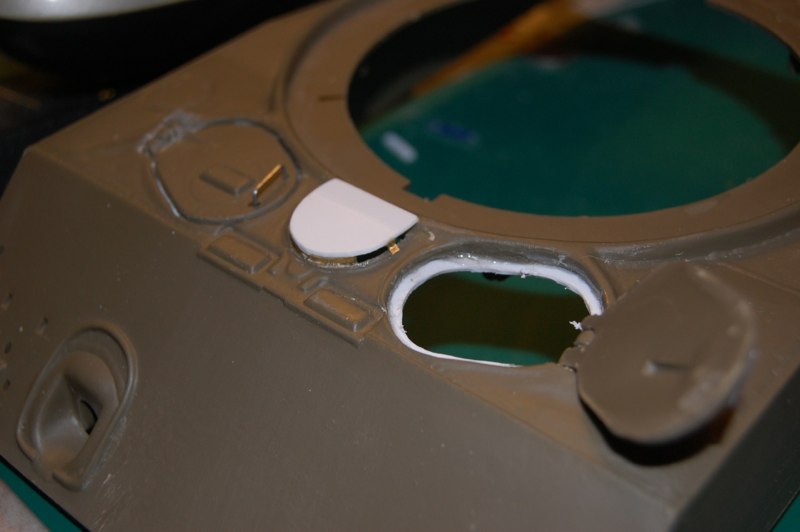
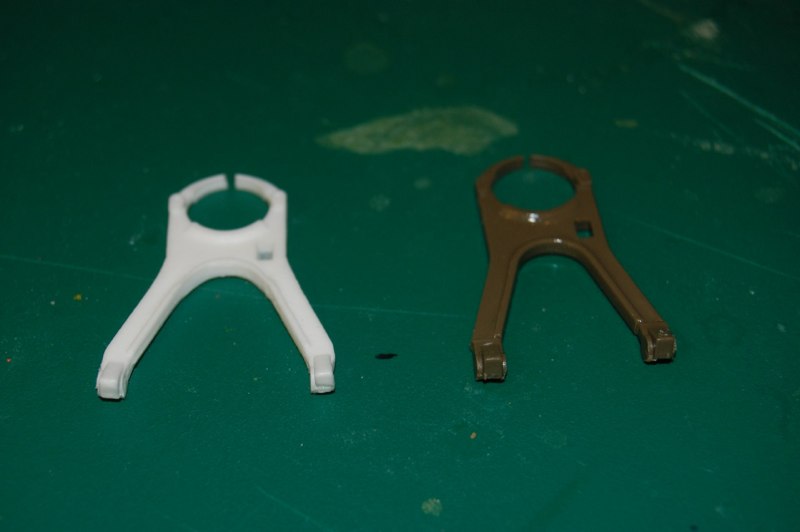
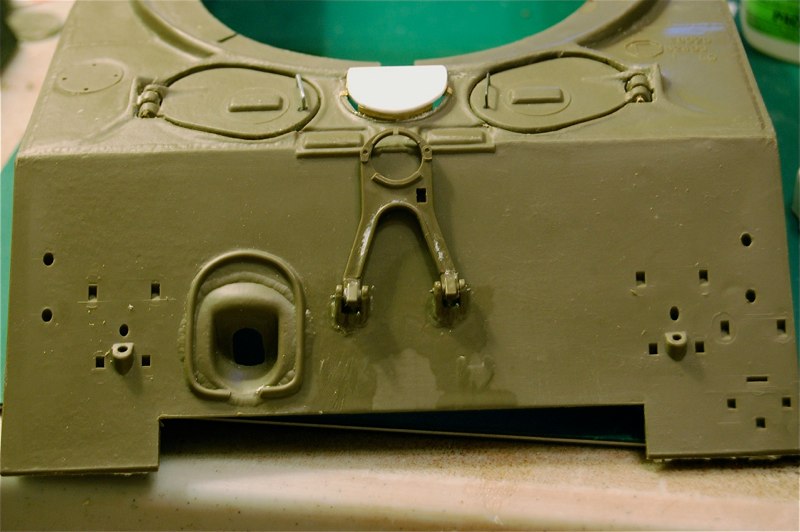
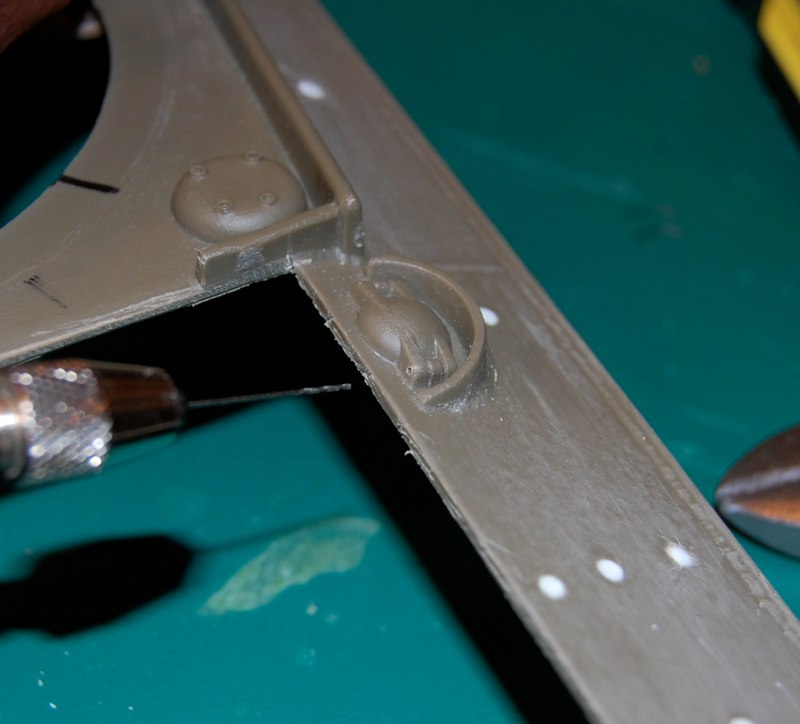
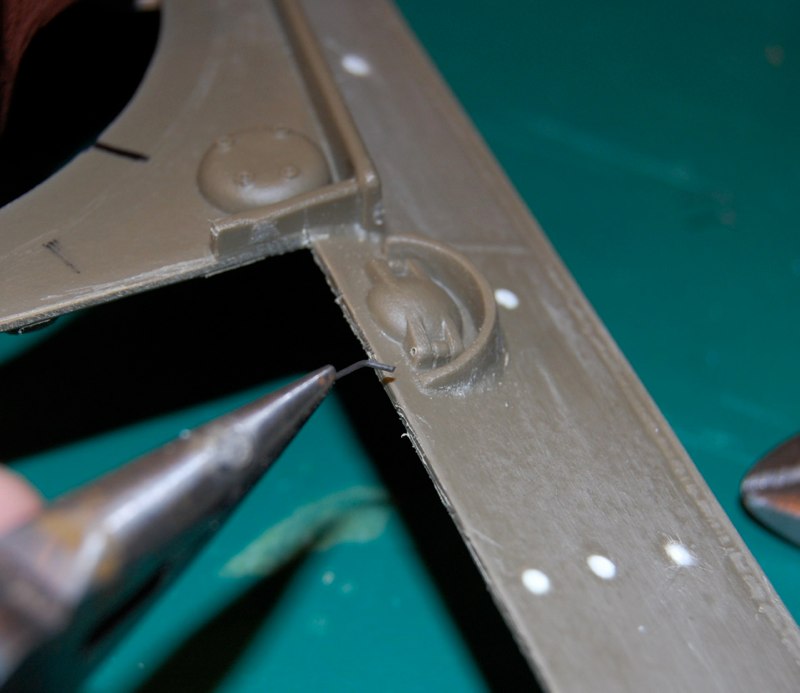
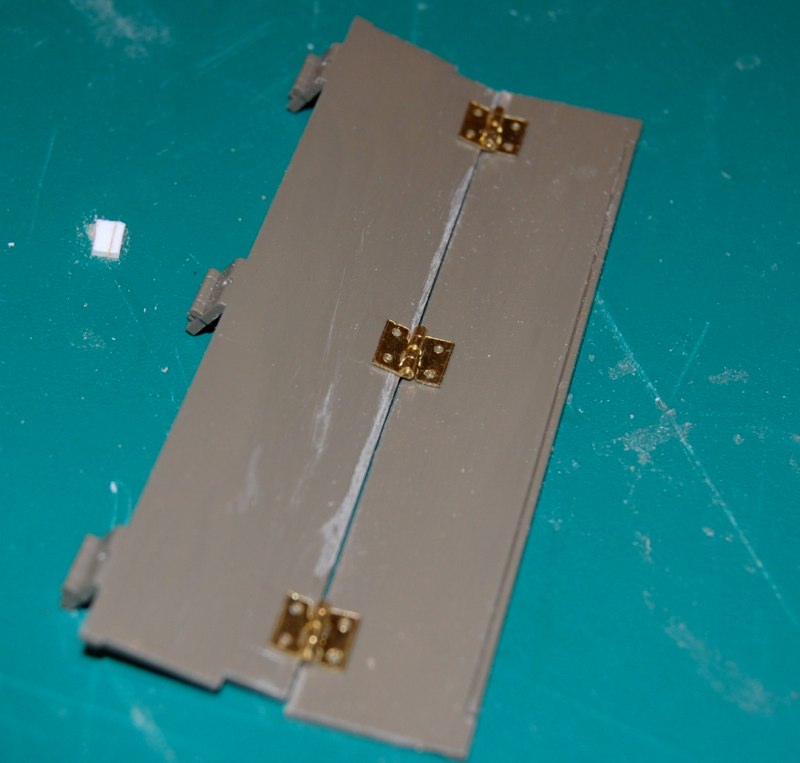
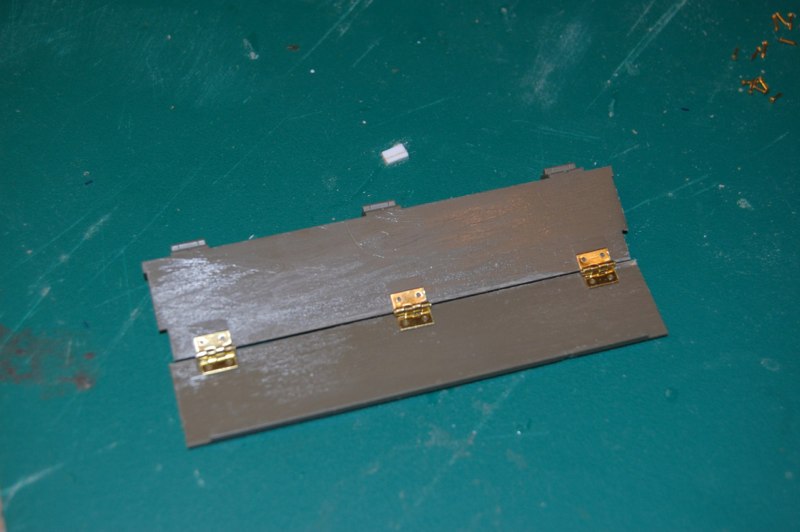
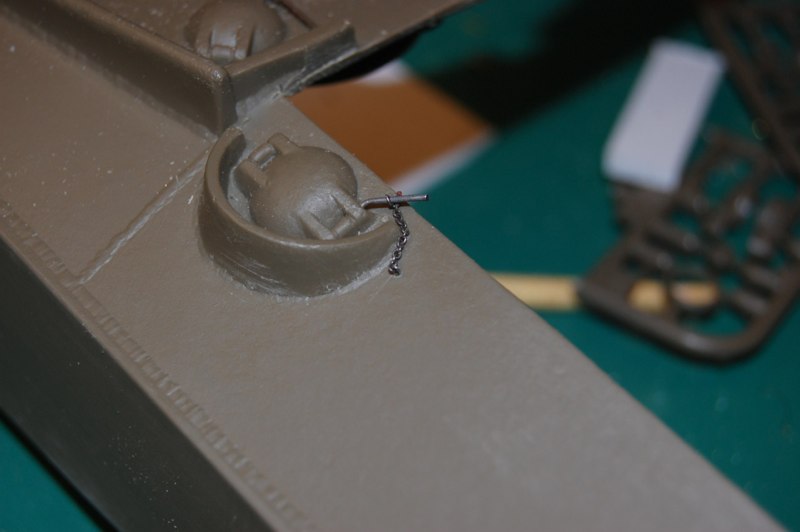
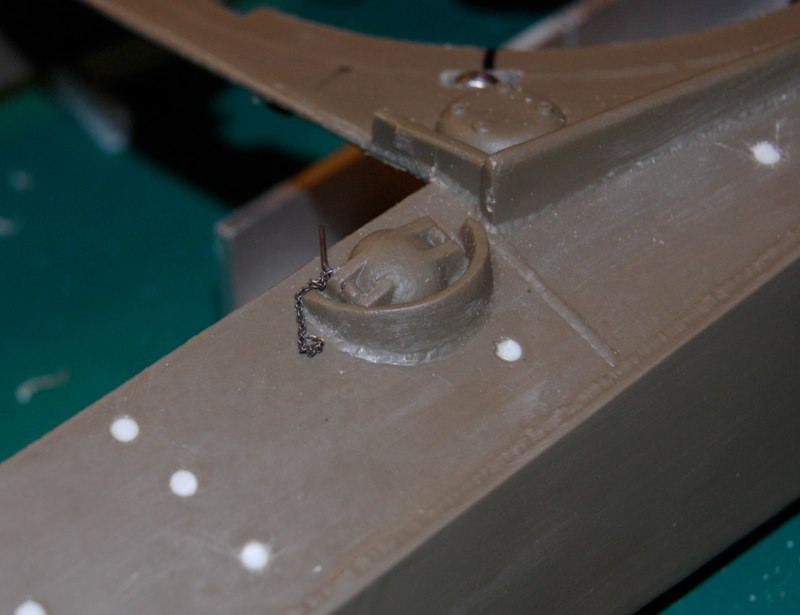
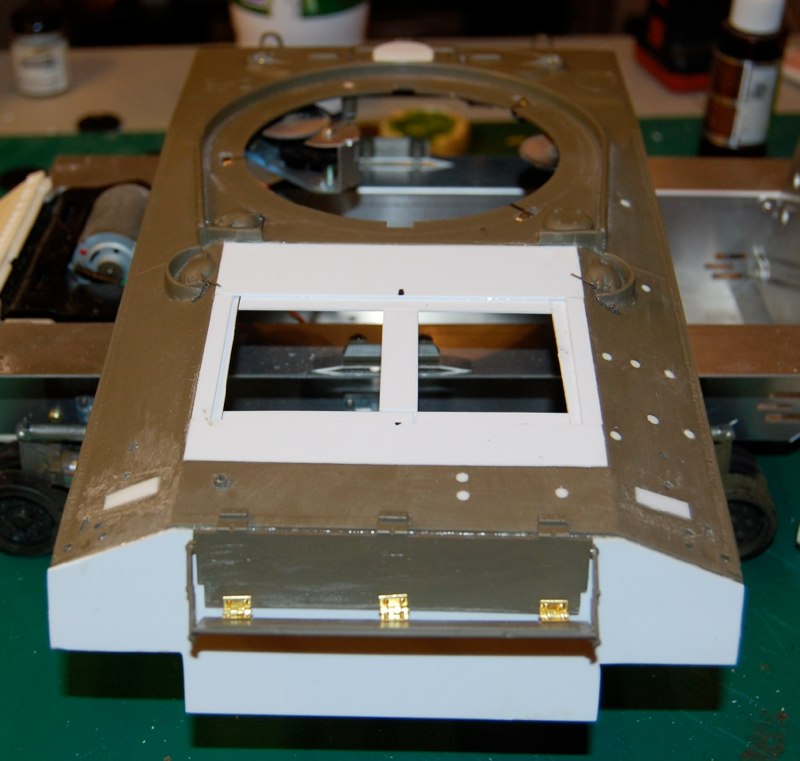
DSC_2571.JPGTow shackle brackets made from StyreneTamiya clear lacquer sprayed on key areas and Tamiya decals placed on tank. I decided to start with the entire spread and work my way back down to field look.DSC_2572.JPGEngine door scratched to match part cut from FOV Sherman.Hinge sanded and then glued in place to back plate of lover hull. As usual I superglued sytrene to the back of the tamiya lower hull as a good surface to attach plastic or resin parts.My grand-uncles unit applied. 7th Armored Division, 40th Armor BAttalion, charlie company, 1st platoon commander.Mounted to the rear above the tamiya light assembly. I added some rubber chevrons to the track stowage and added some hinges to the retainer.War department registry number. Applied from Tamiya sheet.DSC_2578.JPGTurret stars added over texture.after measuring the correct distances i use a motor tool and microbit to make the holes.new tools in place with bracketsMicro Sol (basically denatured Alcohol) softens the decal and makes it “sit” on the tank.Tools are added and the straps are made with Gaffers tape. Adhesive enough to keep them in place without gluingStowage on the front glacis was achieved by adding angle stock....and wood planksNatural Chips and scratches from building process!simple addition but Very common in Shermaniathe natural wood can’t be beat!Oh yeah, just for fun I made my gas can workable too.The look of this photo.Shermans had the option of sand skirts along their lower hull. Most were not used in the eto but the bracket remained. to simulate this fairing, I have glued styrene strip to the hull.Brush guards for the rear lights made from brass stockDSC_2573.JPGDSC_2574.JPGNext step, tow Shackle brackets, Tow Hitch, and correct exhausts.Base coat of Tamiya Nato brown applied with Iwata airbrush. Lower portions excuded as I plan to attempt a VVSS modfication with the MAto Parts.Add the last filler cap and Bend some CA to match the splash guard.Small detail, the lights art horizontal to the ground despite the angle of the hull.Air box mounted in correct position.The rear of the tank has more changes to make it a true M4a3. step one is to fill the gap between sponsons. I used more of my favorite tile stock...And filled it in with braces above for strengthThe Idler adjustment wrench had a bracket made from tube with a pin on a chain.Ax handle..A few hours later I applied a Camoflage coat of Testor’s Acrylic OD with the old Iwata.The sides stepped downwards to form the armored exhaust coverand connected to them are the fairings for the Airbox. More on the airbox later.ShovelRest of tools Added.I choose to enhance my stowage by building the accurate brackets from brass, and adding the straps to the tools.I have some old max trax Sherman resin tracks to use as a master for my spare track block holderHo scale Chain will be the death of me.Looking goodI use styrene to approximate the track shape...And use more to make the hull fairing.Time for some fun with tools. I am replacing all handles with real wood.tracks and holderon the tank in the appropriate spot.Next casting project... accurate exhaust.Brass added to the outside to simulate the retainer.Start with a stock Tamiya Sherman hull.remove the Sandskirt extension and the front fenders. I use a razor saw and then I sand the entire side with a rough grit sanding sponge to even it out.Other removal items include the Vent Grousers on the rear deck. FActory M4a3 hulls did not have the Vent as they were equipped with a Ford Gaa v-8 500hp engine. I used a razor saw to cleanly remove the cover.Underneath, I backed the hole with some sheet stock. I then filled in the holes with more stock and used ca to fill the gaps.Another aspect of the m4a3 was the rear plate. To accept the gaa engine the plate was angled out farther and extended lower to add protection to the radiator and exhaust.I made the plate from 0.030 sheet stock and attached it with cement. I left the original hull intact to stiffen the assembly as I will remove the engine deck.I back the drivers and co drivers hatches with STyrene and CA to for the lip for the open hatches.there is a Triangular gap on the sides but I will fill it witH Ca and sheet styrene. More upper hull changes, I fill in the upper hull tool stowage locators by first drilling them out...to match the plastic rod I had handy.......and use liquid cement to weld them into place.Tamiya’s detail is a little soft so one major improvement is replacing the front hull ventilator cover with a suitable replacement.And Grind away the rest with a motor tooland you can either use the Schumo metal cover, or choose to scratchbuild a new one.In my case I chose to make the front lip from scrap Photo etch brass I had lying about.Many photo graphs I have seen show these vents dinged and dented so I went that routeI super glued my plastic piece in place, and used more scrap photo etch to finish the piece.OPen hatches and ventilator make the difference.Replacements are available for the Travel lock but on a budget you can replace it by cutting the Tamiya piece and shortening it.I moved the travel lock location up the hull and used wire to make it moveable.I really love the small details. The Fuel filler caps on sHermans were Hinged, armored lids with a steel retaining pin. I choose to add the pin as it is noticeable to shermanohlics. Step one, use micro drill to make the hole for the pin.I made the pin from steel wire and used pliers to push the pin to its correct location.Later Shermans came with a folding stowage rack that attached to the rear of the engine deck. Tamiya has a one piece rack with the folding arms extended.I am going to try an improvement. Step one is to cut the piece in two and sand off the plastic hinges.I affixed some brass hinges and actually used the brass tacks to connect it.I realized too late the hinges will create a gap where the rack folds but stowage should help me out.I drill out the original....Next I drill the mounting hole for the chain that keeps the pin on the hull when open. Location is approximate. I have seen it in many places on the hull.I use Steel Wire and small scale chain to make the retainers. Thread the wire through the link and twist to make an eyelet.I push the wire through the hull and bend it over to keep it in place. A drop of CA helps.Voila, Armored fuel filler cap with locking pin and chain retainer.All the caps were essentially the same.Beginning to look Like a tank!The biggest challenge is the engine deck. The ford gaa engine deck had two large grates and re-arranged plates. You can buy a resin replacement with photo-etch but I wanted to try a scratchbuilt deck simply for the challenge.First step is to frame in the rest of the deck. I used my usual .030 tile stock measured from both a 1/35 model and my previous attempts.I had a supply of .035 rod and I began by cutting 1+ 7/8 inch bars.After spacing them out I used liquid cement to secure them. First pass also had rod as the stiffeners but.......but i substituted strip stock later to match.....Not too bad for my first try. I made the frame from strip stock and made hinges from more plastic stock.Simple shapes from plastic equal convincing hingeThe real deck has a large one piece in the rear, two engine doors, and a flat piece toward the turret. The grilles are welded rod with a metal stiffener above.