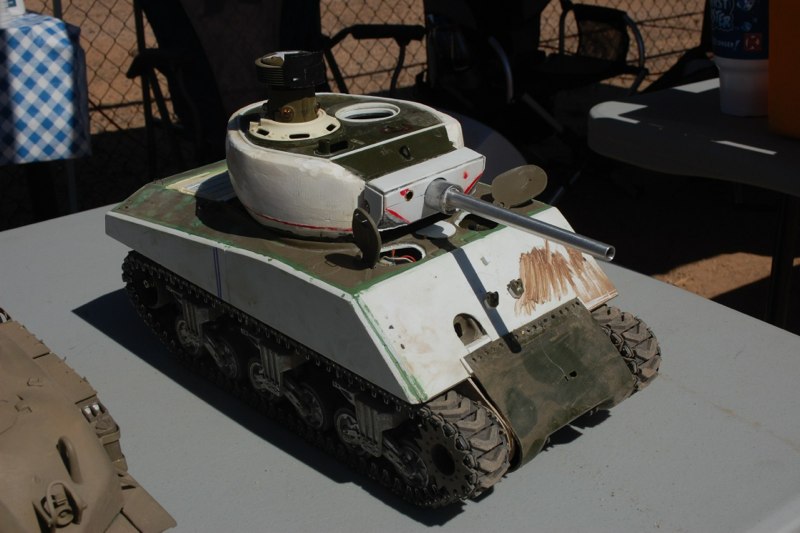
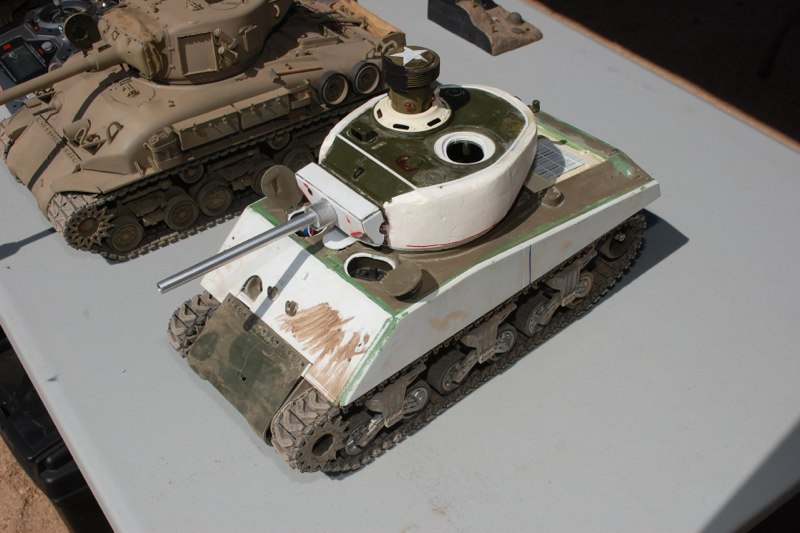
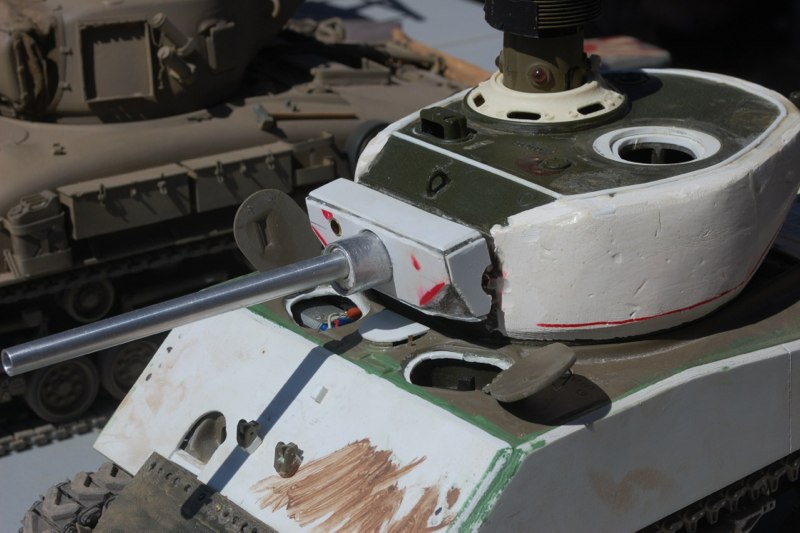
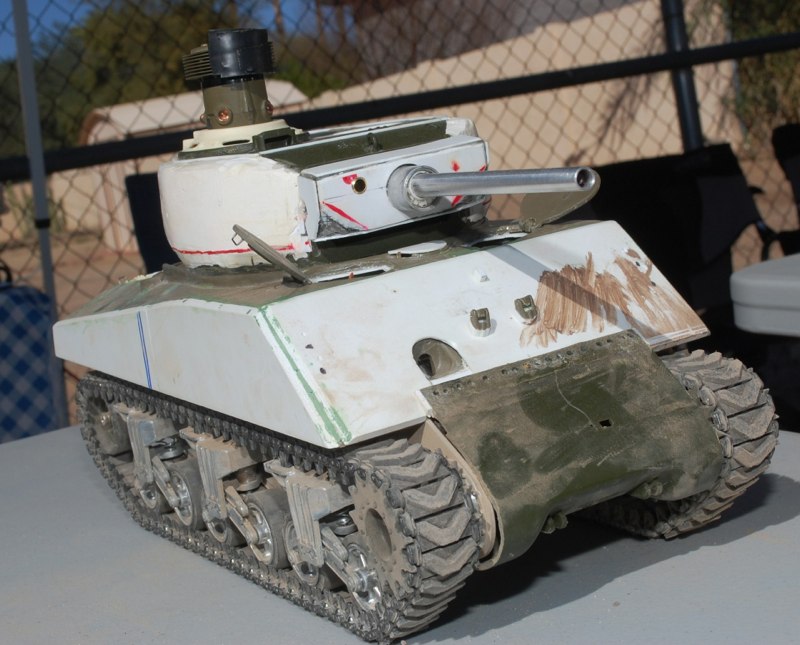
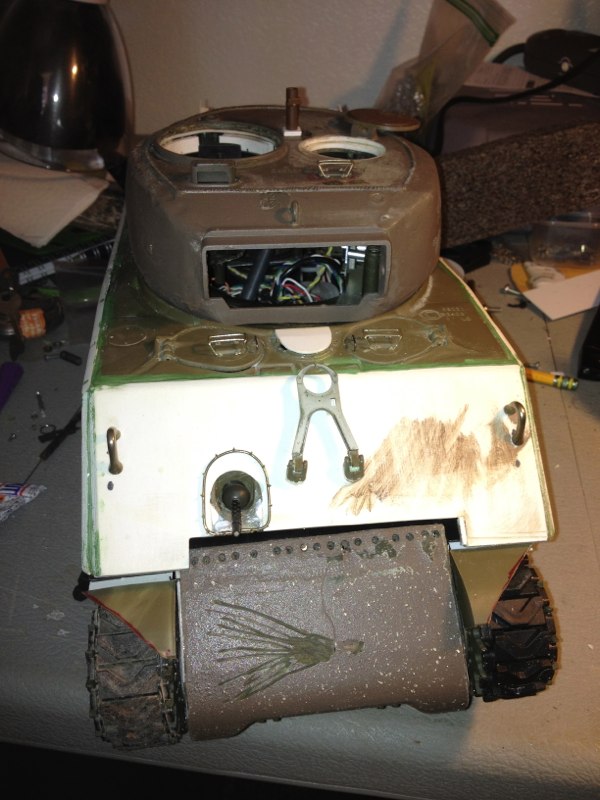
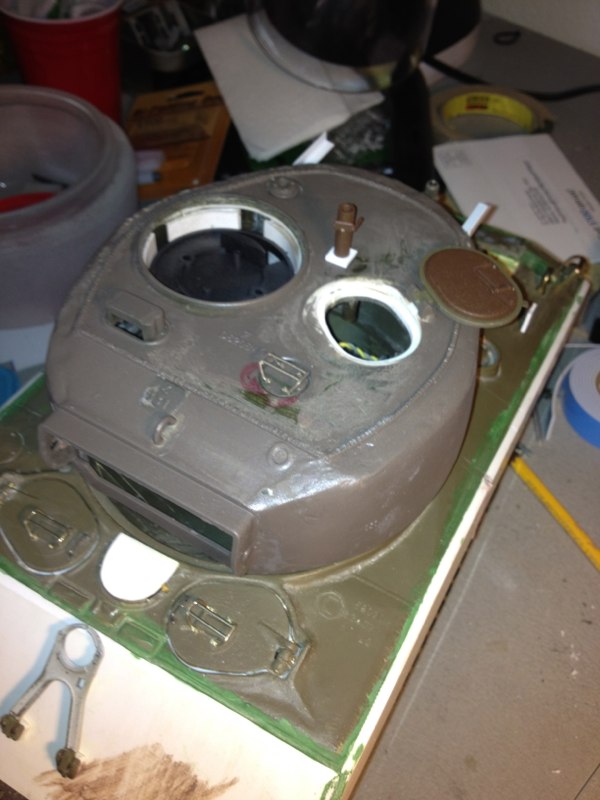
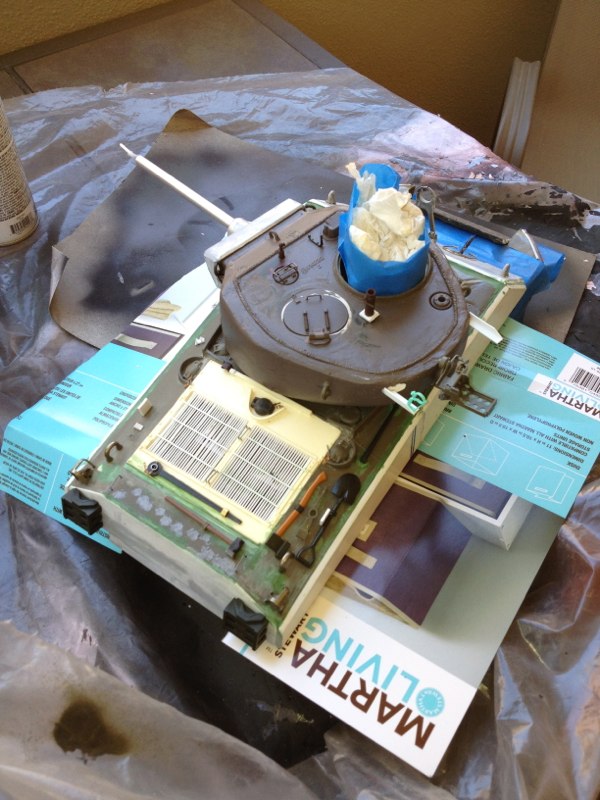
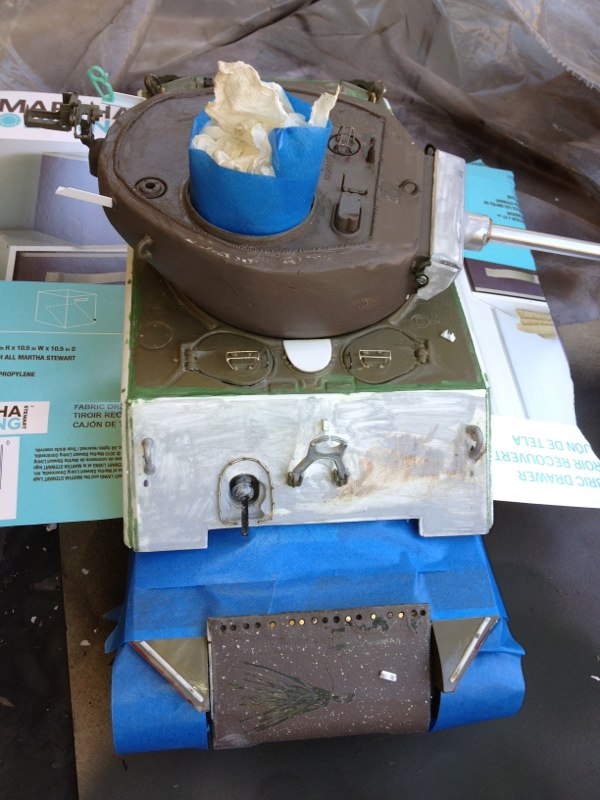
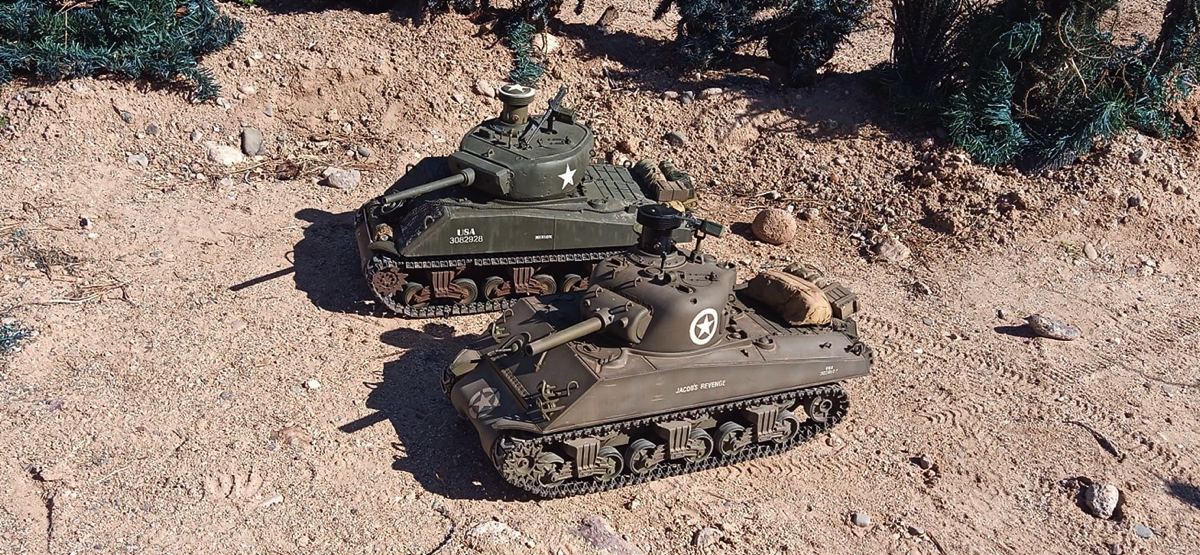
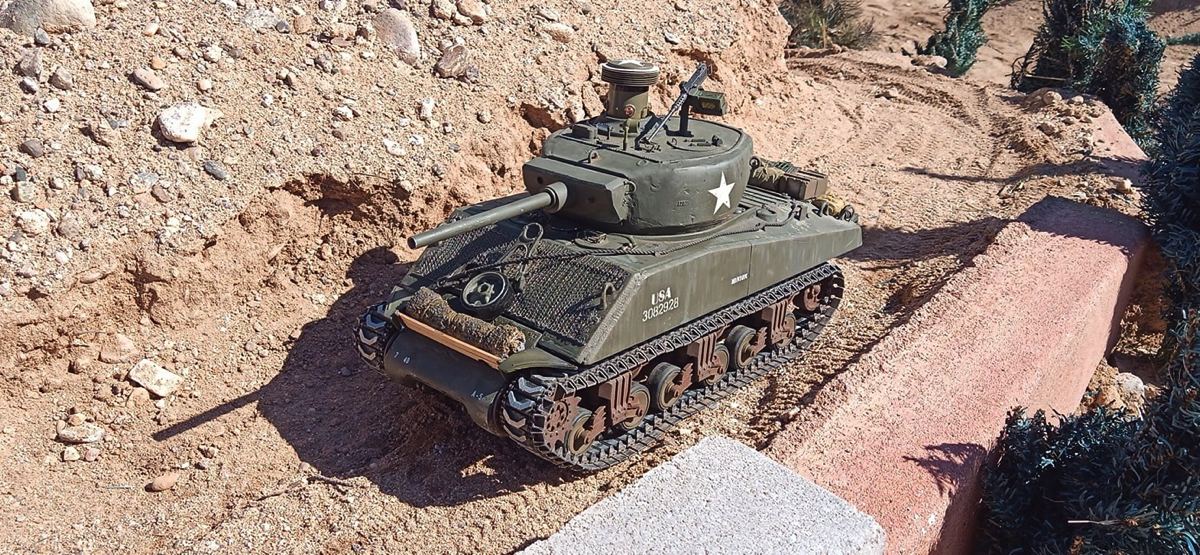
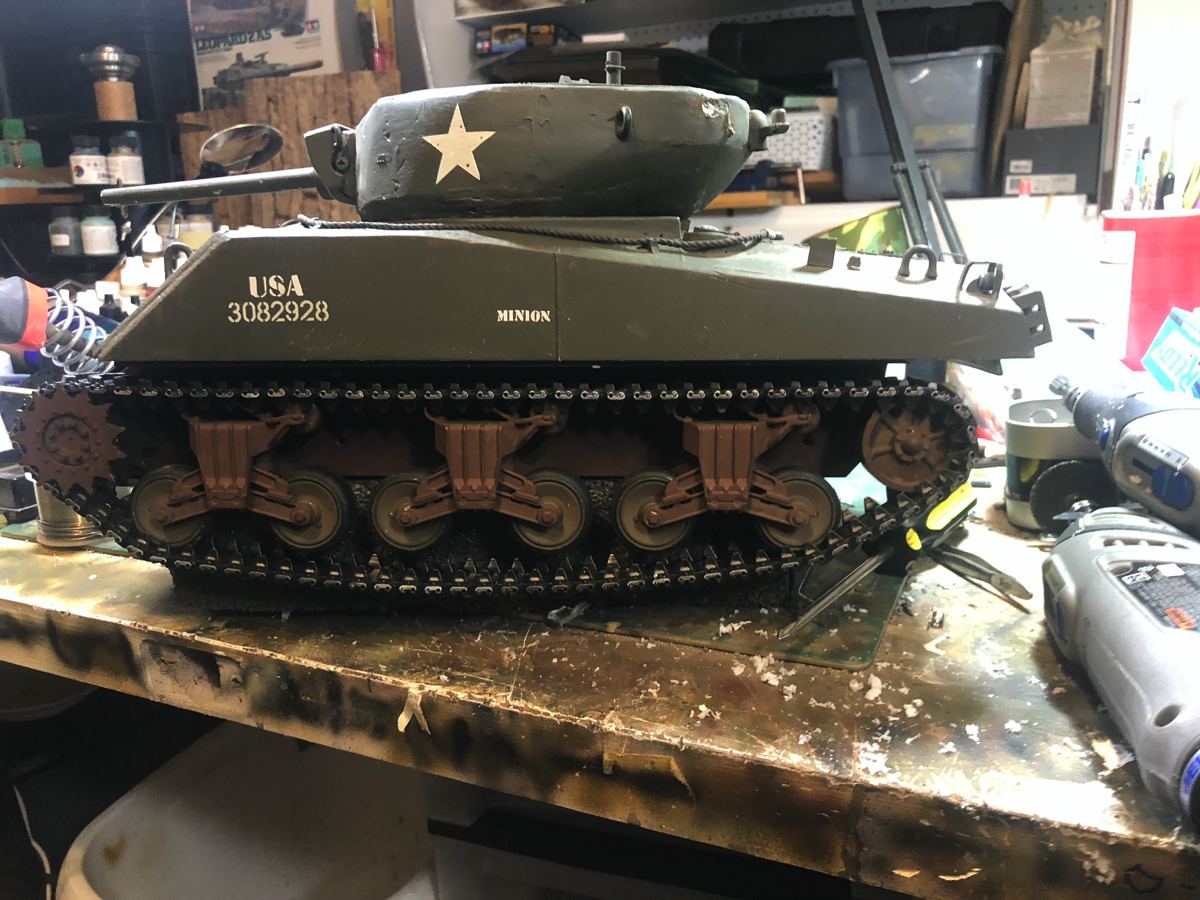
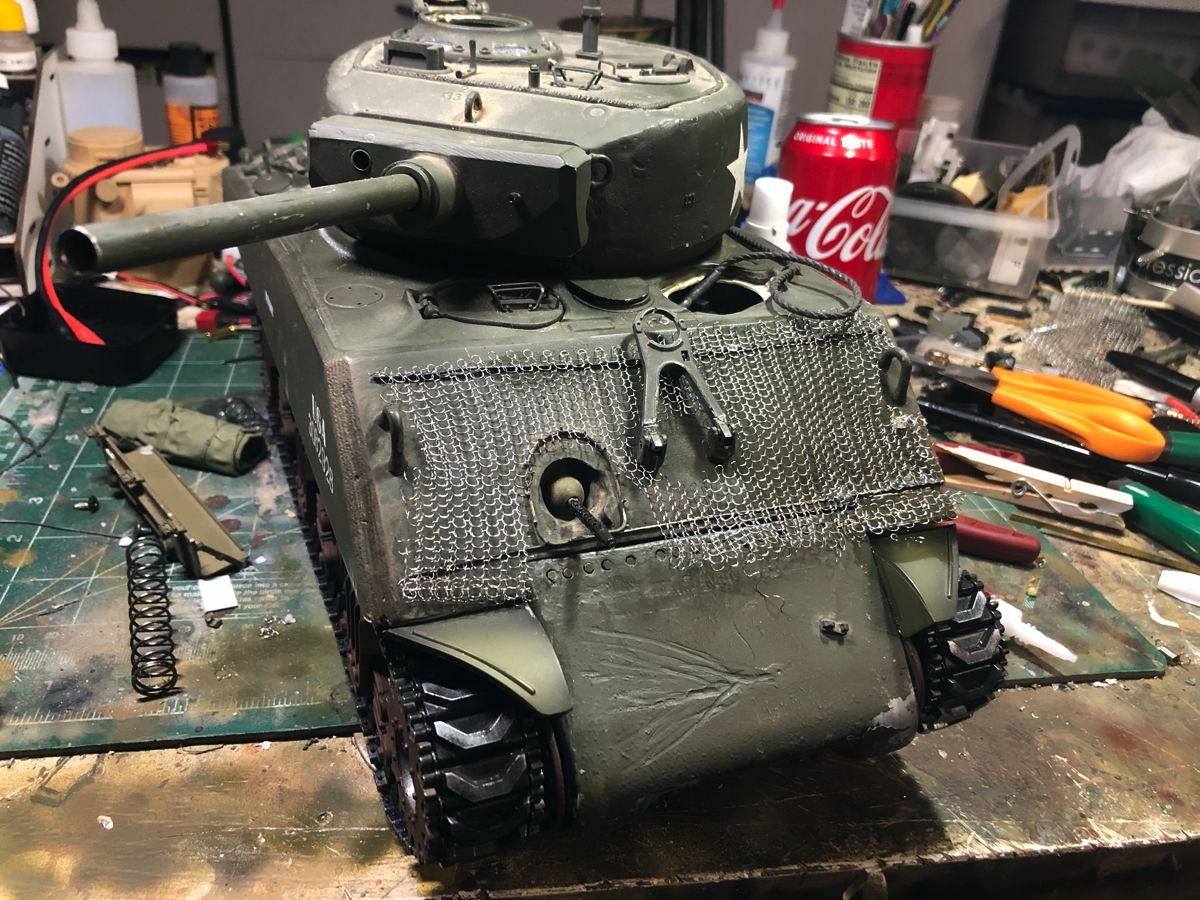
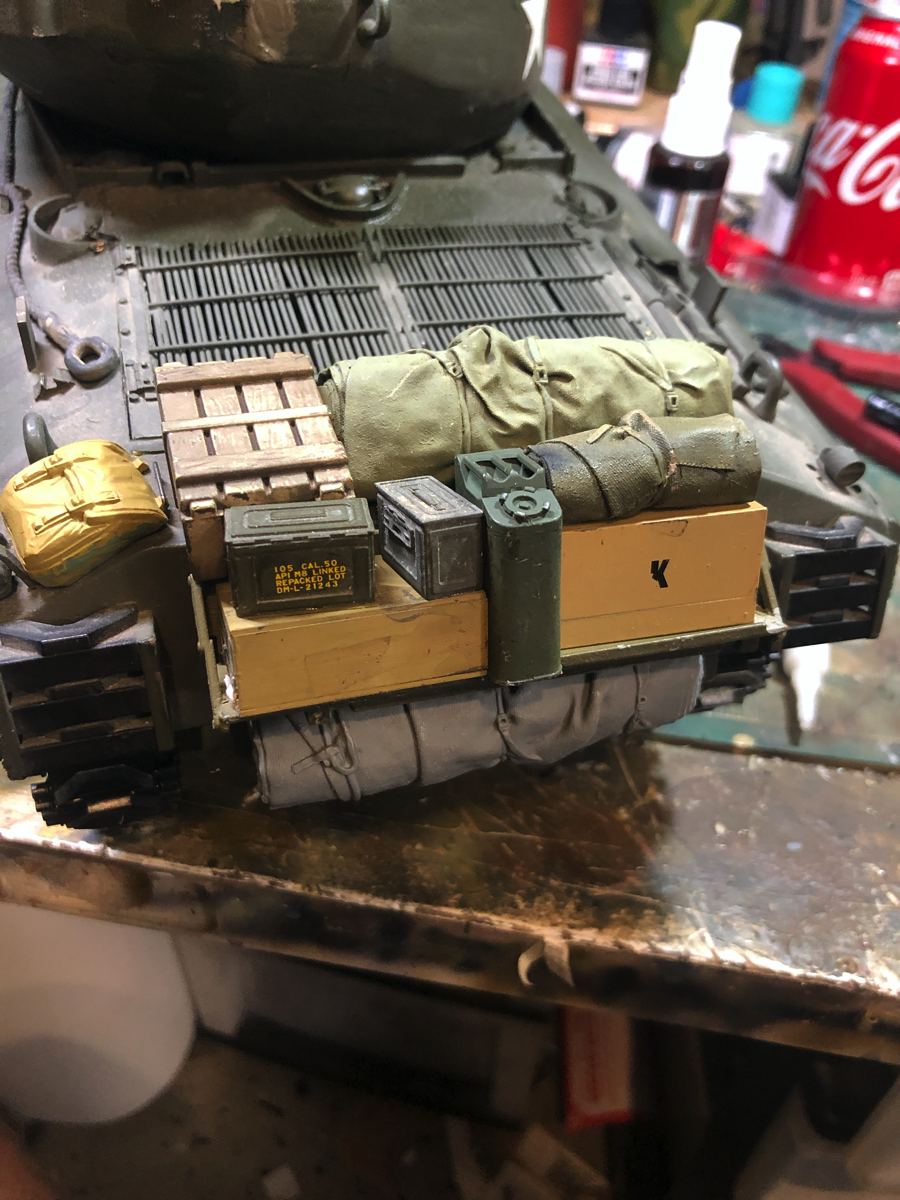
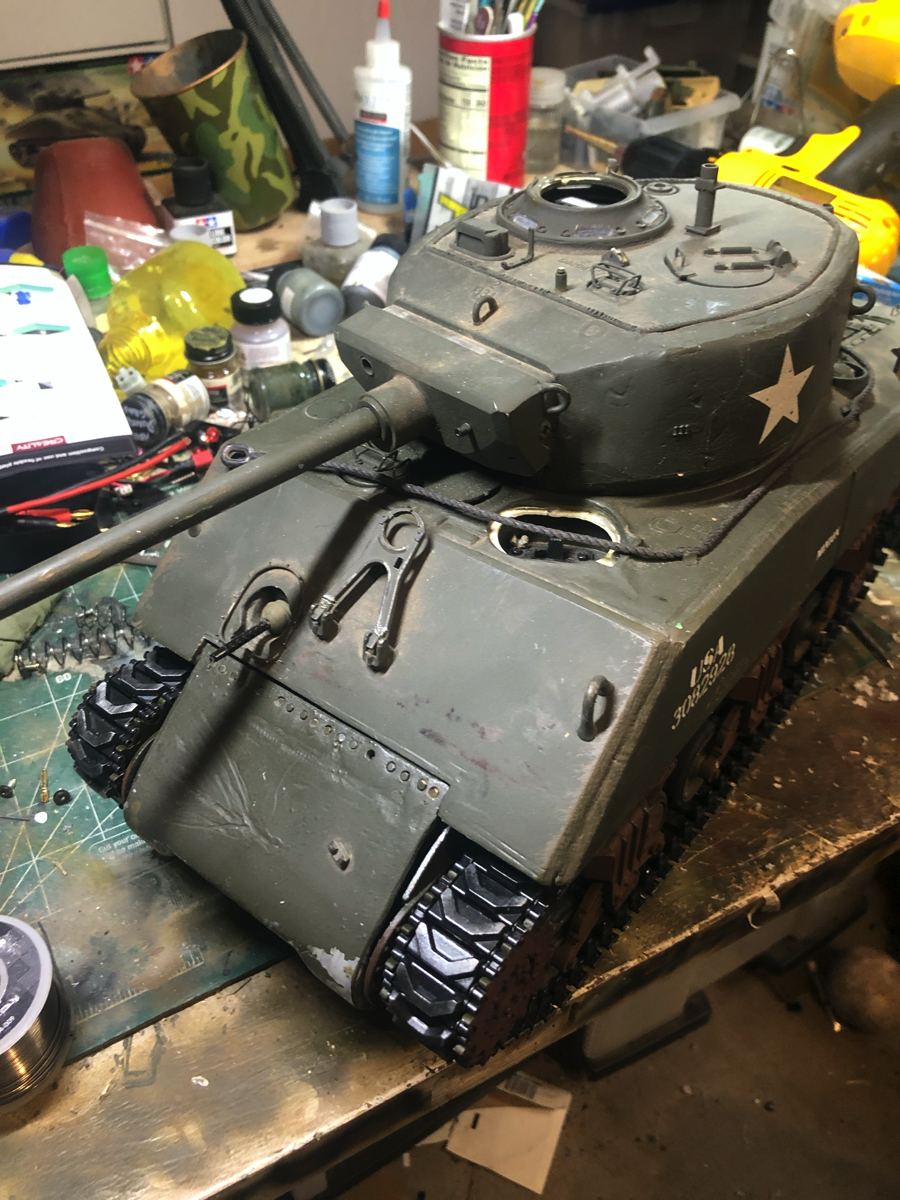
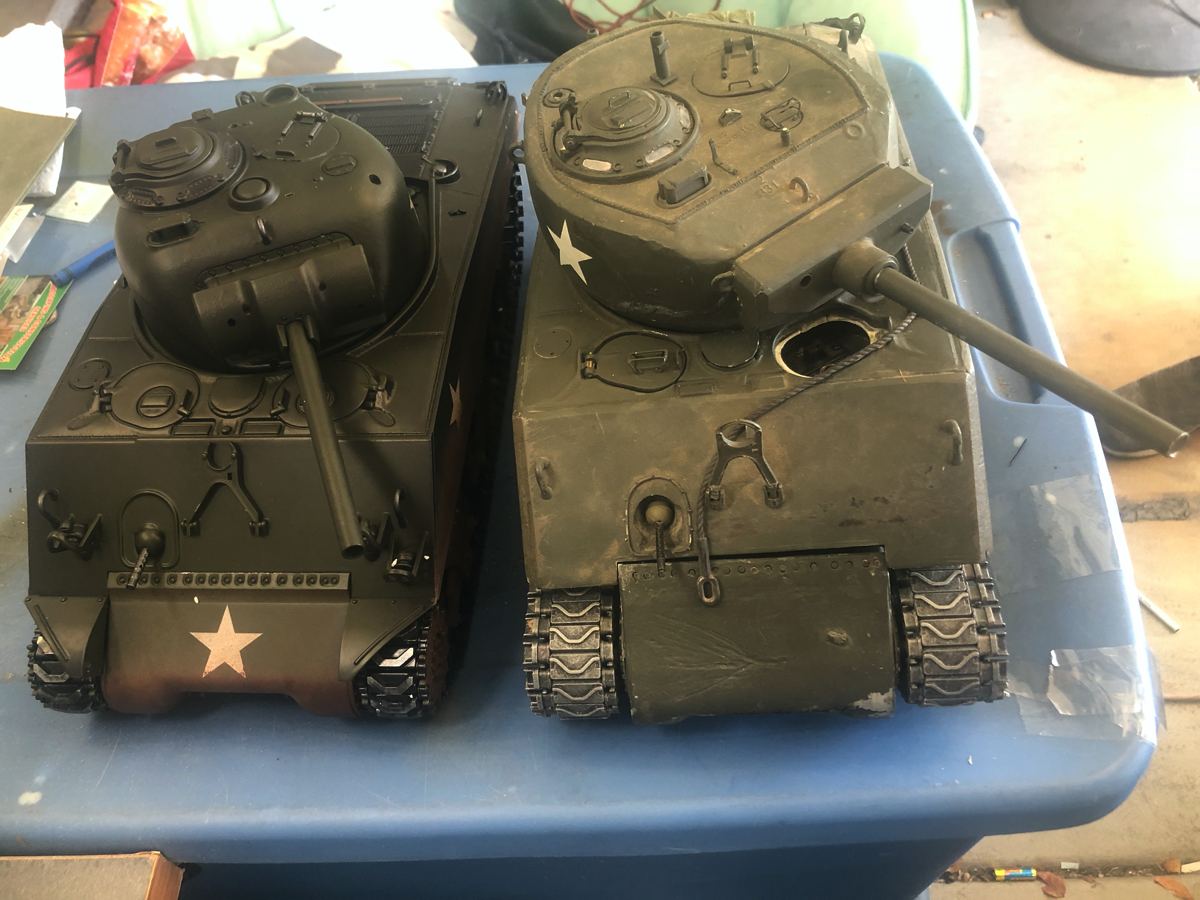
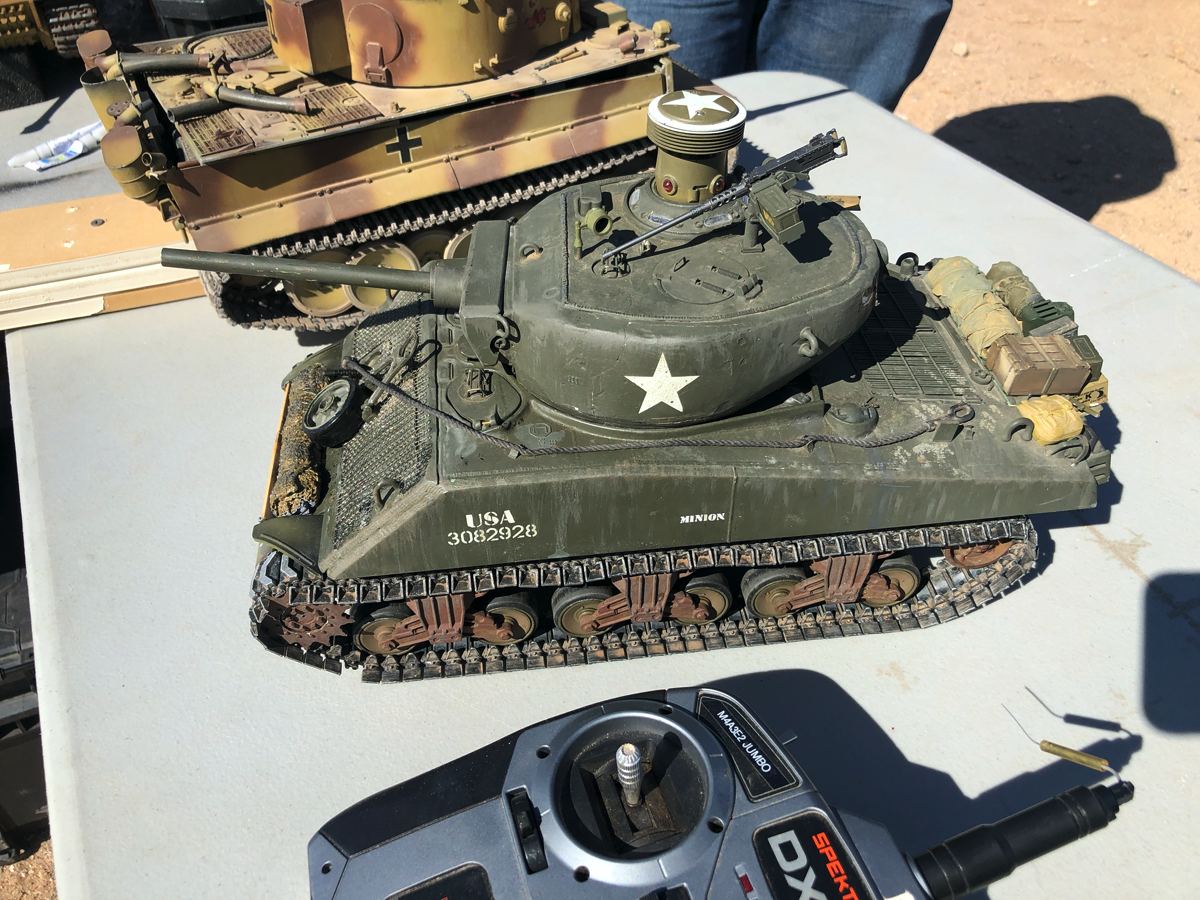
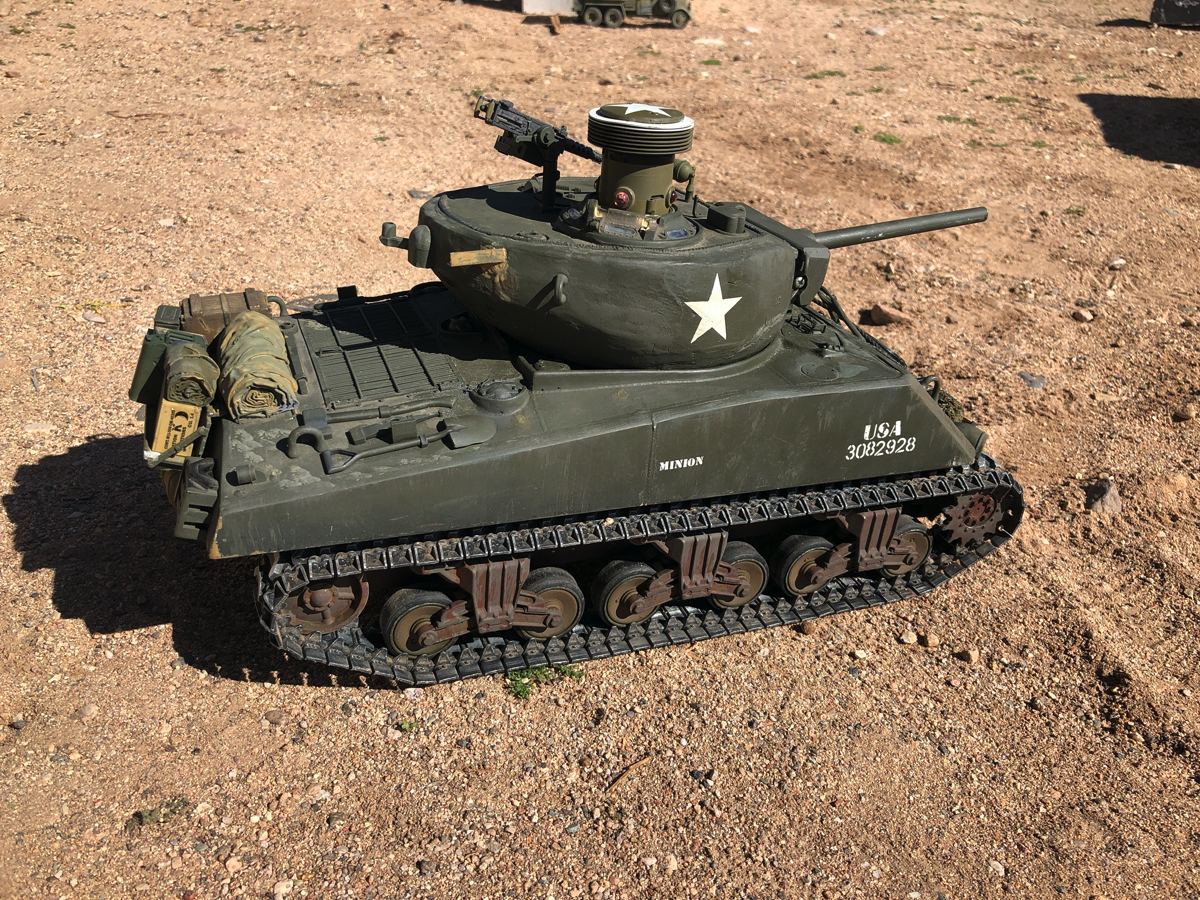
This build actually began 10 years ago but now is undergoing massive refit.
Sherman tanks were numerous and reliable, but poorly armored and vulnerable to the anti-tank weapons they faced. Crews added layers of spare track, logs, sandbags, and applique armor to weak points but German 75mm and 88mm rounds could penetrate and kill Sherman tanks from any angle at ranges up to 2000 yards.
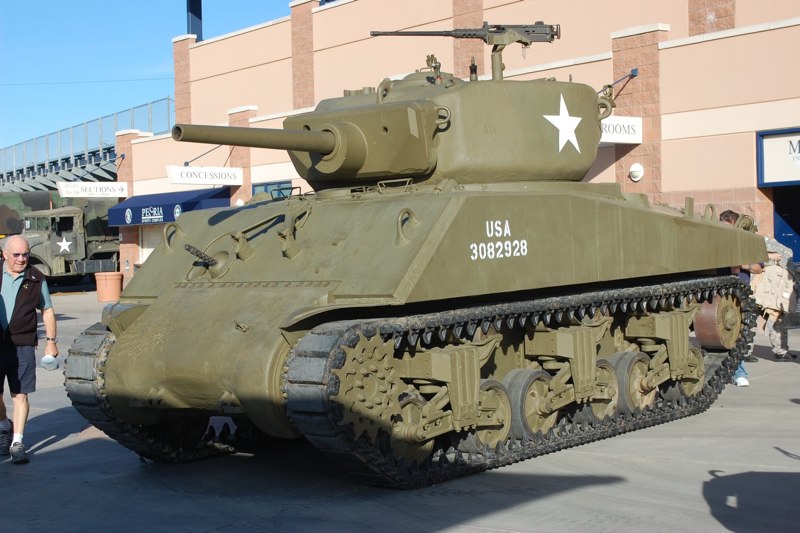
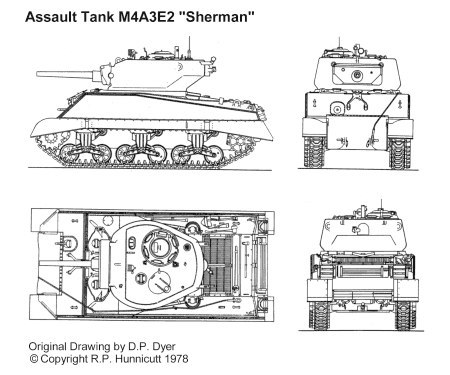
With the failure of the T-14 heavy tank concept, the Armor Test Board created a Sherman variant with double the existing armor and a larger, thicker cast turret. The M4A3E2 was heavier and a bit slower, but better suited to the ‘Spearhead Role” in armored and infantry attacks. Only 254 examples were actually produced by the Fisher Body company and 250 were rushed to Europe.
Initially armed with a 75 mm gun, 3rd army units later up-gunned 100 exampled with the 76 mm M1A1 cannon. The 75mm cannon was chosen for its more flexible high explosive shell to support infantry attacks.
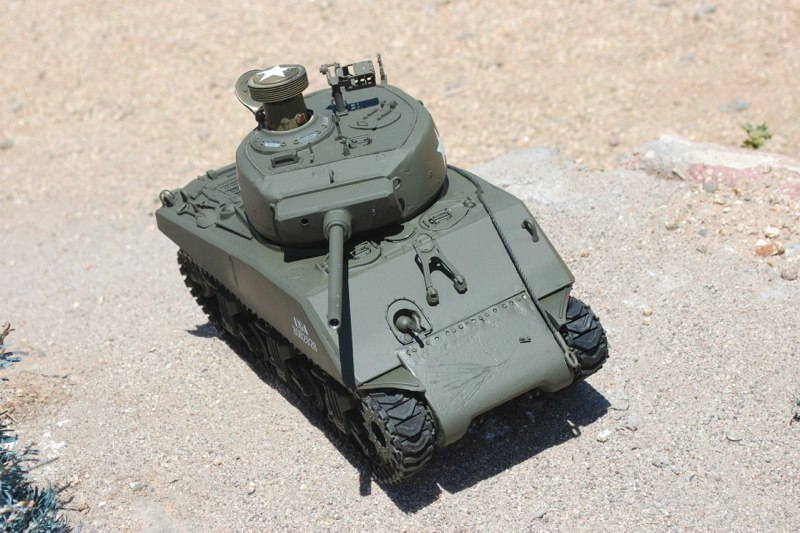
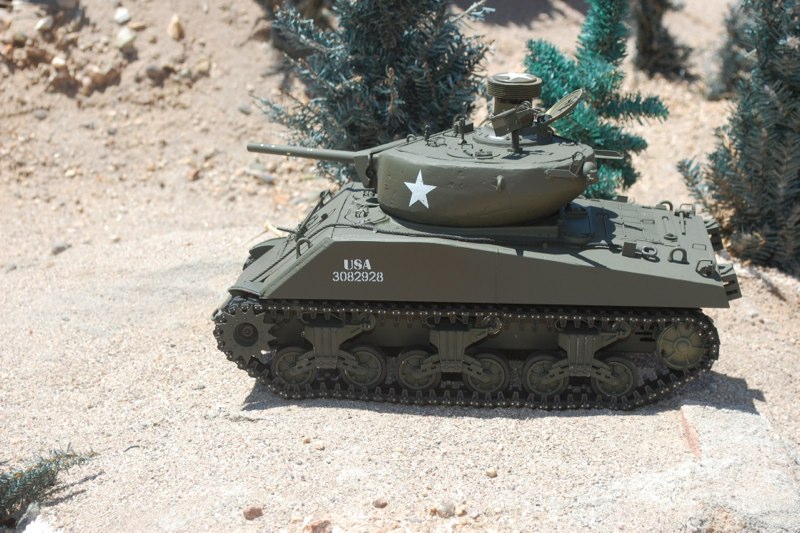
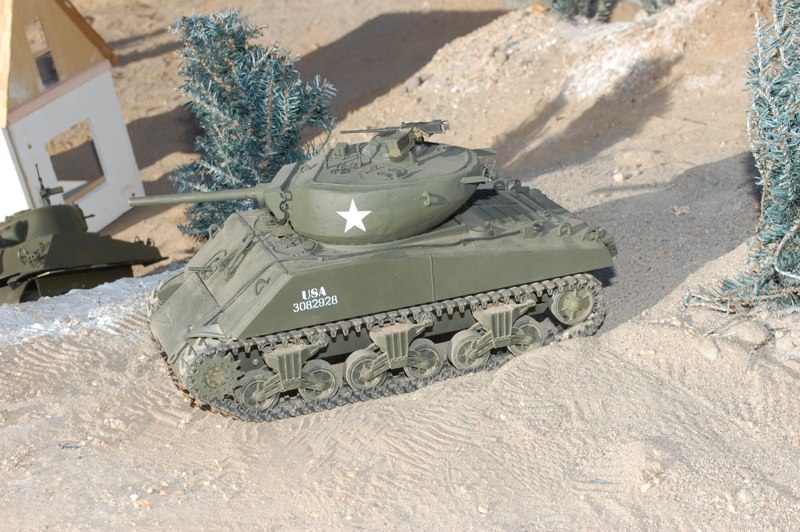
SHERMAN ASSAULT TANK- M4A3E2
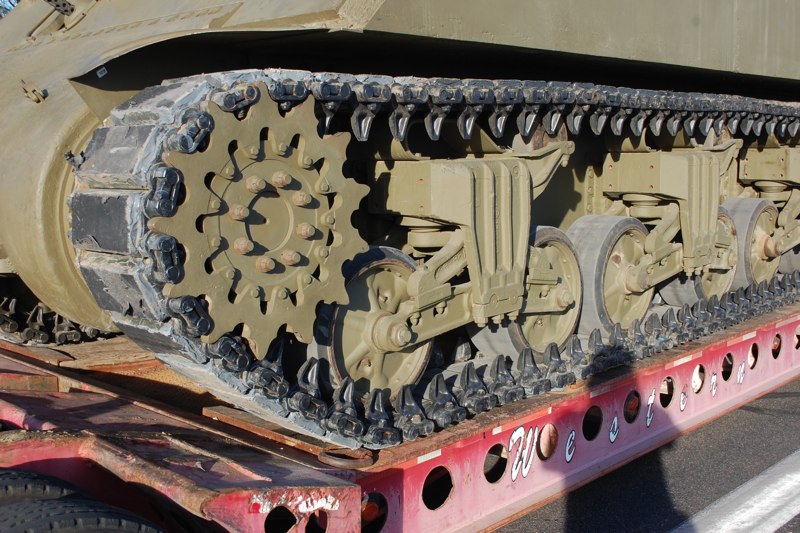
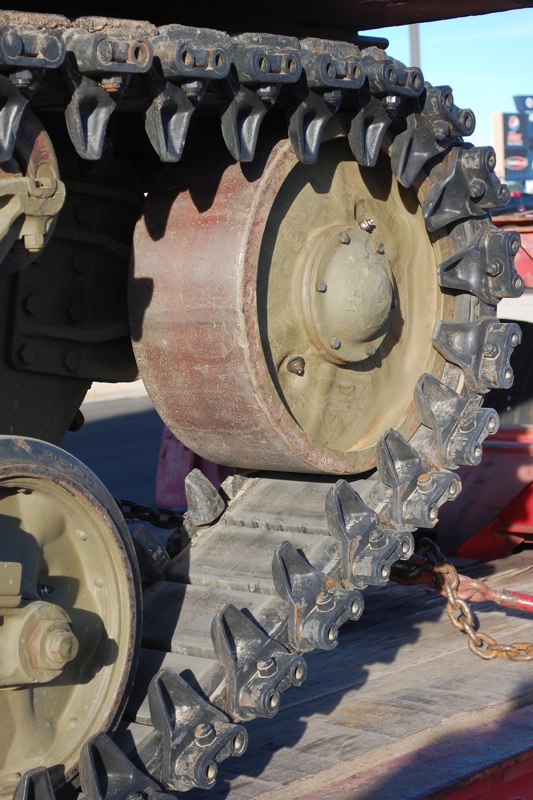
The tank made its debut in the fall of 1944 and immediately made a difference. All models had duckbill track for better automotive performance and the differential had a lower gear ratio for for the additional 8 tons of armor weight. Speed was reduced 2 mph but it was worth the added survivability. One example of the Jumbo’s durability, a vehicle survived 3 head on shots from and 88 mm gun only to be taken out by a fourth round that penetrated the gunner’s sight aperture.
Many examples had either .50 cal co axial machine guns or bow mounted flame throwers. The most famous Jumbo , Cobra King, was recently discovered as a gate guardian at a US army facility in Germany and is undergoing extensive reconstruction at Fort Knox
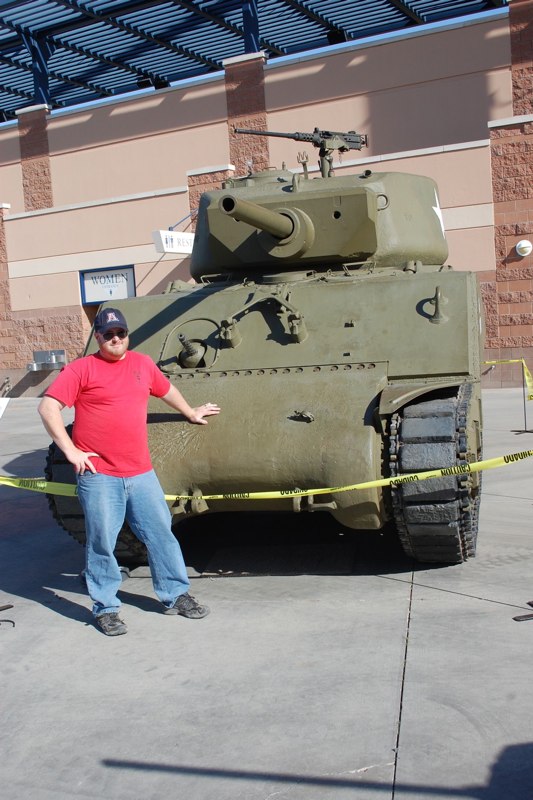
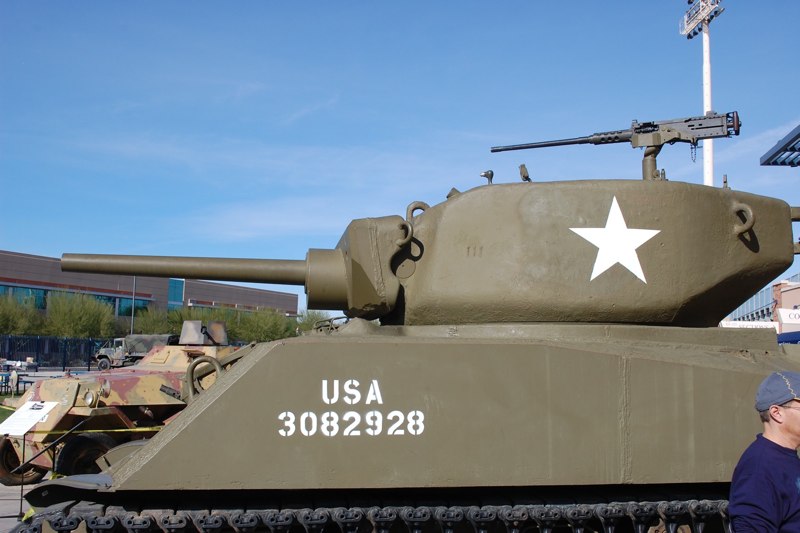
MTVF Sherman in Phoenix
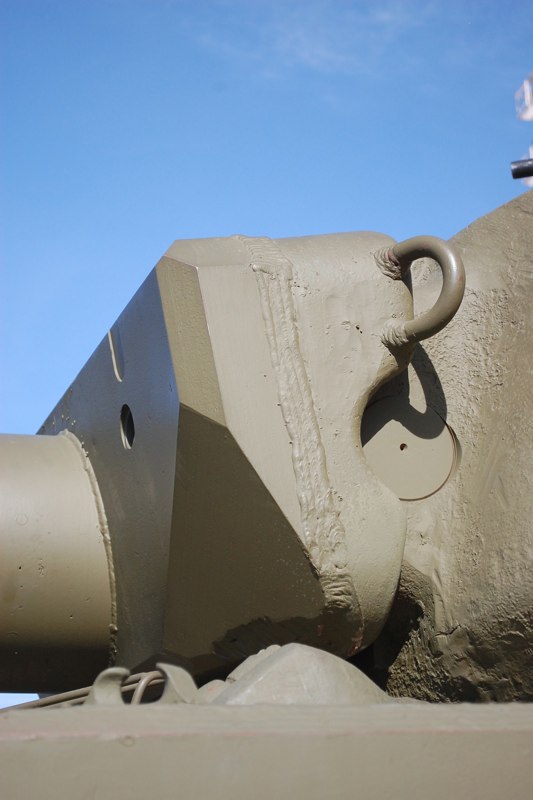
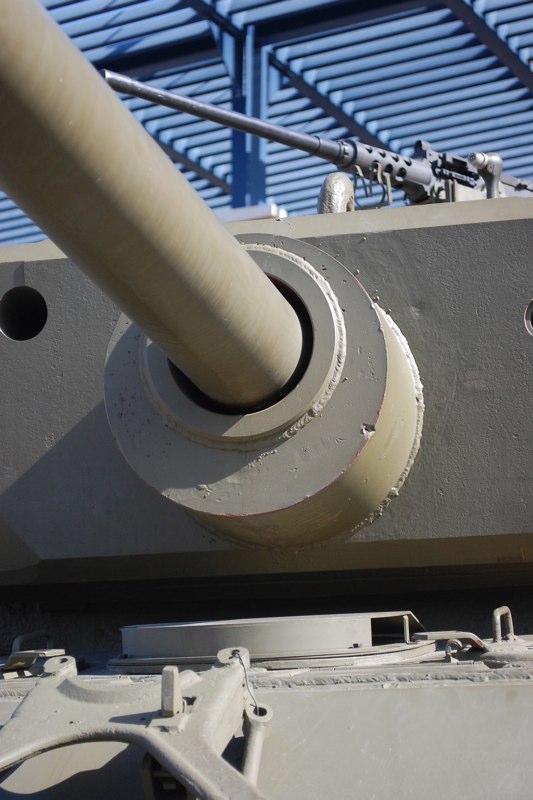
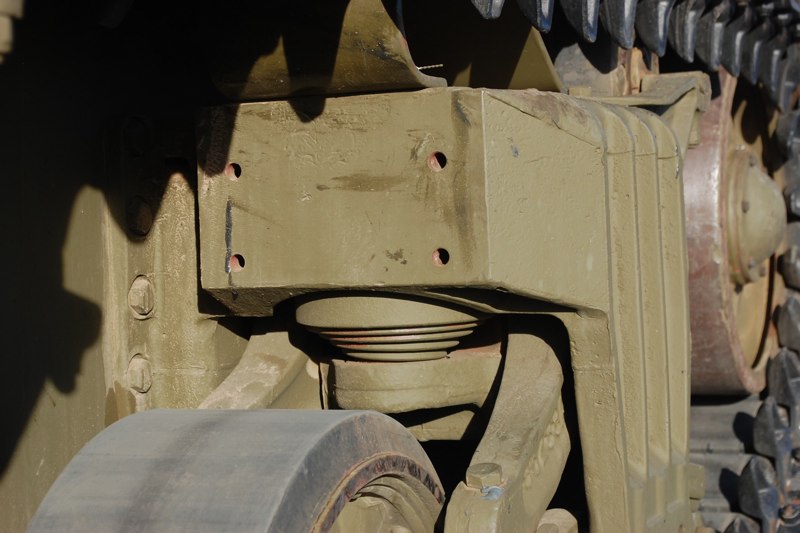
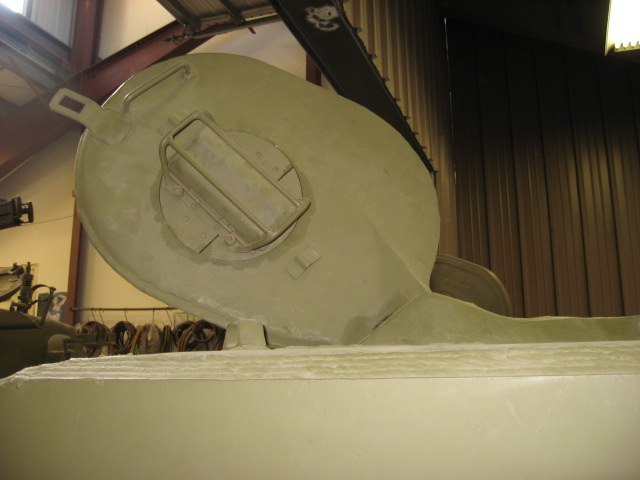
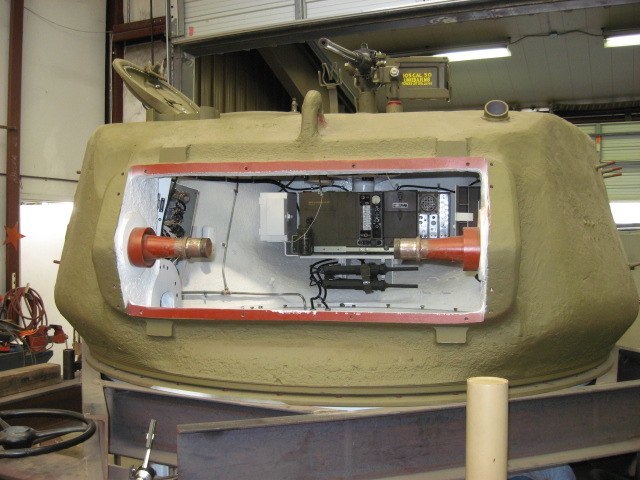
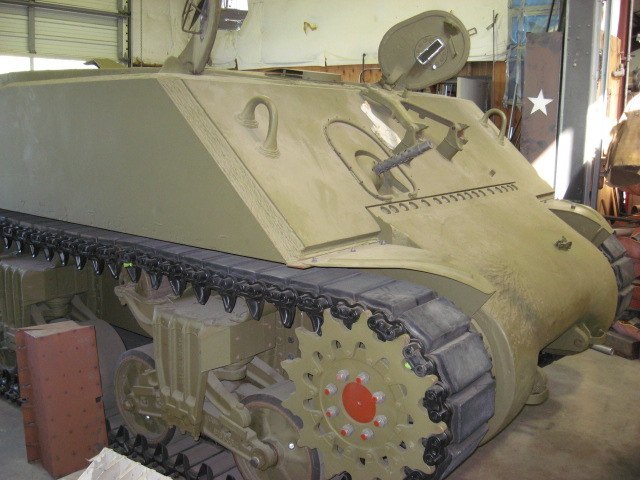
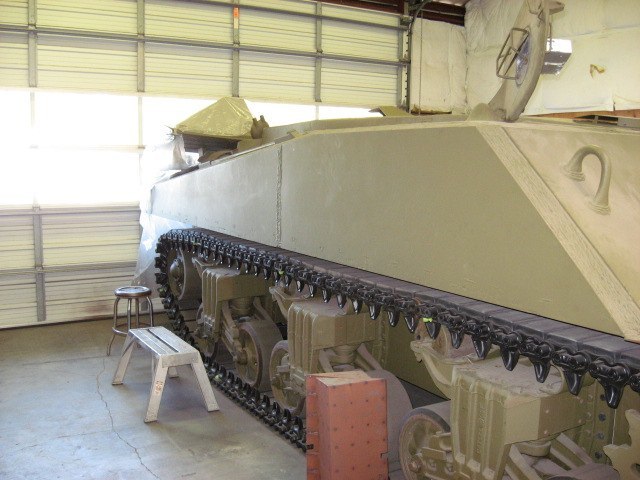
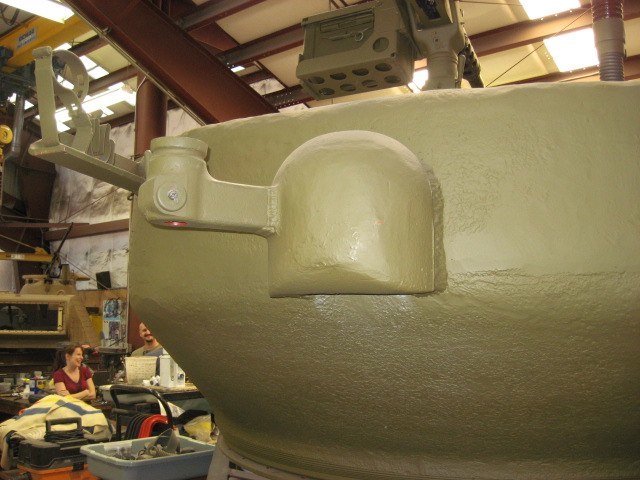
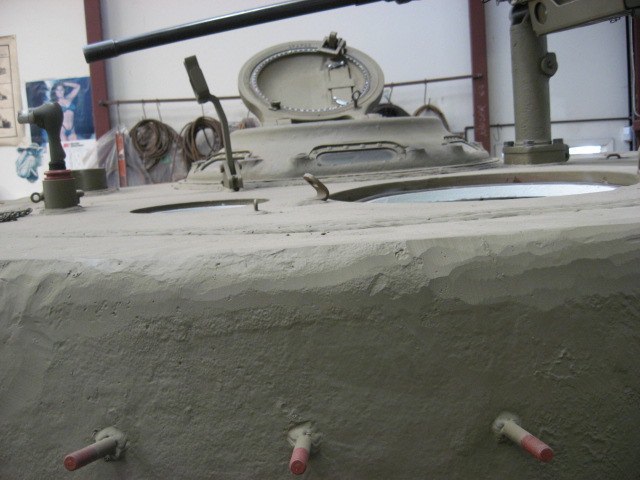
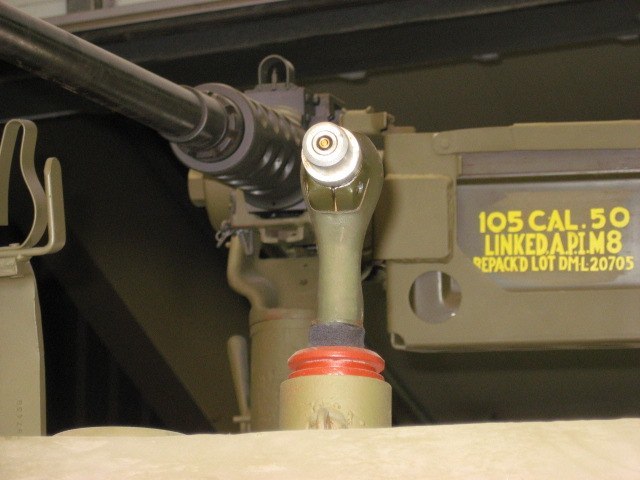
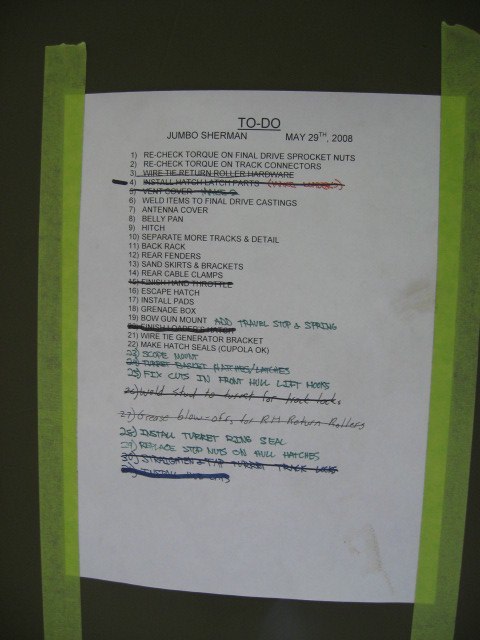
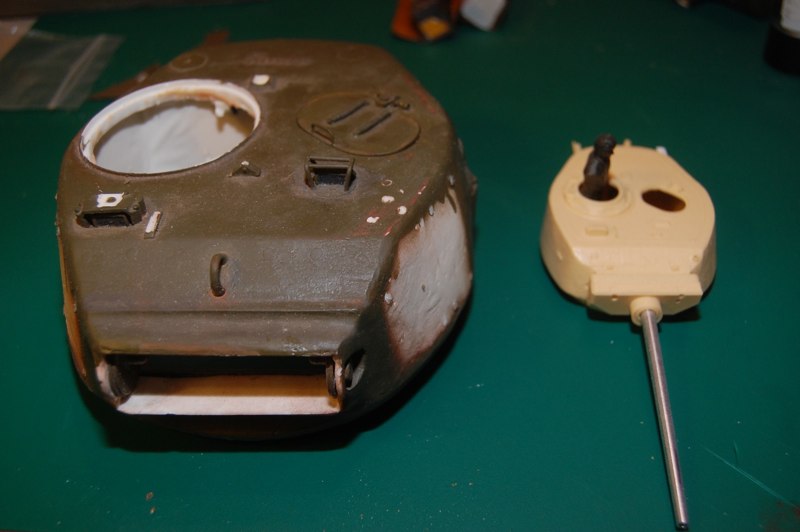
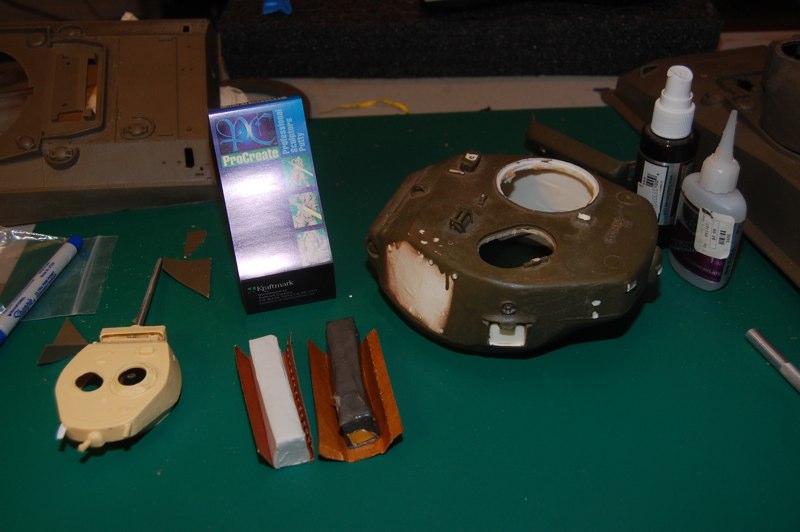
For me, the mantlet is the most tricky part to get “just right”...In essence, 7 inches of steel to protect the turret.Your host with his new best friend... good old turret number 111.The vehicle has the appropriate markings for the actual registry. For reference sake we will call it 111.What better reference!!!!Karma is a wonderful thing.... The only running Jumbo in the world is in Chandler AZ!!! To reference the suspension, I just check out the real thing!!!!The VVSS Bogies were reversible so i will need to drill the correct holes.Standard Idler had no rubber pad.Drivers hatch.Turret, with mantlet removed, shows trunnions, turret interior and the radio boxes. Just below are the stored M3 grease guns.Littlefield collection Jumbo under extreme restoration.A detail missed by a few modelers is the prominent weld bead halfway down the hull.Jumbos did have the ventilator dome, and the stowage brackets for the .50 cal.The to do list.M4A3E2 differed by adding twice the normal armor to the hull and adding a 6 inch thick turret.
Initial Build
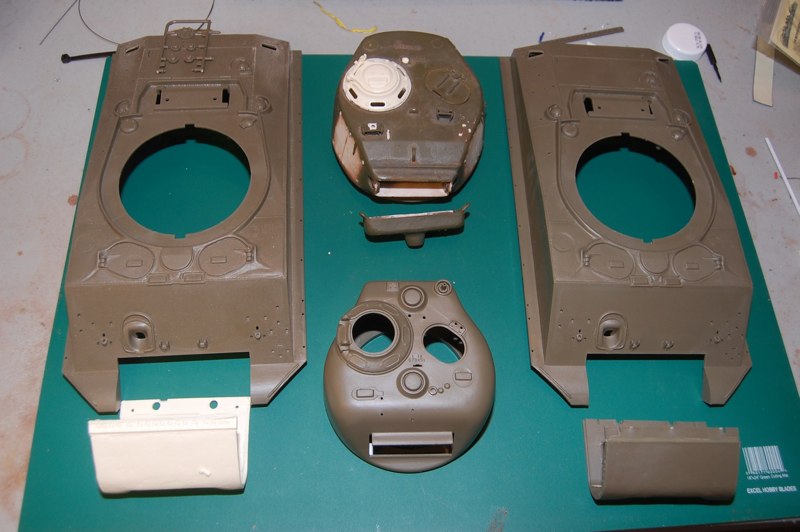
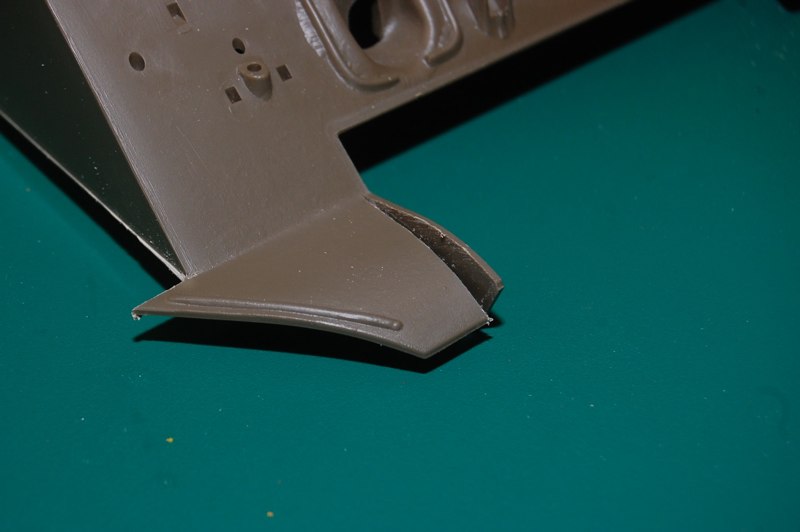
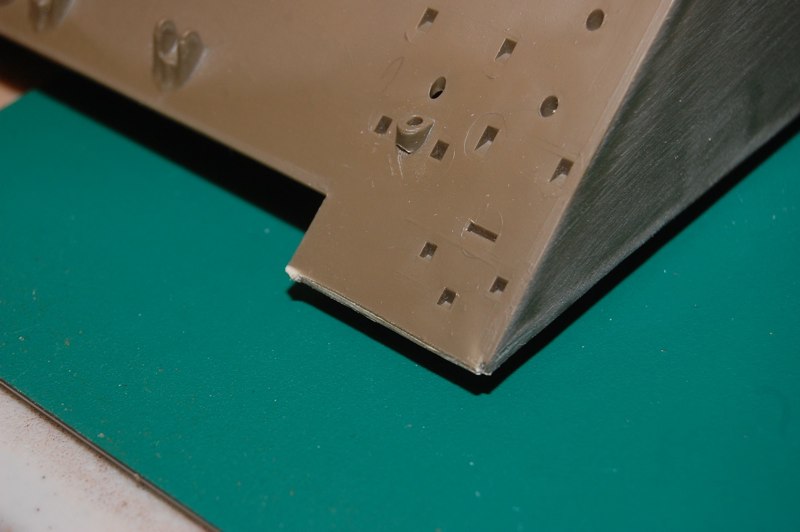
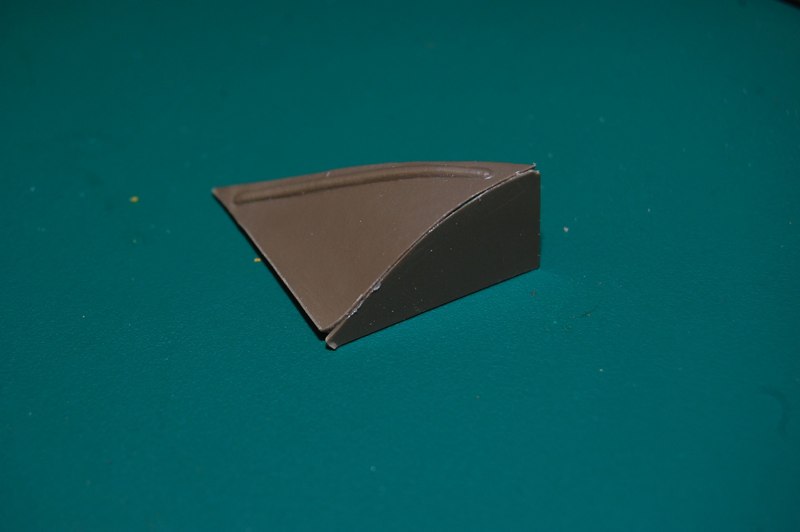
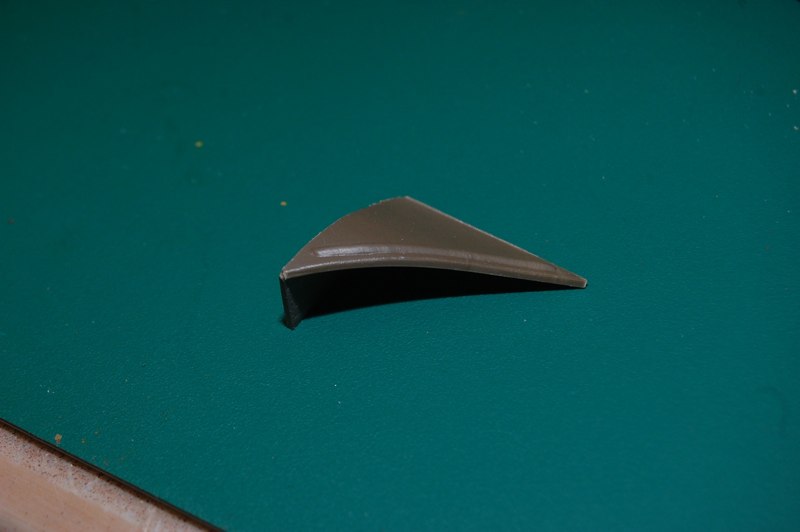
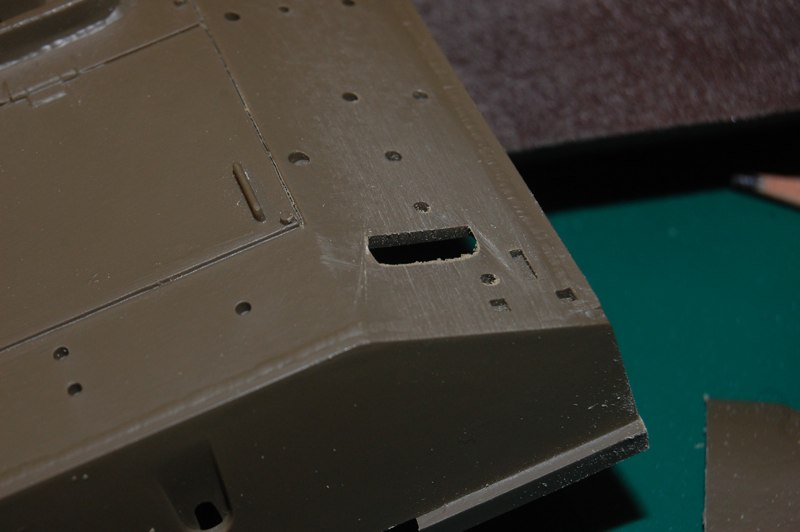
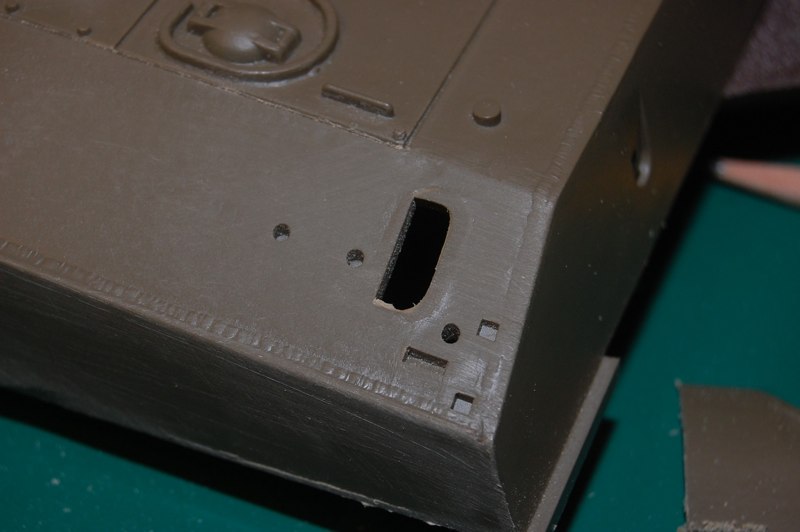
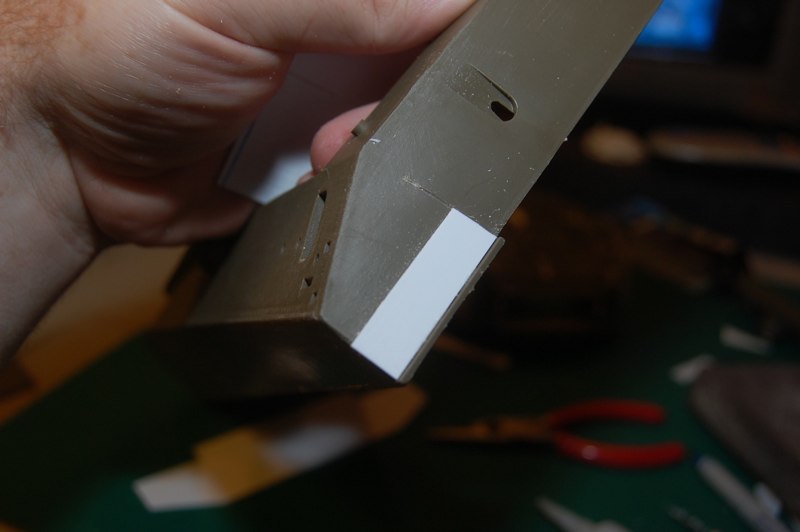
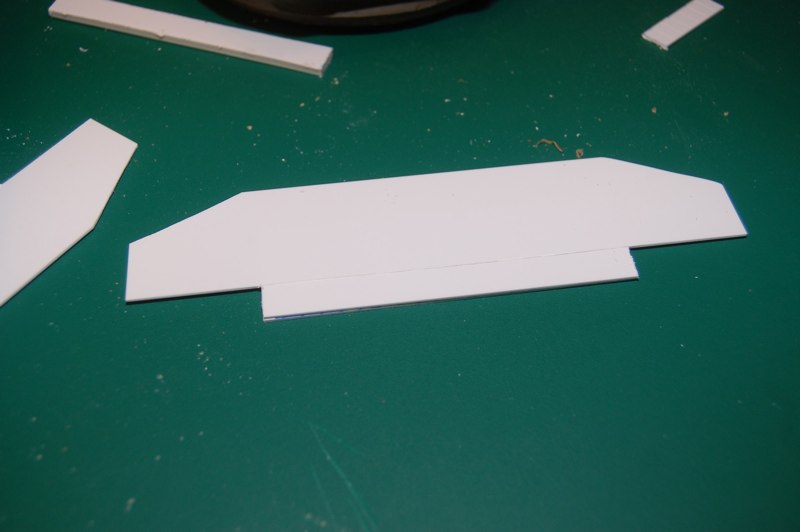
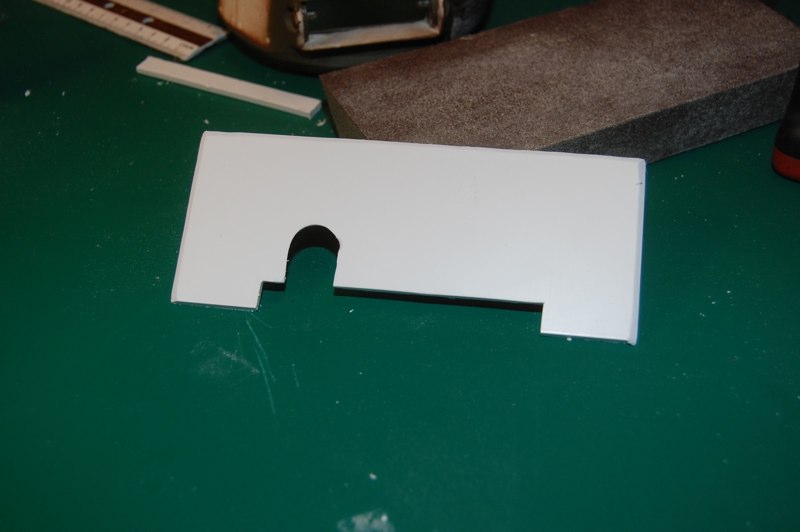
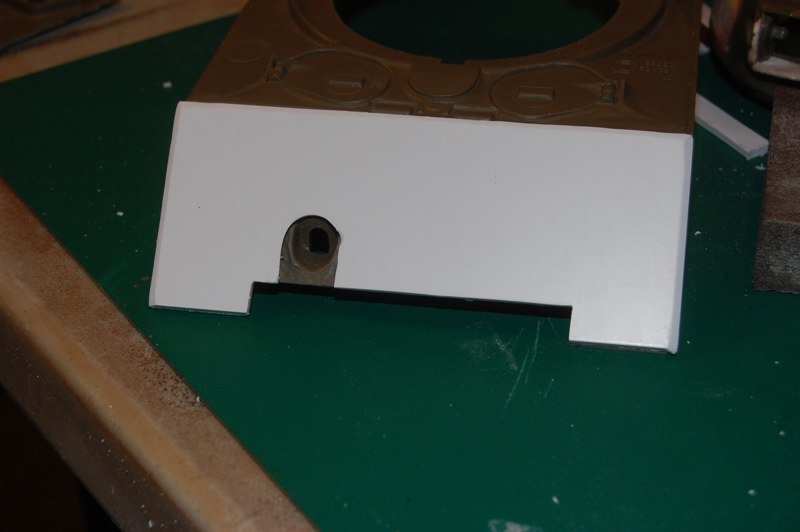
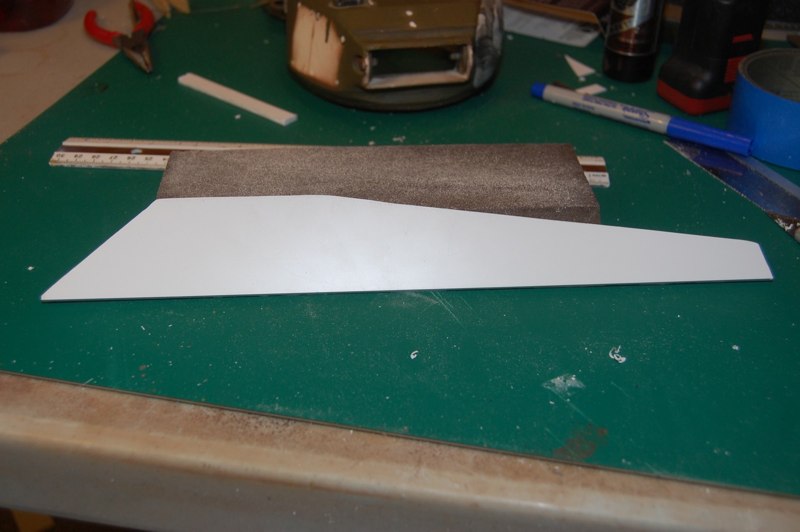
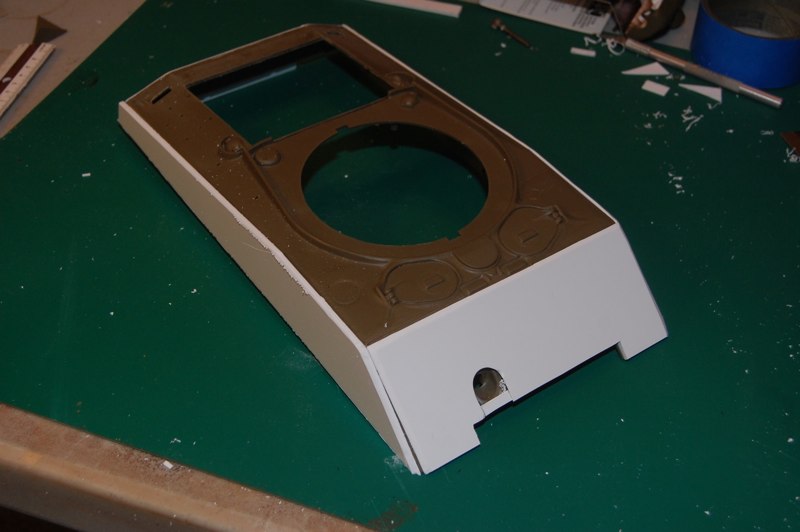
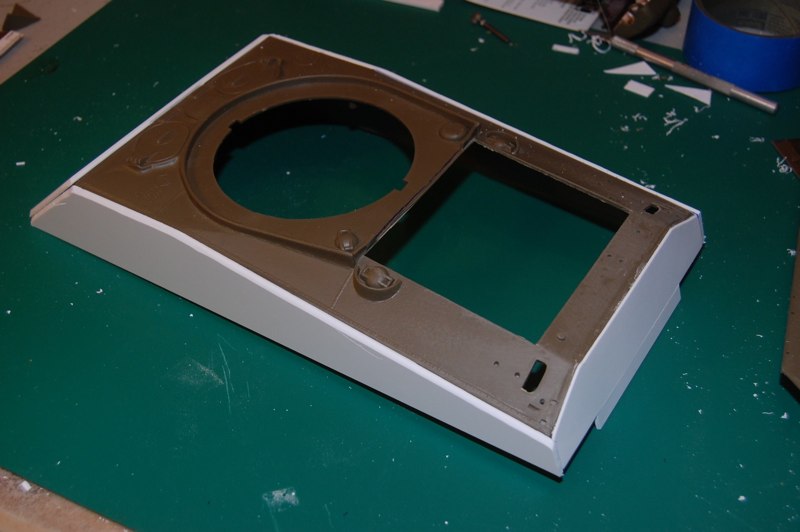
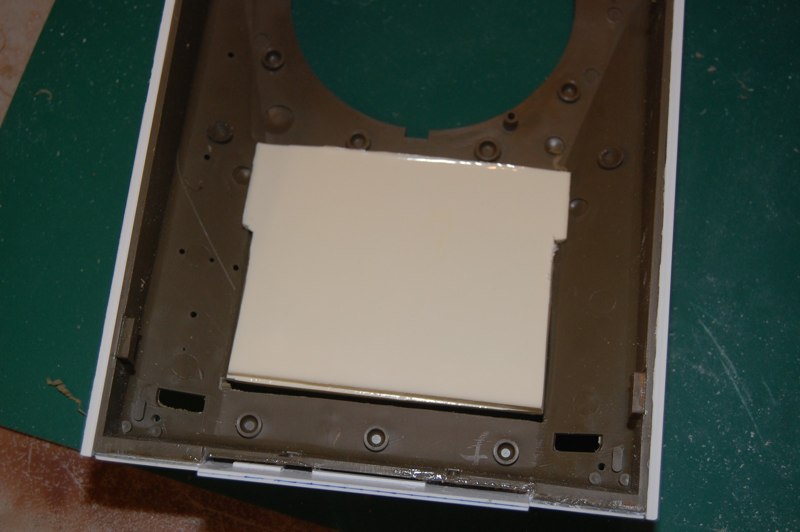
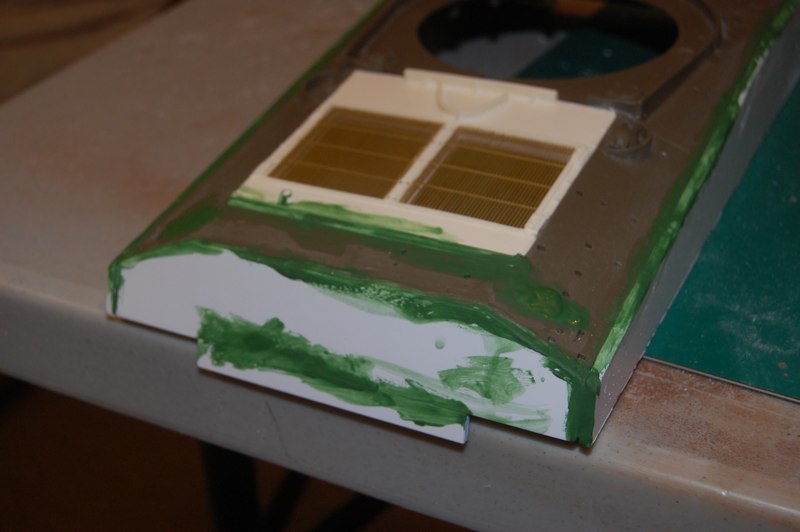
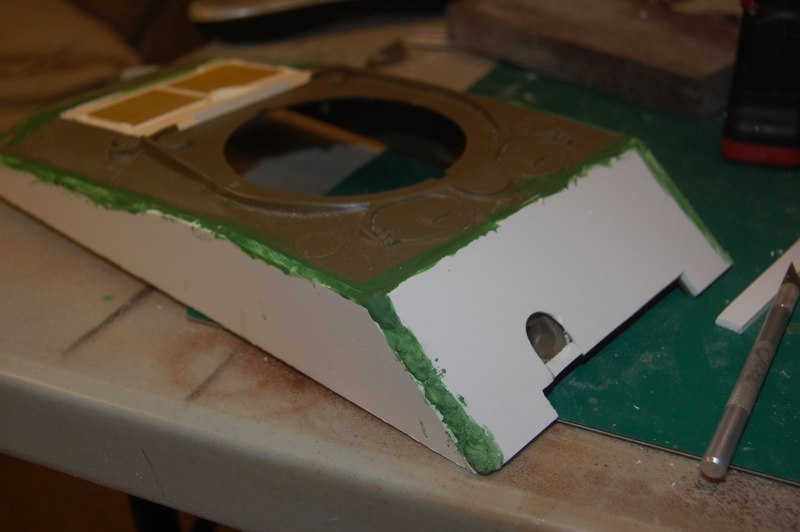
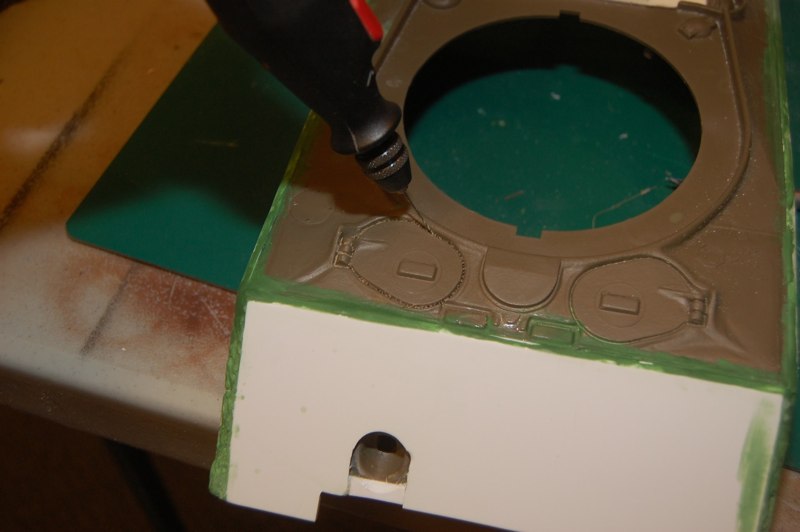
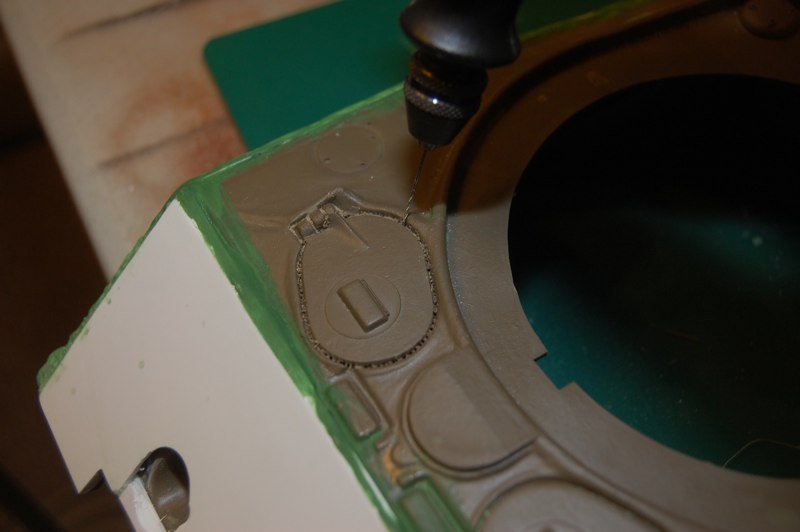
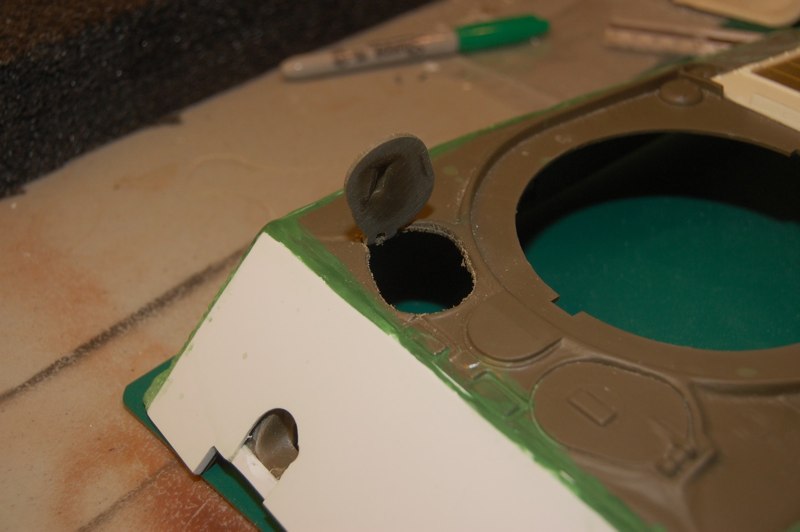
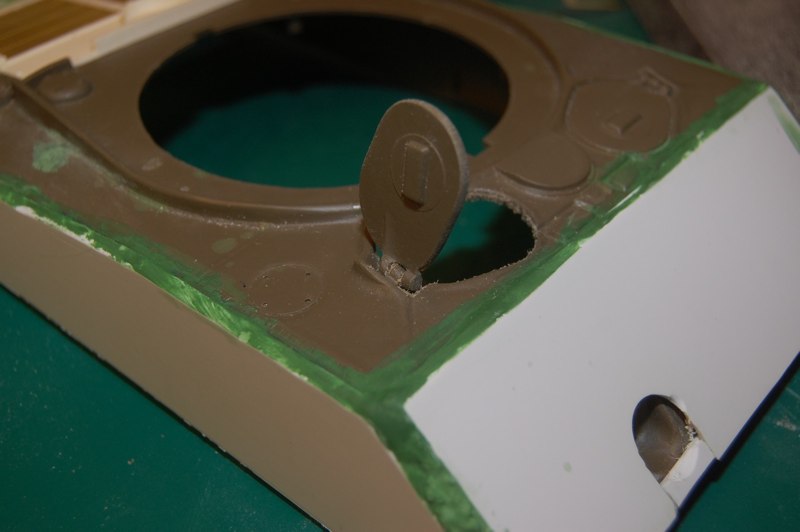
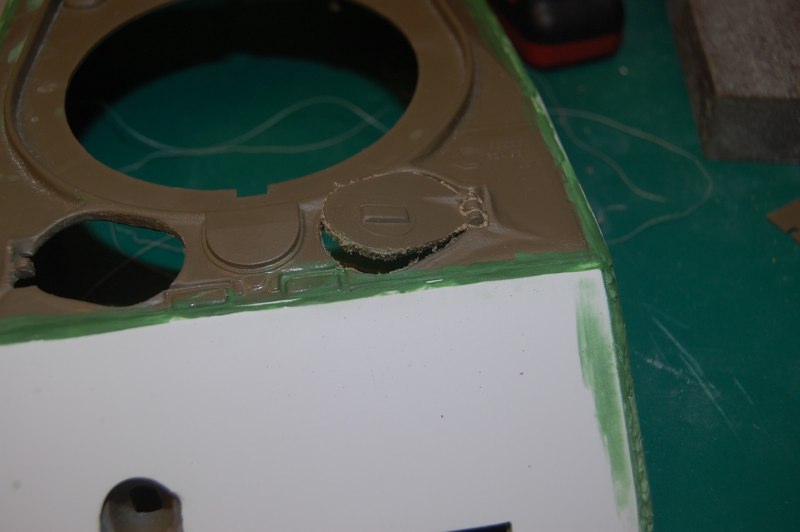
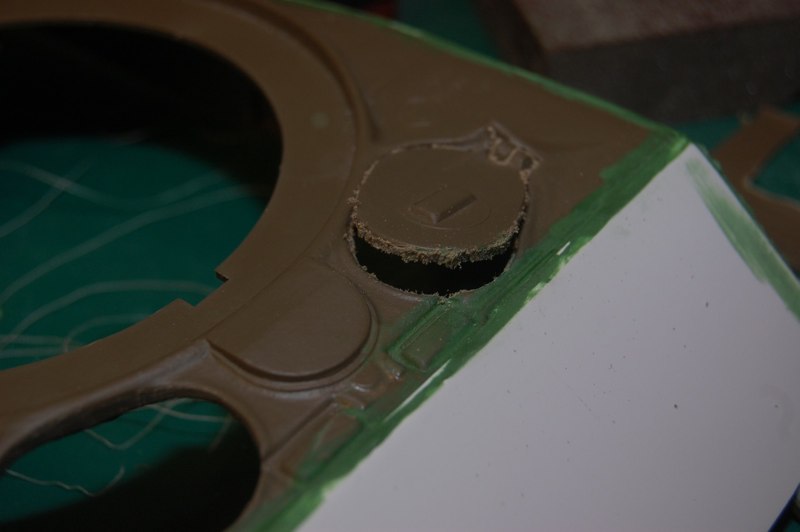
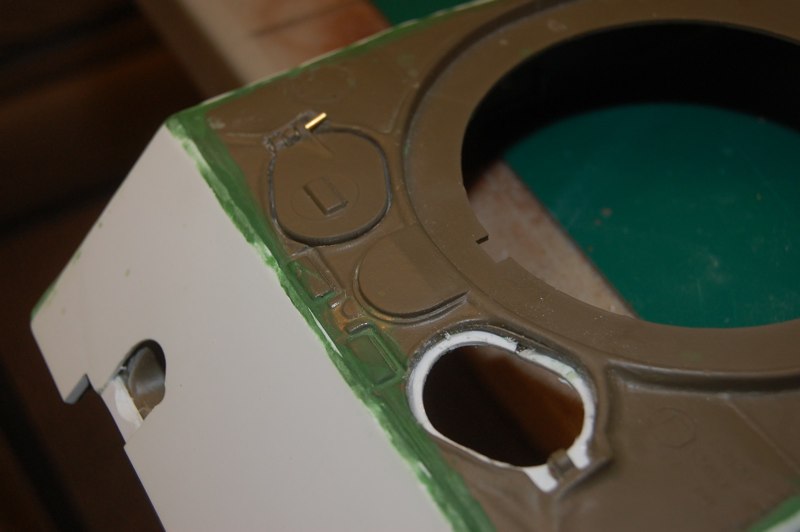
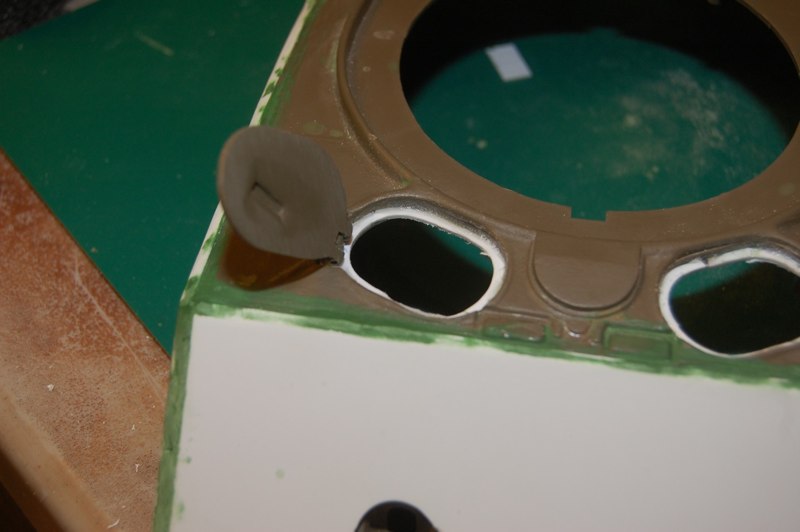
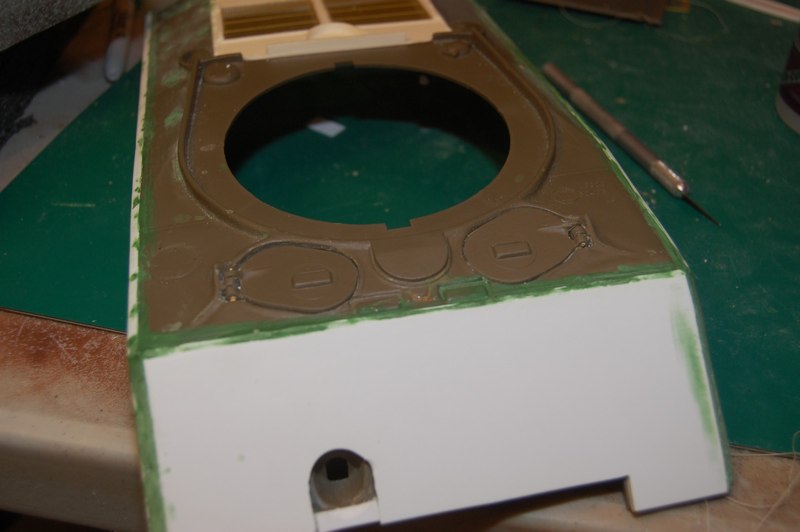
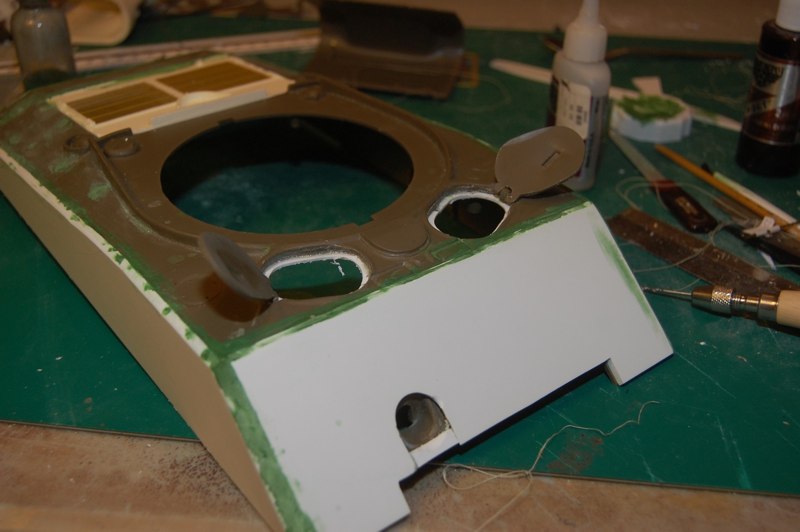
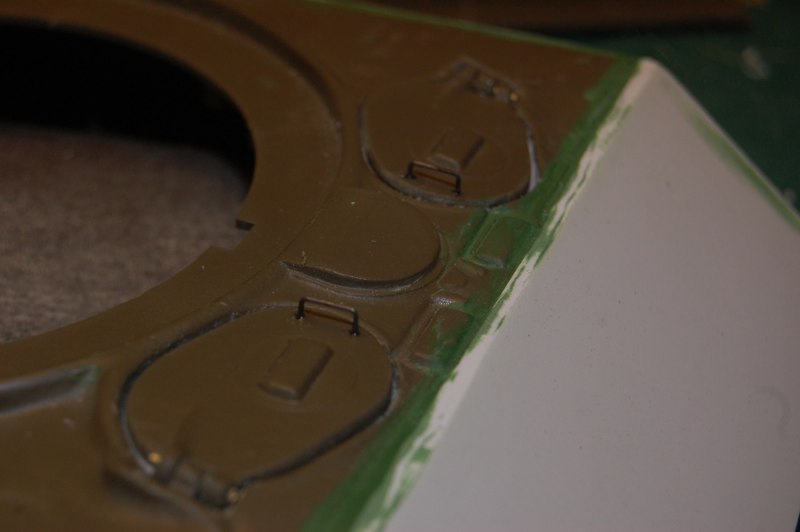
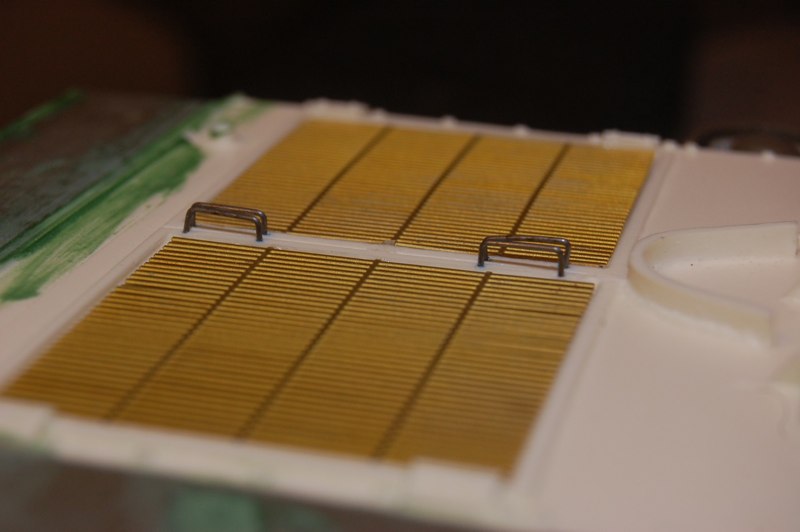
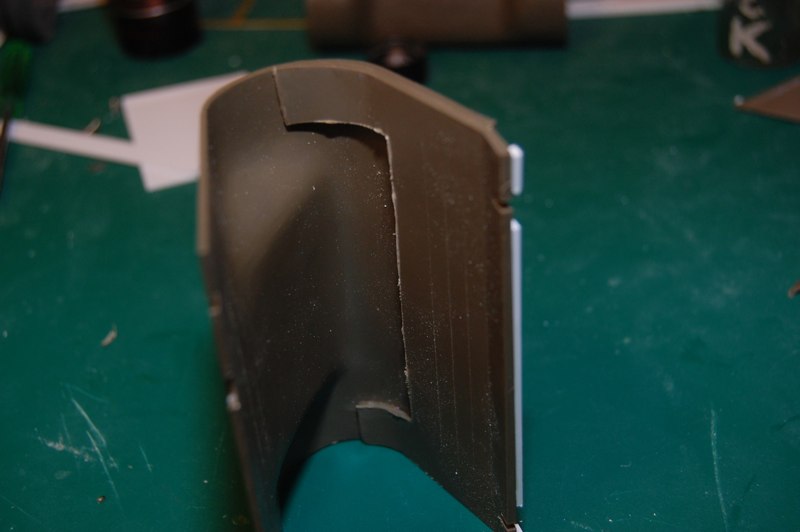
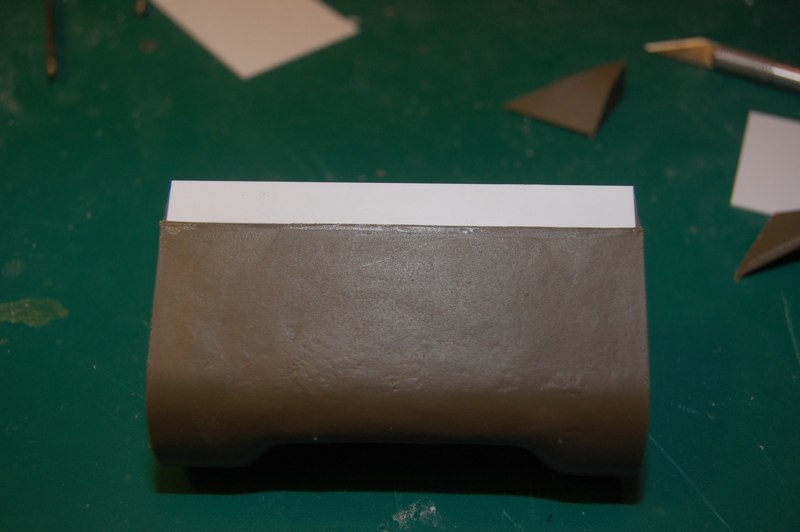
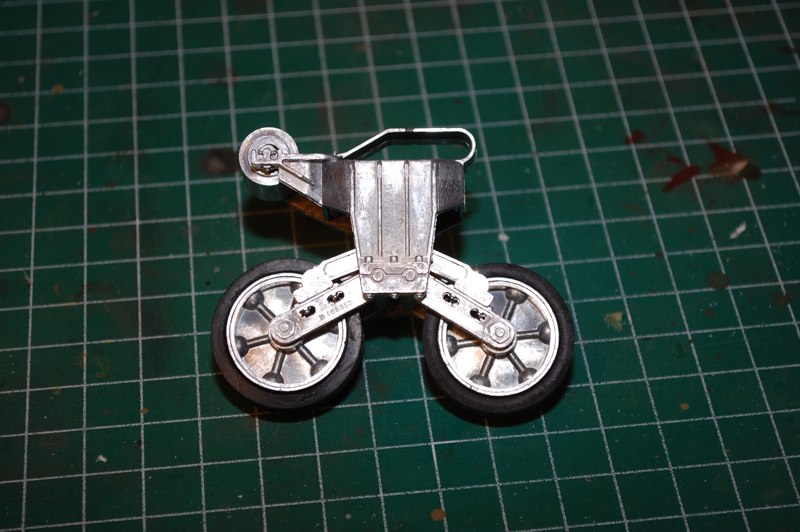
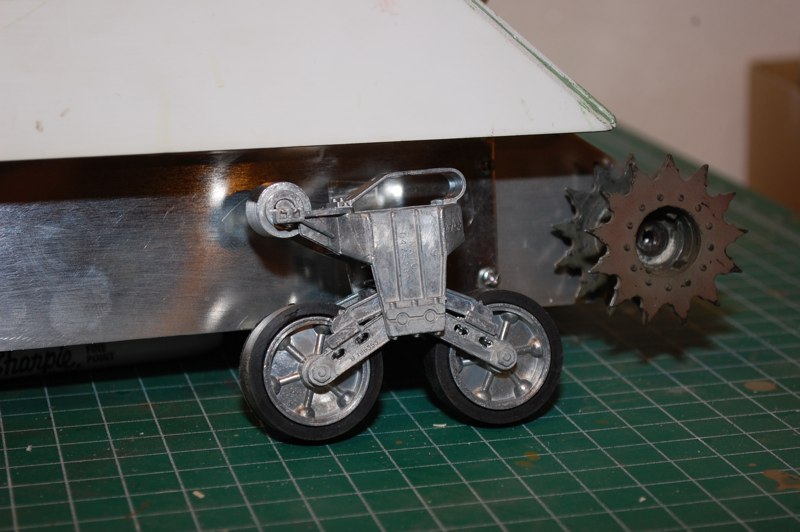
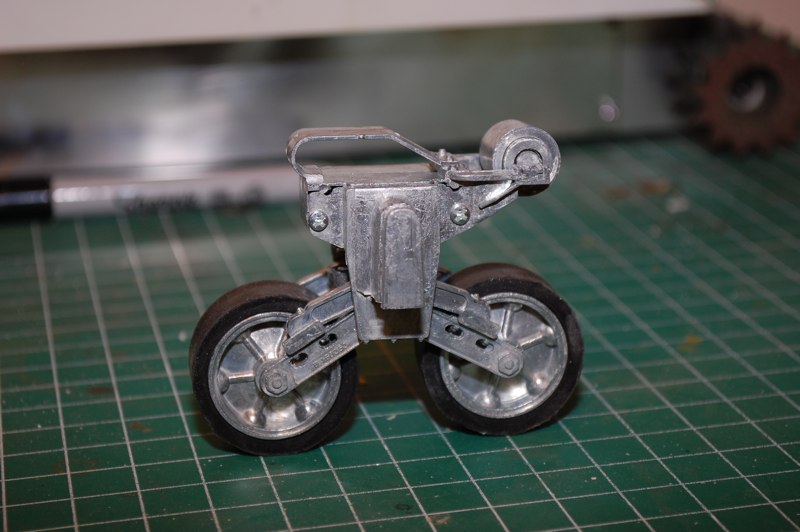
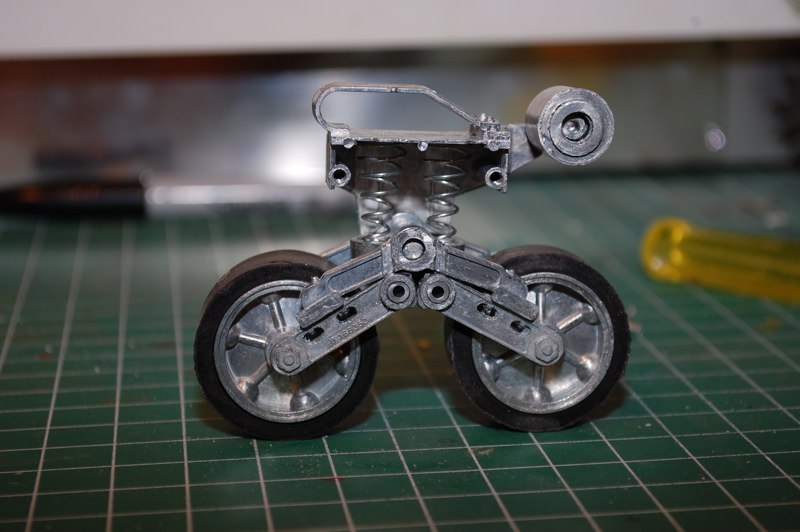
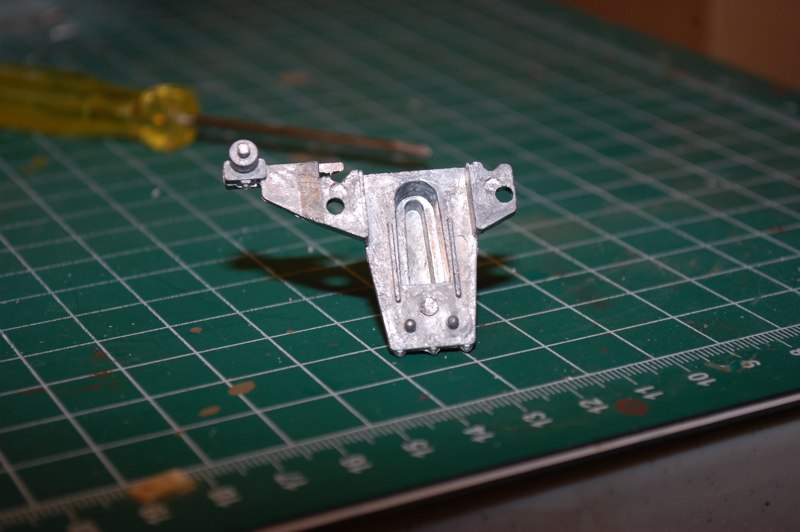
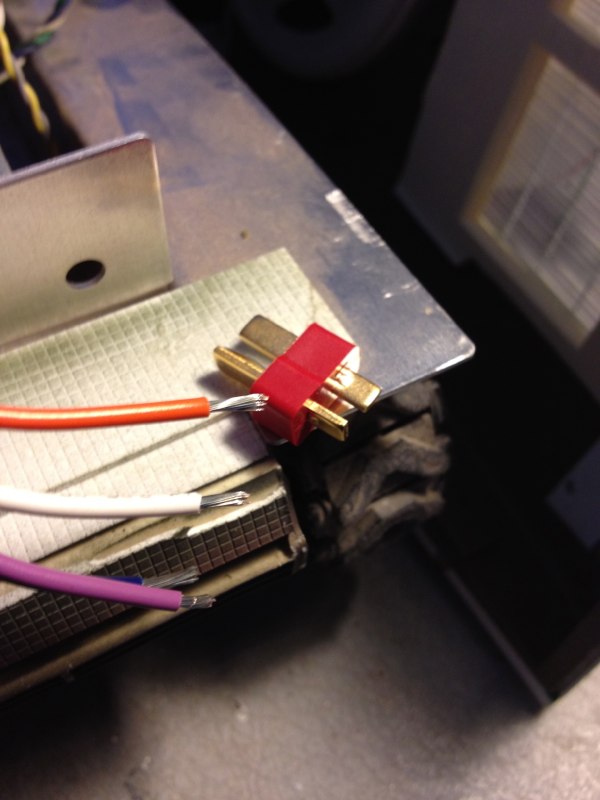
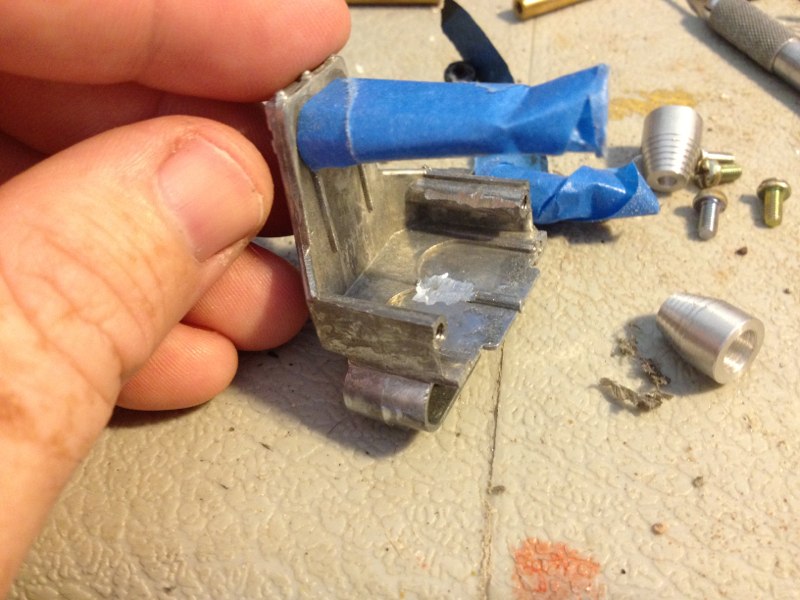
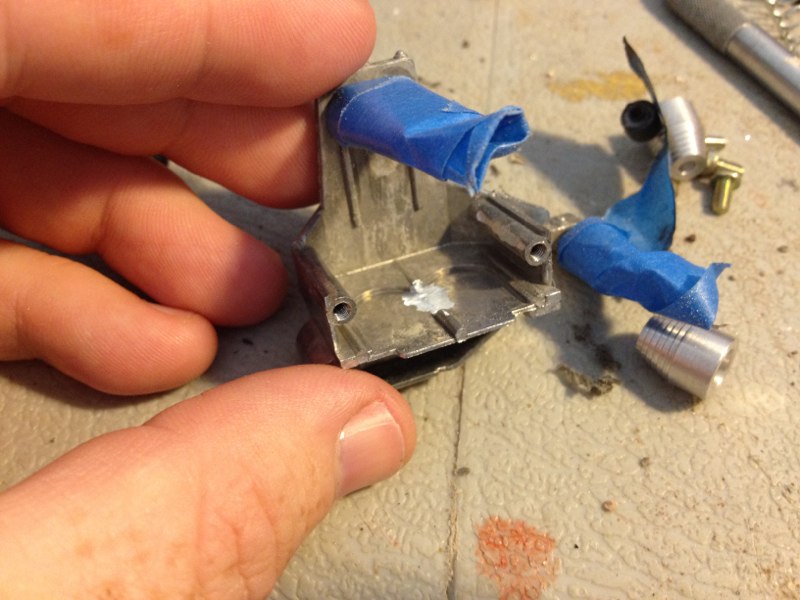
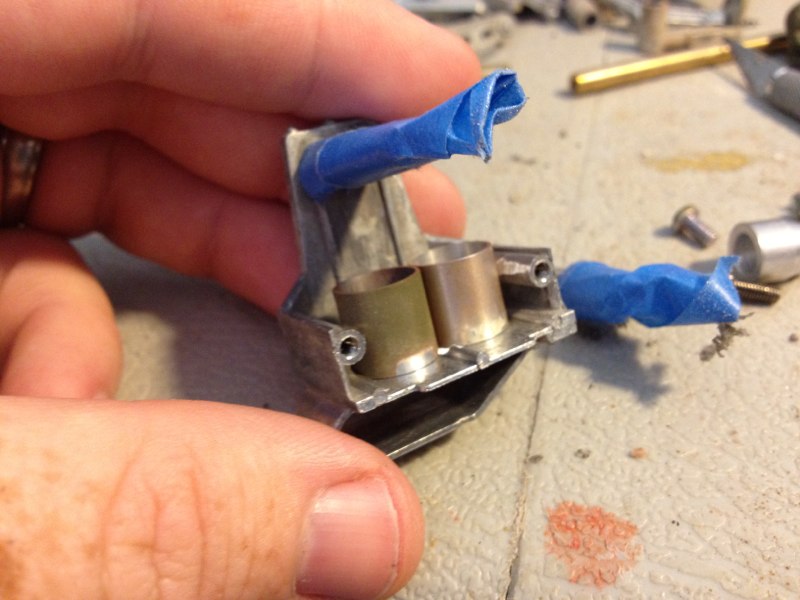
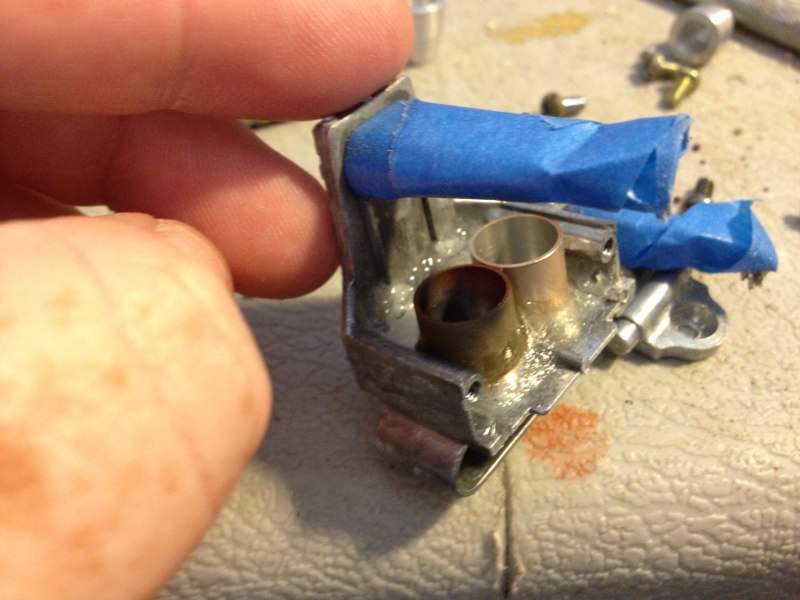
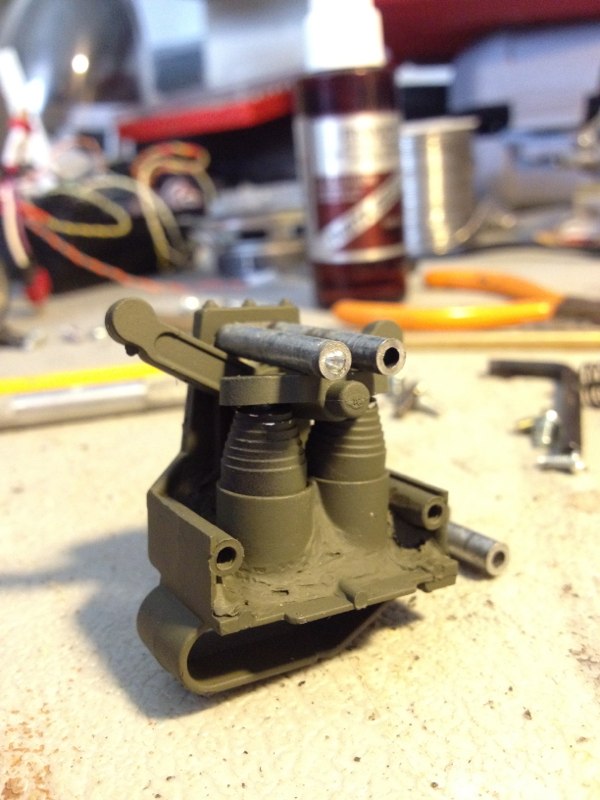
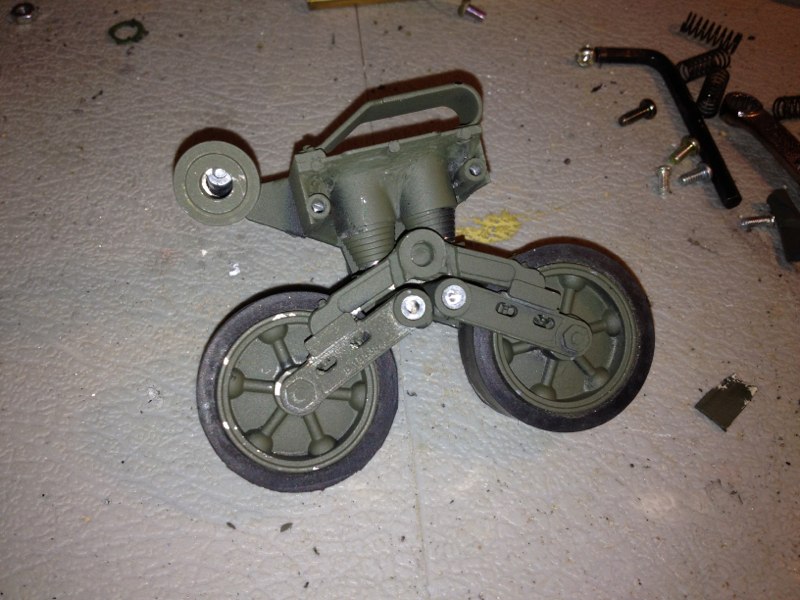
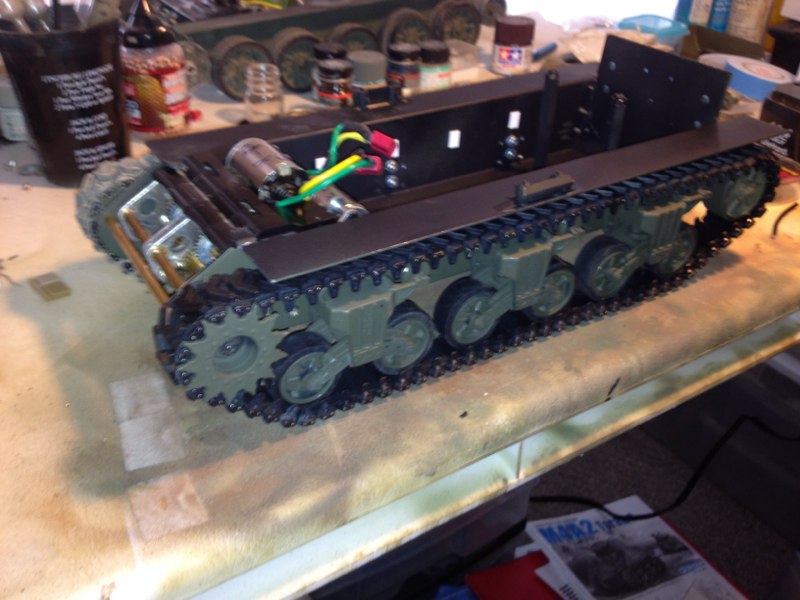
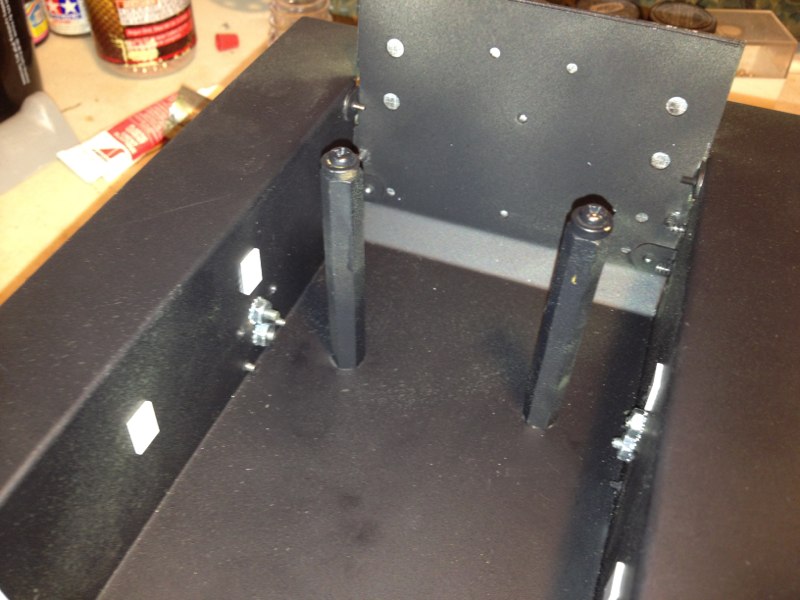
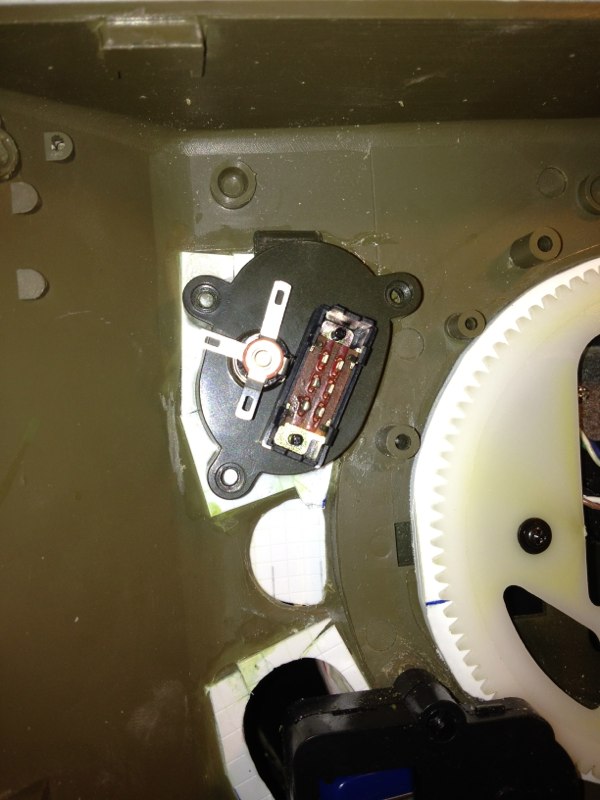
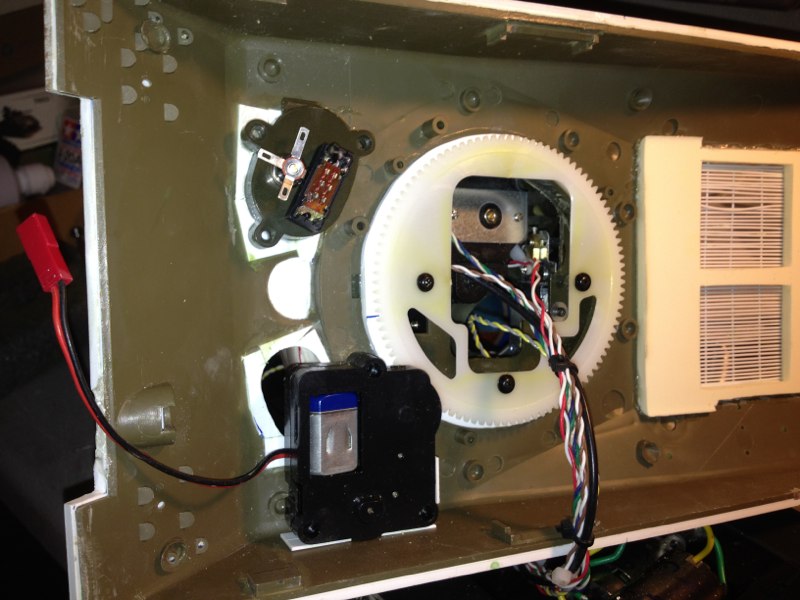
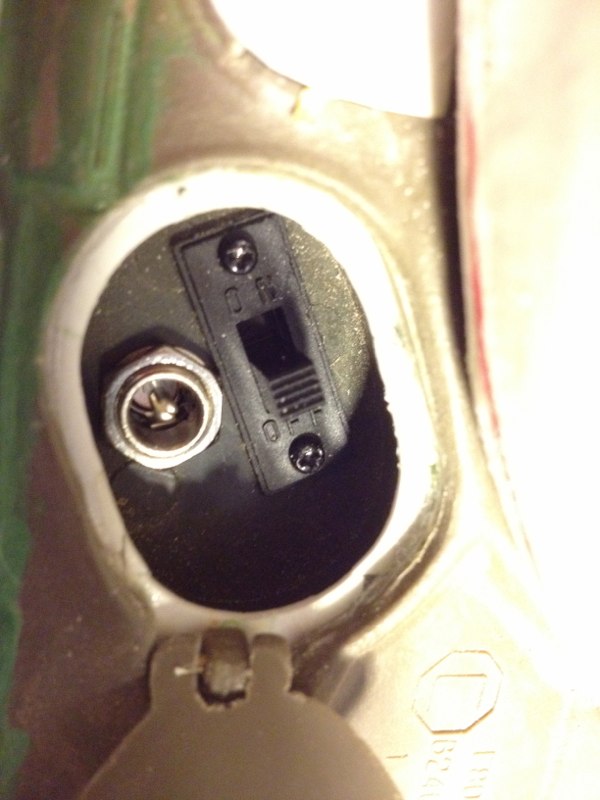
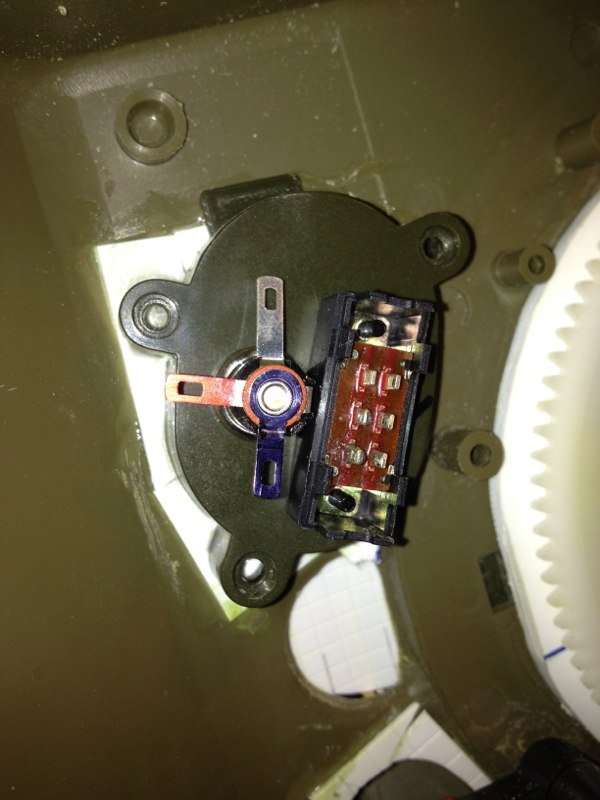
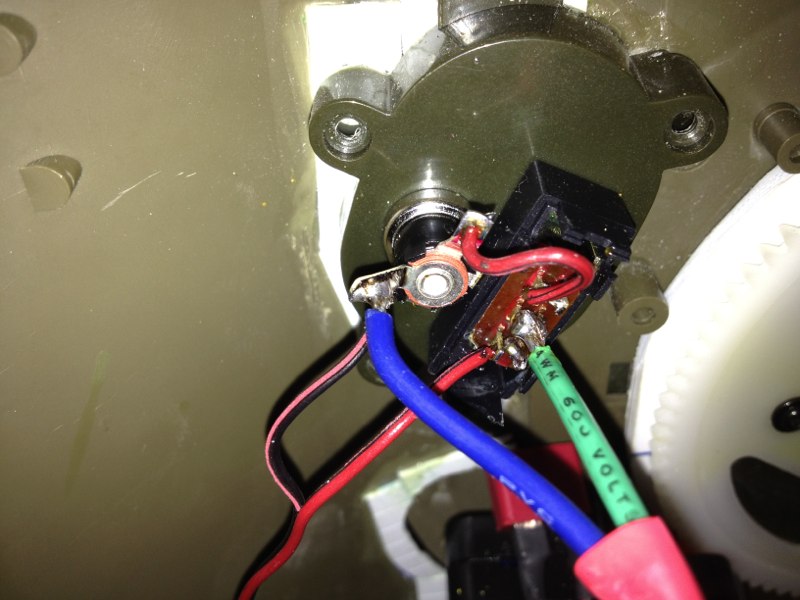
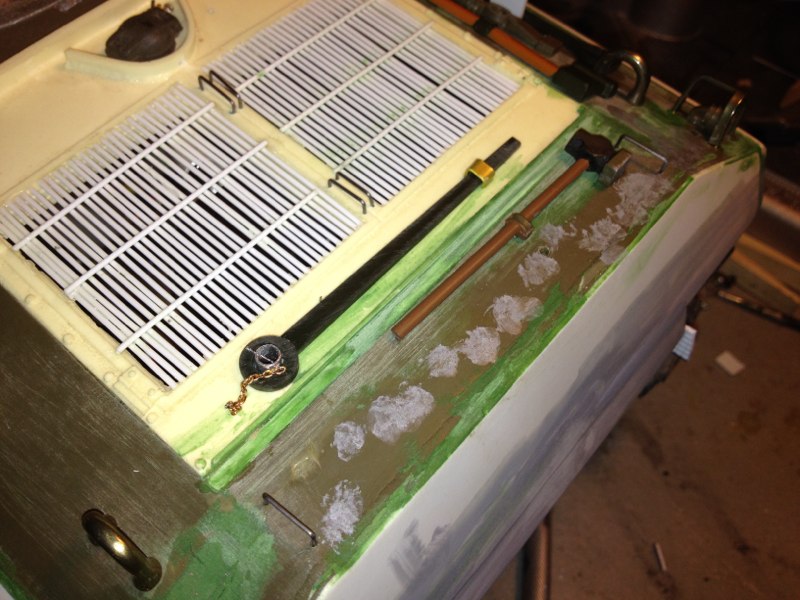
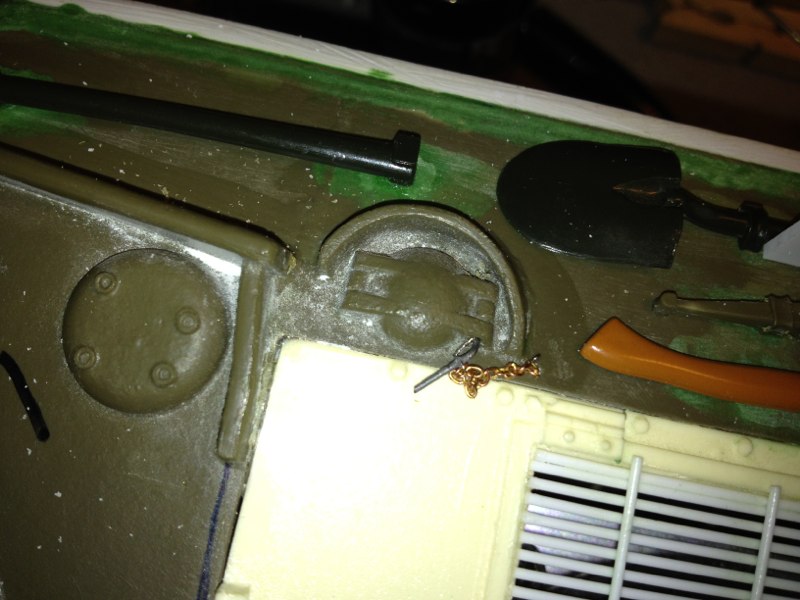
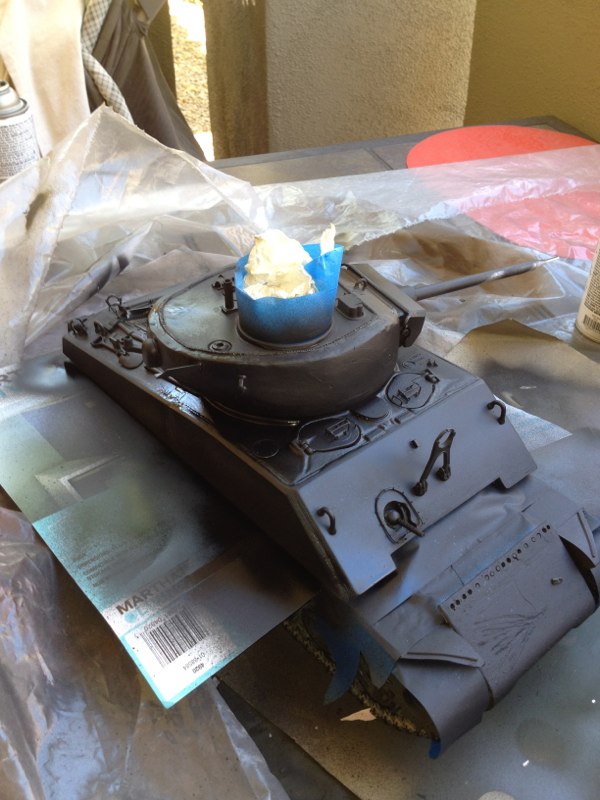
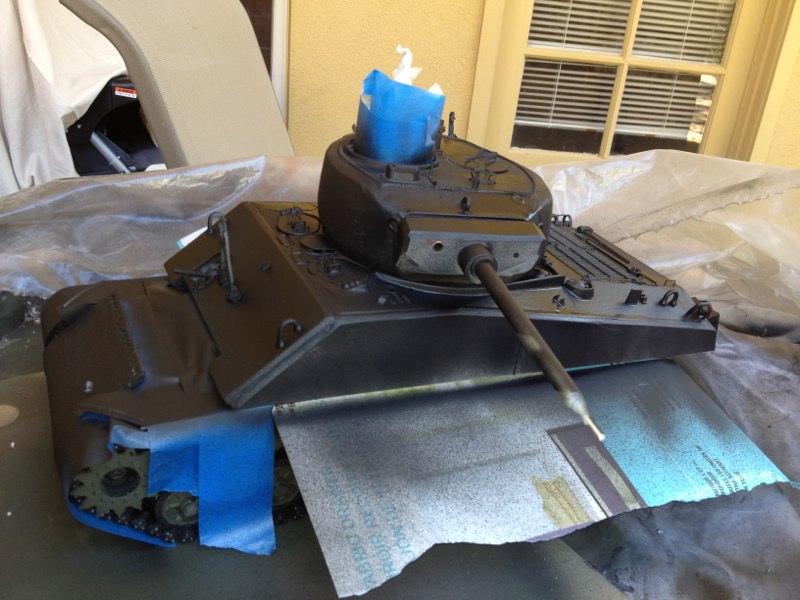
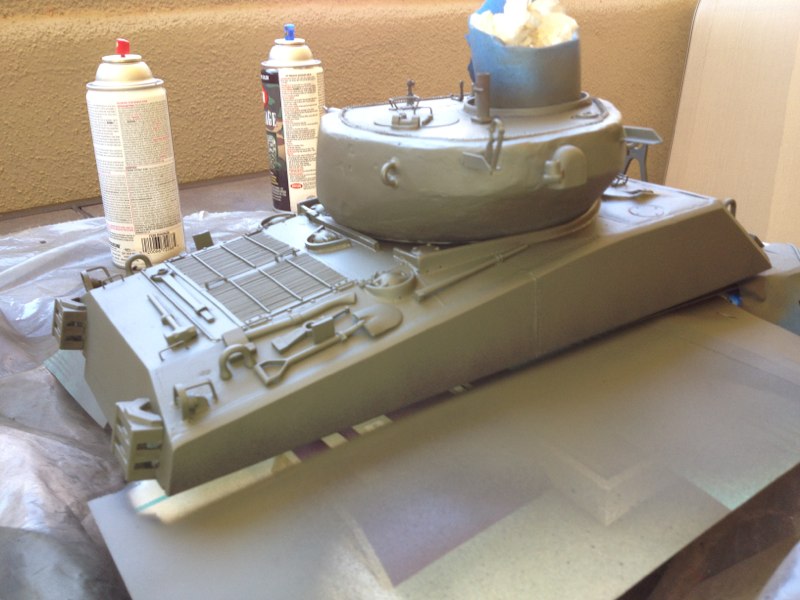
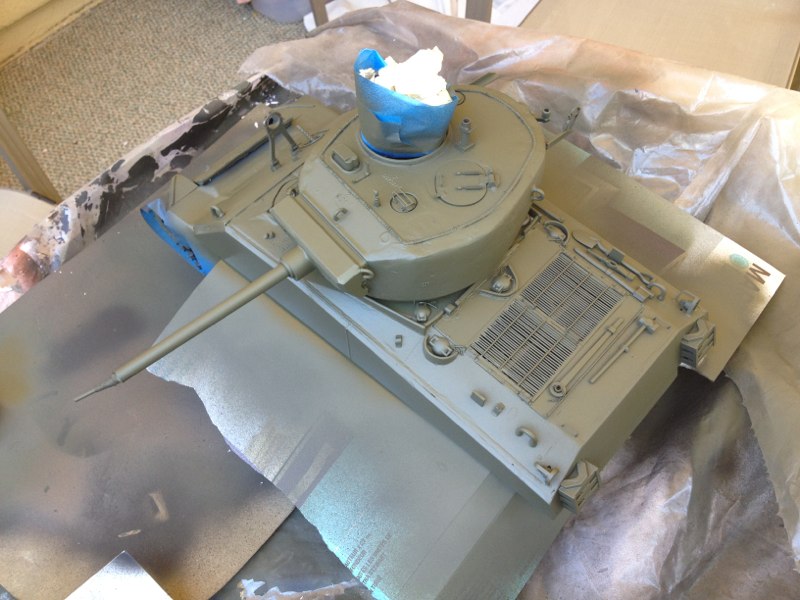
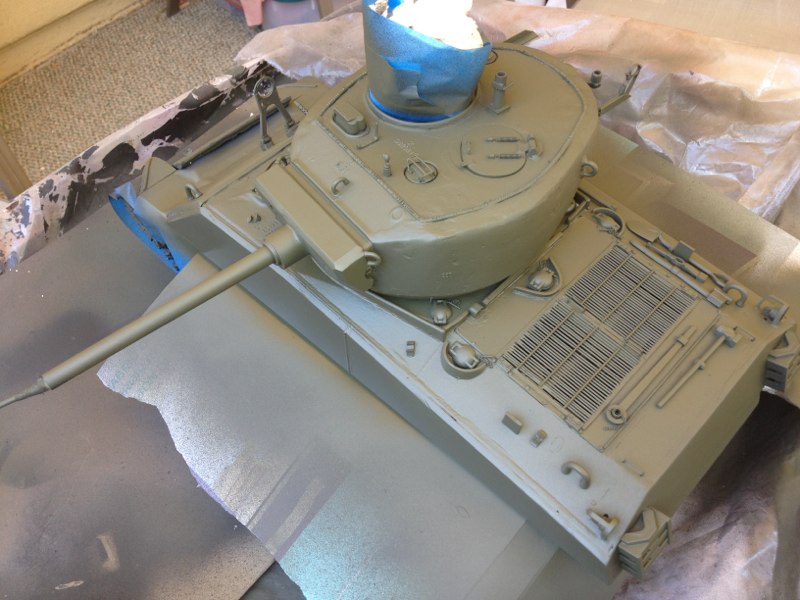
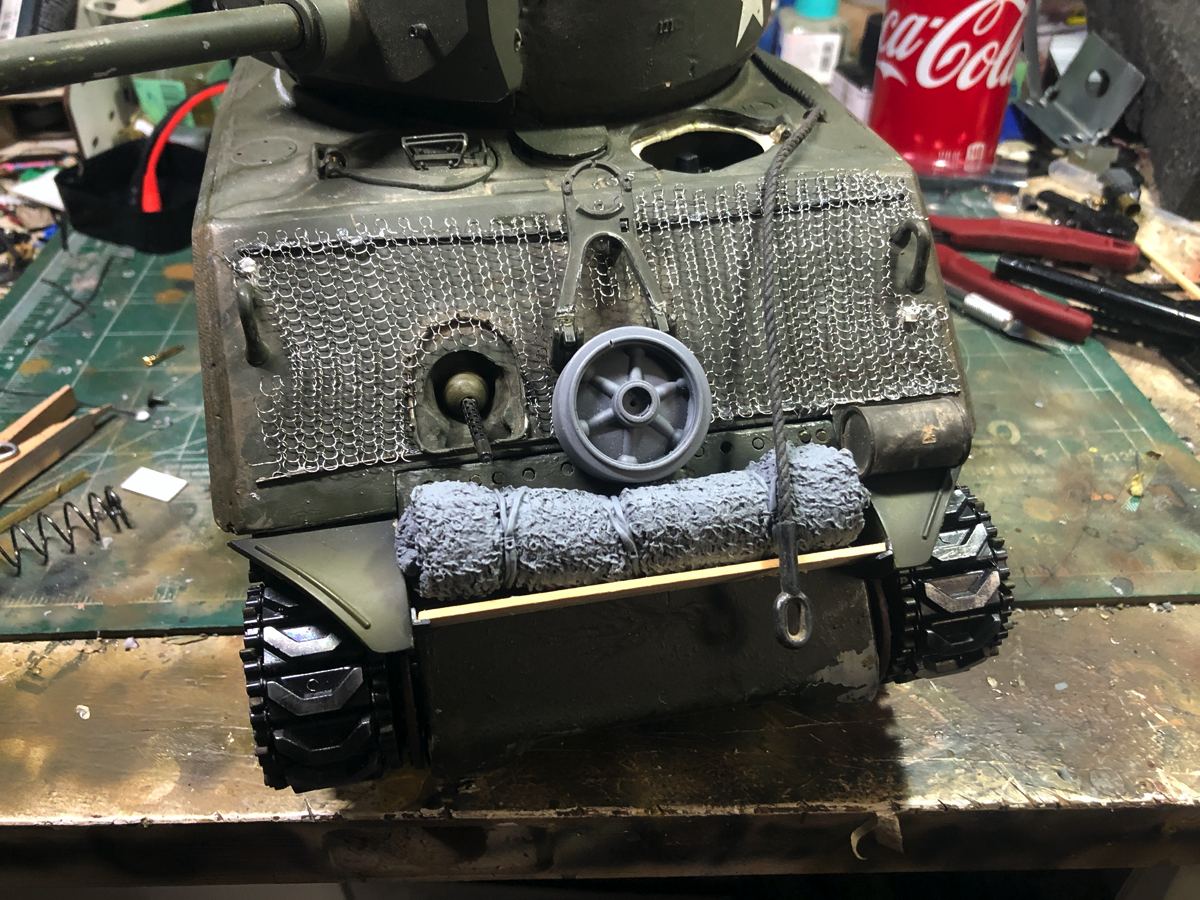
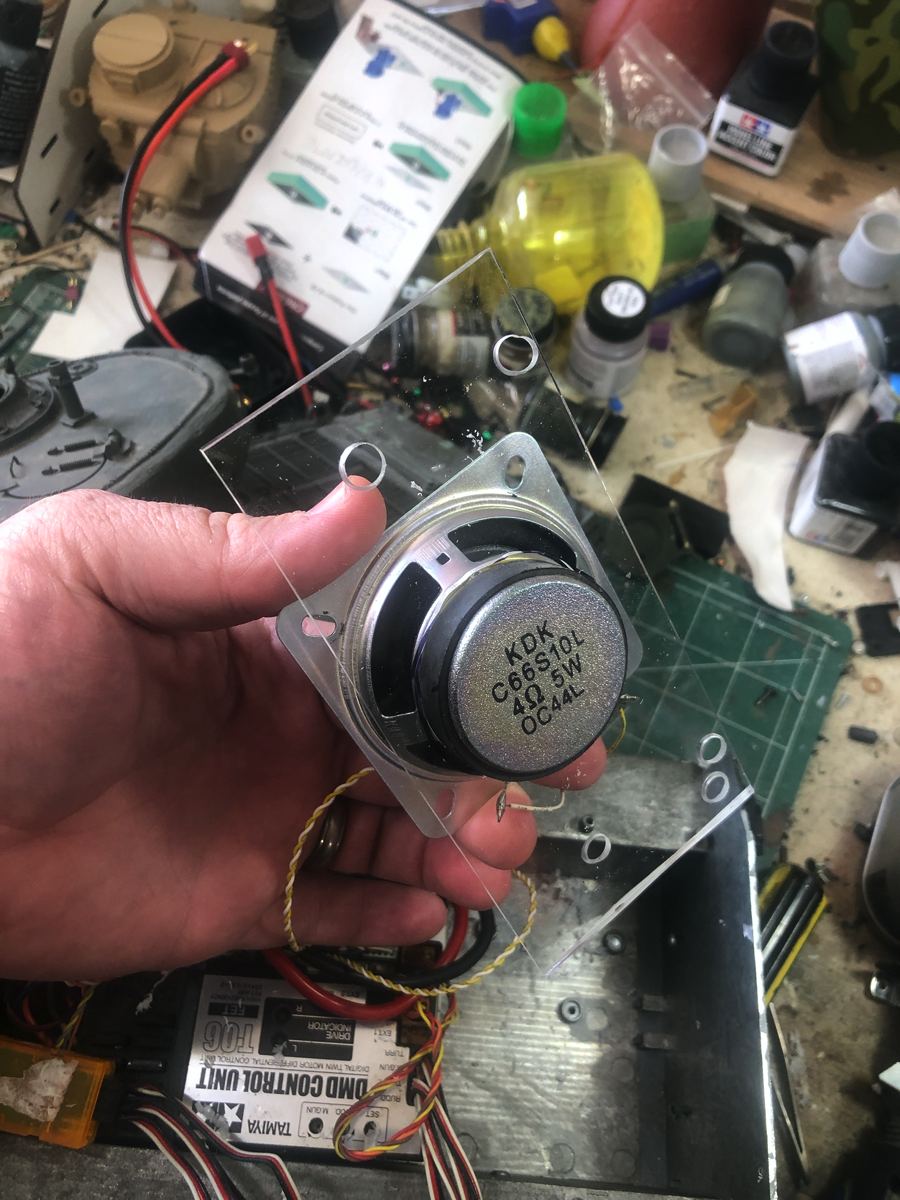
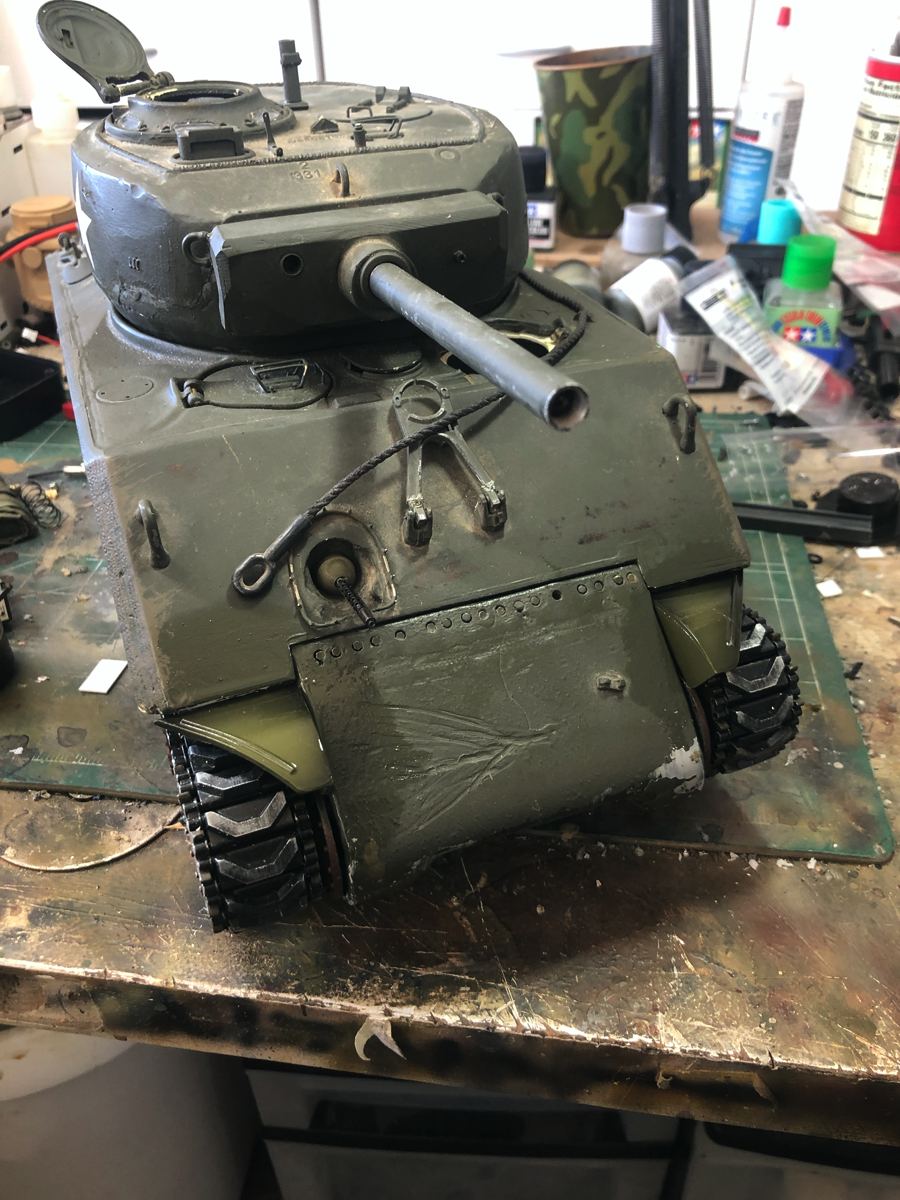
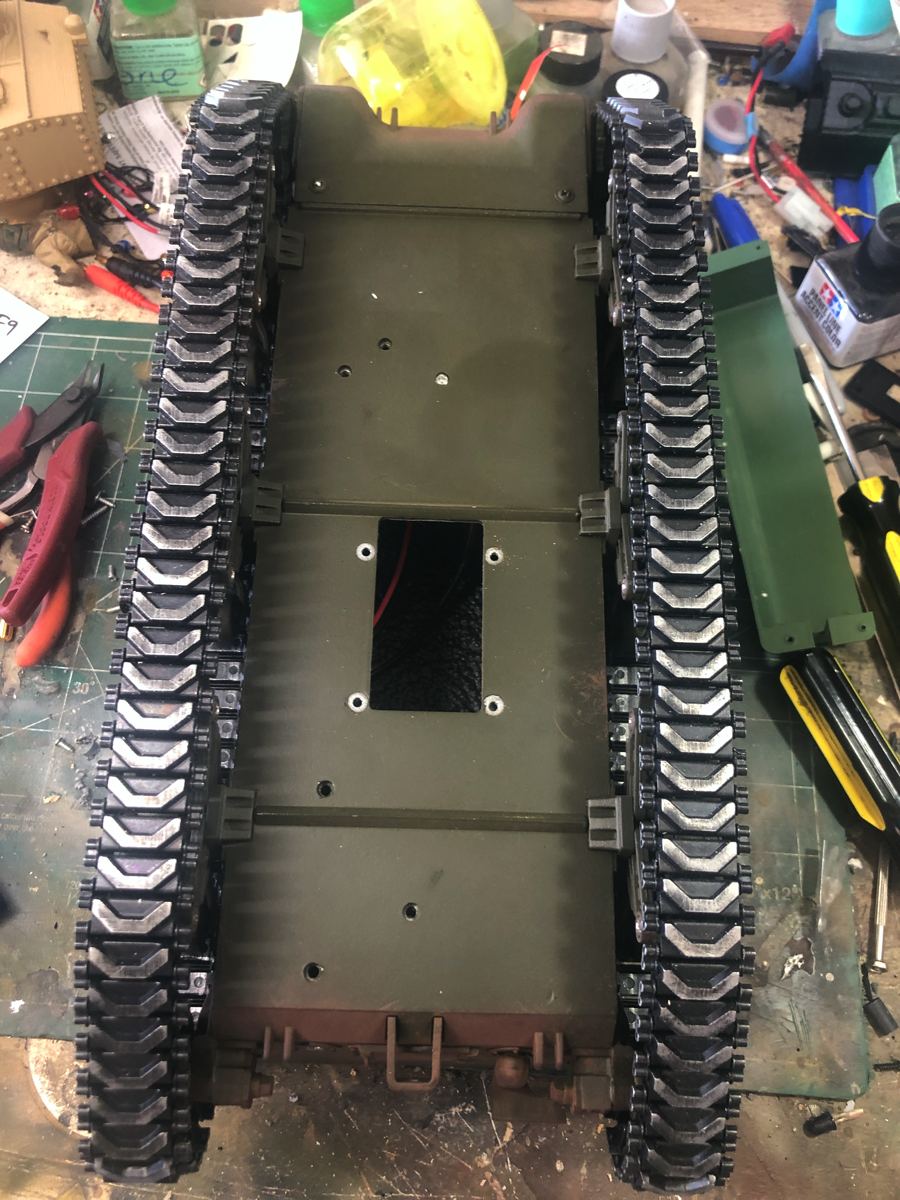
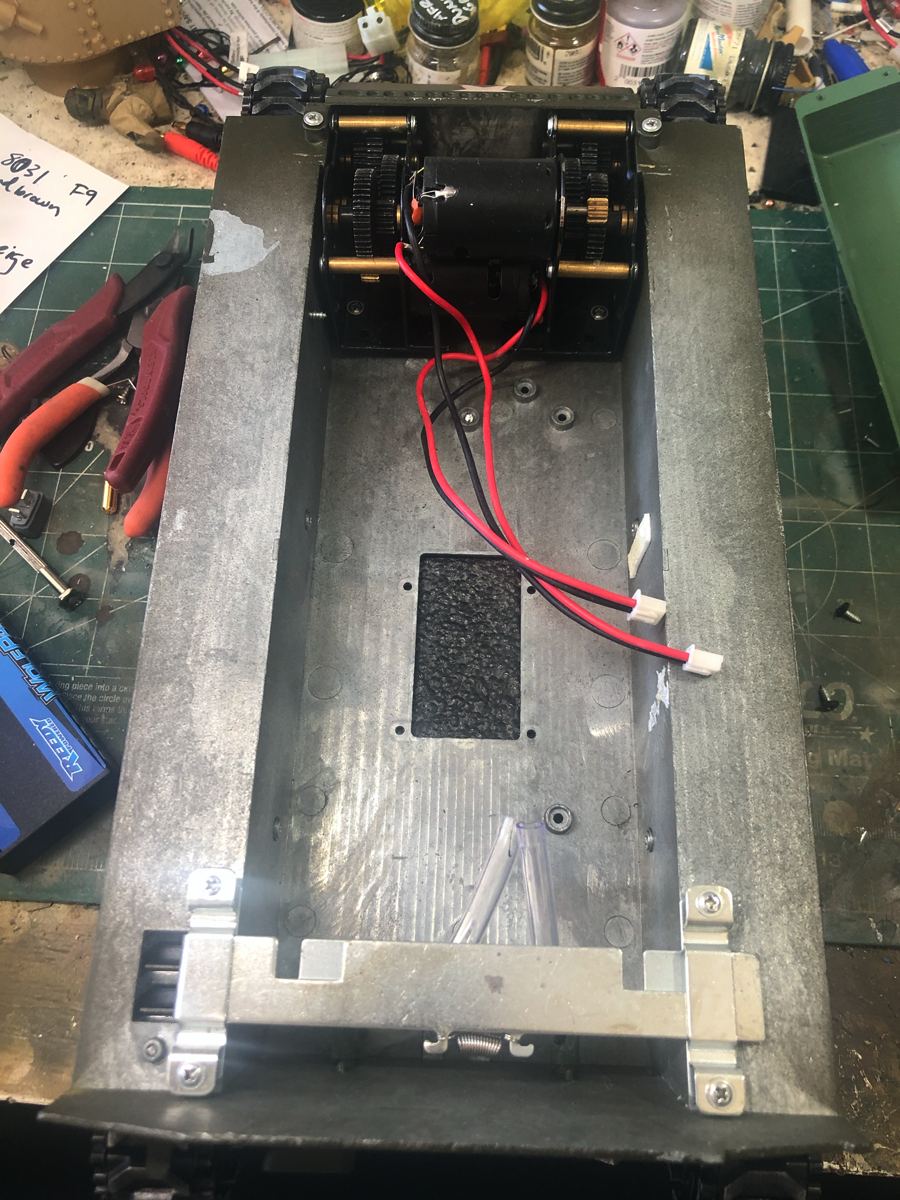
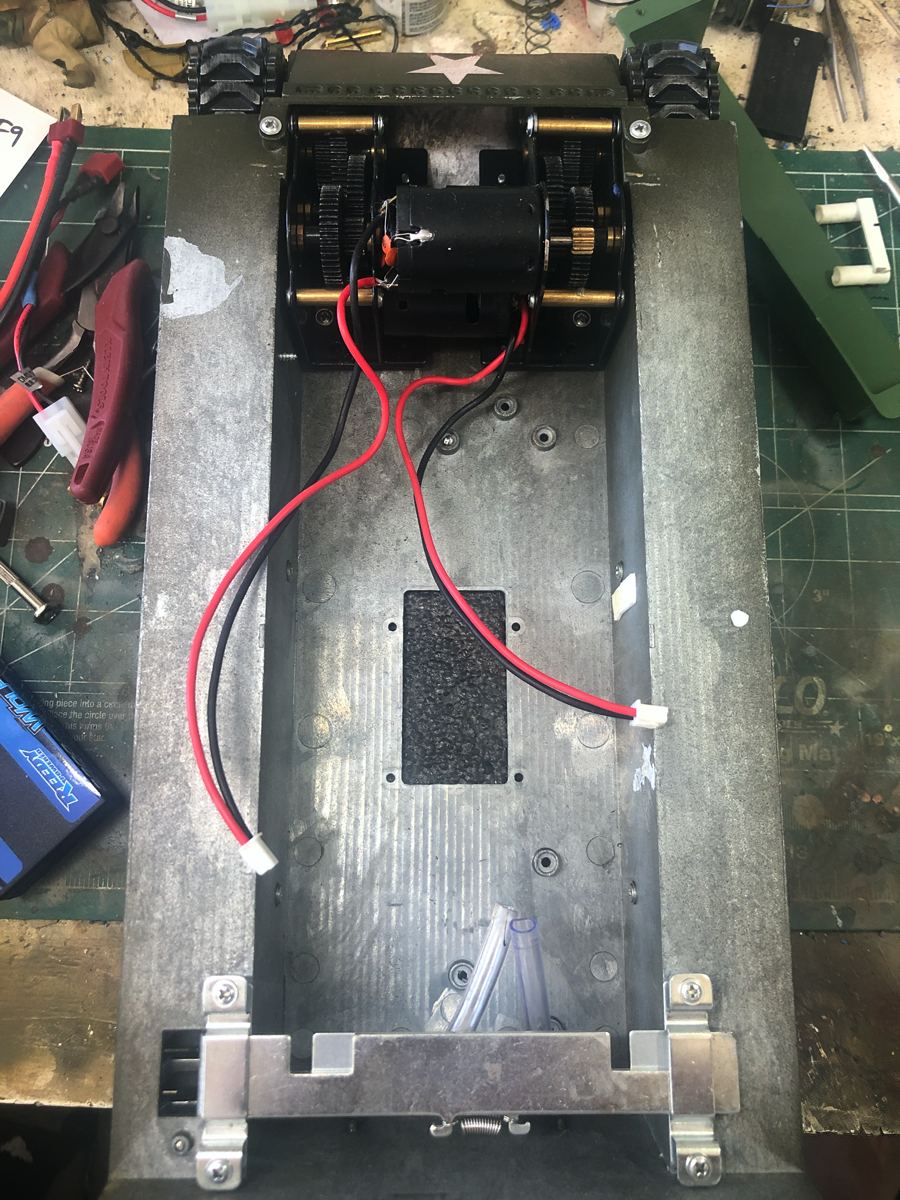
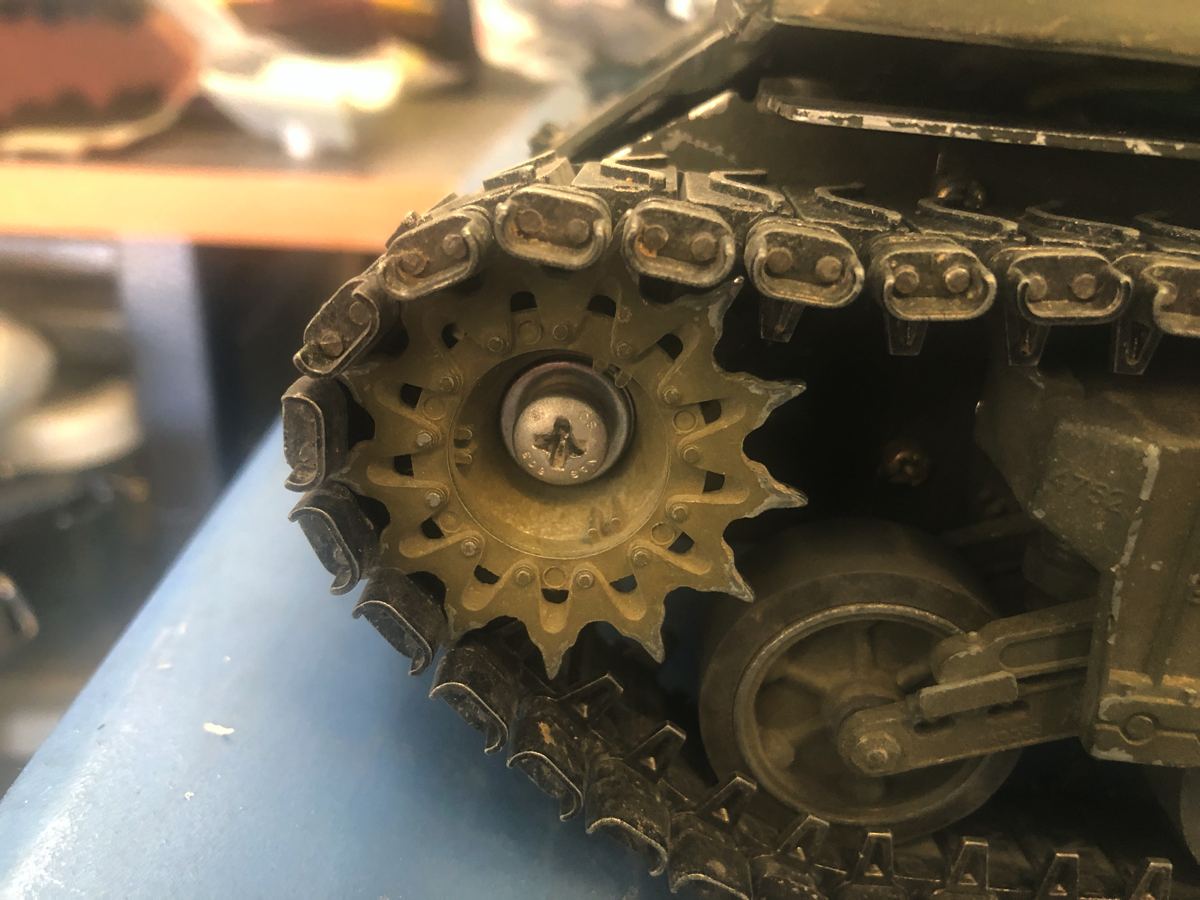
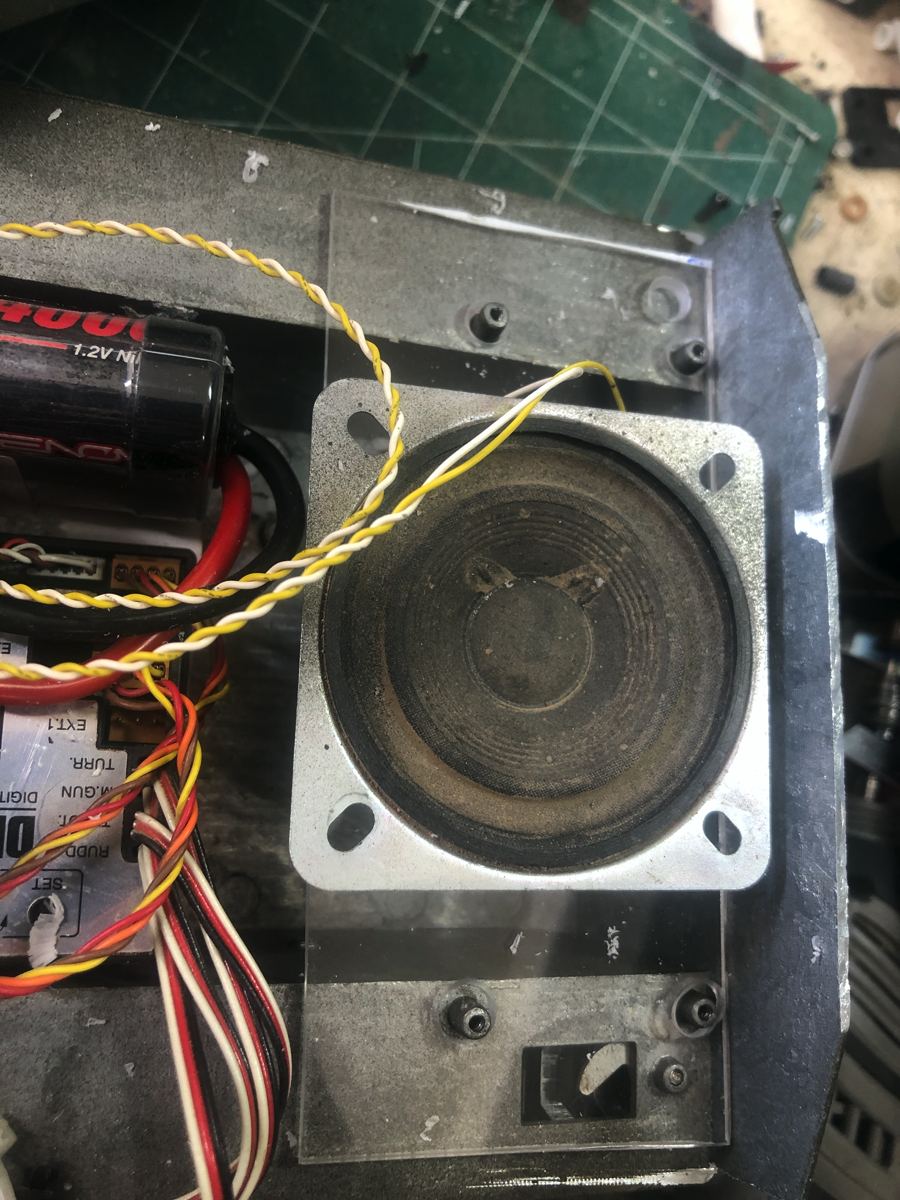
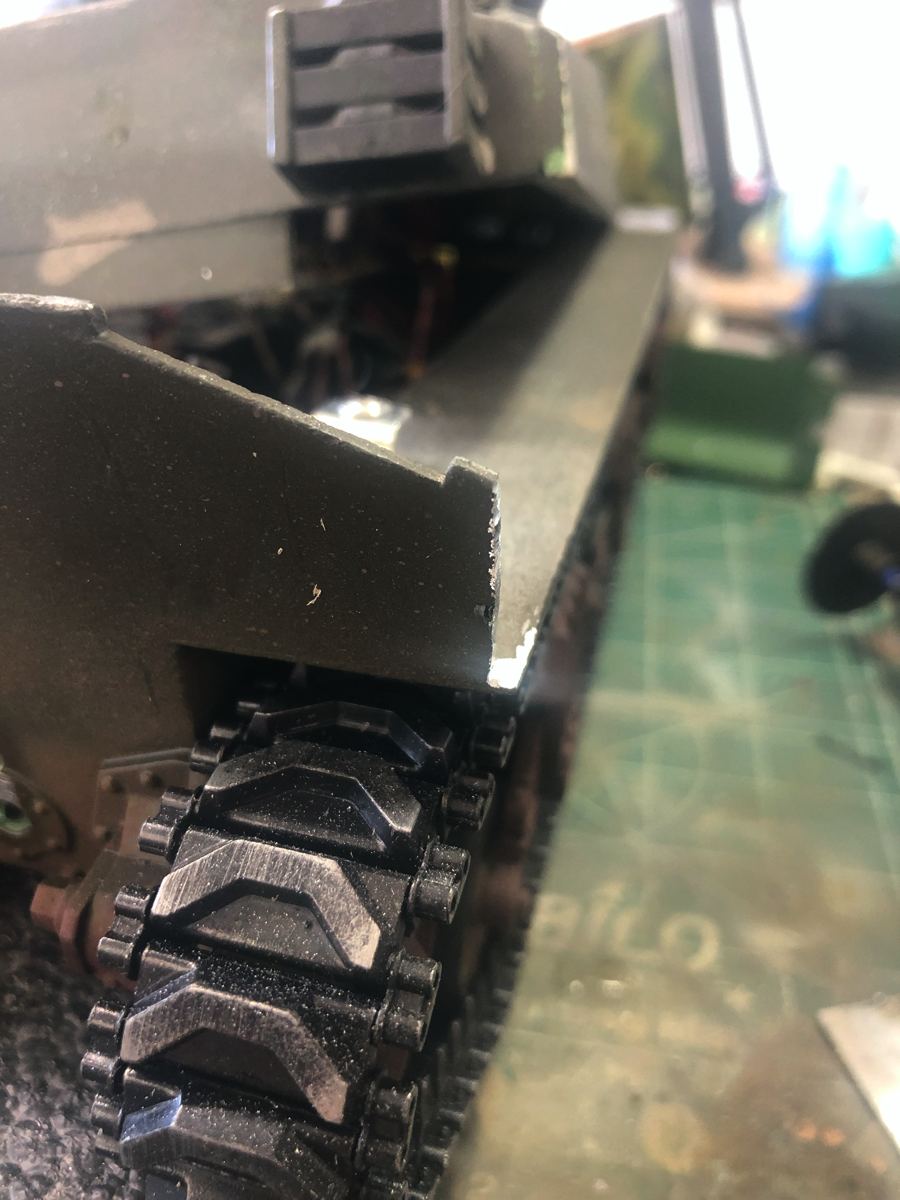
Tale of two Shermans. I have inspiration to do two different new builds, the Jumbo, and an accurate M4A3 (75)WStage 1 of my Sherman builds, remove the mud shields and modify the fenders. I choose to cut them up and make them fit so I can save he rib detail.Once removed I sand sown the surfaces to remove dents and dings and imperfections from the deletion process.I cut the fenders up and detail them. essentially I shorten them as the originals are meant for the wider HVSS tracks.I will grind down the lip once I have both completed.To make a JUMBO you first have to make the Sherman an M4A3. On the hull rear you must remove the vents for the fuel tanks. Many -A3 models had these faired over with an oval plate, I choose to delete them completely and smooth it over.Left side. I will fill it with sheet styrene and sand it smooth.DSC_0085.JPGDSC_0087.JPGNext mod is the steeper angled rear plate. I begin by placing some styrene to make the step to support the new plate.This is the plate I constructed. It is realtively thin so I have laminated the areas that need strength and the bottom that will show.Jumbo mods essentially doubled the thickness of the armor. Here is my new frontal armor plate. Edges are beveled. I hollowed out the area around the MG port.Attached with CA to the tamiya hull. I ground off all the appropriate detail to make it flush. Gun cradle mounts were removed with a razor saw.I cut out the side armor plate using the tamiya hull as a template.All the added armor attached to the hull.Once the plates were attached I removed the engine deck. I have an old BYA resin conversion.Resin engine deck is one honkin’ piece. I cut out the engine grilles (and forgot to photograph it)Photo etch grilles placed, squadron green putty liberally applied to hull areas to fill in weld seams.Putty on the glacis seams.DSC_0102.JPGTrying something new. My normal hatch process is to recycle old hulls from previous conversions. I have ‘run out’ as they might say so I decided to try the old thread trick. In this photo I am trilling numerous holes with a twist drill.After using the thread to cut out the hatch and hinge I realized the large number of holes I drilled didn’t leave mutch material around the hatch.After sanding the hatch smooth there is a noticable gap.On the other side I only drilled 1 hole and used the thread all the way around. I enjoyed these results much better.Much better fit with the hinge when this is done correctly by the way.Next step is to drill out the hinges and place brass tubing through the pilot holes.To support the hatch I glued styrene to the hull and created the lip by grinding out the oval.With a wee bit of fiddling both hatches sit correctly and are ready for on/off switches, charging jacks, ETCAnd they open! Also need handles, brush guards, and maybe periscopes.DSC_0115.JPGDSC_0116.JPGDSC_0143.JPGDSC_0144.JPGSALVATION! Mato has delivered Metal VVSS Bogies to complete my long suffering project.One Word.... NICE!Will work very nicely on this project.The bogie can come apart by removing the two screws on the back.We will be replacing the not so visual springs with Tamiya HVSS parts.The large protrusion on the back must be removed to fil flush on the Tamiya hull.111 on the field bench in a testing capacity.Tank Drives great, but my old DMD has a fried traverse mechanism!Elevation and recoil are good.This tank will be a bruiser when finished!!!Motor leads come with bullet connectors. I replaced mine with Deans plugs.I decided to modify the mato vvss by adding metal springs and tubes from the Tamiya HVSS parts.To fit, you first have to grind away a smal portion of the rail that goes from front to back. This holds the springs in on the Mato.Tamiya cans in place. I robbed them from old suspension units, hence the old paint...I Secured them in place with a CA and styrene filler.Unit painted and assembled. I drill two holes through the rocker part and add two .40 srews to hold the assembly together.Return roller replaced and suspension is looking real good!I bolted the trucks back on. This time around I prime the hull entirely in Black and sprayed the outer hull in OD Camo from Krylon.I chose to reduce the footprint of the speaker by adding the posts with two bolts drilled through the bottom of the hull.You remove the cover on the tamiya on off switch and remove the wire. We are going to create a new on off circuit through the battery leads. Solder the Tamiya power switch wire together to close the circuit.I have already addresed the Mato traverse, now I add a custom on/off/charge system.I add and “m” socket from radio shack. This will be the external portion of my recharging system.From previous experience, I color the tabs as positive- red and negative- black.I always set my tanks so the switch to power on throws forward. Rear post of tamiya double pull double throw switch soldered to red tab of M switch. Middle goes to positive battery wire and male deans plug. Forward goes to female deans and connects MFU DMD. Add negative wired to match.Stowage of Sledge and idler adjuster, get metal brackets and pins....As do fuel filler caps...time to detail the rest!Turret gets machine gun mount, hatches, brusguards, searchlight post....
Paint and Details
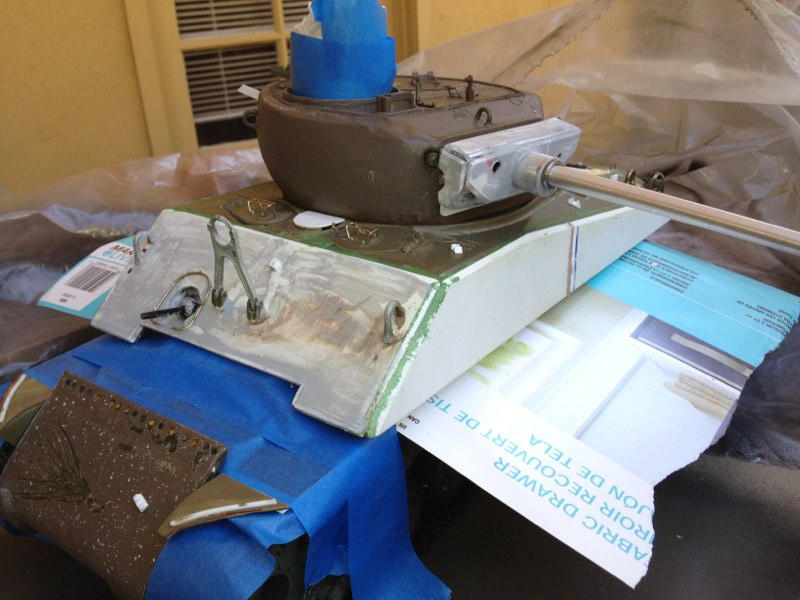
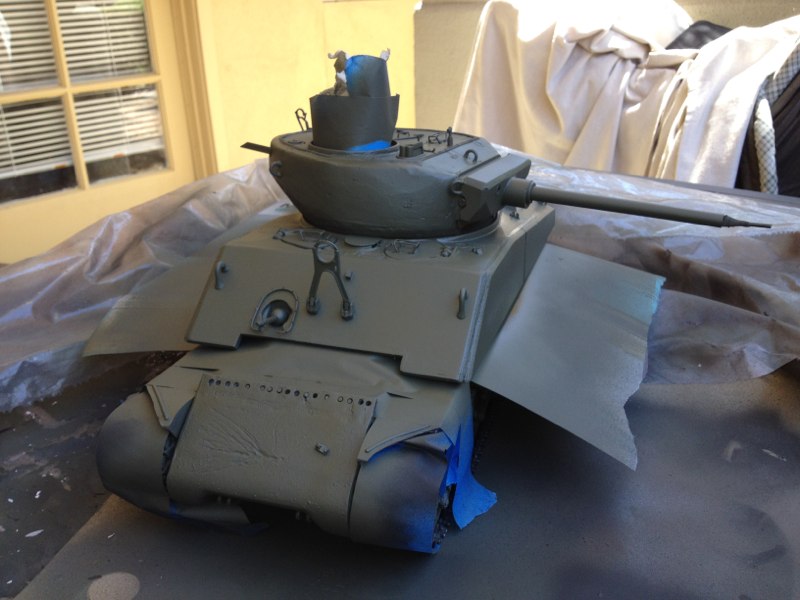
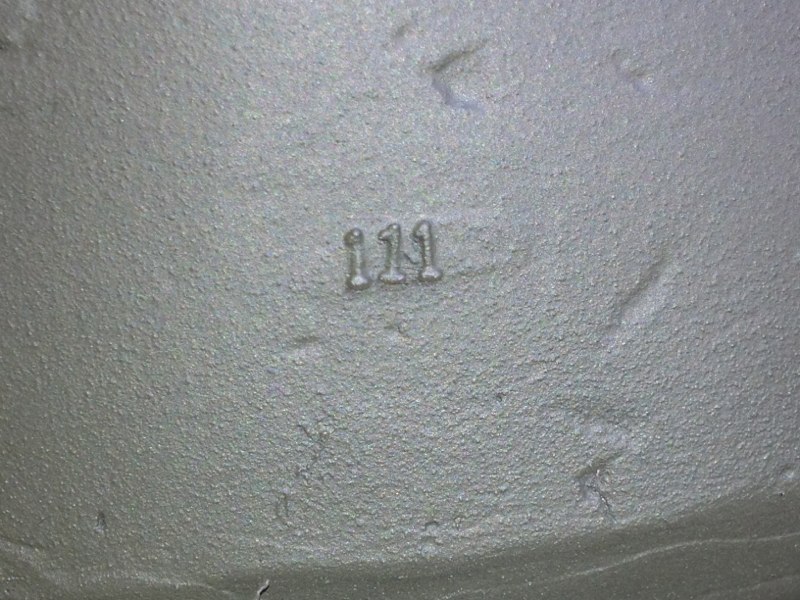
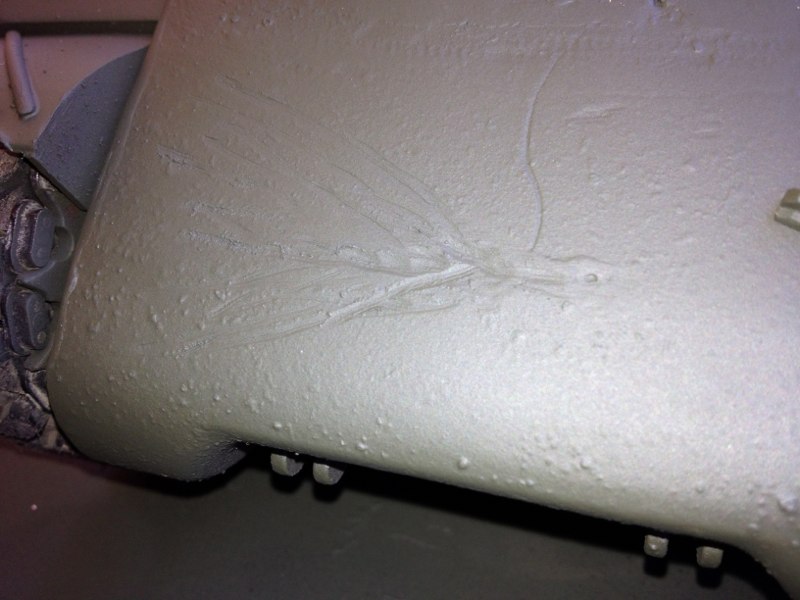
Ready for paintI will be using the Krylon black and olive camo colors as my base....We are committed!I added cast numbers to represent the turret number. This in the main way to identify Jumbo lineage... Only 254 were made.Our example has the remains of a wicked HEAT round scar on the trans cover. I did my best to add it with a motor tool.