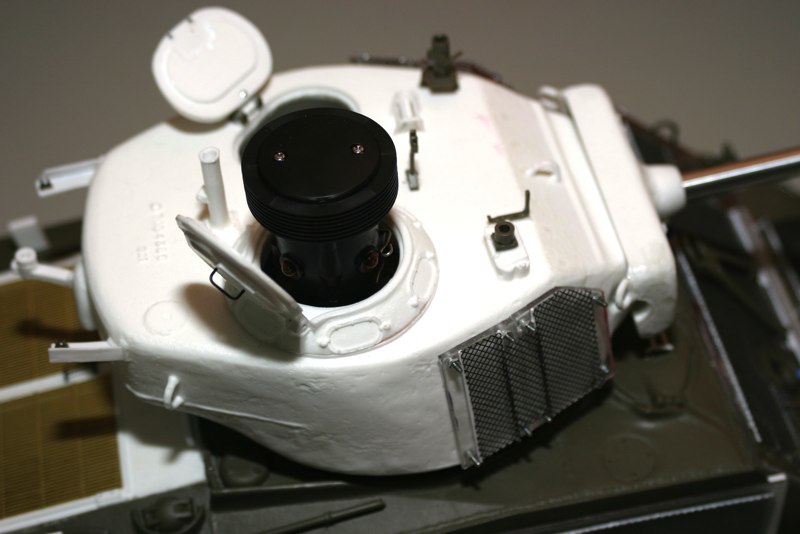
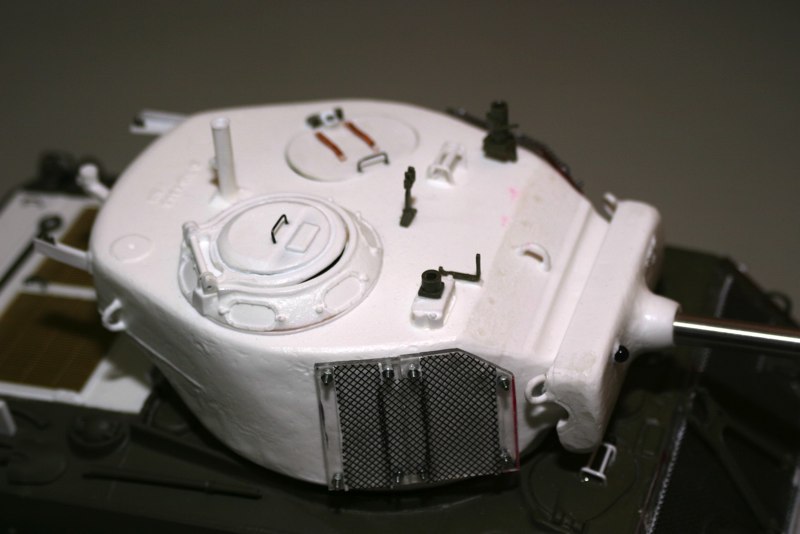
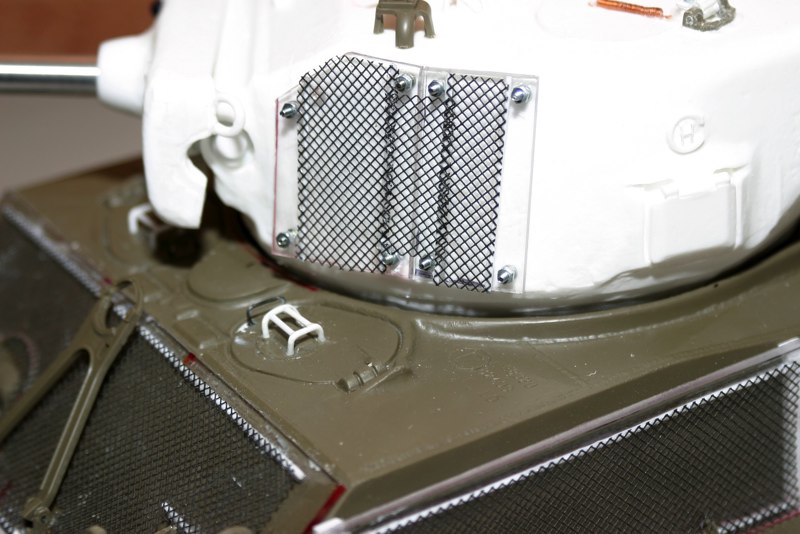
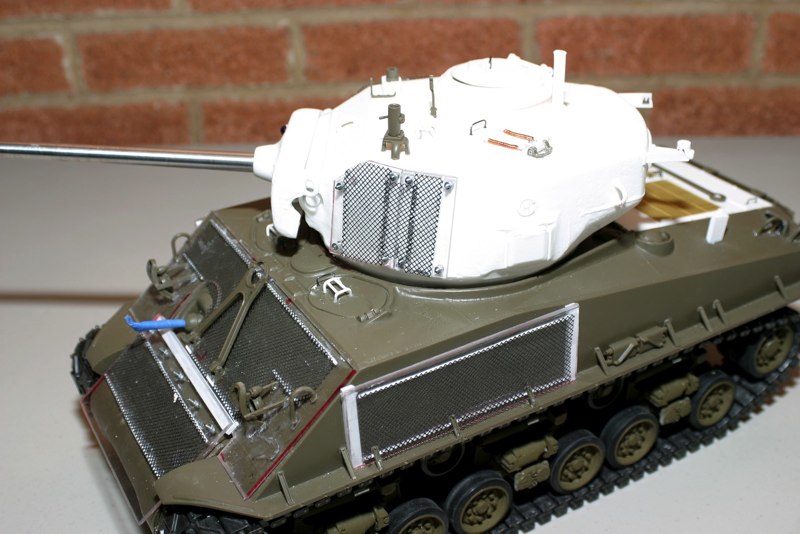
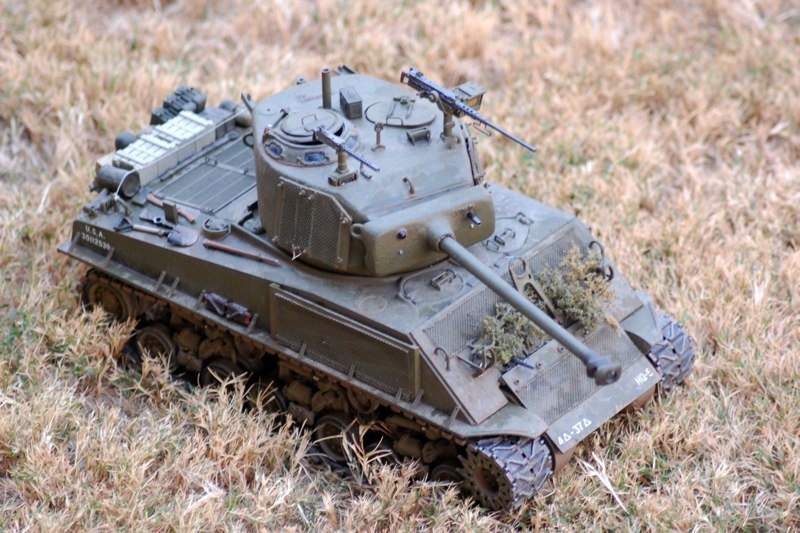
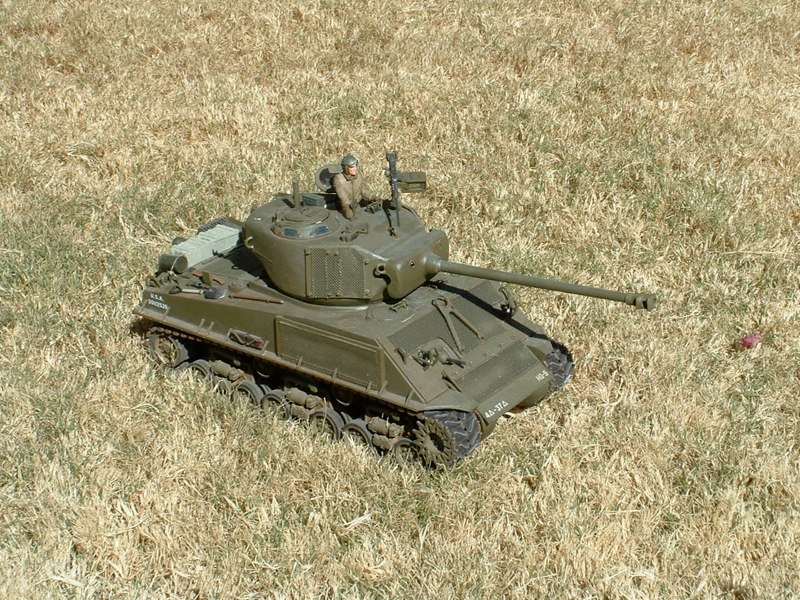
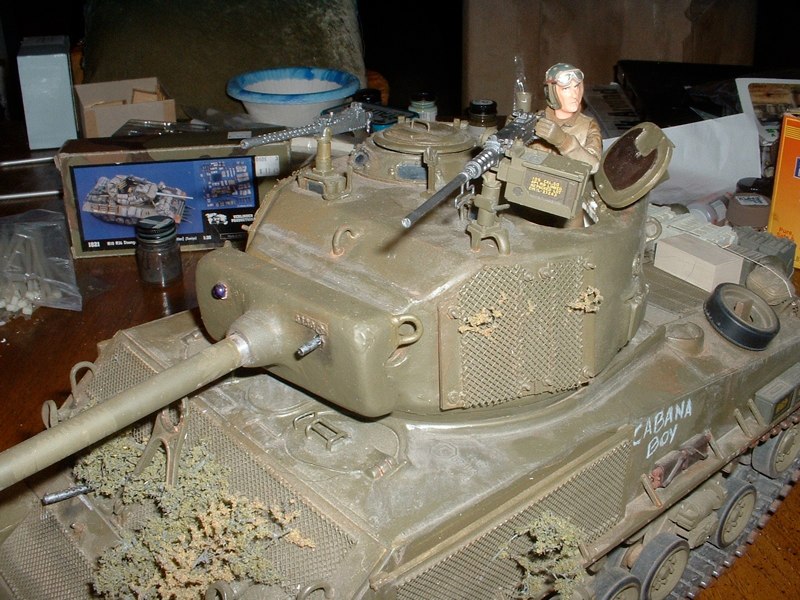
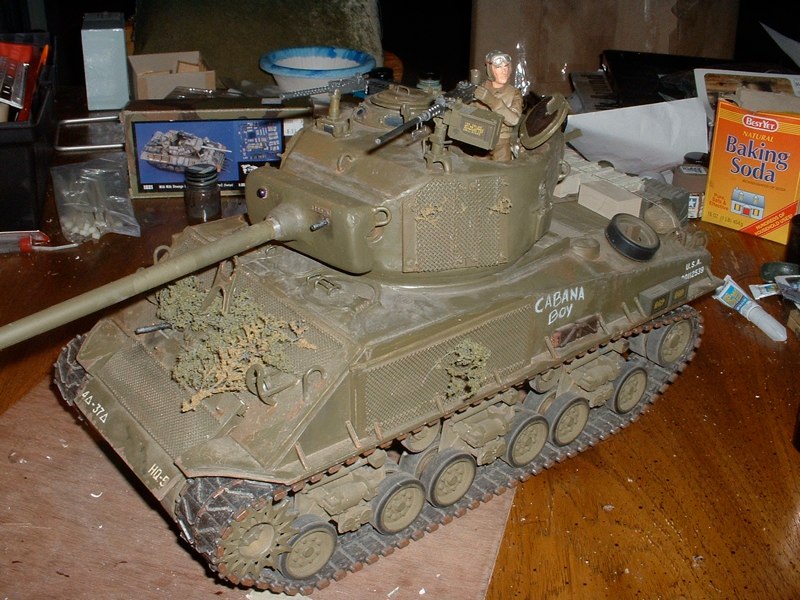
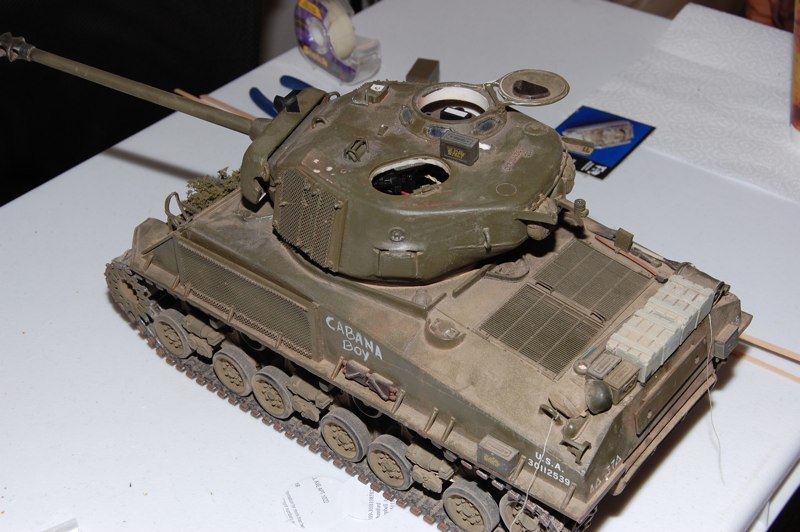
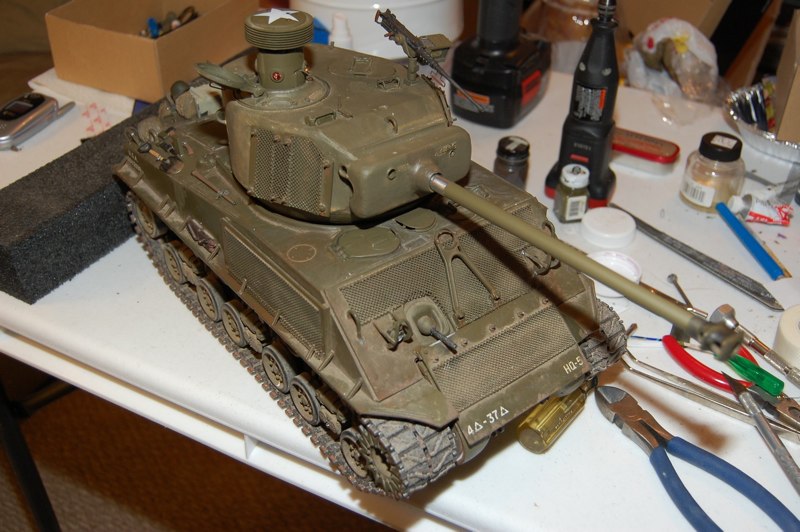
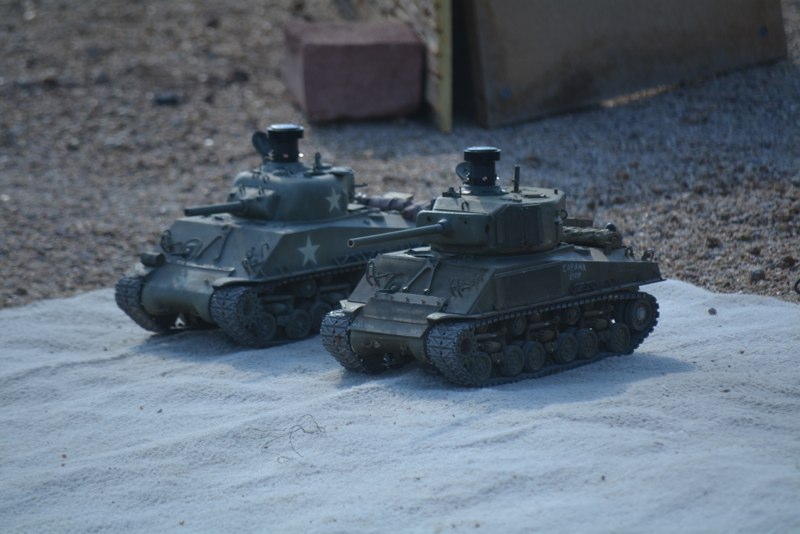
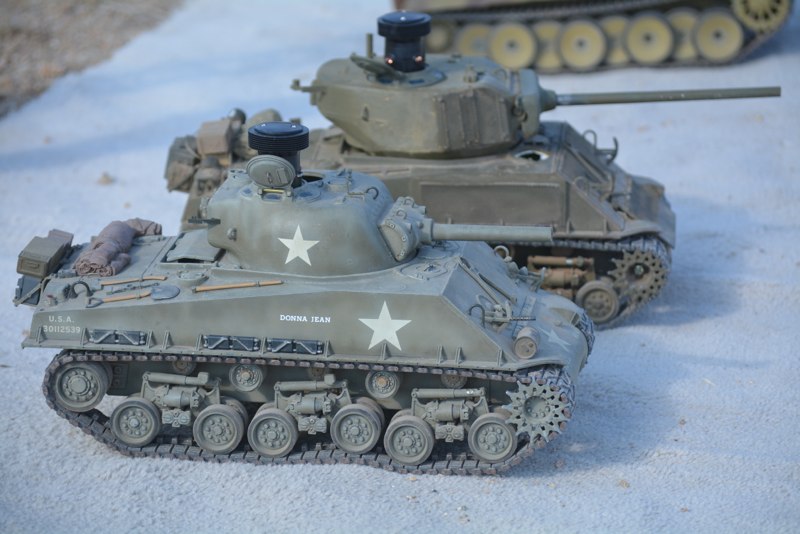
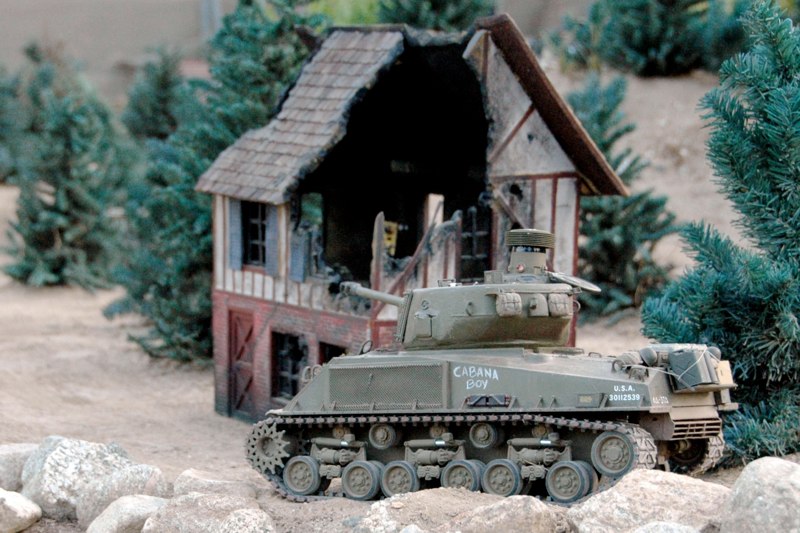
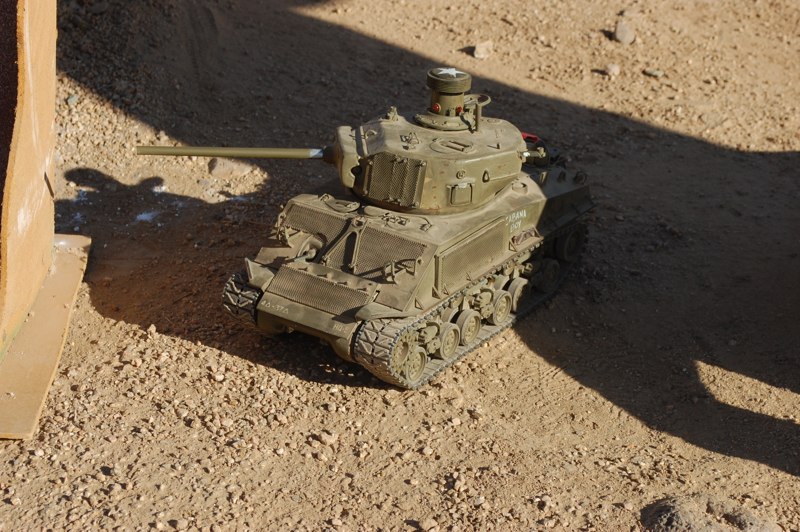
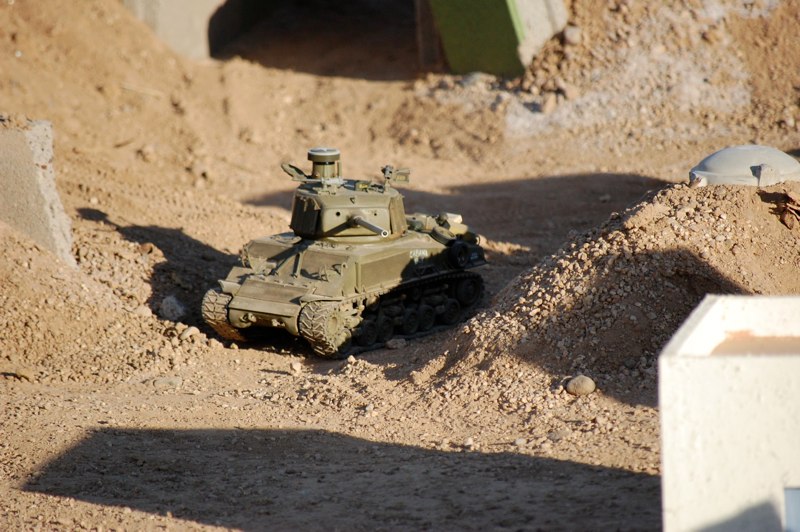
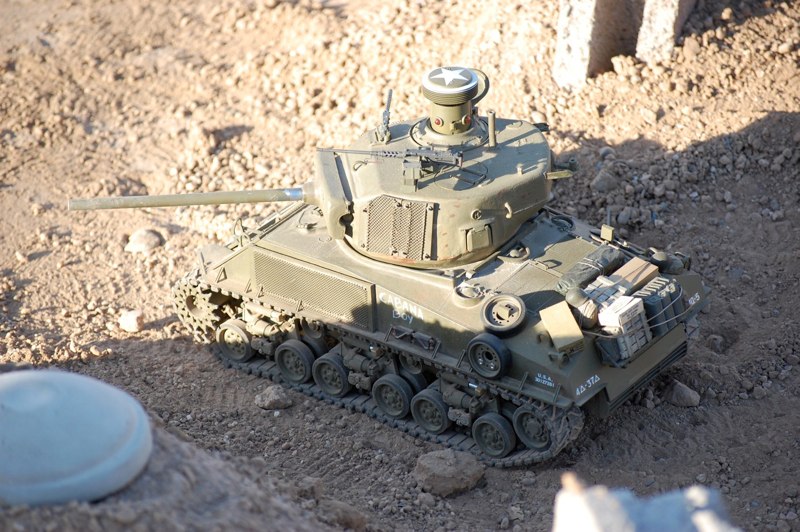
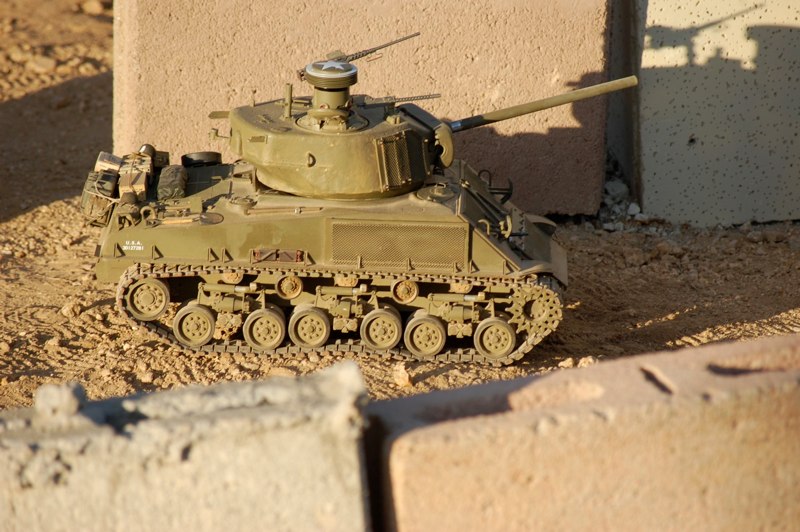
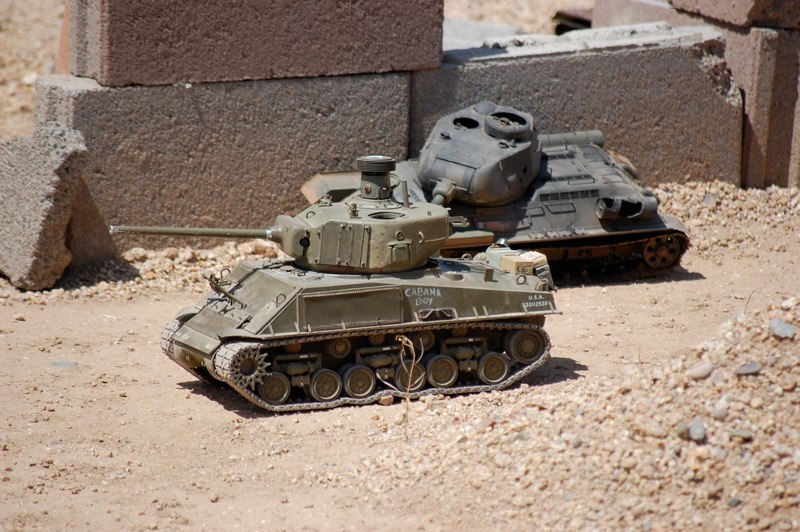
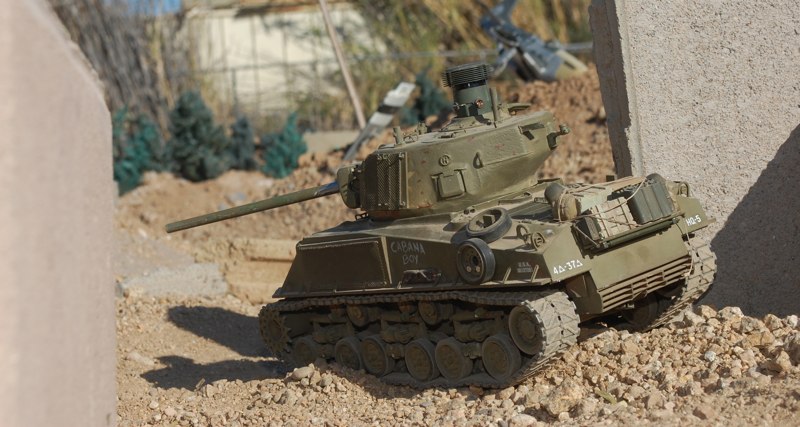
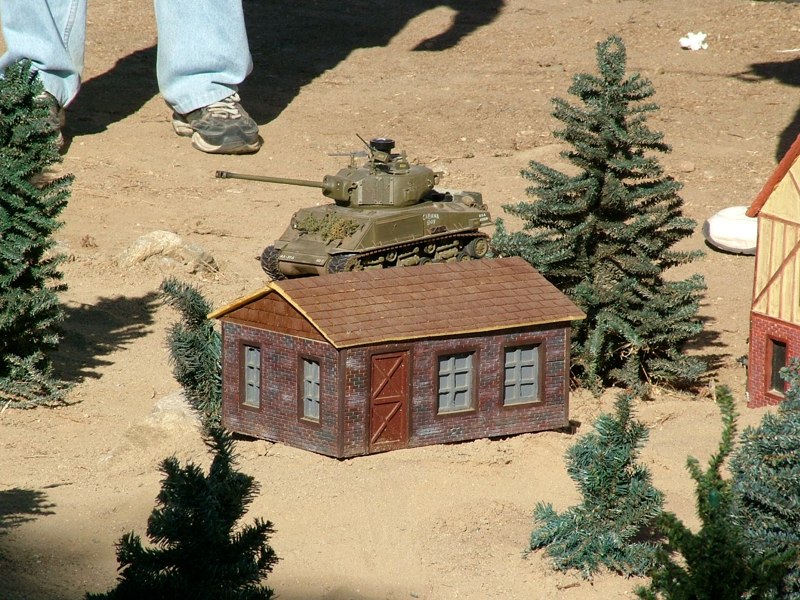
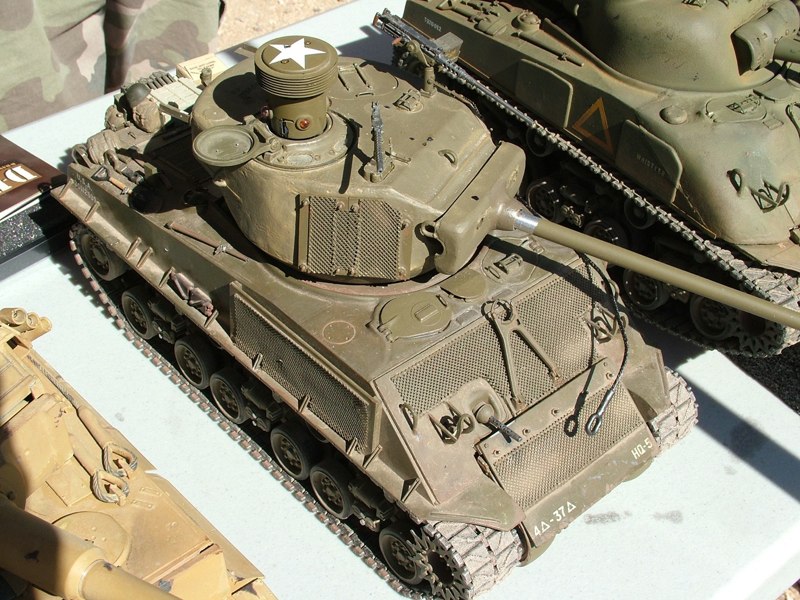
My tank of choice is the Sherman. Why accept substitutes? This particular build is my baby. It is a labor of love and may never truly be completed. It is my first Tamiya tank purchased way back in 2005 and to date it is the veteran of 100+ battles in Arizona and California.
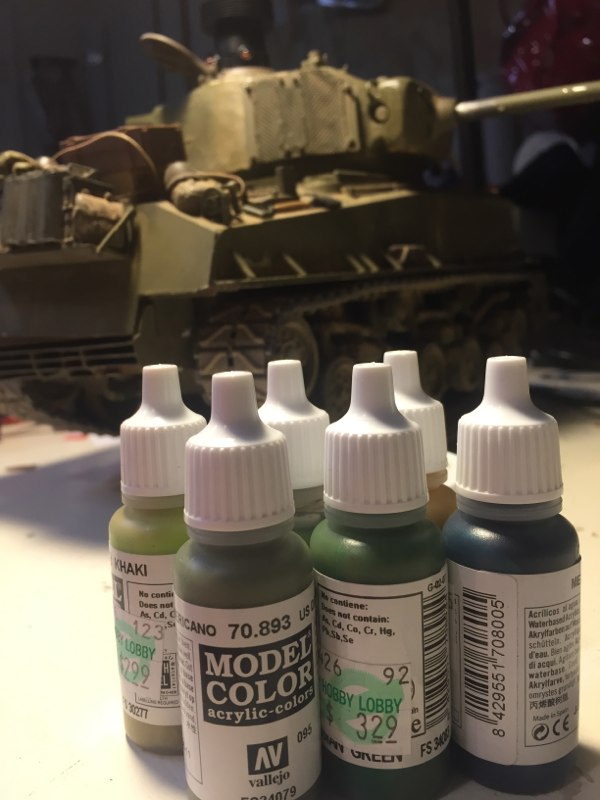
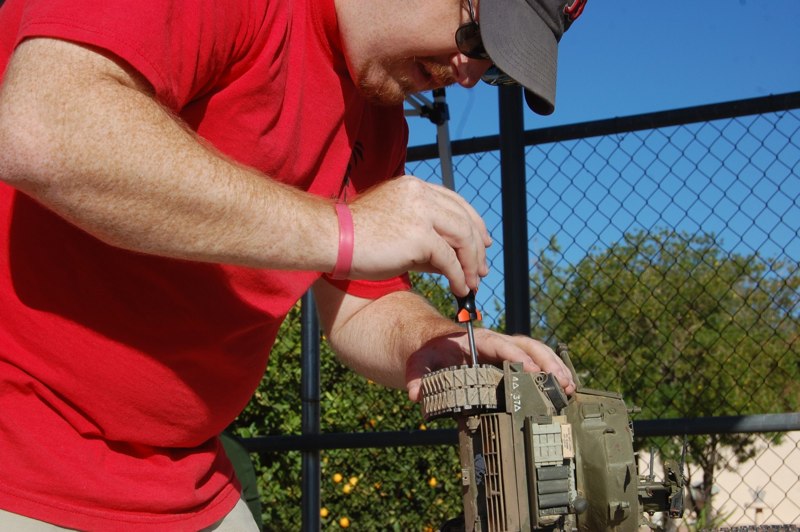
I have leant it to dozens of new members, friends, family and prospective members over the last 20 years. It has trained many rookies and has many times been bruised and battered but it still soldiers on! Periodically, I add or repair details like Pershing electronics, recoil upgrades, new details, stowage, and only once, new track. As of Spring 2026, there have been 4 specific rebuilds, most recently I reworked the suspension, traverse and paint to keep it running! See my DAK LABs YouTube channel for the whole story.
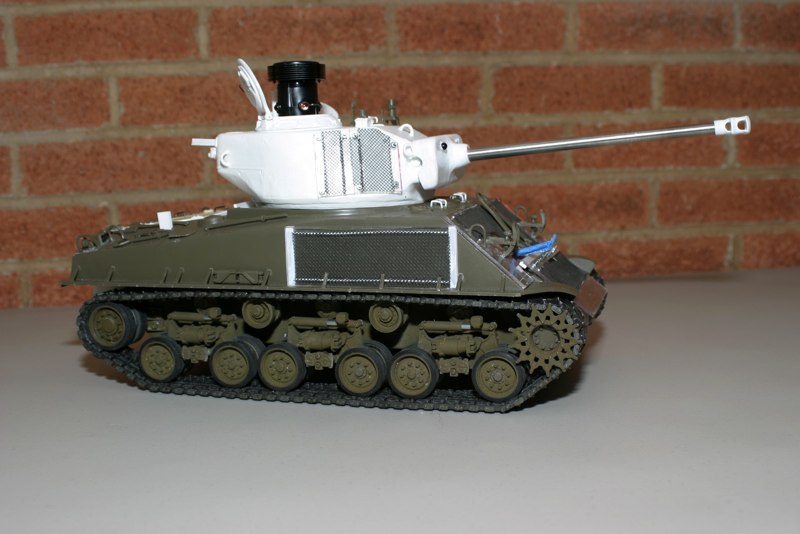
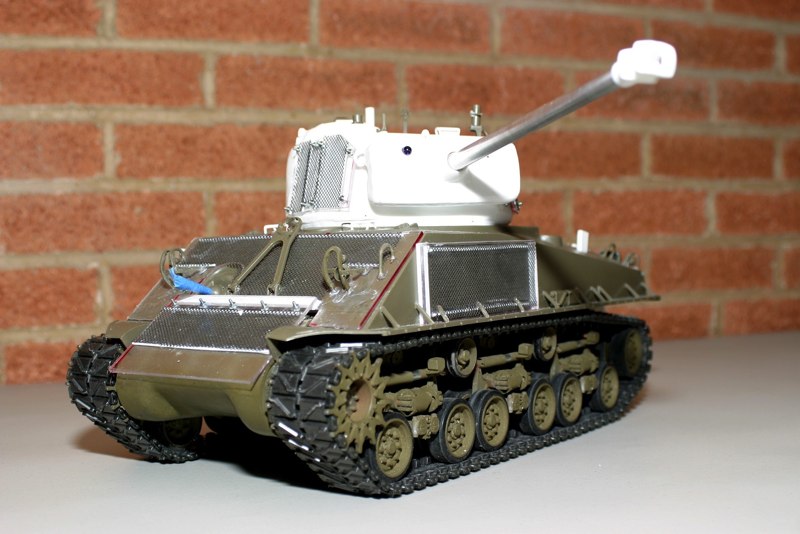
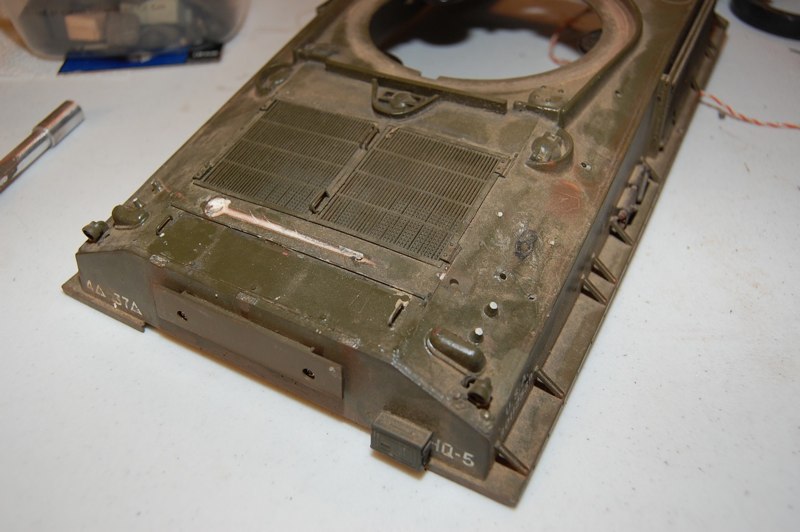
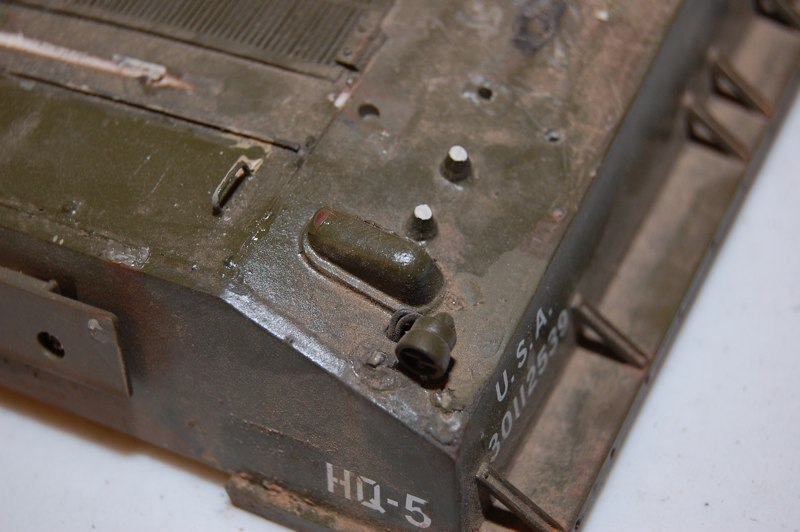
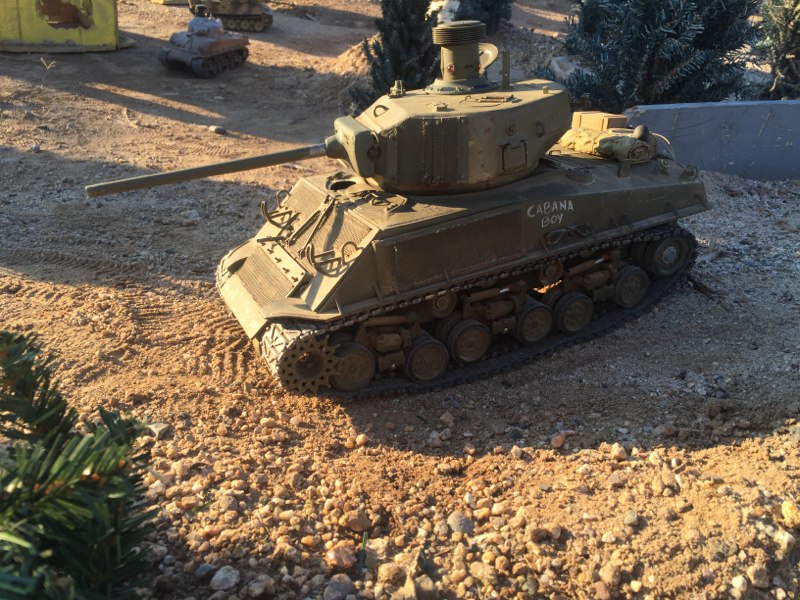
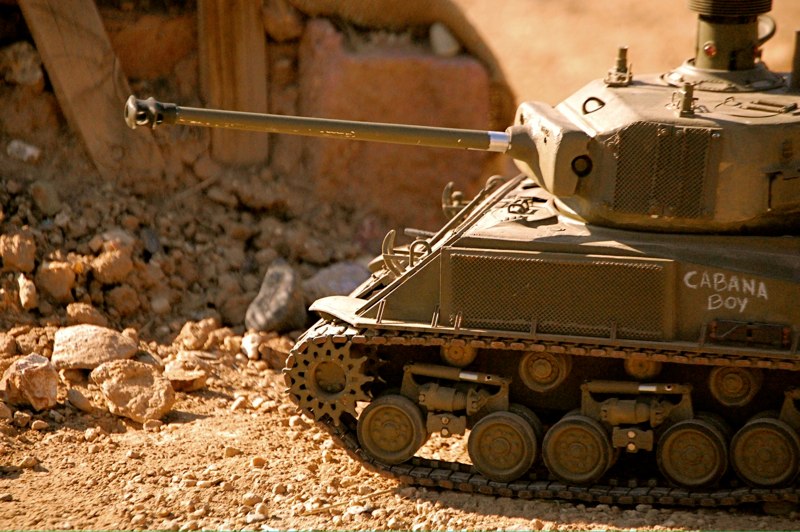
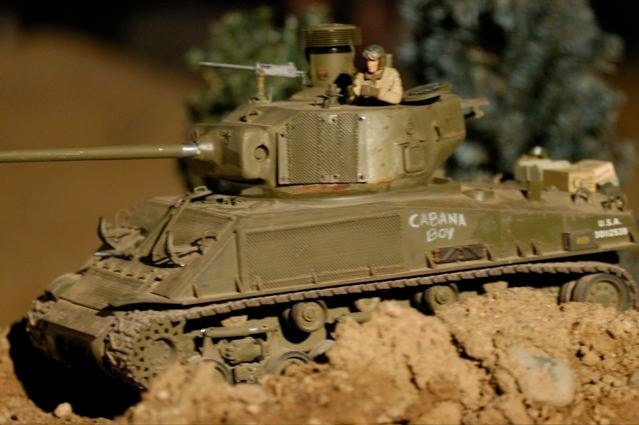
I chose to represent a late war, HVSS Sherman from the HQ company, 37th Tank Battalion, 4th Armored division. This unit was commanded by Col. Creighton Abrams, namesake of the M-1 main battle Tank. I chose modifications from several wartime photos and used a mixture not representing any specific vehicle. War time vernacular was “field expedient Jumbo” and the add-on armor was often salvaged from allied or axis wrecked tanks.
The 37th adapted 3 major modifications / changes through Feb, 1945:
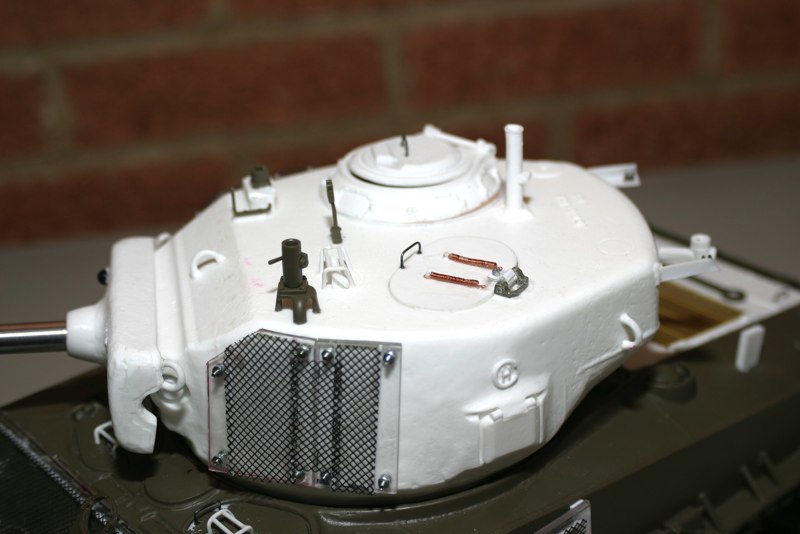
-Additional armor plate on the turret, glacis, and sides, often scavenged from disabled tanks.
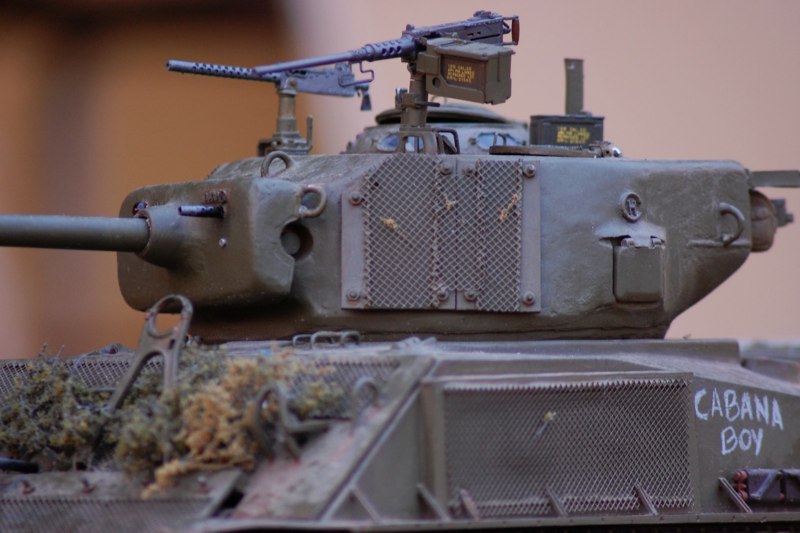
-Col. Abrams directed machine guns be moved to more useable positions. M1919 .30 cal Brownings were placed in front of the commander and often the M2 .50 cal was moved to the loader’s position
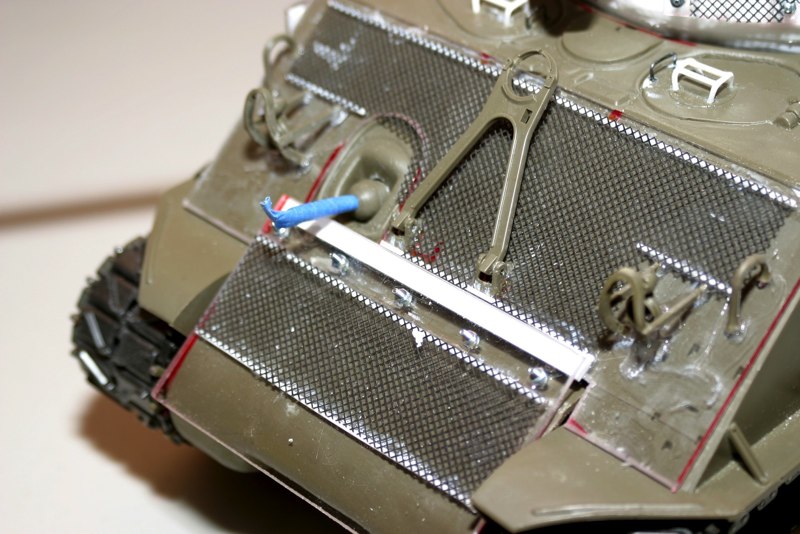
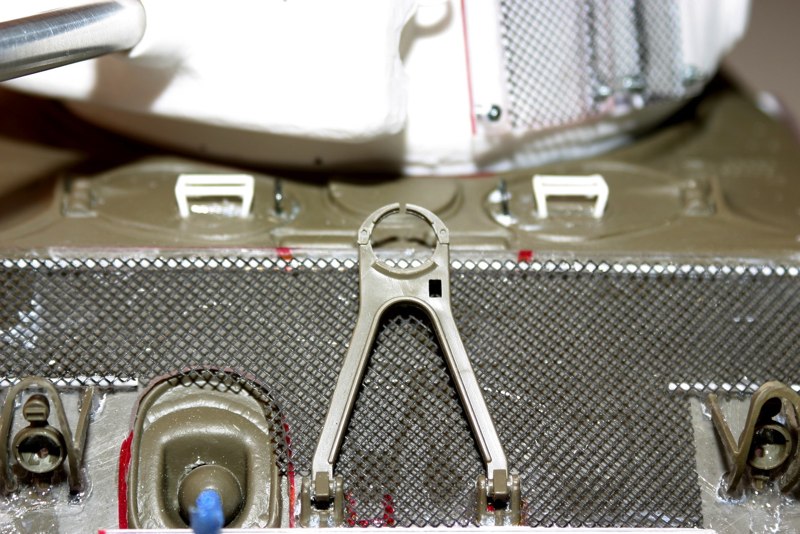
-Sommerfield matting (chicken wire) was added to the hull so brush and other foliage could be attached.
Additional firepower modifications included bow-mounted flame throwers, an M2 .50 cal in place of the co axial machine gun, and the up-gunning of the M4A3E2 Jumbos to 76mm. Sandbag armor was frowned upon in the 3rd Army (Gen. Patton hated it!) but several tanks still used it as another measure of protection. The 4th armored had a policy where the tank commander fought from the open hatch and one adaptation for this technique were extra machine guns mounted within easy reach. An M1919 .30 cal was often the choice as it was smaller, lighter, and had a higher cyclic rate for the commander to use.
The 37th Tank Battalion saw 9 months of serious combat and received a Presidential Unit Citation with the rest of 4th Armored Division. The nick-name “Cabana Boy” is from the story of a lady friend and her wild weekend at the Hard Rock Casino pool in Las Vegas. The details are a sworn secret, so what happens in Vegas, Stays in Vegas........
Initial Build — 2005
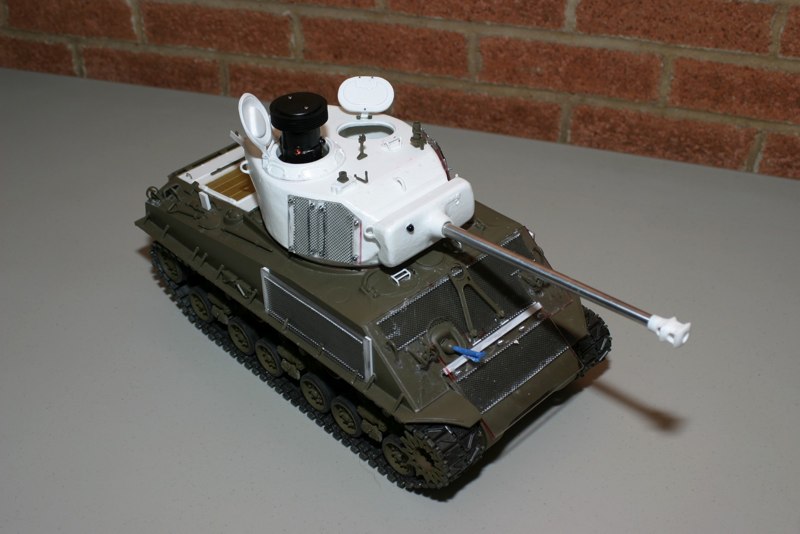
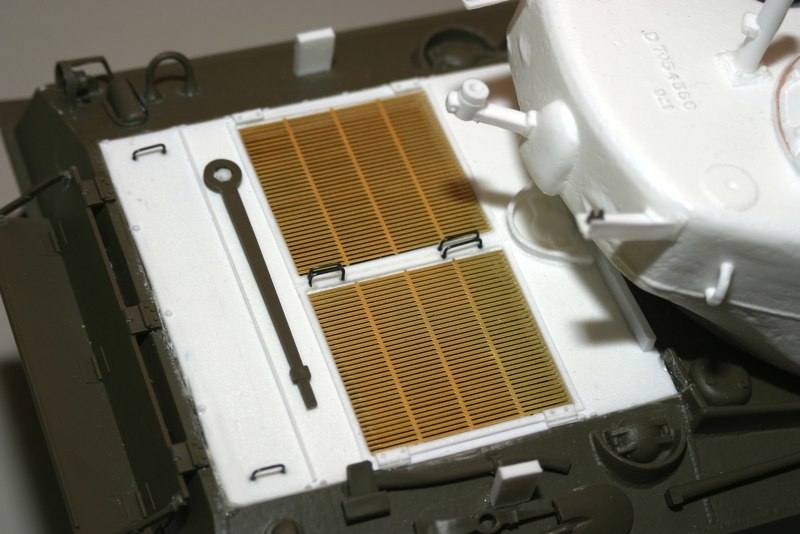
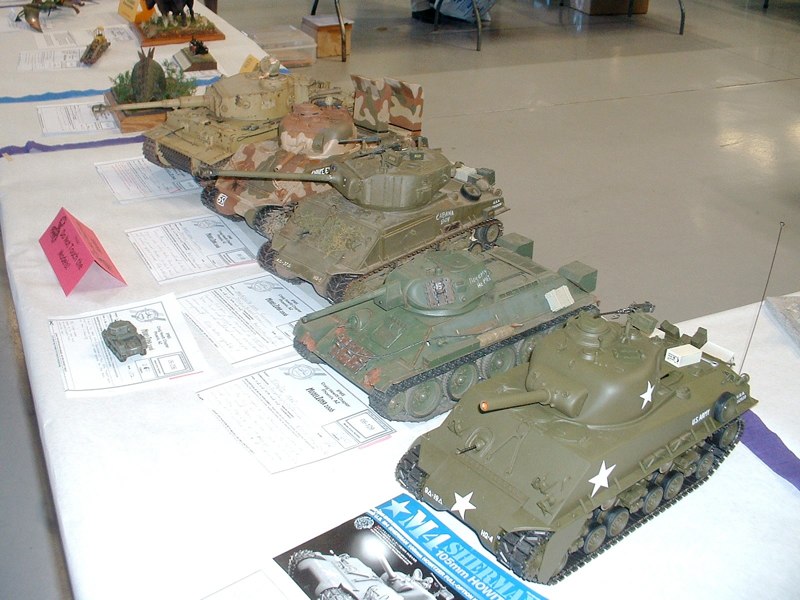
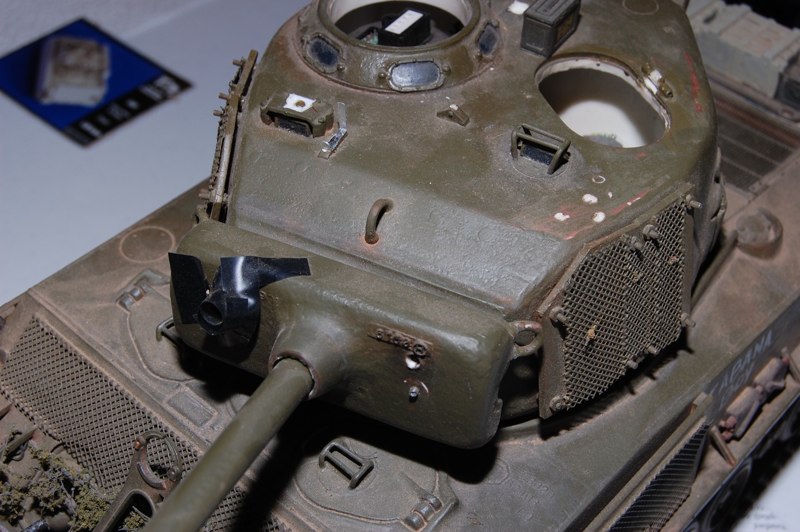
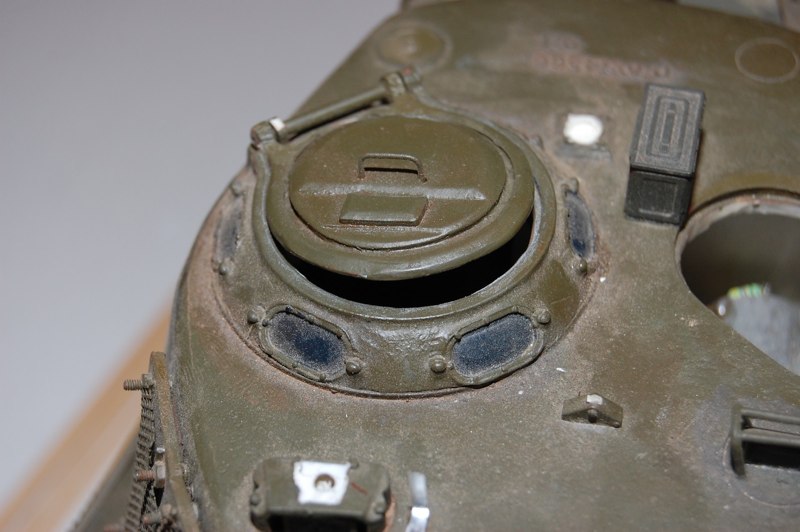
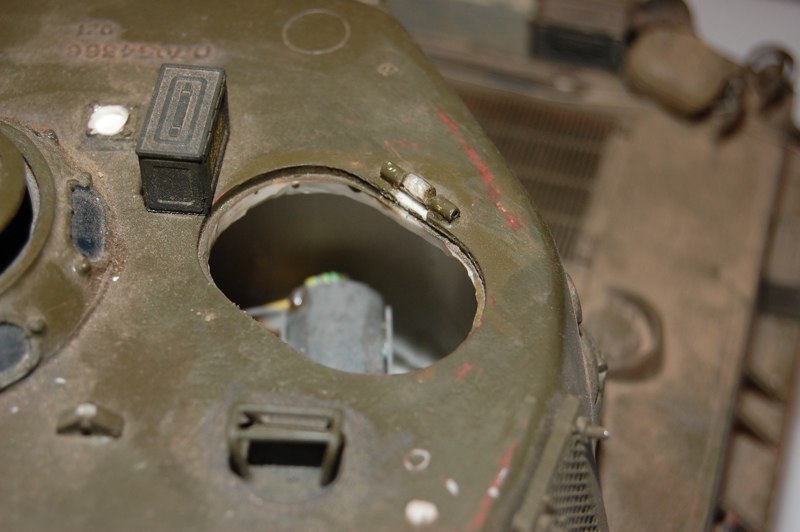
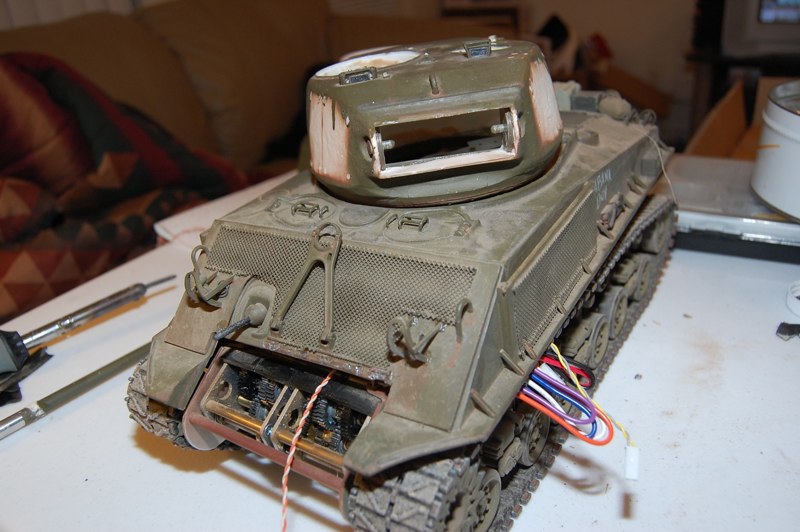
Full option with TBS installed. Emitter was placed in the gunner’s sight opening on the mantlet. As it was my first tank I allowed the emitter to protrude from Ignorance.1/16 scale armor modeling for me began with Tamiya’s Full Option kit and a (now out of Production) Backyard Armor resin t-23 76mm turret. The fit is a challenge but can be adjusted with work.BYA engine deck and wire handles. This is one honking piece of resin. Be prepared to grind away quite a bit.Operable hatches and extra MG mounts added. The commander will have a Verlinden .30 cal added for more firepower.More turret details. I added the Tamiya sights and machine gun mounts but scratchbuilt the loaders hatch details. (I KNOW the Vane sight is backwards here... It got fixed later.)I couldn’t resist Scratch built periscope guards and lexan applique armor. The Lexan was just available in my junk box.Sommerfield matting from window screen. I got it for free from the hardware store. It attaches to styrene rod.The frontal armor is detailed with bolts that actually hold it together. It is attached Lightly with C.A. so it can come off.Loaders hatch modified with copper wire springs. Wire GRAB handles for all hatches, and the hinge is pinned. This sure breaks a lot.Closer shot of periscope guards. These were made with .30 styrene rod. They are actually very resilient. I know the Travel Lock is incorrect for this model but be nice, I will Change it some day.....Sommerfield matting Added to hull. It was used to add foliage for camoflage. 00-72 bolts added to armor.In the yard.Up close and personalTank in the grass! Great for chasing the dog around. I know I skipped a few steps but The only other aftermarket added was bearings for the wheelsOn the contest table at Modelzona 2006.foliage ADDED to put the sommerfield matting to use. The figure is 21st century toys. I have glued him in position manning the .50 cal.More weathering and machine guns added. Now it has three .30 cal and the Ma Duece. Paint is testor’s regular OD rattle Can with acrylic washes and real dirt.
Pershing Electronics & Recoil Update
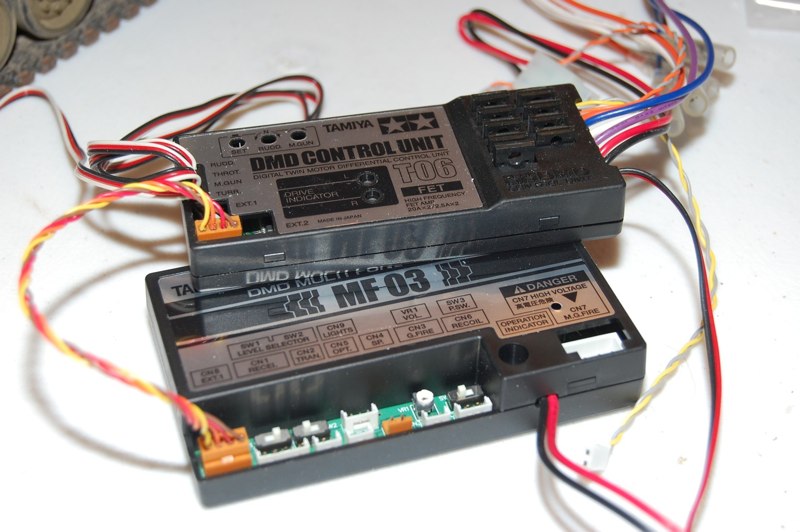
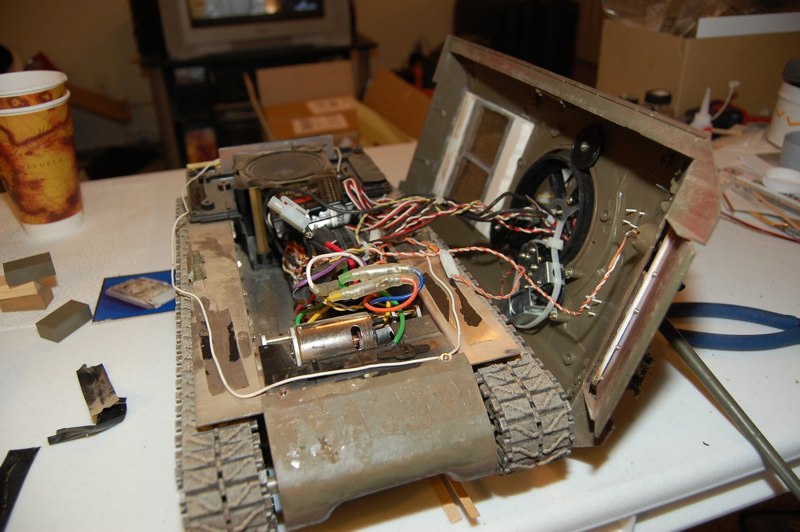
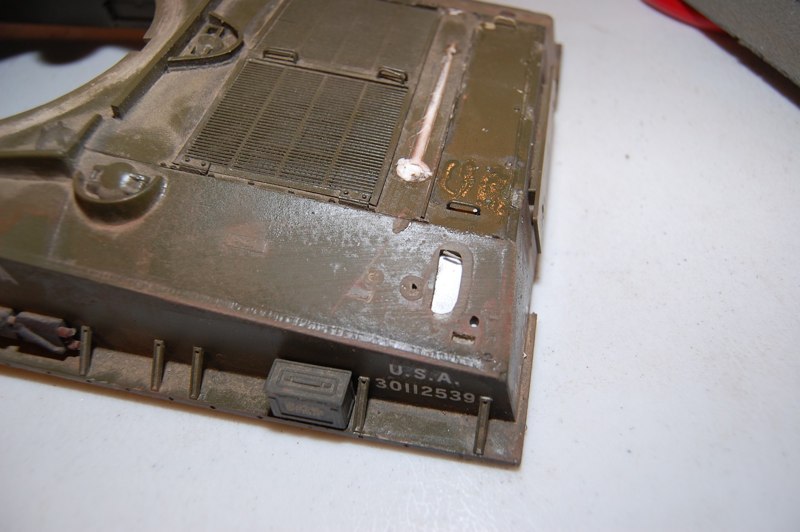
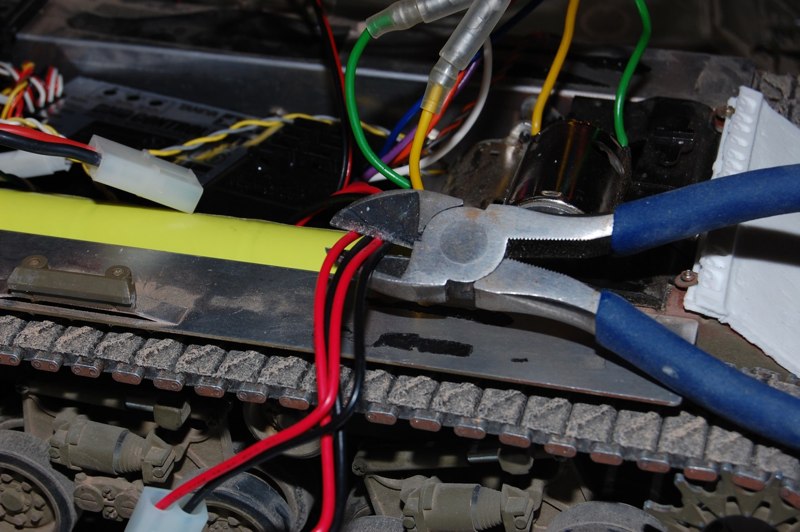
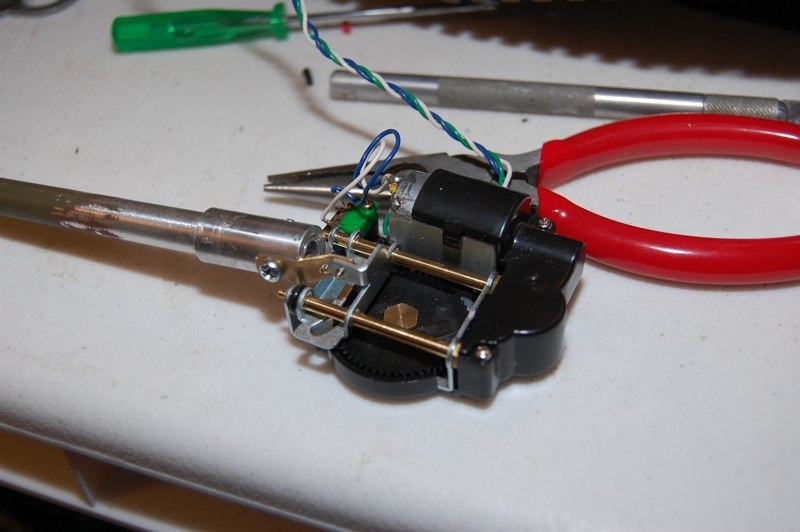
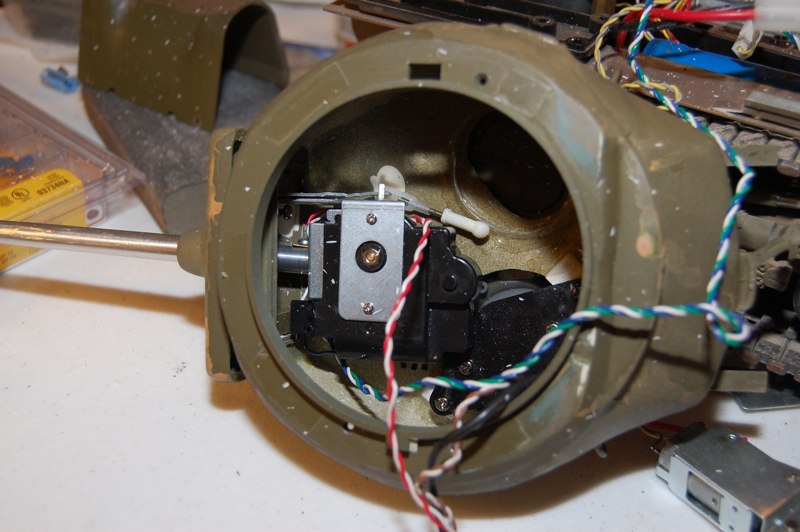
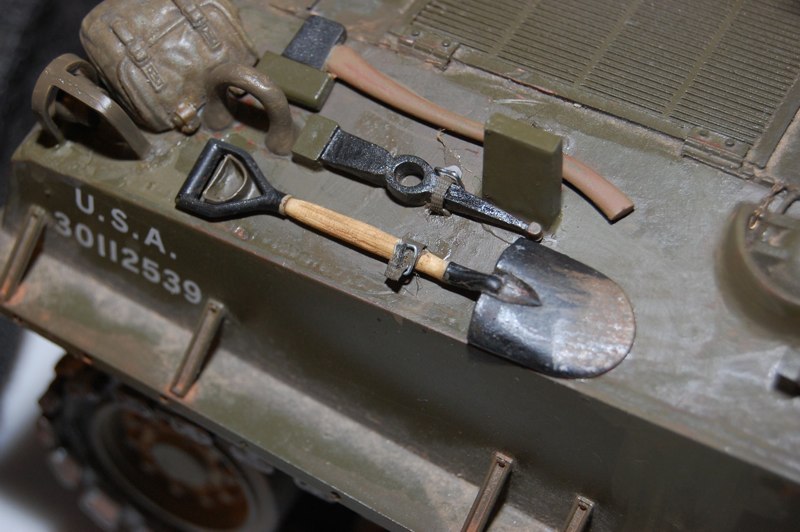
Time for a do over. I will Fix brOken hatches, ADD and Repair stowage, and upgrade the electronics...All the old detail and damaged parts are removed. Notice the temporary Sleeve for the emitter.Warped hatch, old cupola, mg posts, everything must go! AZ heat is murder on resin!The loaders hatch has always been a problem.Pershing electronics added. With these you get the Ford GAA engine sound and recoil.All the innards get a rewire and tune up.Functionality test.I should redo the back plate to get the correct angle for an M4A3, but I didn’t. Next time.I mistakenly left the GROUSER vents on the first time. These were used on Radial Engine models for ventilation and Cooling.I filled it in with plastic stock and sanded it flush.It is always tough to snip those wires.Recoil unit mounted to 76mm gun.Nick Aguilar sold me an old B.Y.A. turret that I refurbed and re-wired.All the parts in place and wire bundle snug.Tank together again. Emitter in barrel now and ready for a fight. The tank didn’t need a total paint job..... yet.Tools get the wood handle and wire brackets with tape hold downs.
In Action
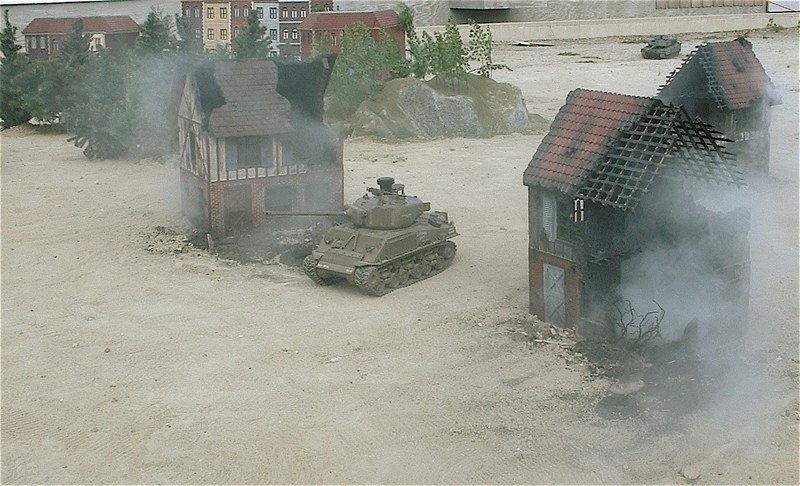
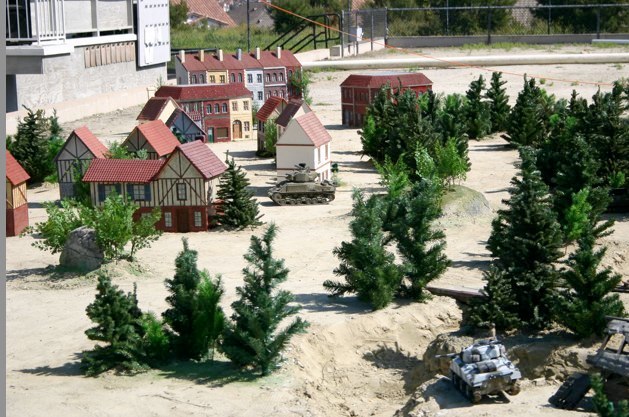
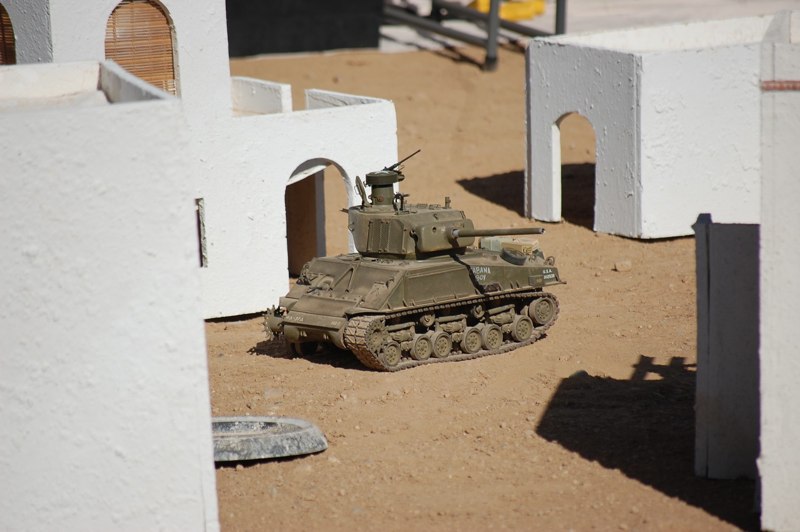
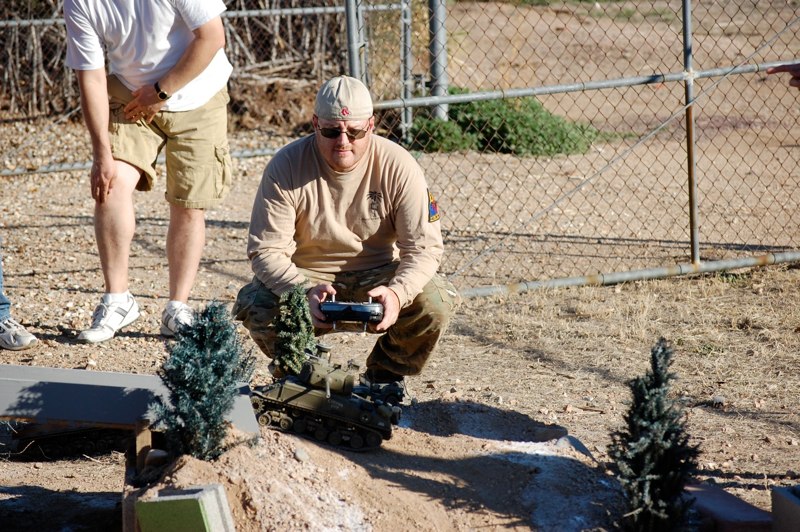
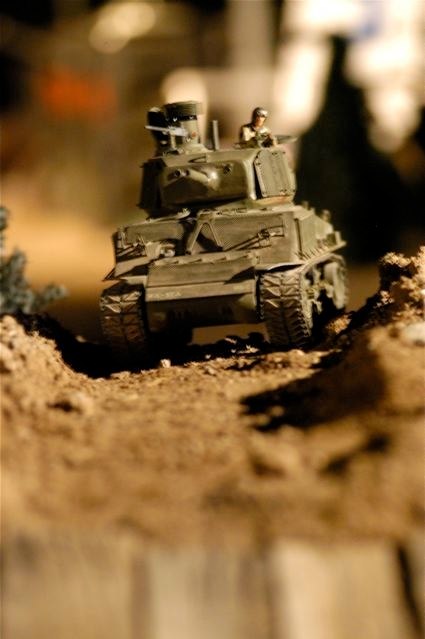
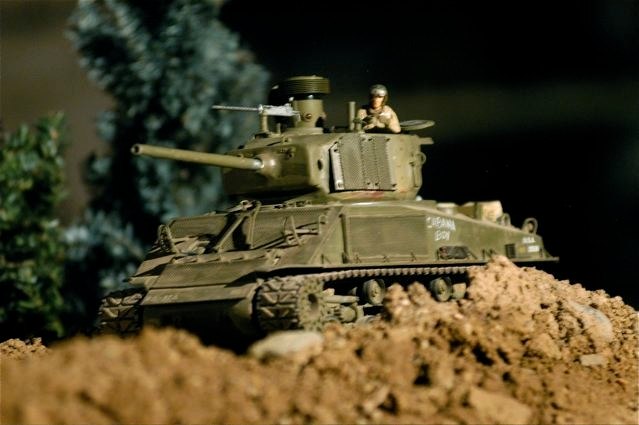
In battle at Tamiyacon EVENT with SCAT in April, 2006. This was DAK’s first battle and the event became the foundation of the club. Smoker and wrecked buildings by SCAT.Here it is Jan 2016 after a touch up, new Commanders hatch and cupola. I used a PLASTIC Tamiya Pershing one as my Resin hatch dried out, cracked, and fell apart.Ironically, my latest Sherman is A stock 105 HVSS, the only type I have never owned!In combat at SCAT.TanK is now 11 years old and still my number 1 guy!Cabana Boy on Patrol. In 2005 Easy Eights were about the only mod available for Tamiya Shermans with out EXTENSIVE SCRATCHBUILDING.In combat at DAKReplaced the right track and Finally touched up the gun tube with a fresh coat of paint.First damaged track TOO! Nearly 40 battles!!The First time this tank EVER threw a track!Commander and Tank on the hill!Tamiya’s HVSS may be relegated to later vehicles, but by golly it WORKS!!!Still my best fighter! This pic is after a third major overhaul where I added a charging system, more storage, and finally ‘kicked’ out the back plate to make an accurate m4a3. the next mod will be HL style traverse.Quick fix, all better!Broad daylight frontal assault! I keep breaking off the loaders hatch.Dramatic death shot. 7 years and still running strong!Crossing the ridge!Night battle!I tend to lose my muzzle break in combat. Lately, I simply remove it before hand.More Cabana boy in combat.Back on the table.