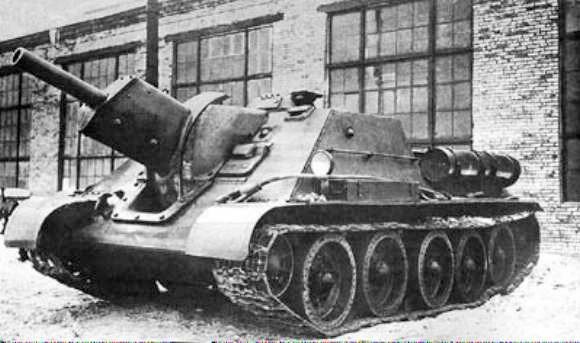
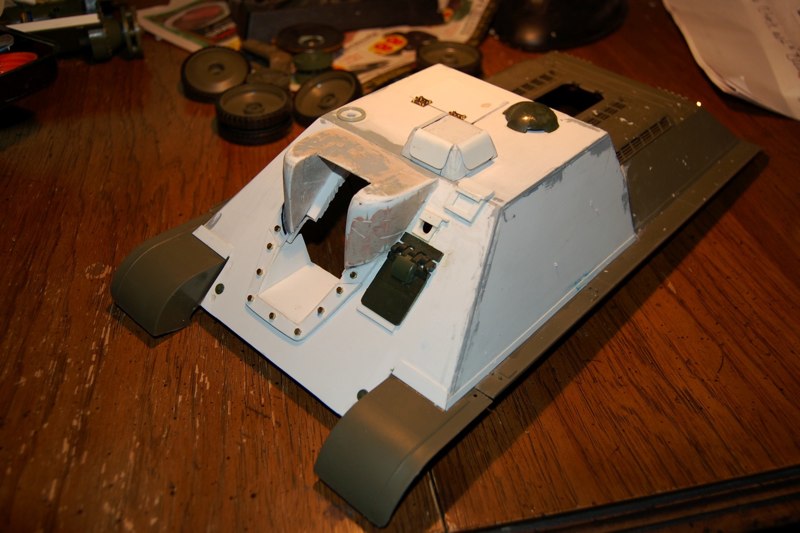
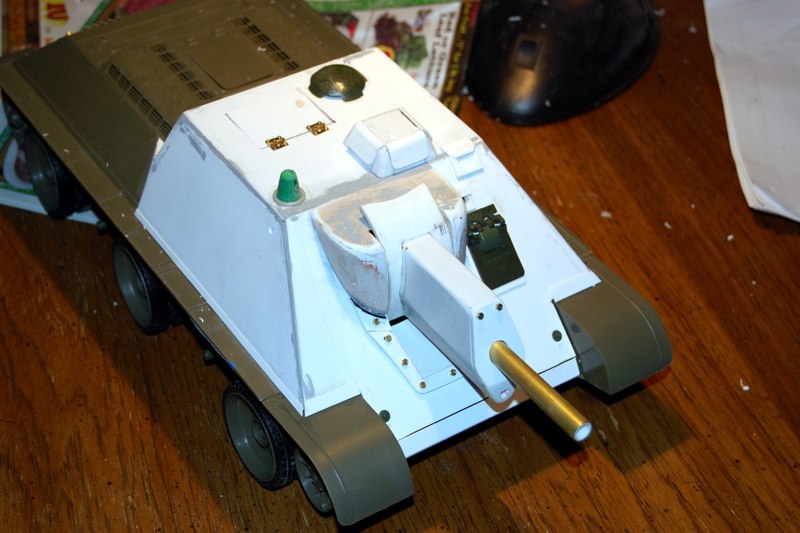
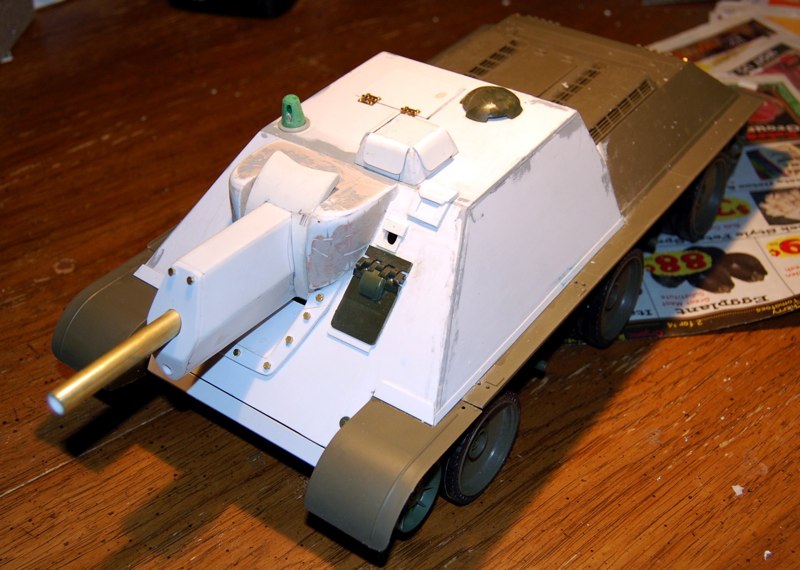
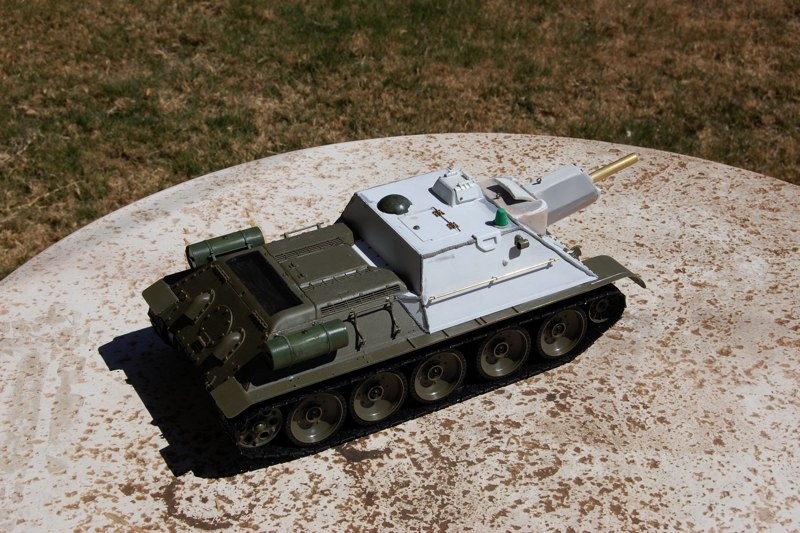
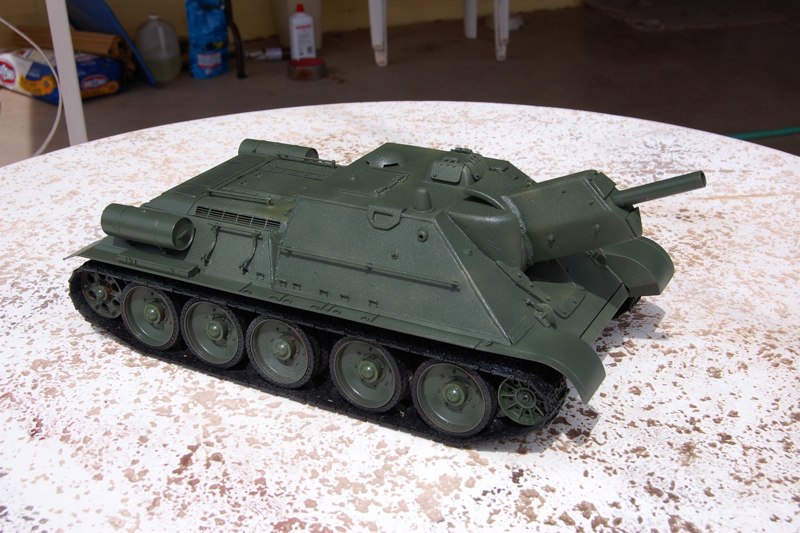
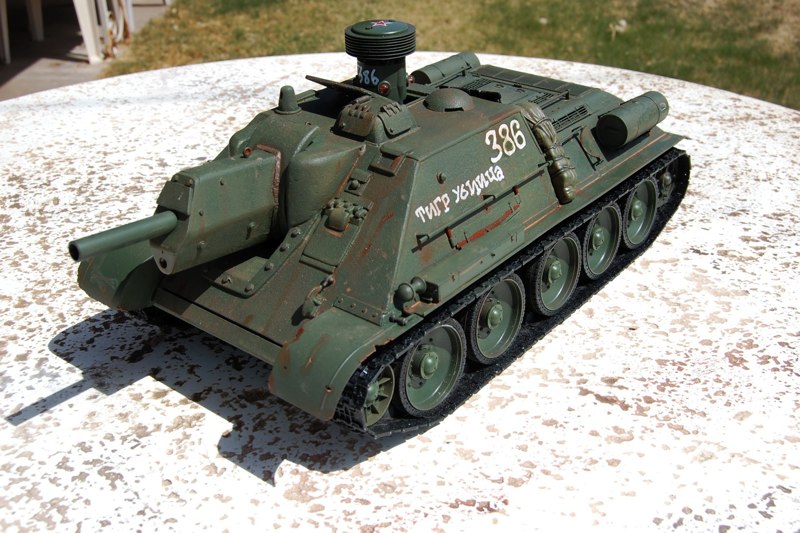
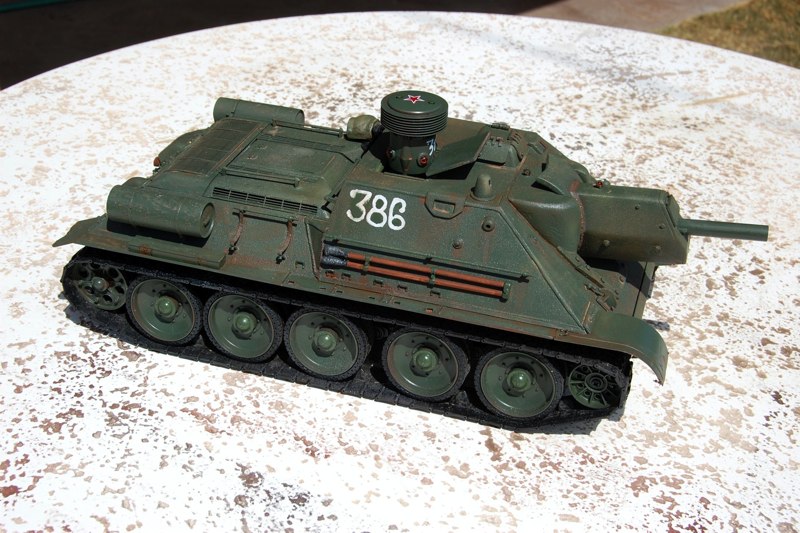
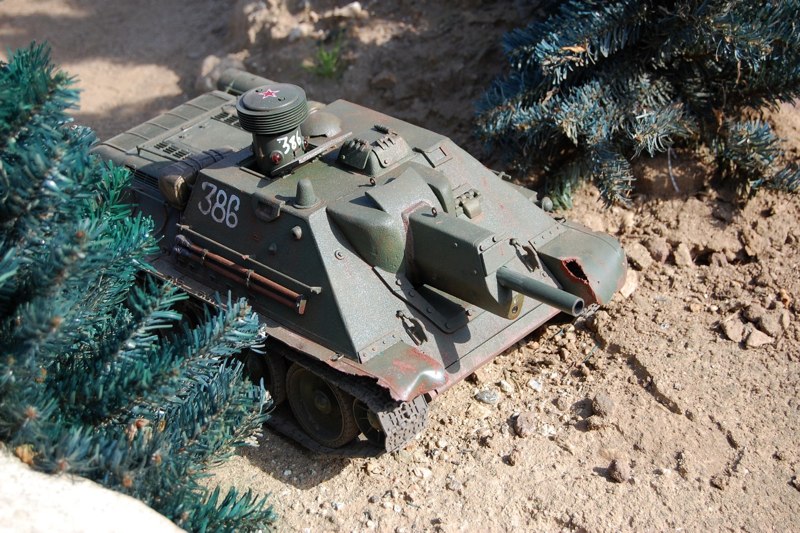
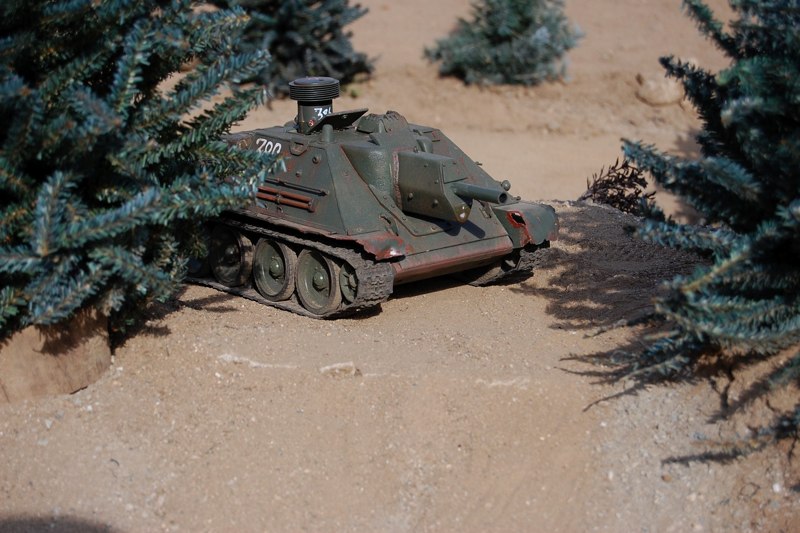
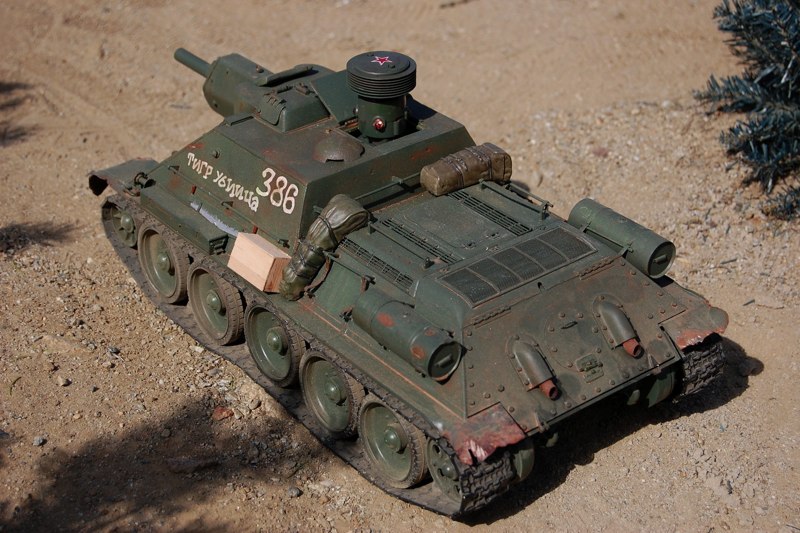
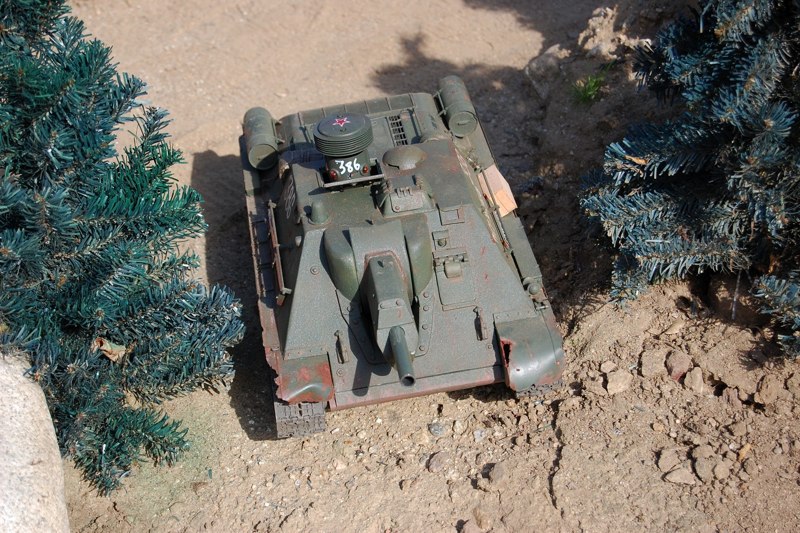
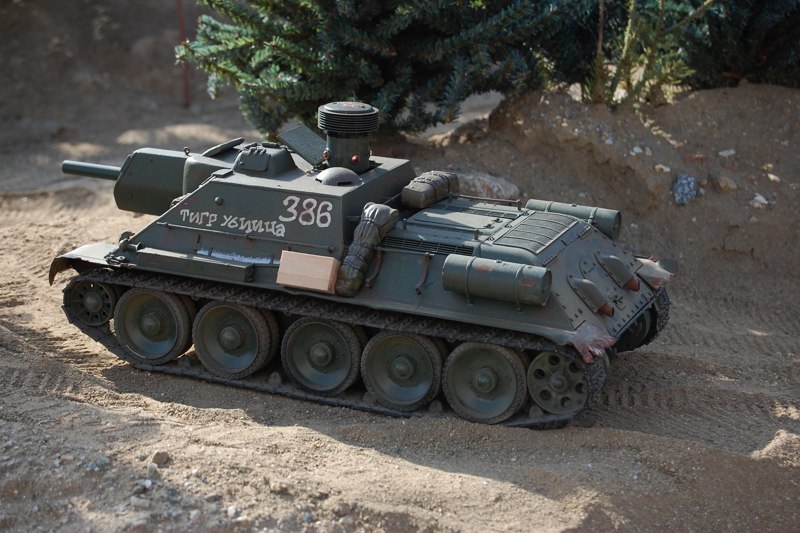
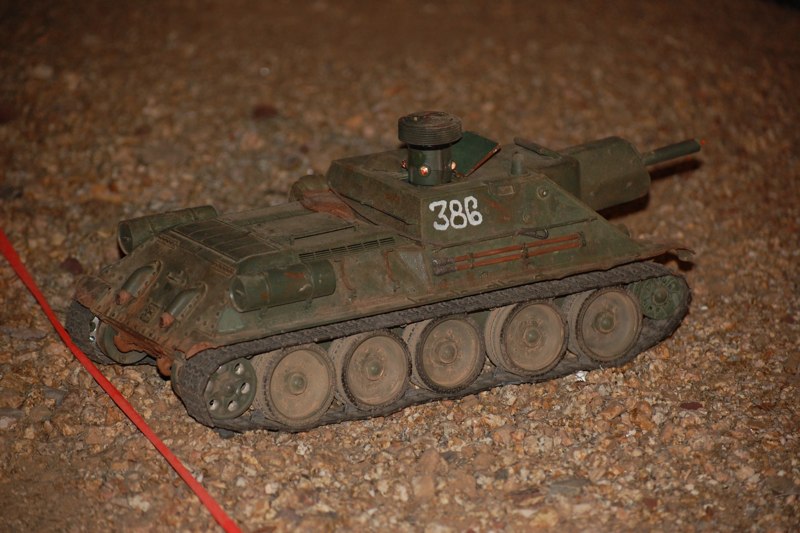
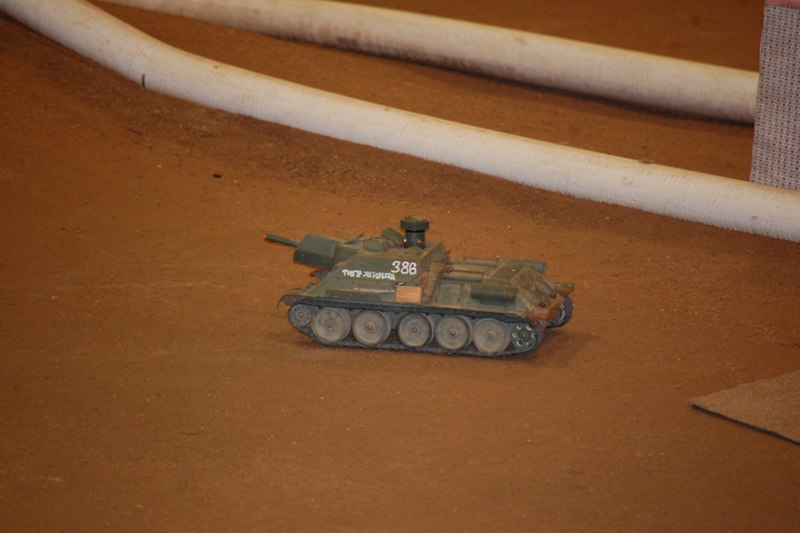
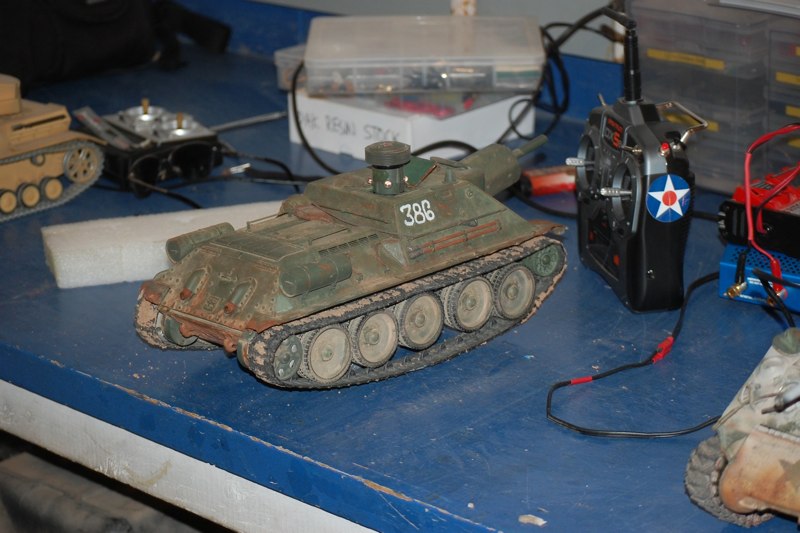
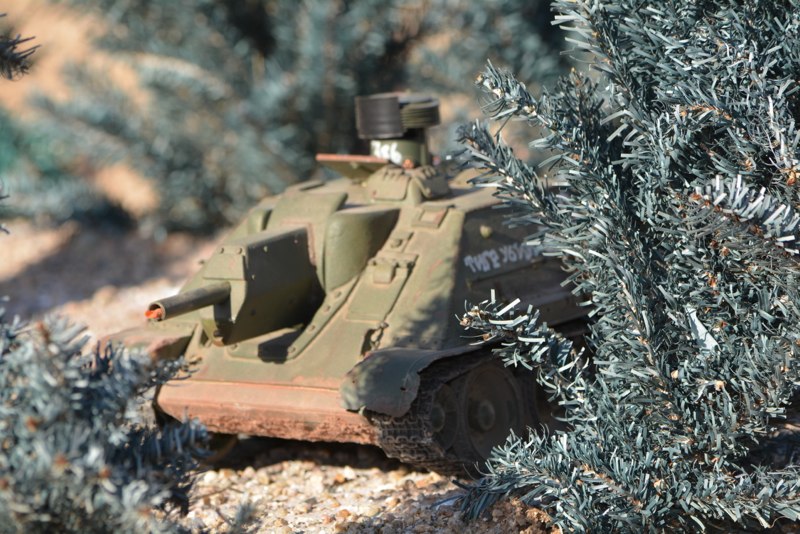
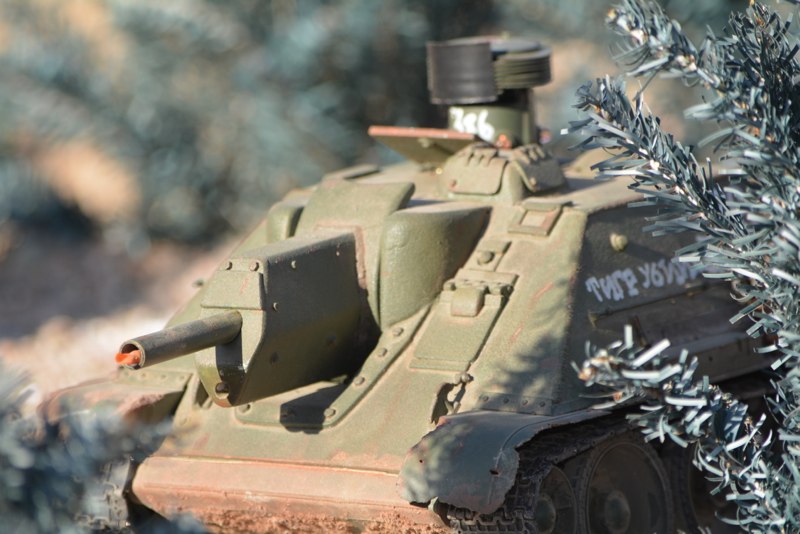
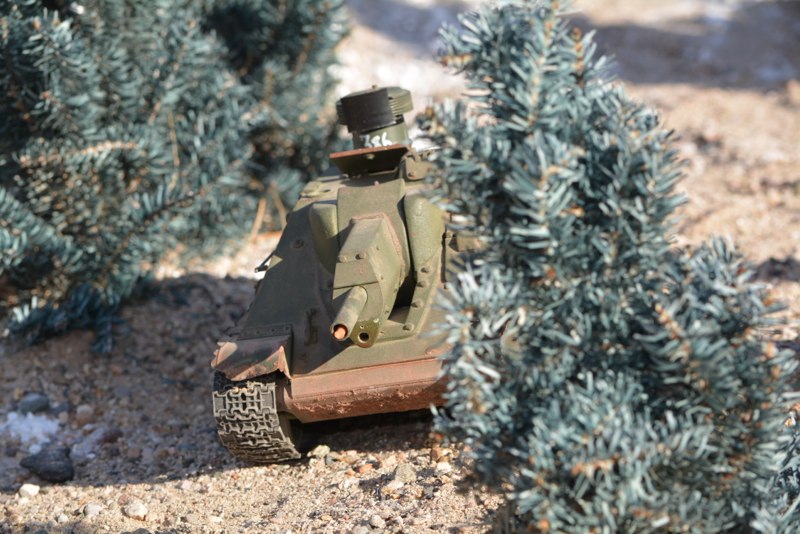
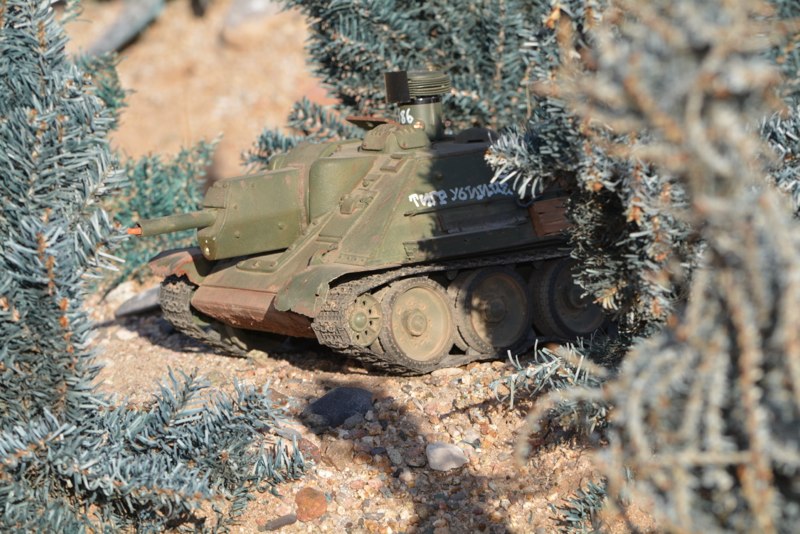
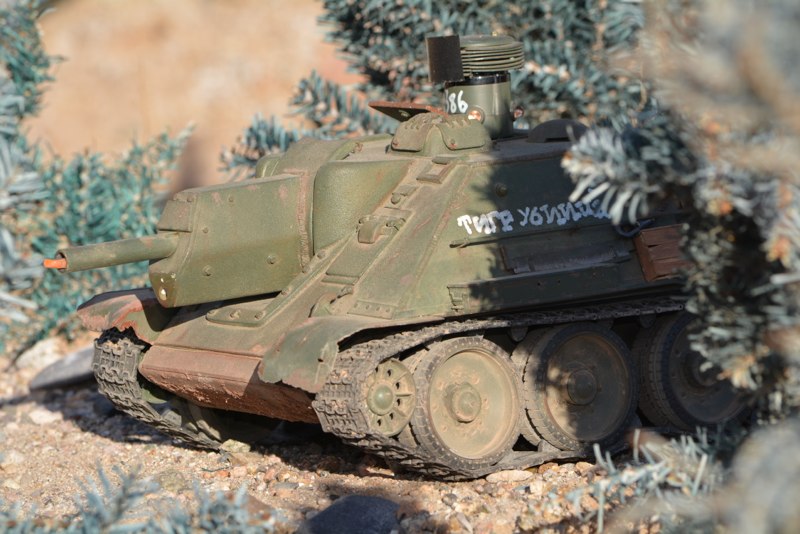
The T34 family of vehicles spawned many variants over its LONG SERVICE life. In response to the German practice of constructing Cheaper assault guns on different tank chassis, the Russians developed the SU-122 howitzer based on the T34. While not effective in the anti tank roll, its 122 mm howitzer offered impressive fire power as mobile artillery and against fixed positions. Later SU variants included high velocity 85mm and 100mm anti-tank guns that proved more effective in the anti armor role.
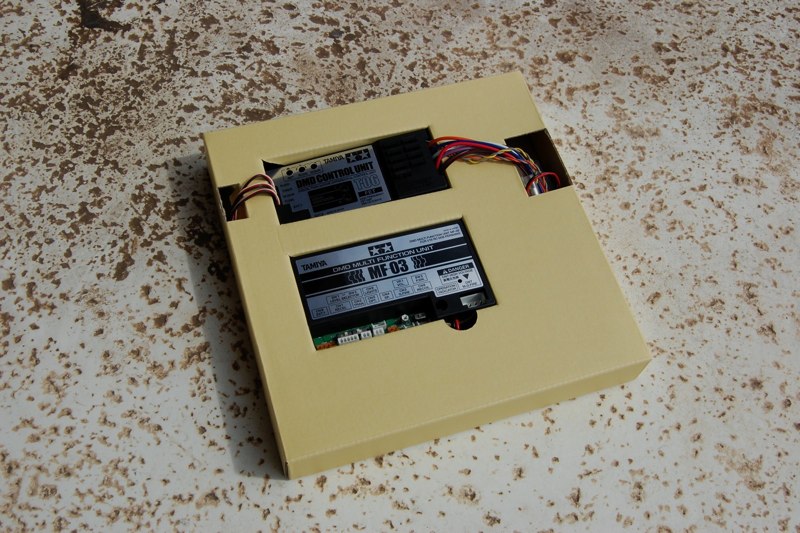
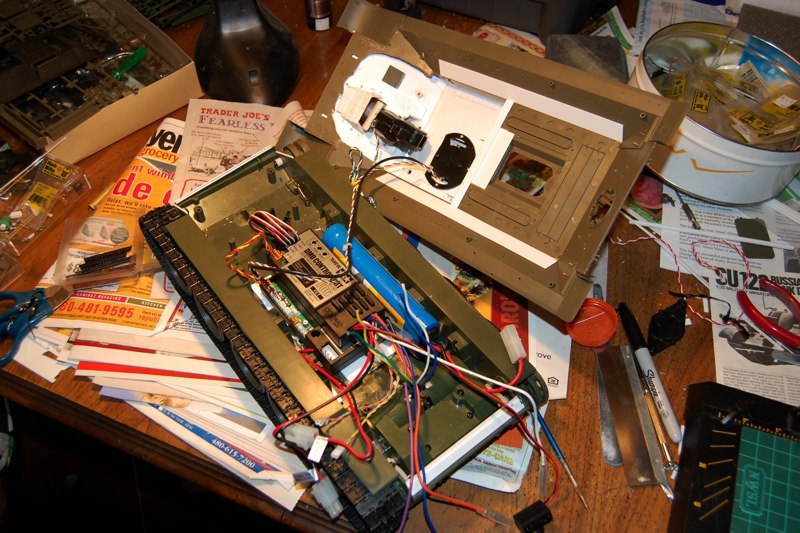
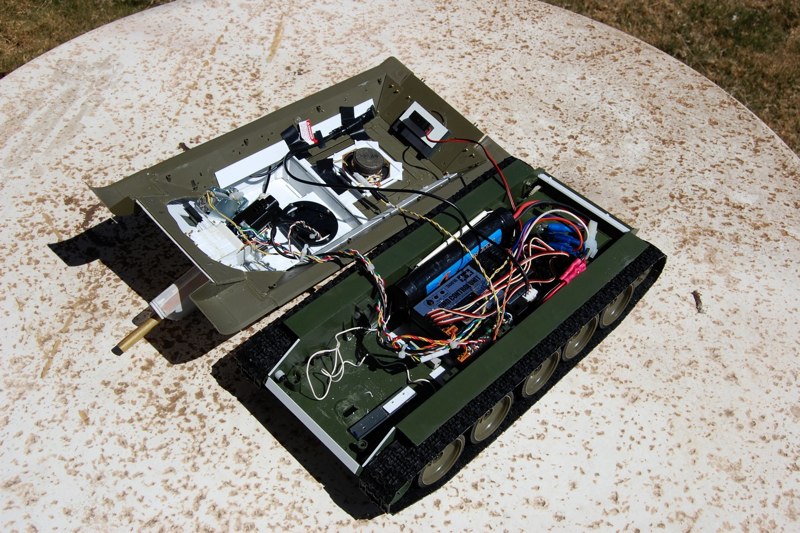
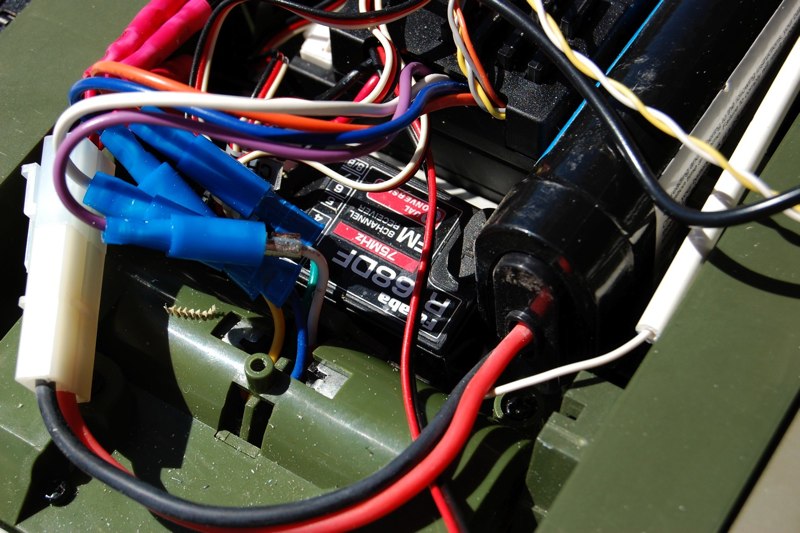
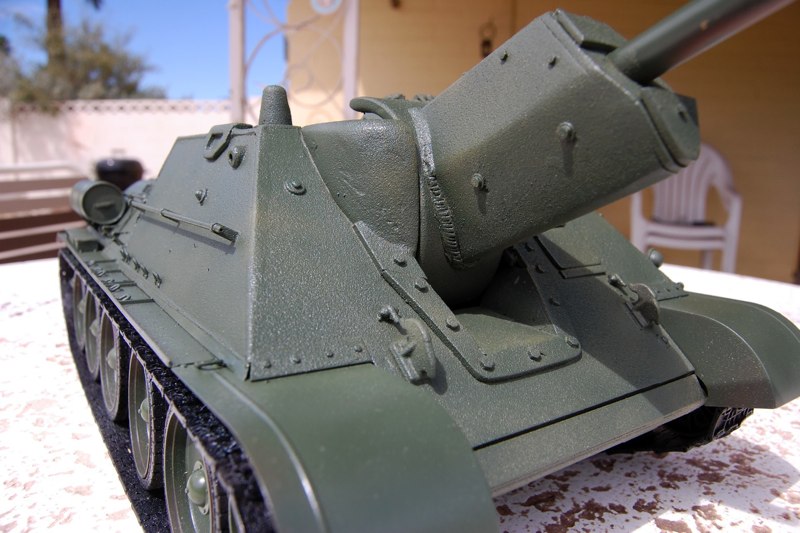
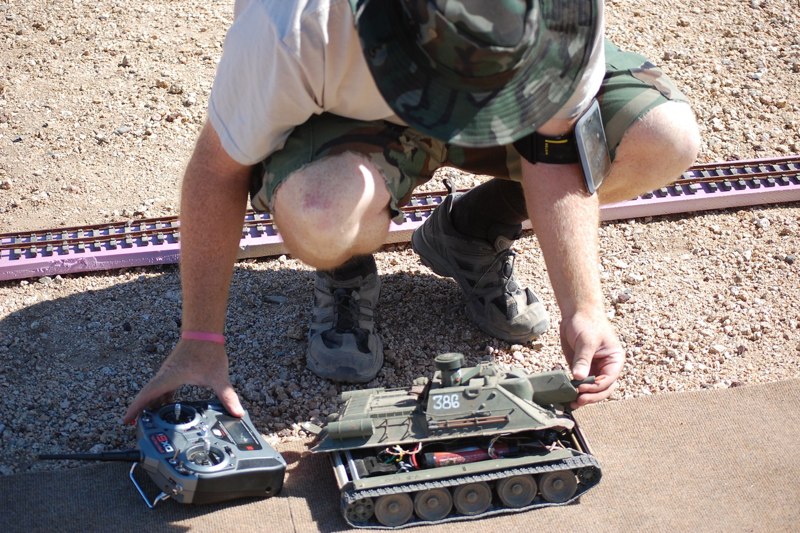
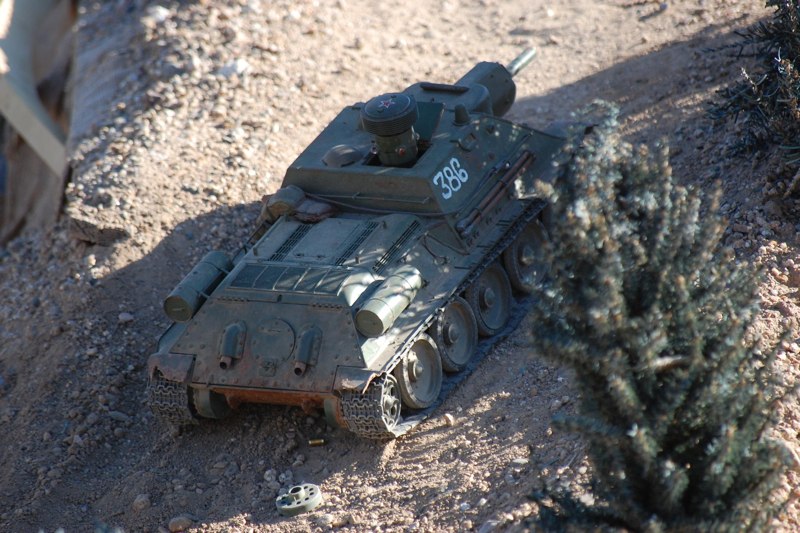
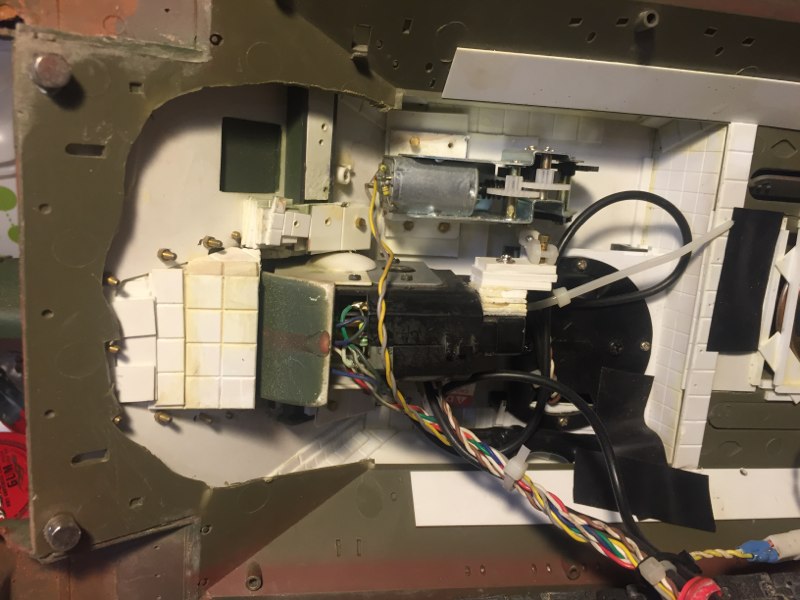
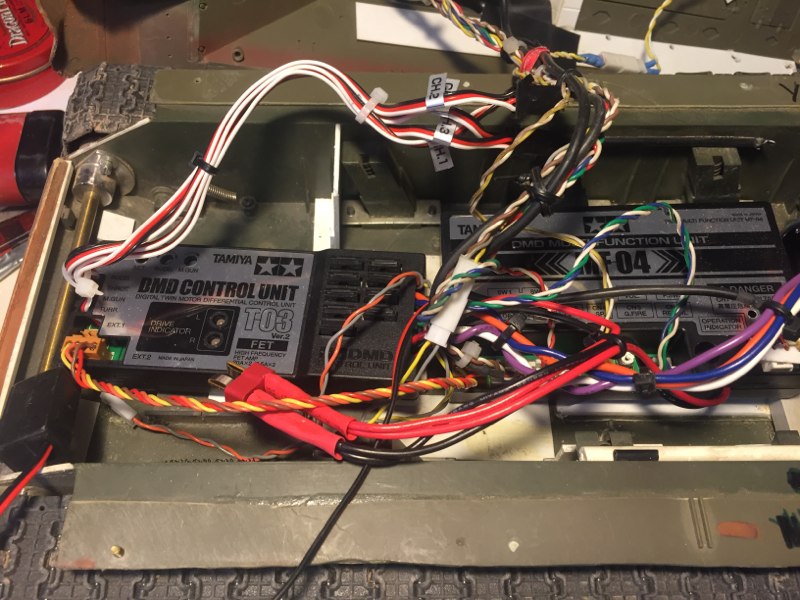
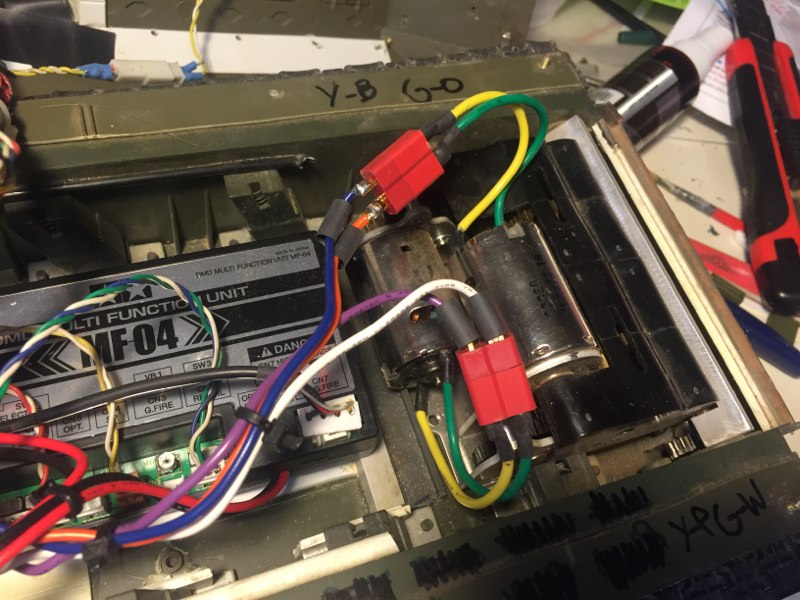
This is a custom conversion first Assembled in 2006 from the components of WSN, Trumpeter, Tamiya, and Scratch built feATURES FROM Sheet styrene and Bondo. In 2011 it was redone with daryl turner components. In 2013 It was once again over hauled and given new electronics and a much needed re-wire. STILL IN THE FIGHT!
I already had a WSN T34/85 tucked away and all I need now is another Trumpeter T34/76 for the upper hull and road wheels. My research starts with some drawings AND PHOTOS I found on the internet.
Initial Build
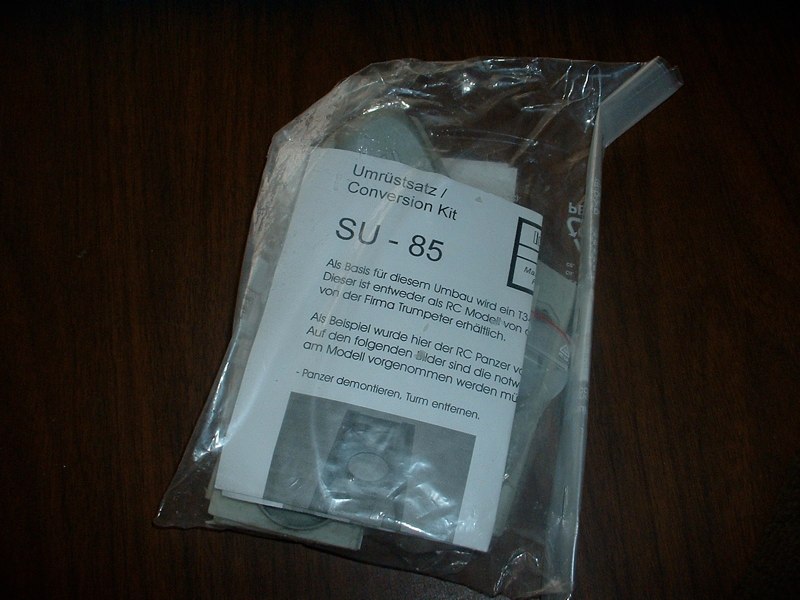
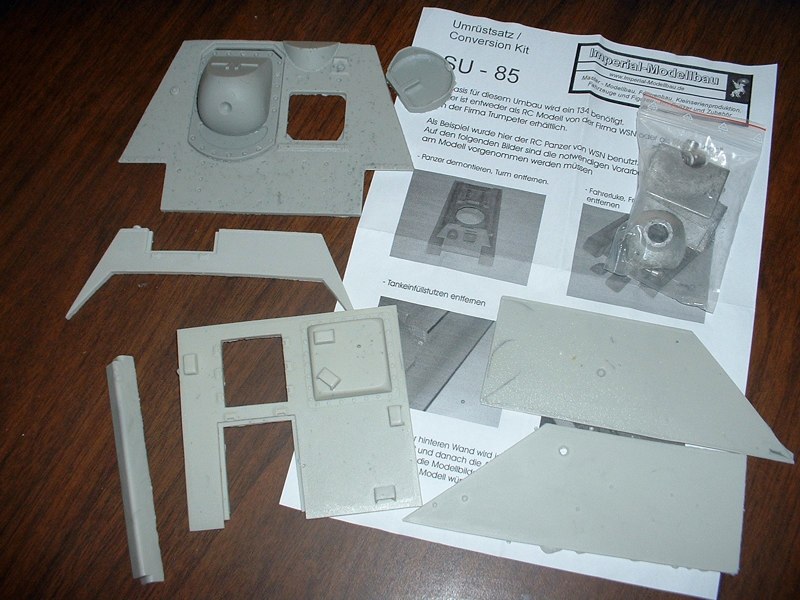
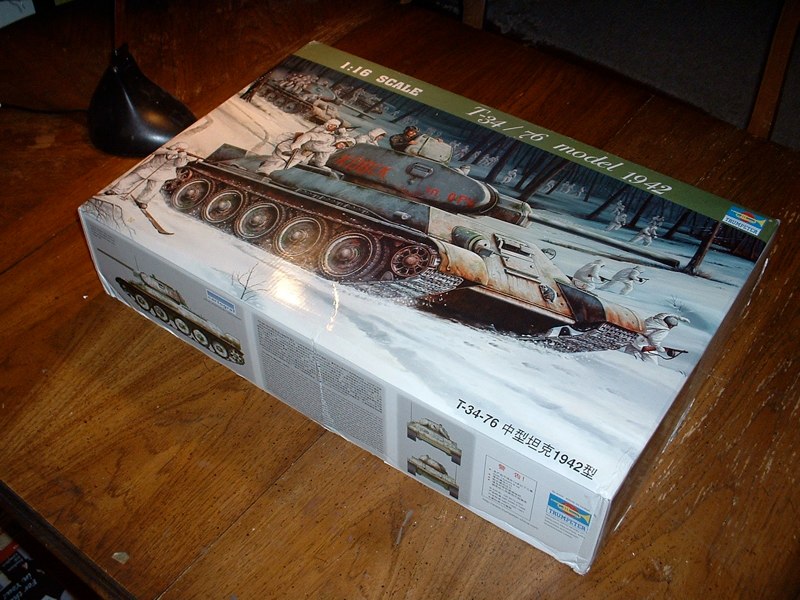
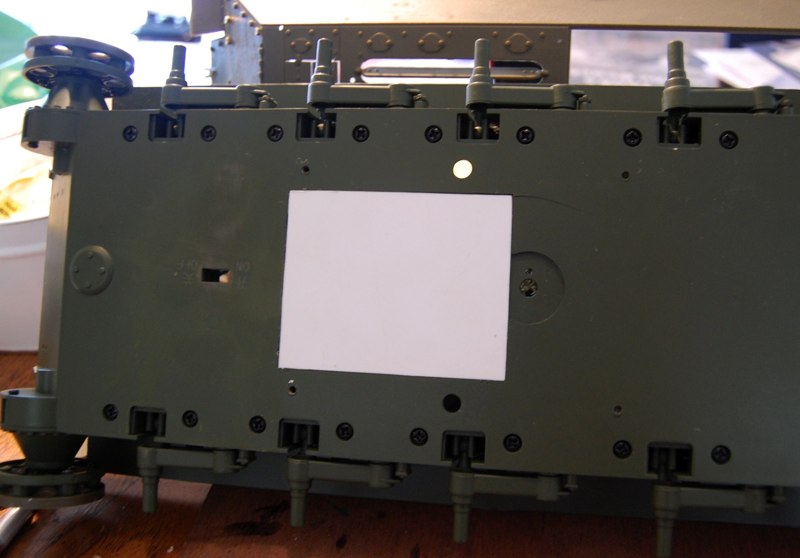
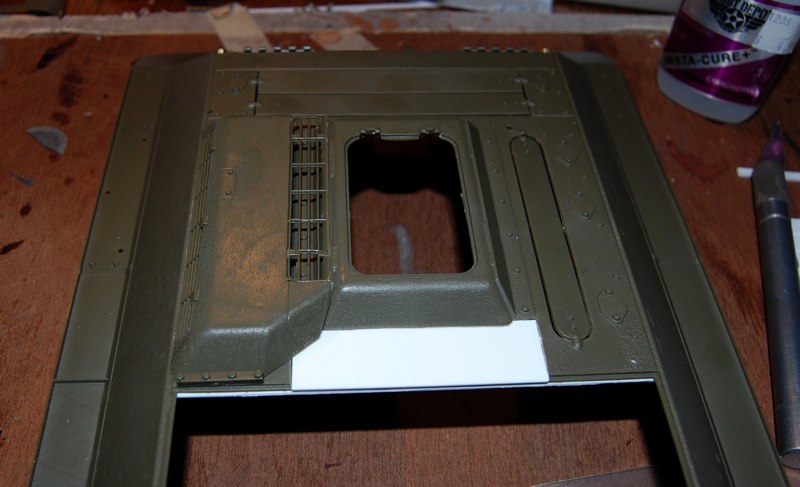
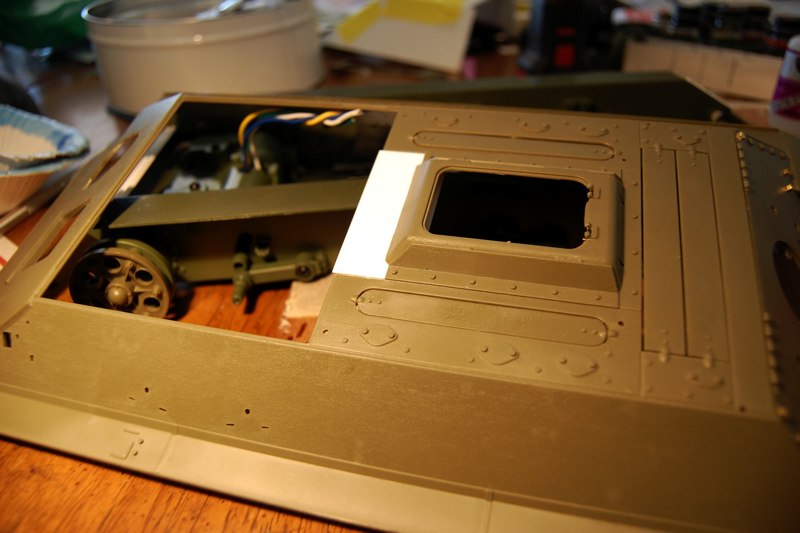
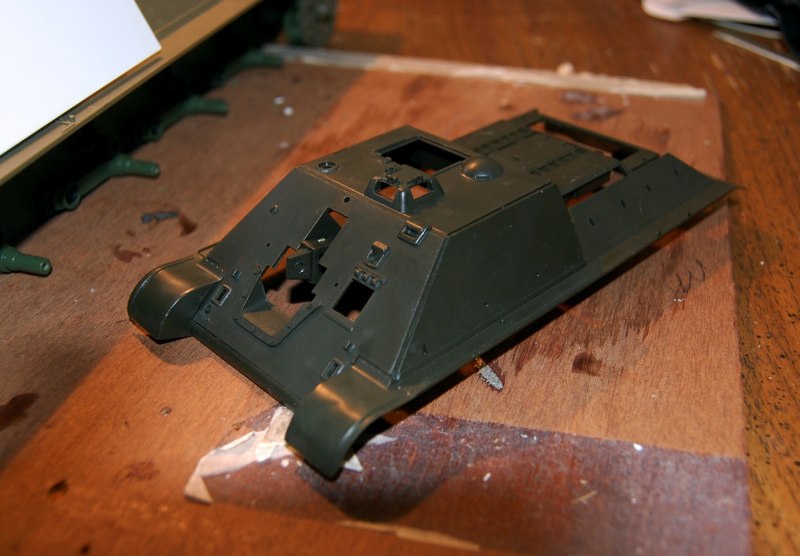
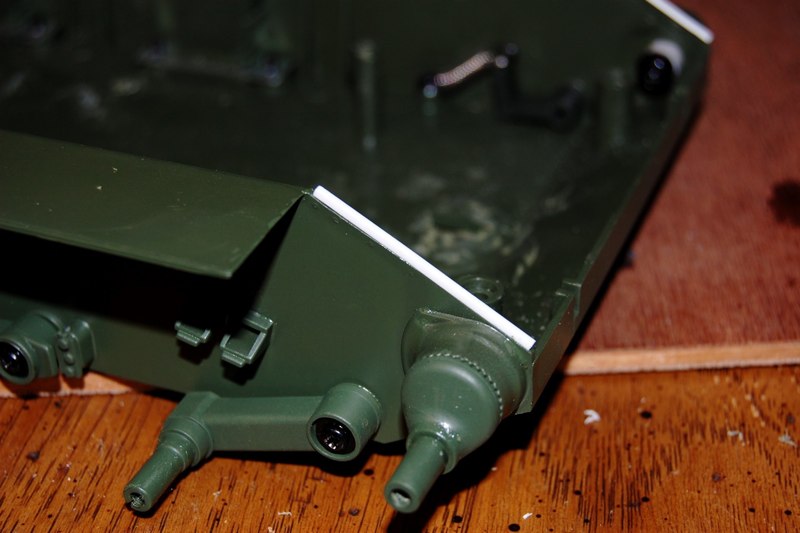
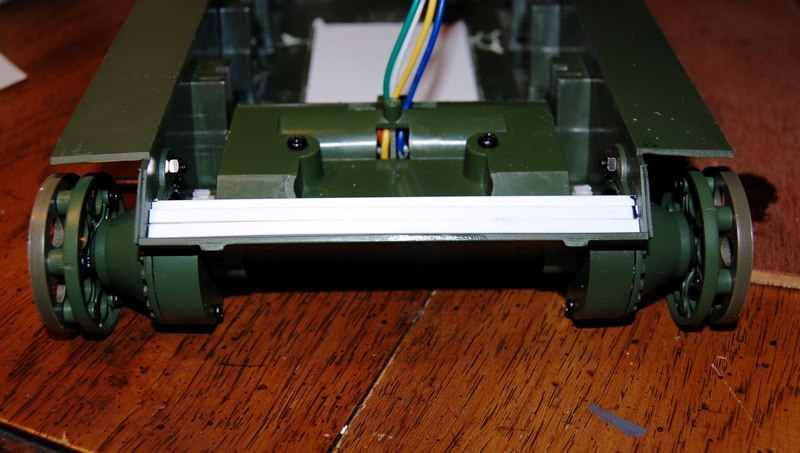
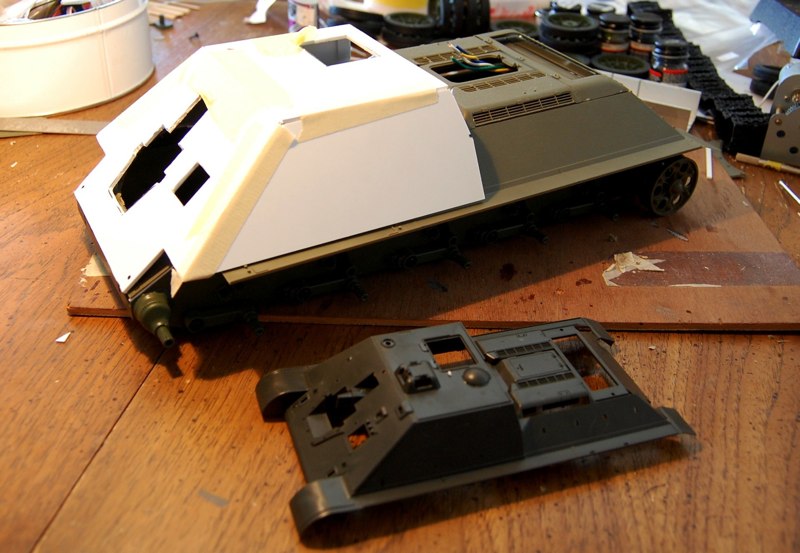
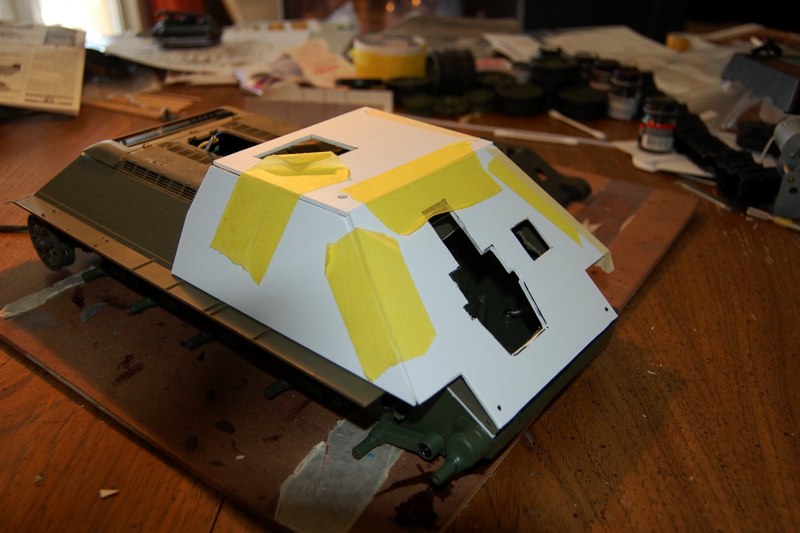
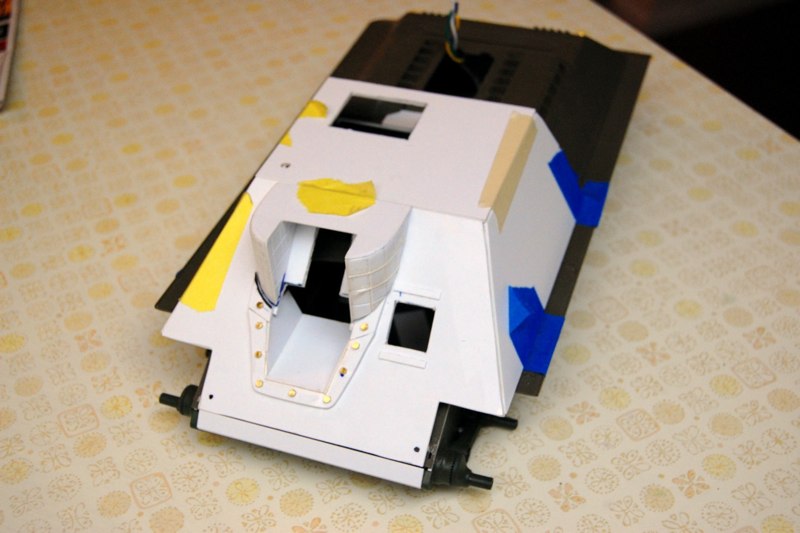
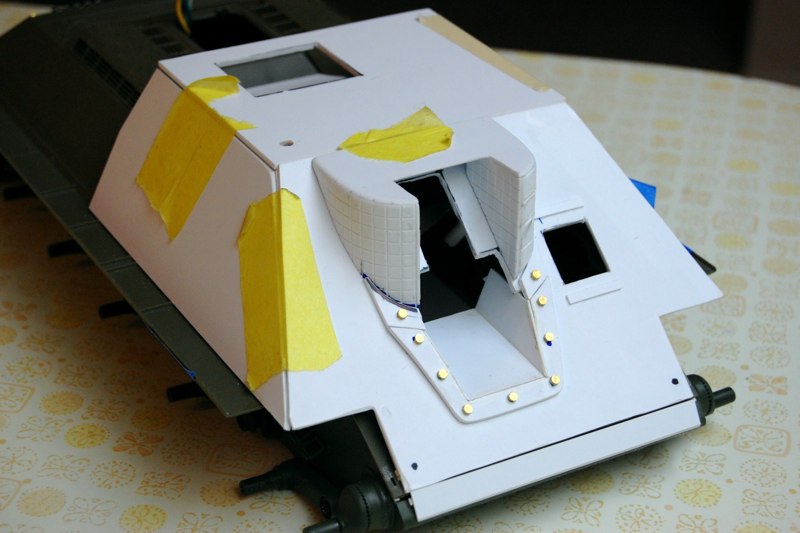
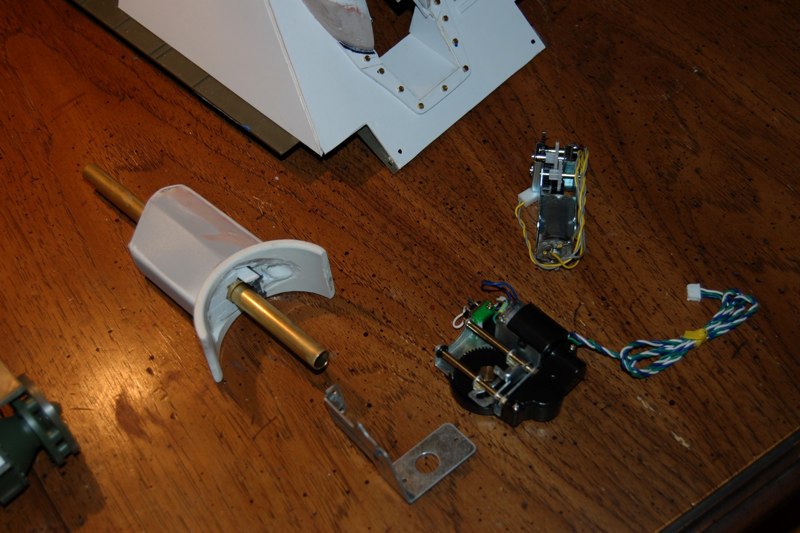
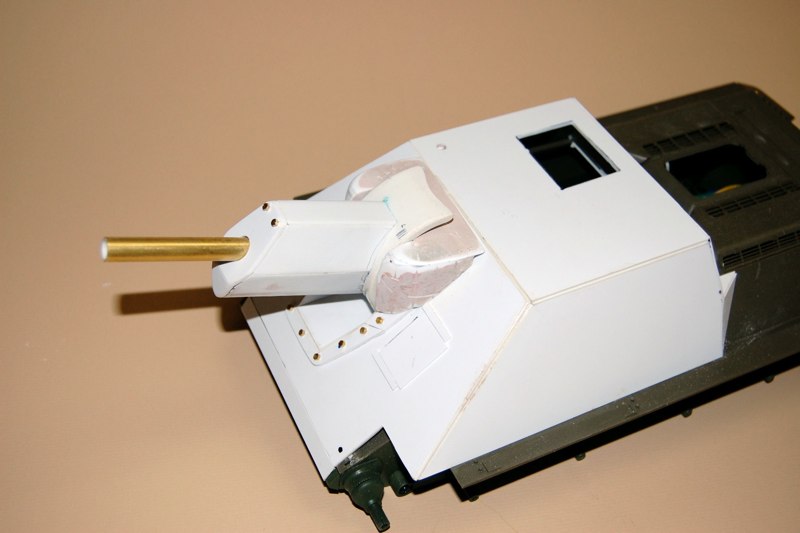
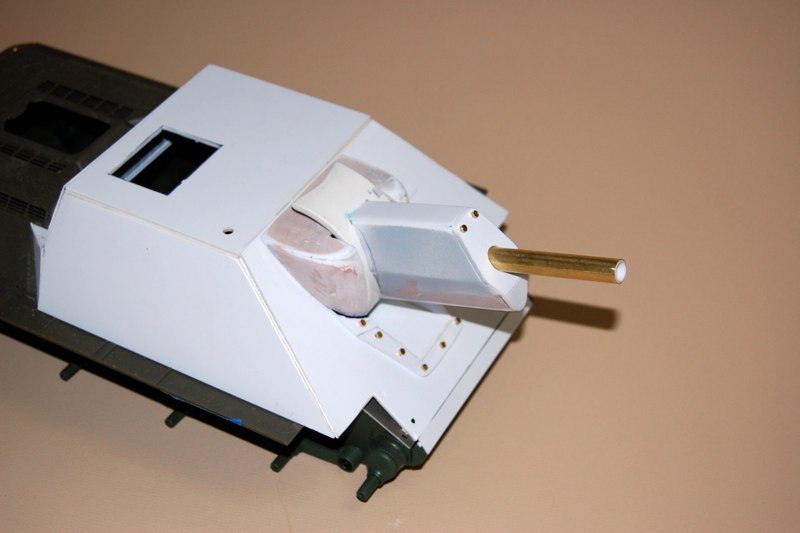
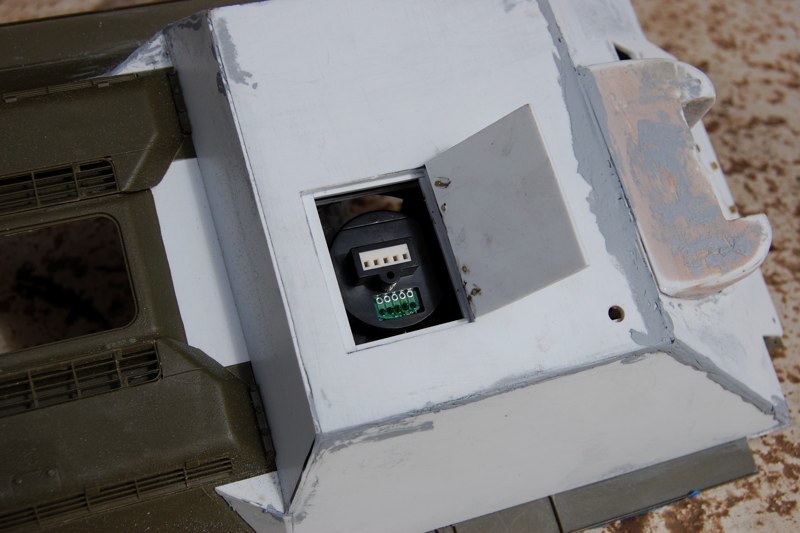
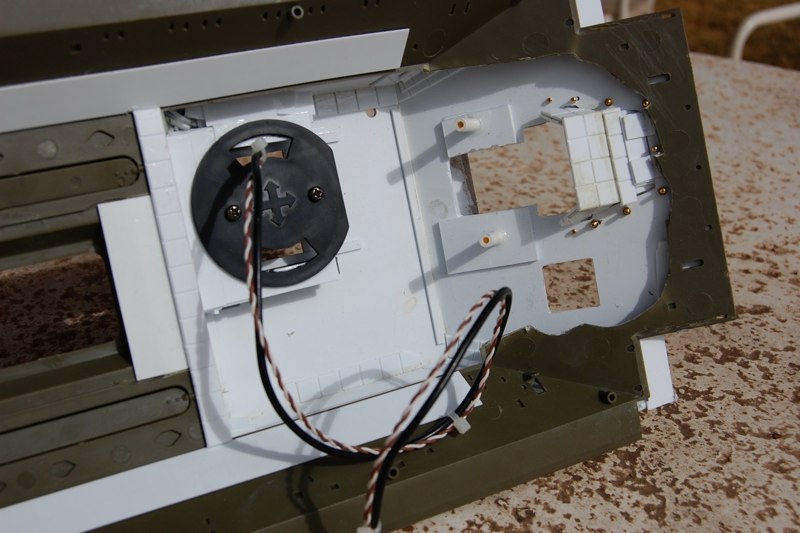
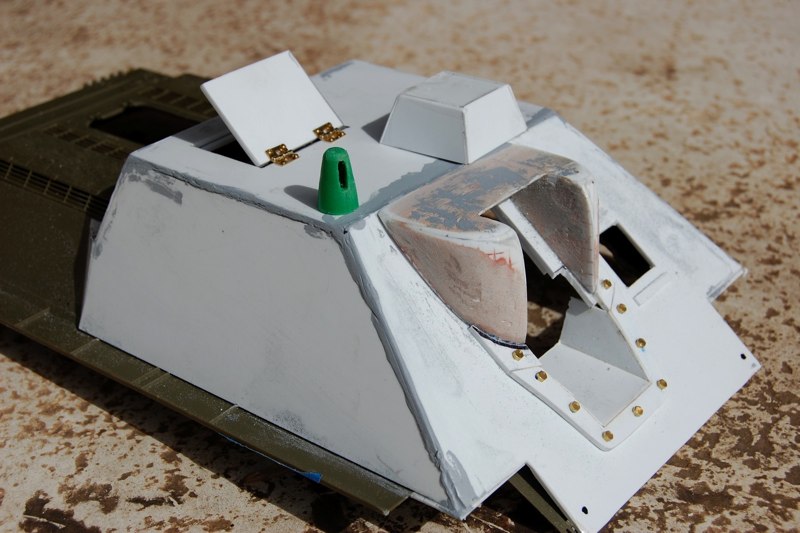
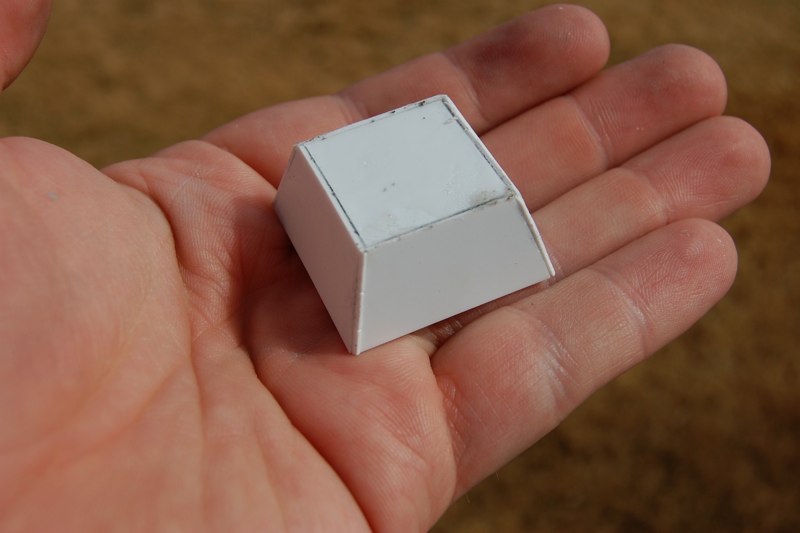
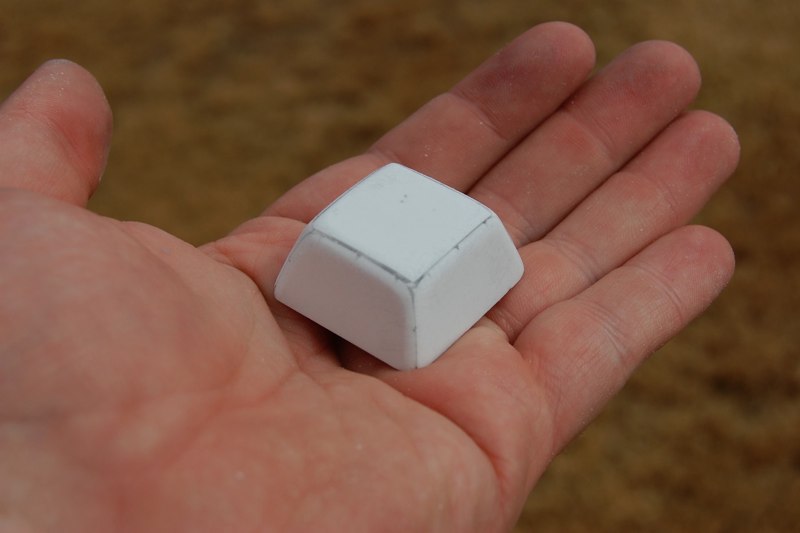
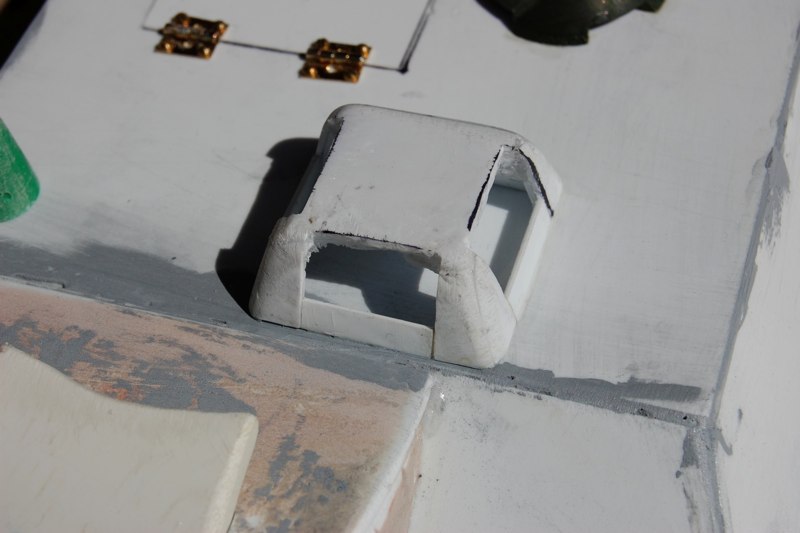
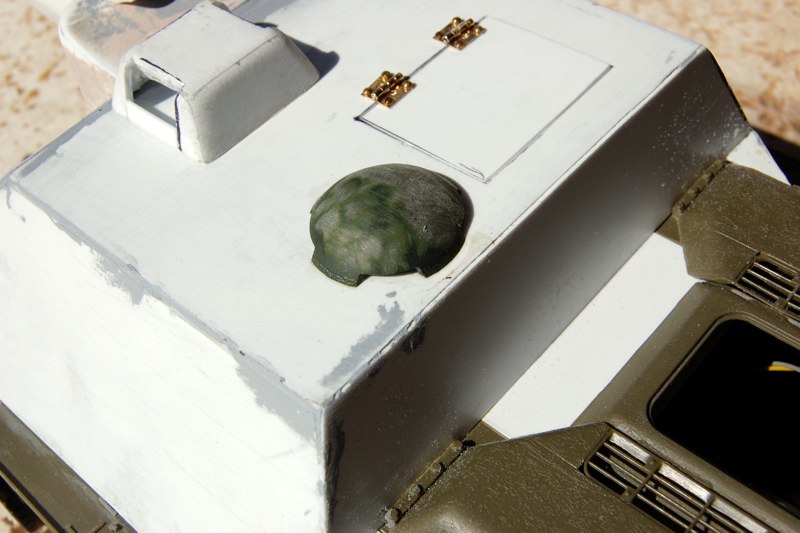
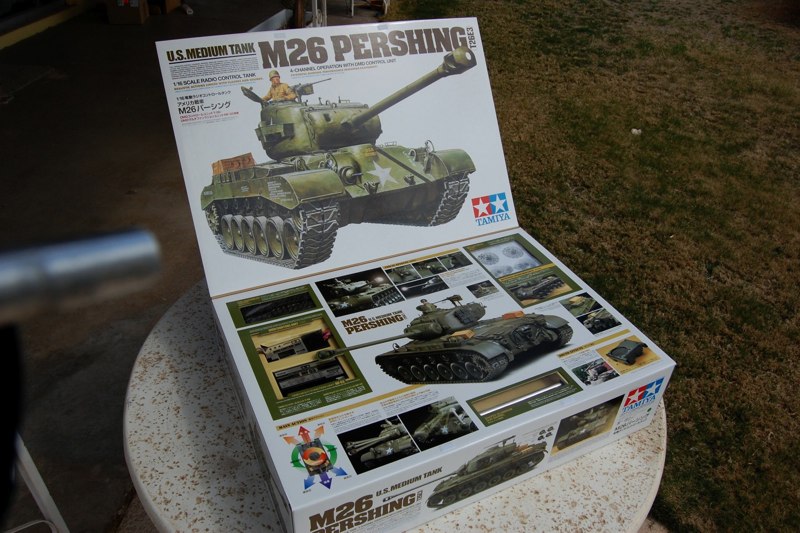
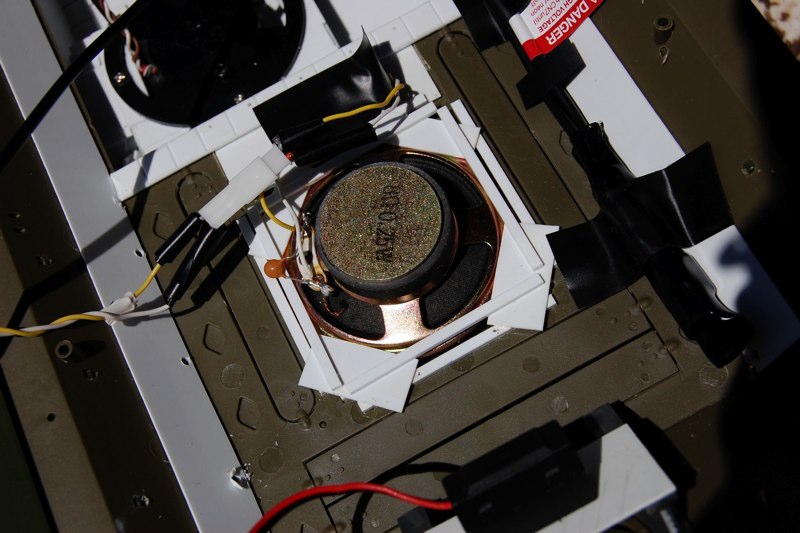
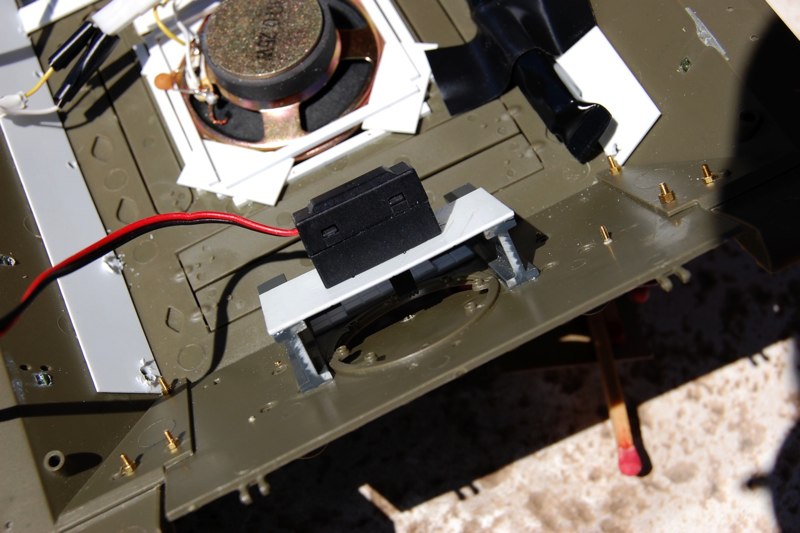
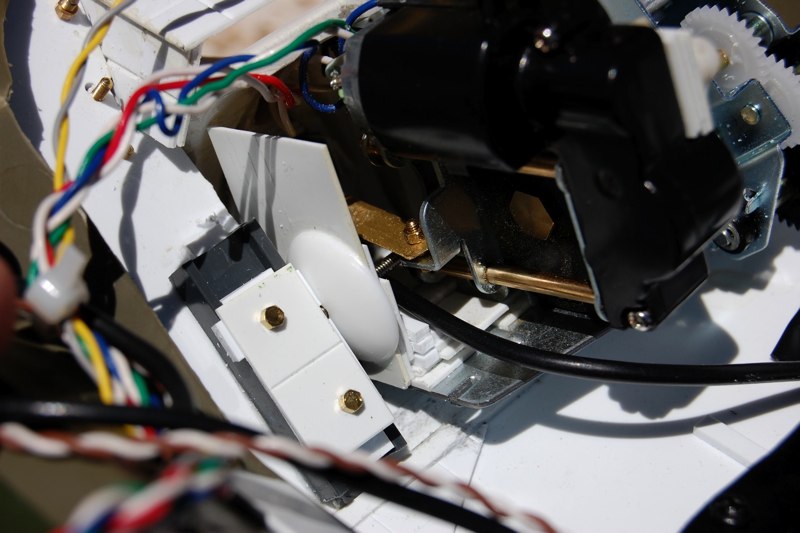
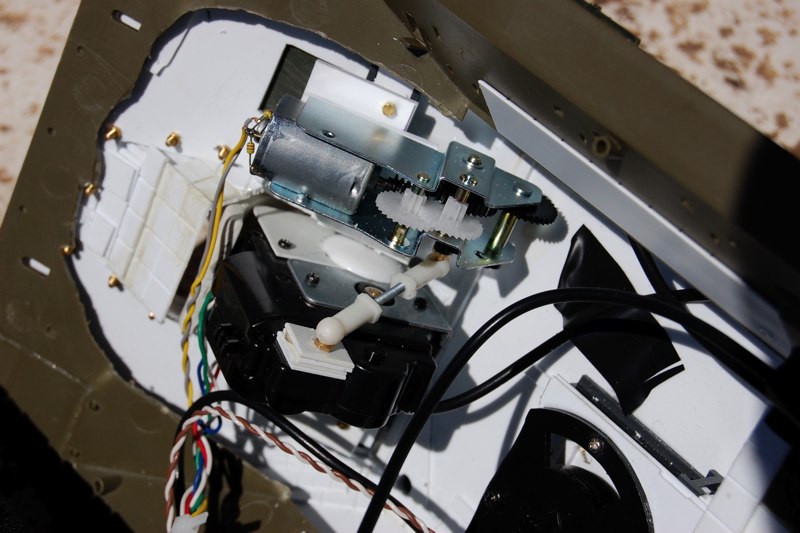
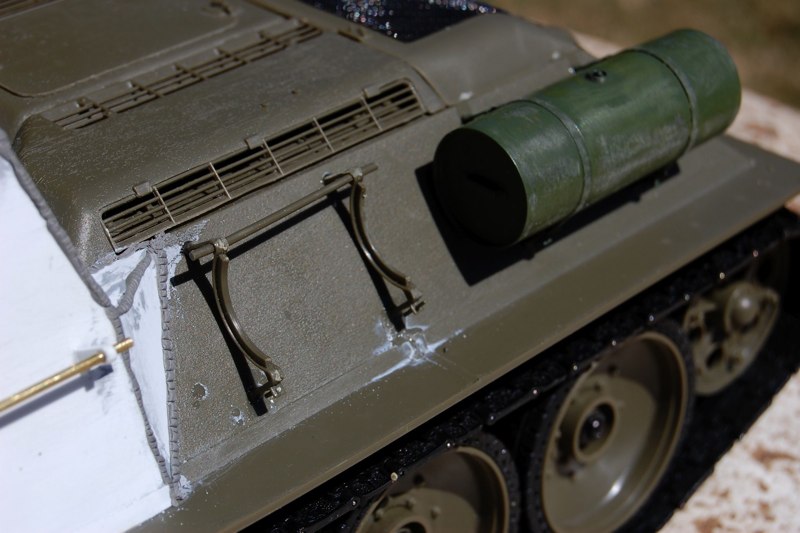
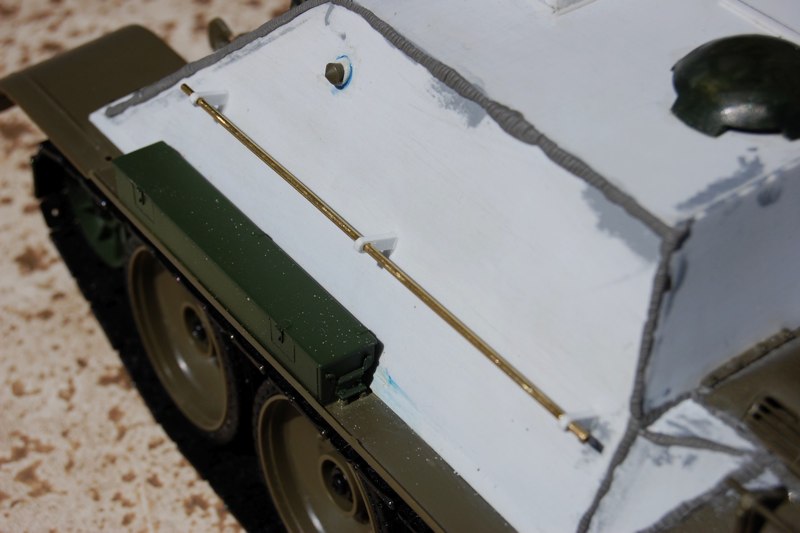
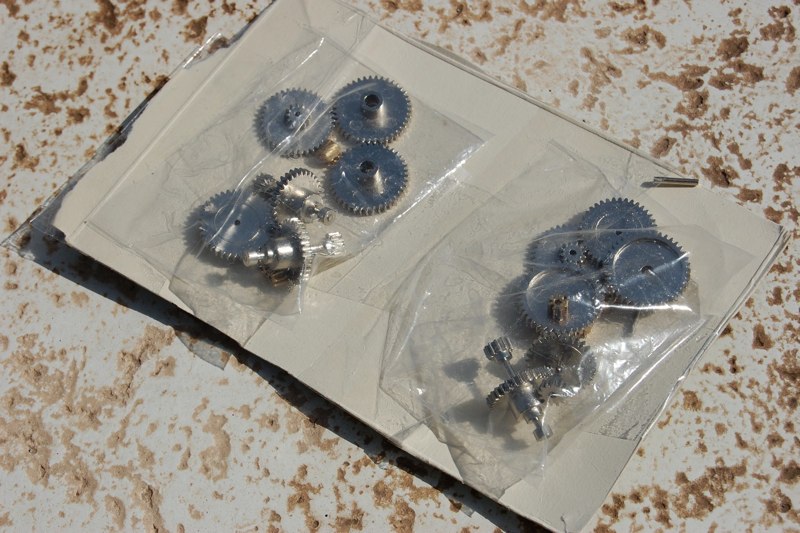
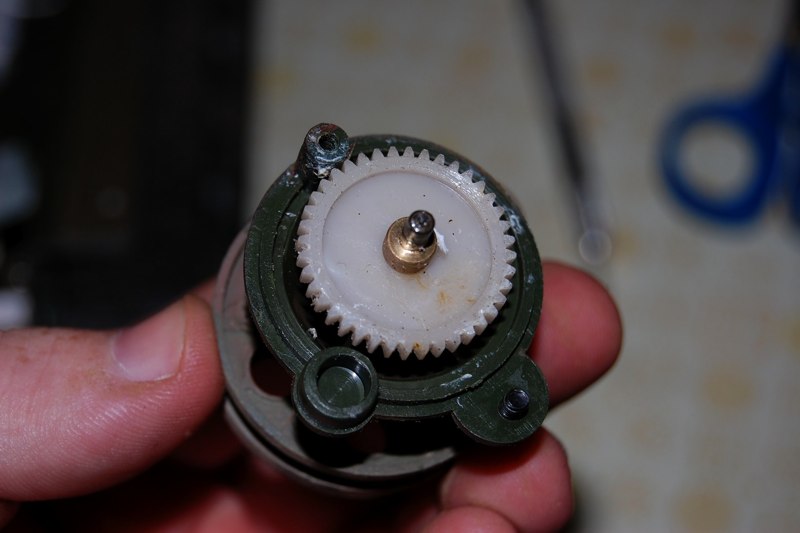
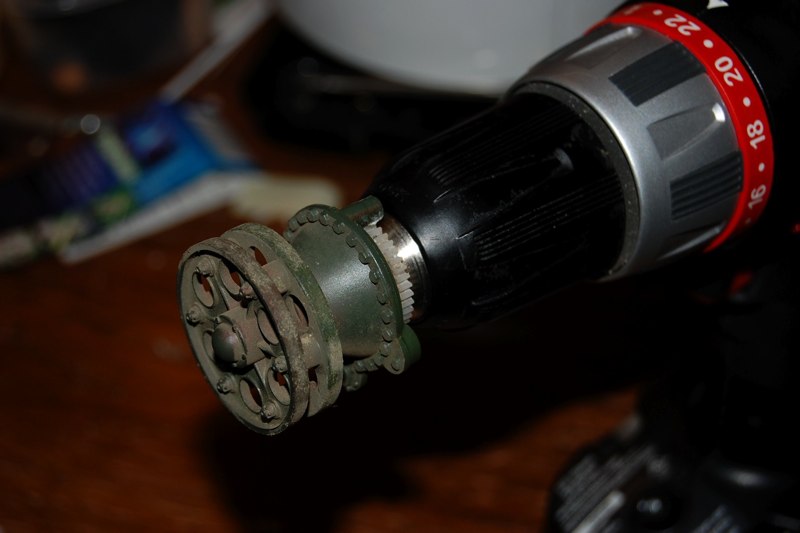
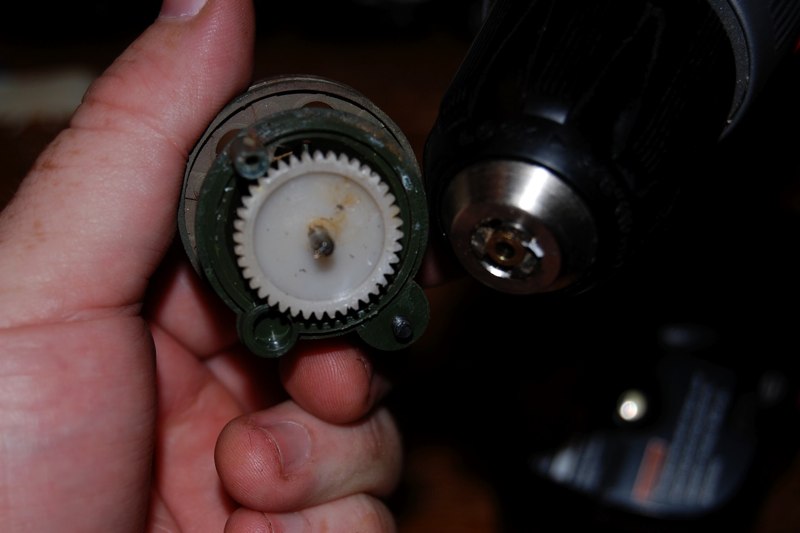
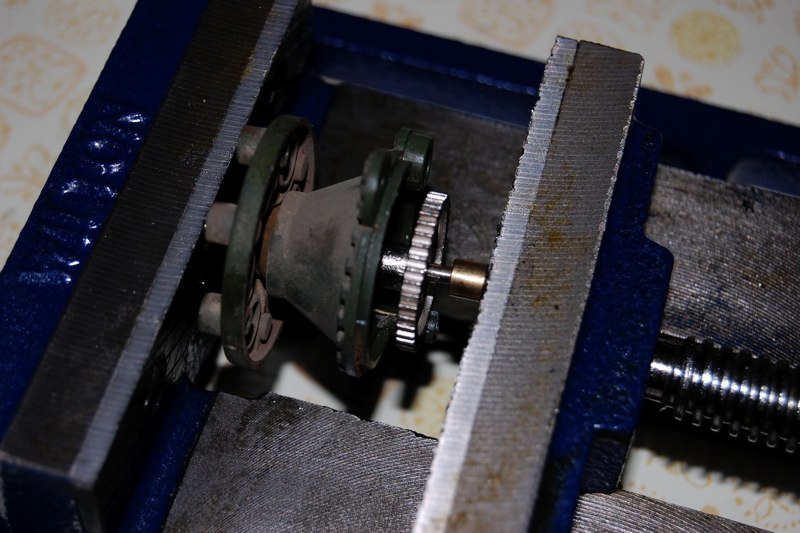
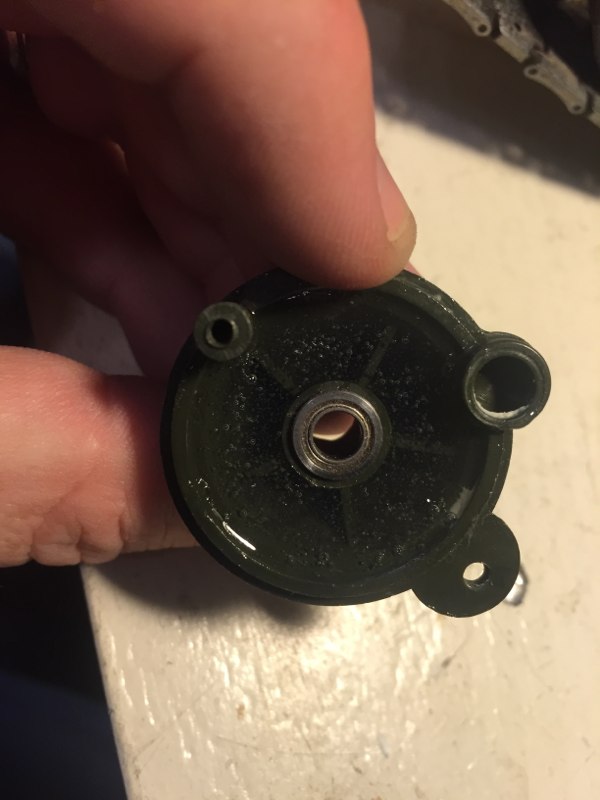
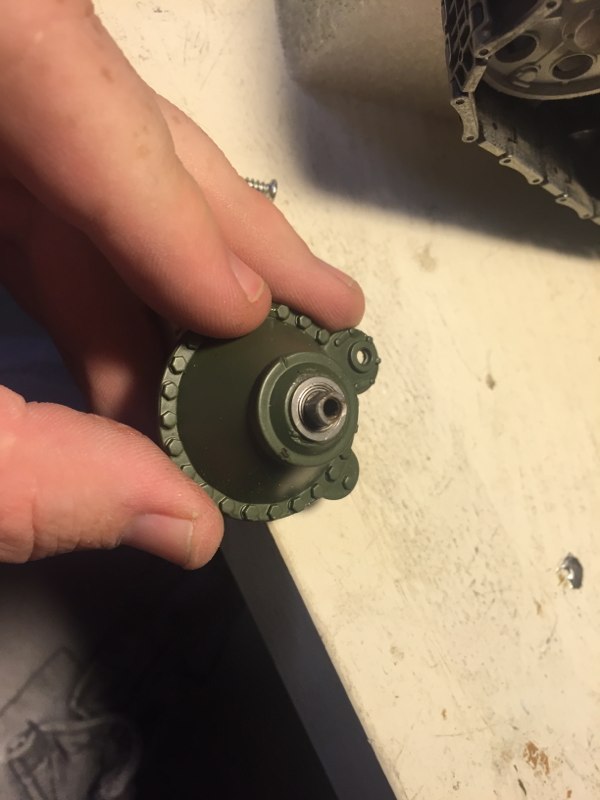
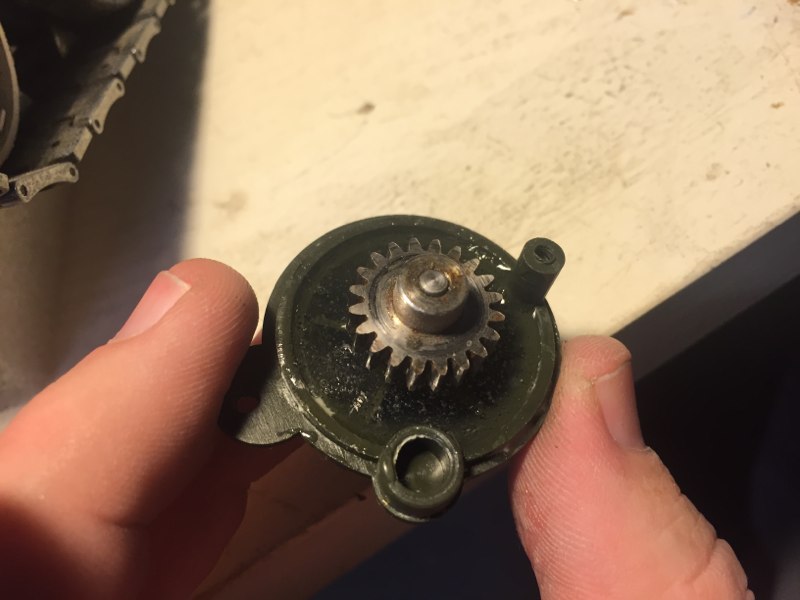
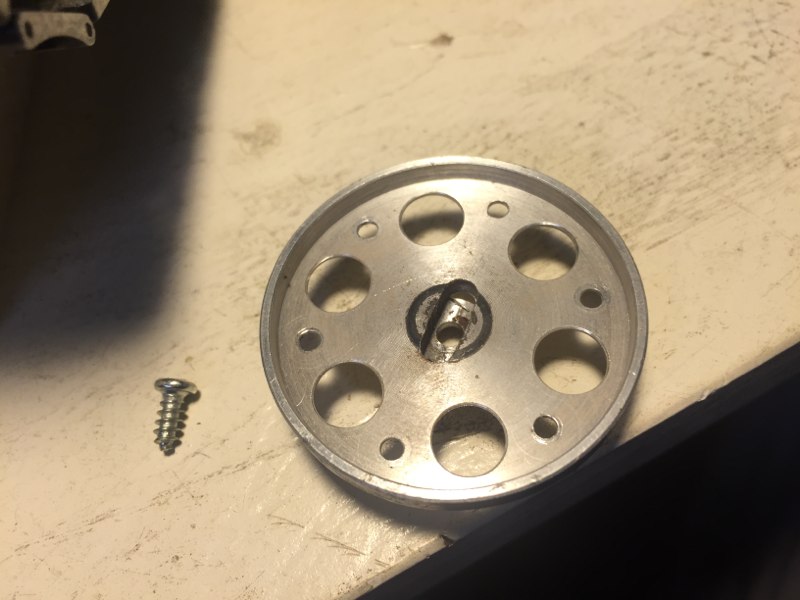
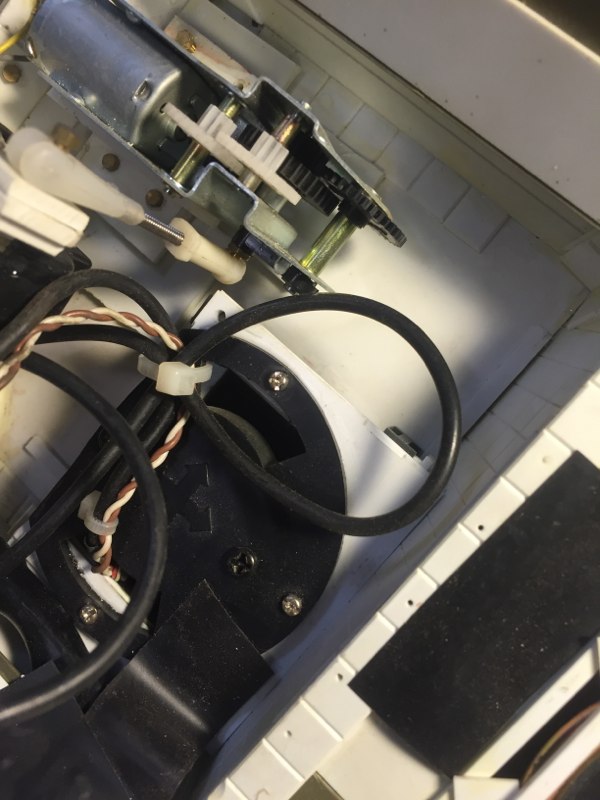
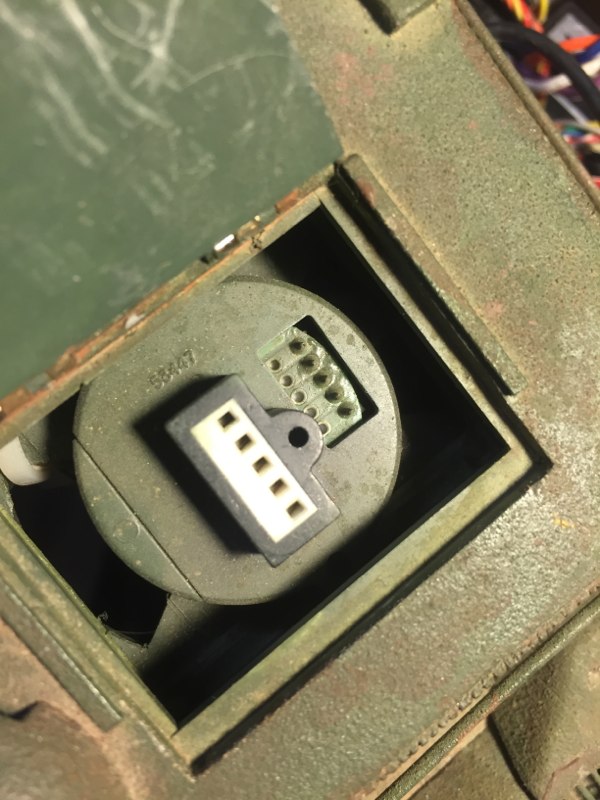
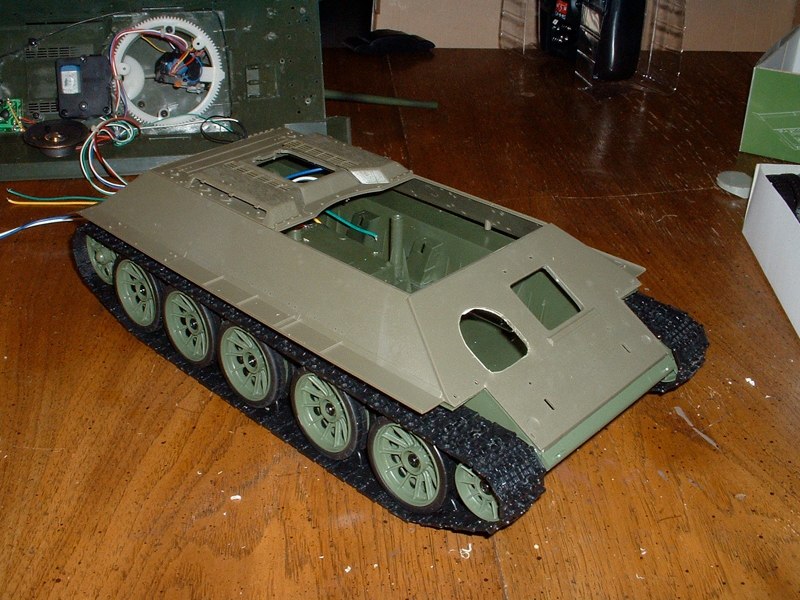
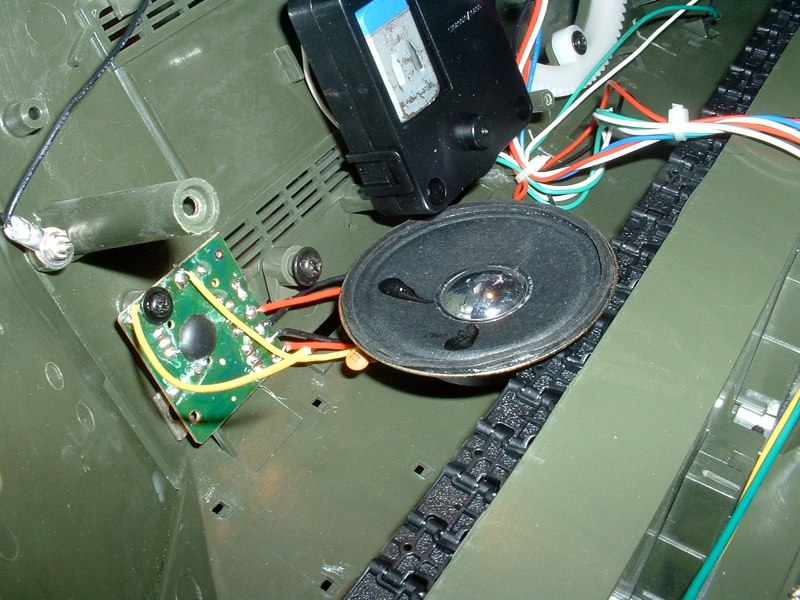
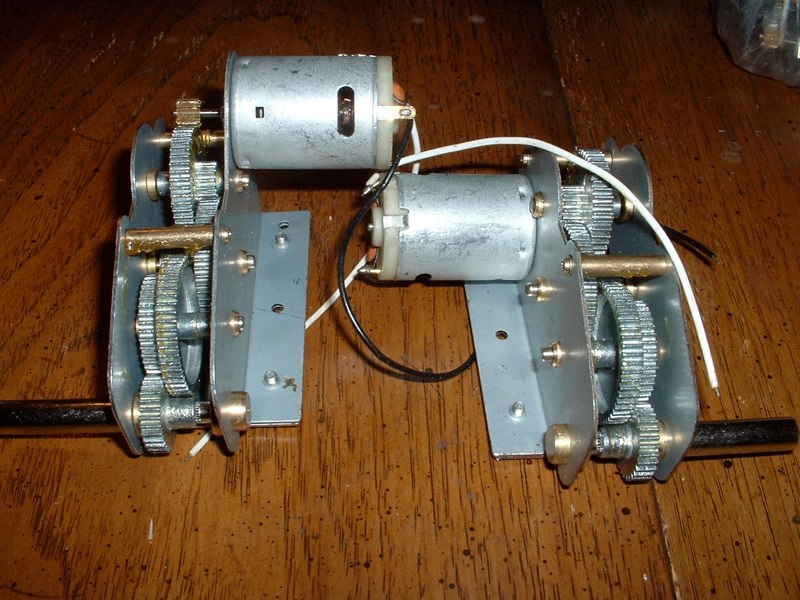
This project is a challenge due to a lack of any conversion kits or resin accessories to start with. I ordered the Imperial SU-85 conversion set from B.Y.A. for $85, but found it wasn’t suitable for my needs. Later this set will be used to complete Jeff Ousley’s Su-85.The gun mount and resin fighting compartment require more work to modify than I am willing to do.My Trumpeter 1/16th scale T34/76 1942 HAS ARRIVED. cost $90 DELIVERED off ebay. The SU-122 was based on this early T34 model and all the appropriate goodies are included, early wheels, engine deck etc. We are $170 in on this project.Along the way I tackled a few housekeeping chores by closing the lower hull.........and adjusting the rear of the turret ring to the rectangular piece on the SU-122.I attached the armored vent covers and the rear engine deck aND begAn firming the structure up.I have purchased a 1/35 Tamiya SU-122 to be my 3-D pattern from a swap meet for $8. I photocopied the parts and blew them up to 1/16 scale to begin cutting out the pieces from thick evergreen stock. I bought several .06 and .08 sheets for $12 to bring us to $190 on the project.Work was needed to adjust the fit of the Trumpeter upper hull to the WSN lower hull.I added cross braces to the area above the drive sprockets and styrene shims to the front hull. Beefing up the lower hull is important to the function of the drive train.I fudged the angles a bit to fit the Trumpeter hull. Do I put the fenders on or off? So far so good on the boxy fighting compartment.Once the hull is attached, I will remove the rest of the structure from the inside to make room for Tamiya innards.nitial fighting compartment in place and glued to Trumpeter hull. Work continues on the exterior of the gun mount.I cut the upper piece to correct the shape and bent styrene around the curve. After bondo and sanding, I have a reasonable copy of the real thing. Styrene was also added to the glacis and a few brass bolts complete the look.I just ordered recoil and elevation units from Tamiya for $75. Project cost now $280. I will use them to begin construction of the inside gun mount.122mm gun mount made by shaping styrene pieces I cut from a pattern taken of the 1/35 scale model. I sanded, shaped, and drilled holes for the emitter and barrel. I am using brass tube with a styrene insert for the 122mm barrel.The curved rotor shield I cut from PVC. The two are mounted together with super glue and 1-72 bolts complete the gun housing. Vehicles often had armor added to the front of the recouperator so I will use the lower piece as a means of hiding the emitter for the contest table.I spent extra time with the TBU mount and hatch to make sure it would be flush when closed and solid enough to resist falling out.With this in place, I have an idea of the space available for the main gun mount. I have decided to add the external structures as I stall for the electronics.I filled some of the larger seams with Tamiya putty to even out the panel lines before I add the welds.I rough cut the periscope and conning tower. I used a Sharpie cap for my periscope. The shape was remarkably close to the dimensions on my drawings.Sheet styrene was cut into a trapezoid and filled with super glue for the conning tower. A Dremel tool rounded the corners and ground it down to the approximate shape.The openings were made on three sides and filed square. My next step is to figure out accurate scale hinges.WSN has the double ventilator on its T34/85 so I cut it up to create the single round ventilator for the SU-122. Some super glue and a sanding stick adds rough texture and cleans up the seam. Now to build the drivers hatch.I used the hatch from the WSN kit as a base and basically made it smaller while retaining the hinge. I made the periscope hood by cutting two of the WSN pieces and grafting them together.I made the conning tower flaps from styrene and will make the hinges from styrene. They will not open.The base of the commanders periscope was fashioned from a spare 1/35 bogie wheel cut in half and I added the tensioners to the front glacis plate. I have added the gun sights and pistol ports. Next is tow hooks and welds.My donor Pershing has arrived and the DMD/MFU has made its way to the SU-122.I have positioned the combo far enough back to allow the gun to elevate without difficulty and installed the speaker and power switch.A connector was added to the speaker wire so it can be removed if necessary. So far all the components fit inside with no difficulty. BRACES, Screws, and metal rod hold critical parts together and allow disassembly later. Adding the parts from the Pershing bring project total to around $680.I AM USING THE WSN SPEAKER AS IT IS GOOD ENOUGH AND FITS THE LOW PROFILE AREA OF THE HULL.POWER SWITCH MOUNTED BEHING THE ENGINE ACCESS PORT.Stock gear boxes were attached to the DMD wires and splices were crimped in place. Cutting the DMD wires always makes my heart stop.I also spliced the battery connector the the DMD/MFU power cables and removed several inches of spaghetti.Recoil unit was mounted inside gun shield with the standard PERSHING recoil stay and the barrel was shaped to remove obstructions along the guns travel. Pivots mounts were built from oodles of plastic stock and a treaded 2-56 rod was cut and boxed in to allow full elevation. The pivot was the hardest part so far and a full explanation of the construction would take a while.Elevation unit was mounted upside down beneath the glacis plate and connected with the standard ball connectors. I still need to tweak the throw of the gun to avoid binding. It is so easy to build a vehicle with no worry of traverse. Now to find something to move with the extra servo.I continued the external detail with epoxy welds and I added storage racks and fuel drums. I actually bought a T-34/85 kit for more accurate model parts. Since I plan to trade most of it to Craig for his SU-85, we’ll say I spent $20 bucks for parts and now our project is up to $700. Ran the kit in the yard today and it runs Great!!!!Stowage racks fashioned from bras rod and styrene.Slight change in plans, I have purchased a Tank Toko metal gear upgrade set and begun to install it in my tank. (I actually purchased two, the T34/76 will get fixed later. )First step, get the collar off the drive shaft of the WSN final drive.After a few attempts with pliers, I simply chucked it into my cordless drill and unscrewed it. It came right off with no problems.It came right off with no problems. I didn’t do any more damage either!I replaced the vinyl gear with the new metal piece and installed the new collar with the help of my desktop vice. You can get them from Home Depot for $16.I replaced all the vinyl bits and put the gearbox back together. Once reassembled the SU122 seemed to drive better and there was no skipping or clicking as before. Upon further inspection, it seemed my first dead gearbox might have been repaired with a drop of lock tite. There was no damage to the final drive, the vinyl gear merely came loose. Maybe some epoxy also could fix it?IMG_0074.JPGIMG_0075.JPGIMG_0076.JPGIMG_0078.JPGIMG_0079.JPGIMG_0080.JPGIMG_0081.JPGIMG_0127.JPGIMG_0128.JPGIMG_0129.JPGIMG_0130.JPGIMG_0131.JPGIMG_0132.JPG
Paint and Detail
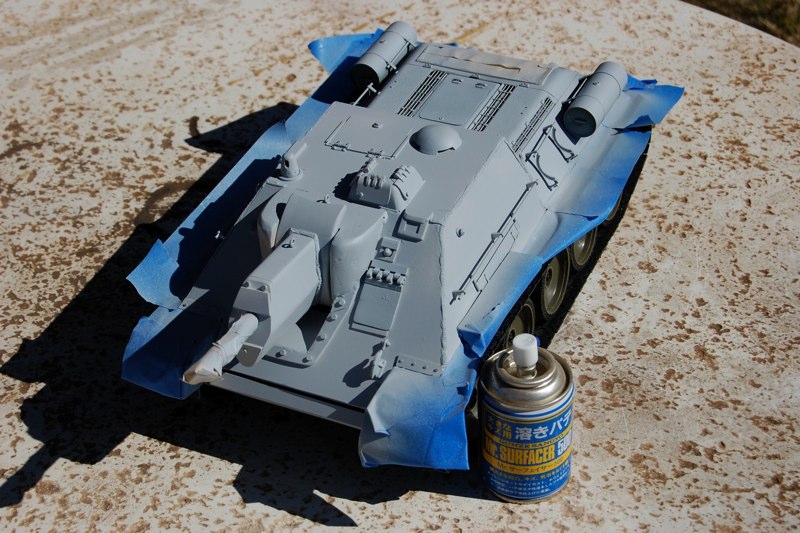
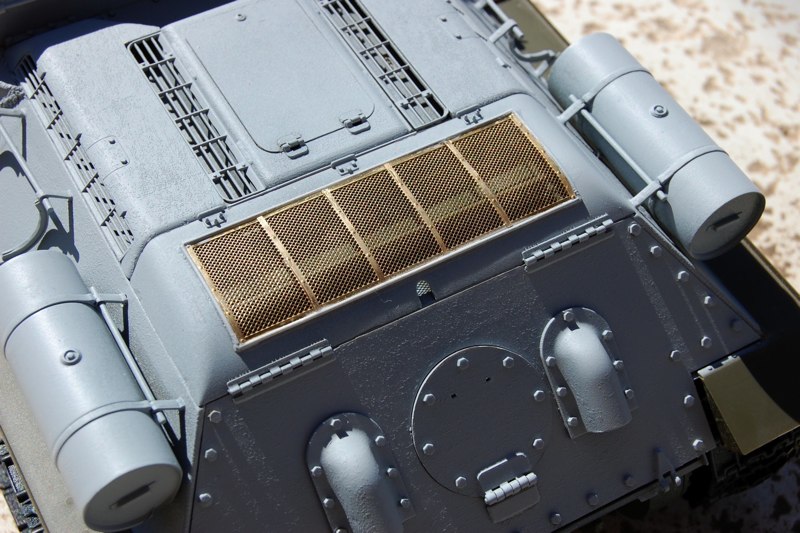
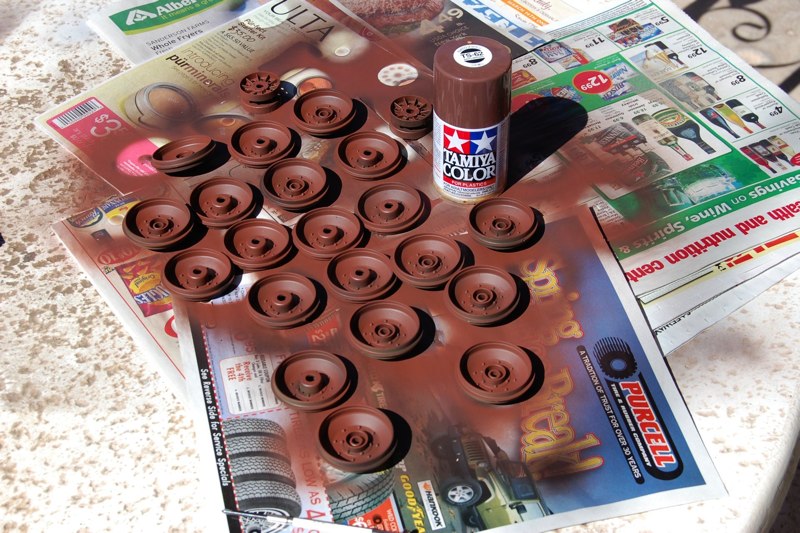
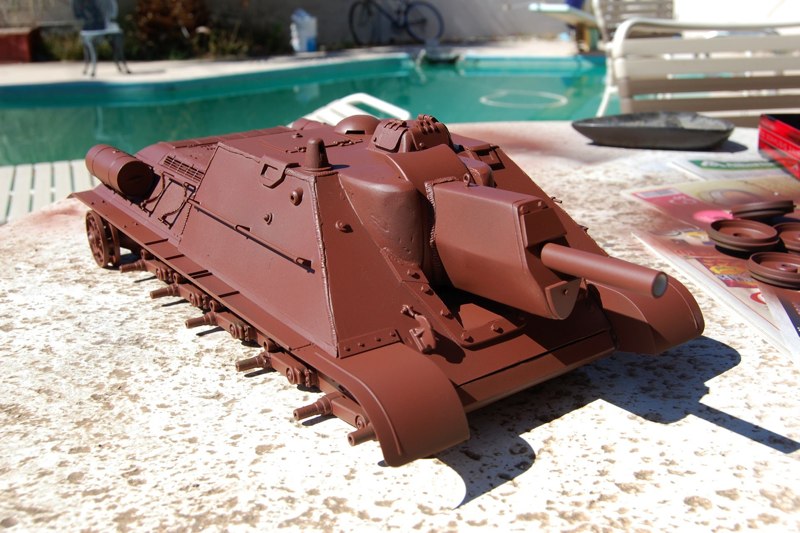
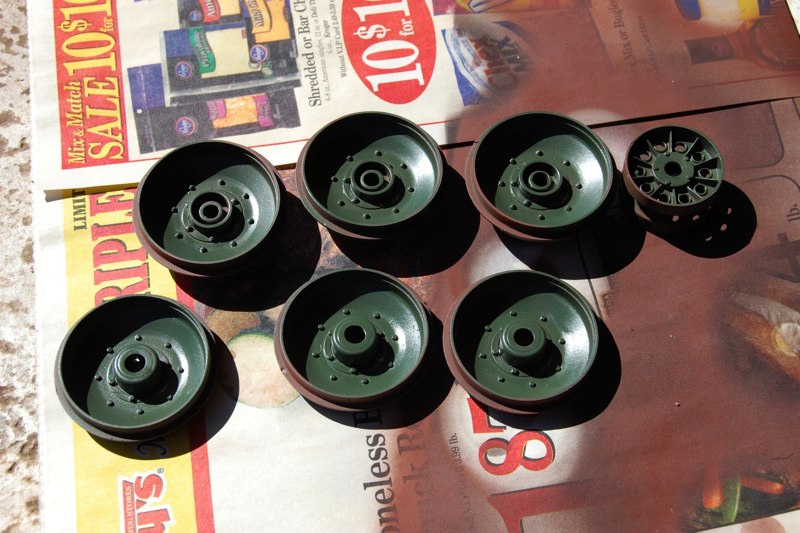
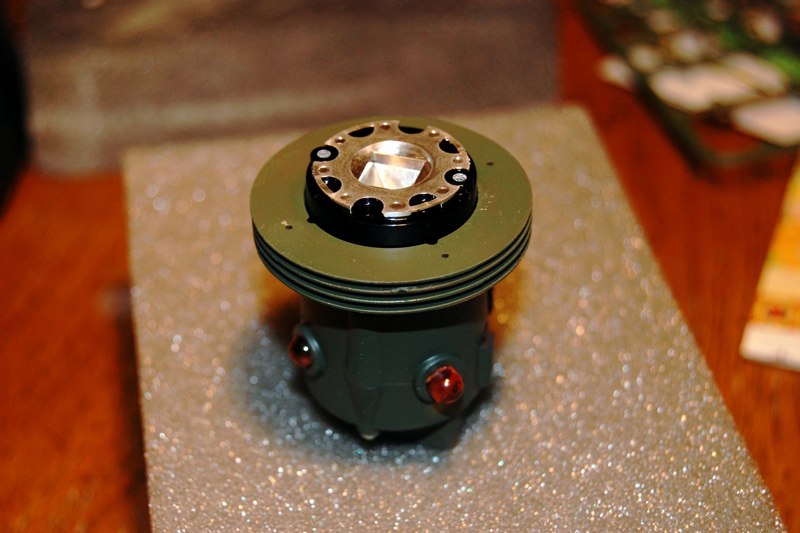
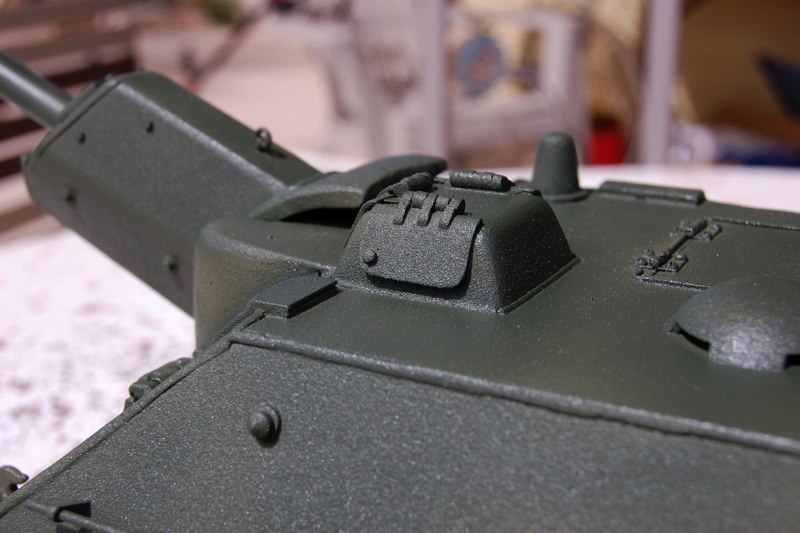
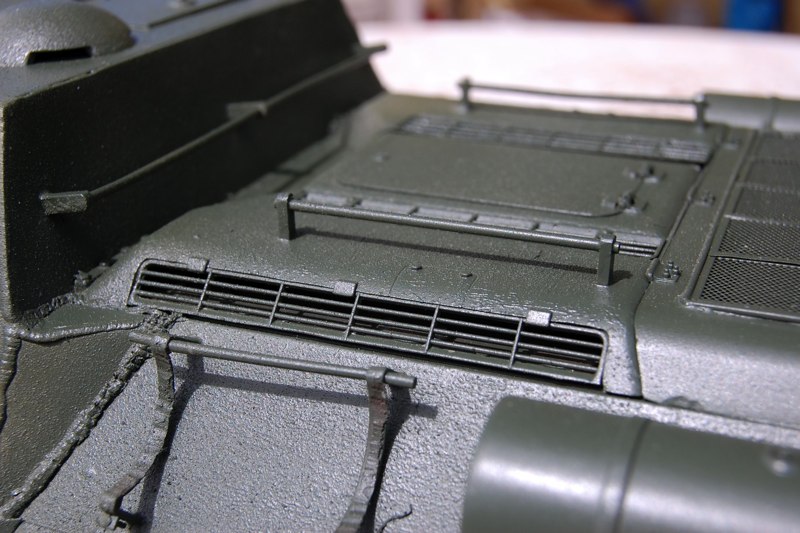
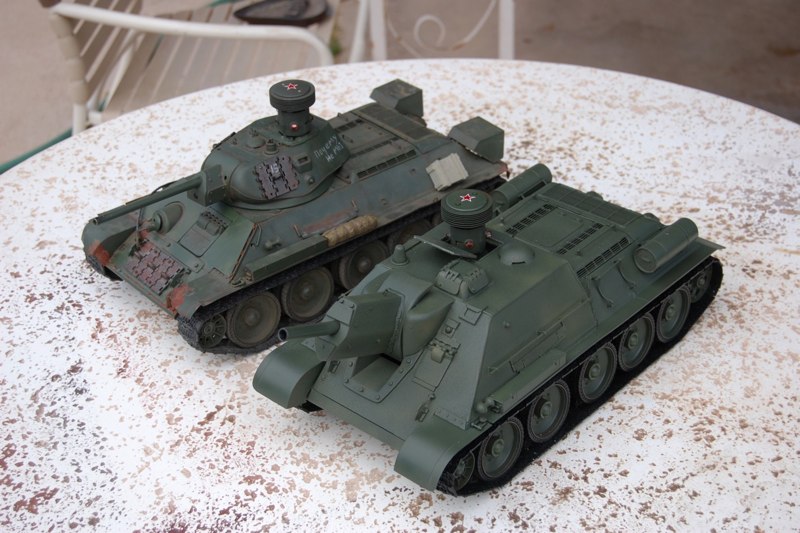
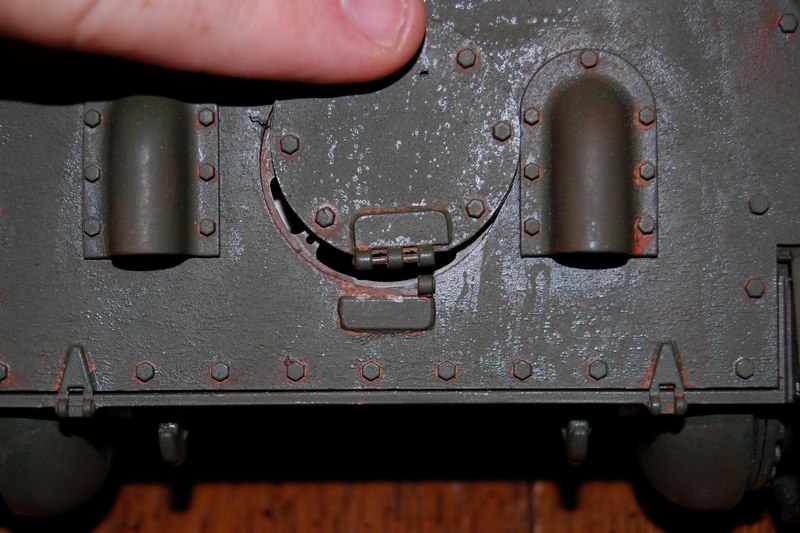
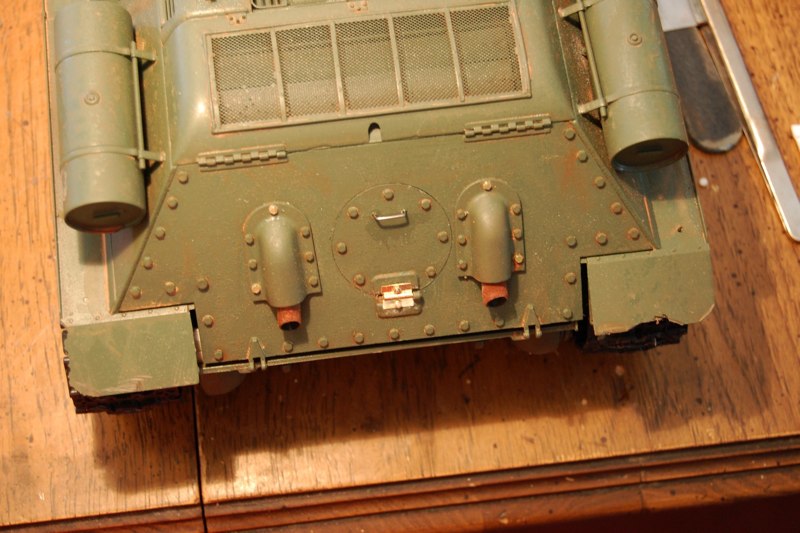
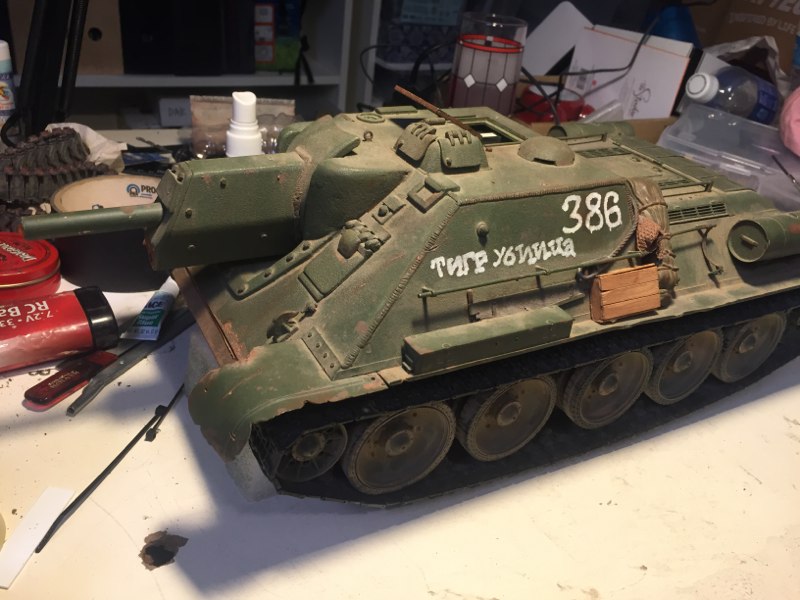
Time for details and painting. My initial goal is to have white washed winter scheme over the normal Russian Armor Green. I masked a few spots and sprayed on Mr Surfacer to fill in the gaps and add a rough textured surface.I didn’t want the photo etch, tracks or side racks to have the same texture as they were simple sheet metal.The bogies I primed with Tamiya NATO brown as I ran out of my trusty Rustoleum and had a spare can available. After each coat I let them dry in the sun. The Arizona outdoors is better than a drying oven.Step two of the priming process is the entire hull. It took the entire can but it looks good and will serve as the base coat for all the rust and weathering to come.When you paint all the flaws come out and after sanding and repainting I got to the point where all further repairs will be as if in the field. I broke out the trusted Iwata airbrush and sprayed everything Russian Armor Green. After reassembling the bogies and track I have to say this tank looks damn good!A side project is the painting of the TBU to match.See my TBU painting guide for more info.I added the wheel hubs and transmission covers and am now working on the external stowage. After a bit of refinement, I used some Rustoleum textured paint to resurface the fighting compartment. After a new coat of Russian Armor Green I am very pleased with the results.I am really happy with the results so far. It looks good next to my T34/76.Of course, the first time I ran the tank it broke the rear engine hatch off the plastic hinges. I replaced the hinge with a brass doll house part and bolted it on for strength.I added the exhaust pipes with my custom baking soda rust and bolted the assembly back together.I used a white Sharpie paint marker and gave it a tactical number and Cyrillic phrase. It means “Tiger Killer”.External Stowage includes tent bags, wood boxes and a scratchbuilt bore brush made with Q-tips and shishkabob sticks with styrene and brass bolt fasteners.IMG_0067.JPG
In Action
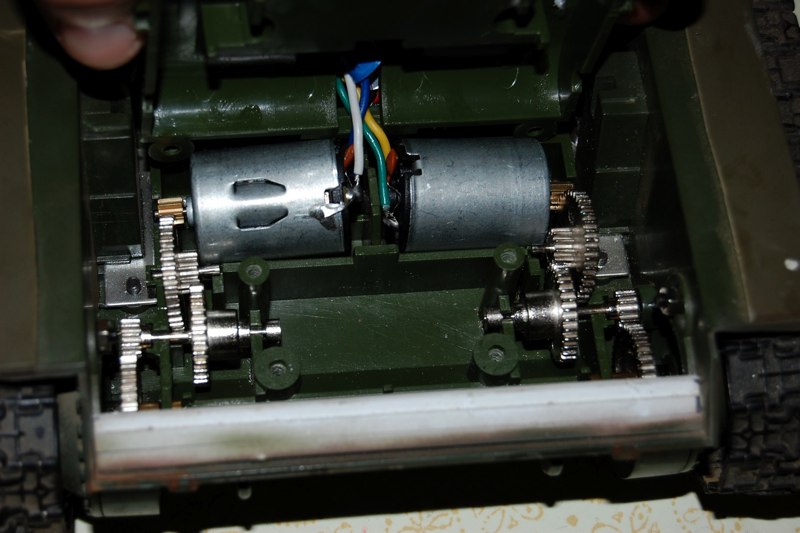
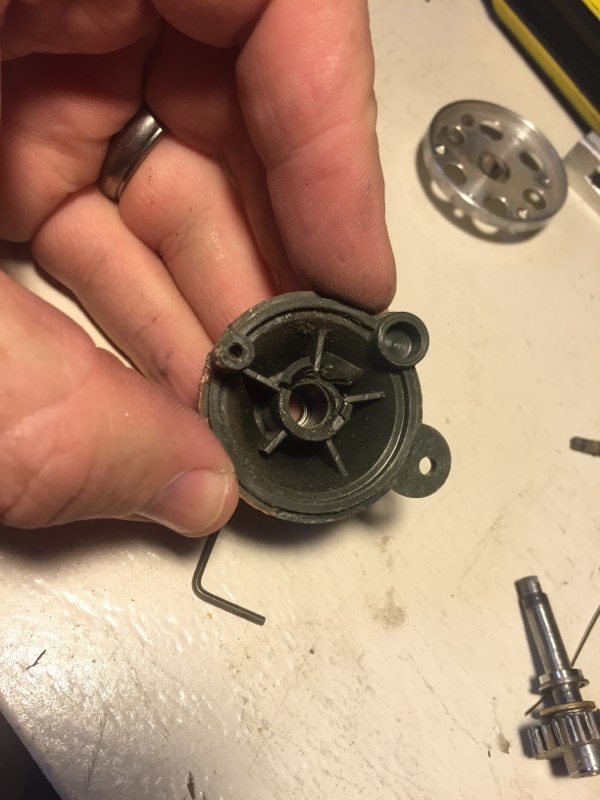
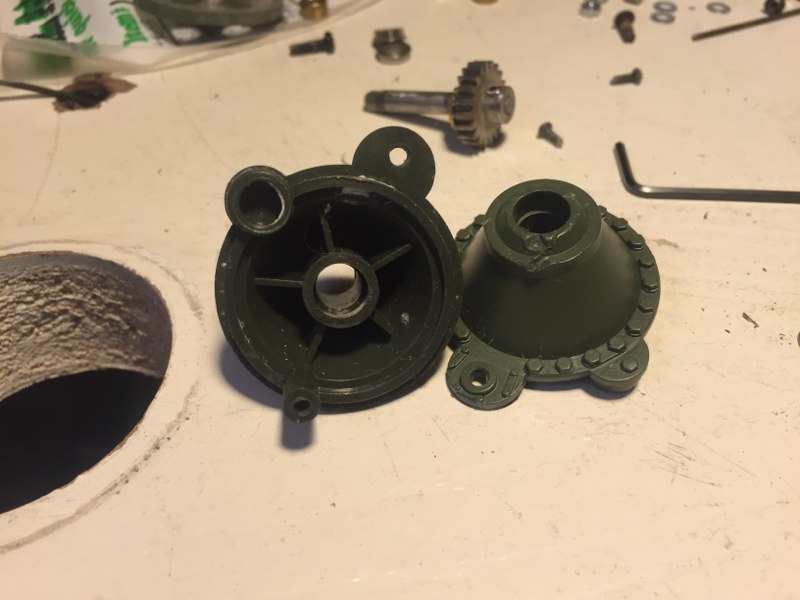
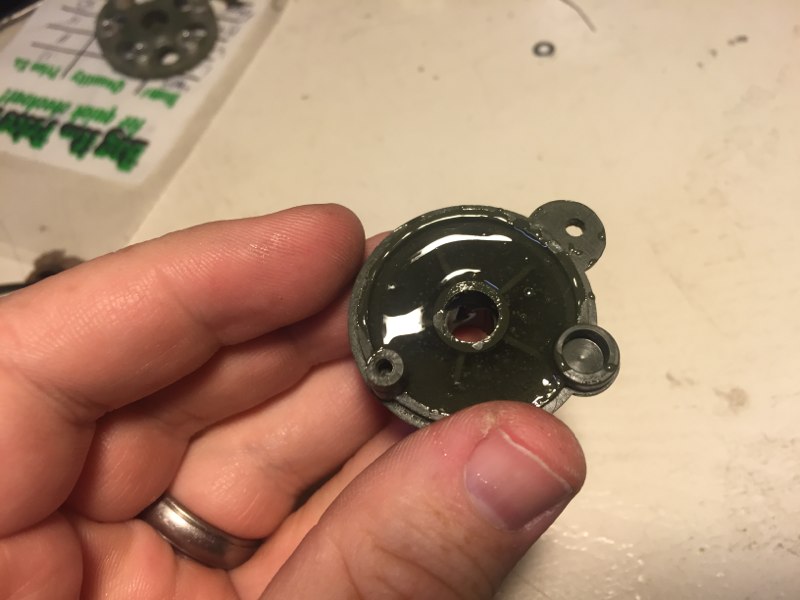
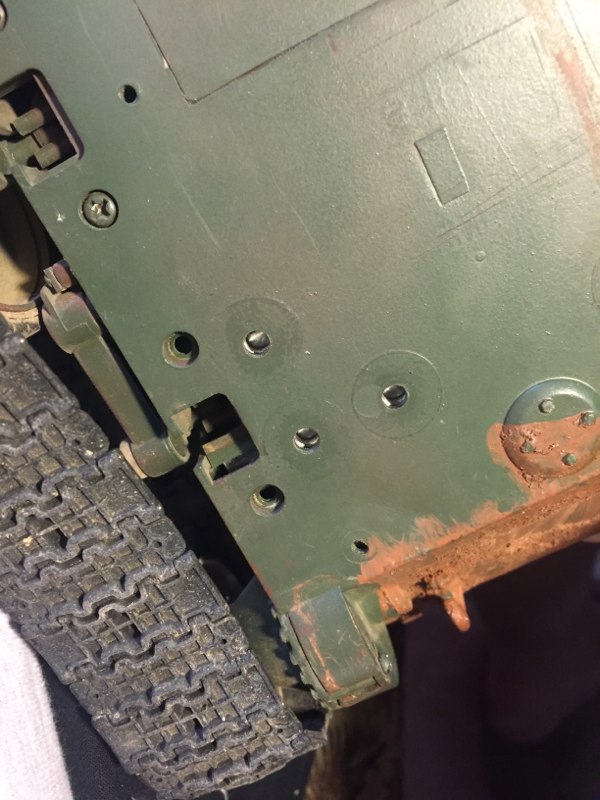
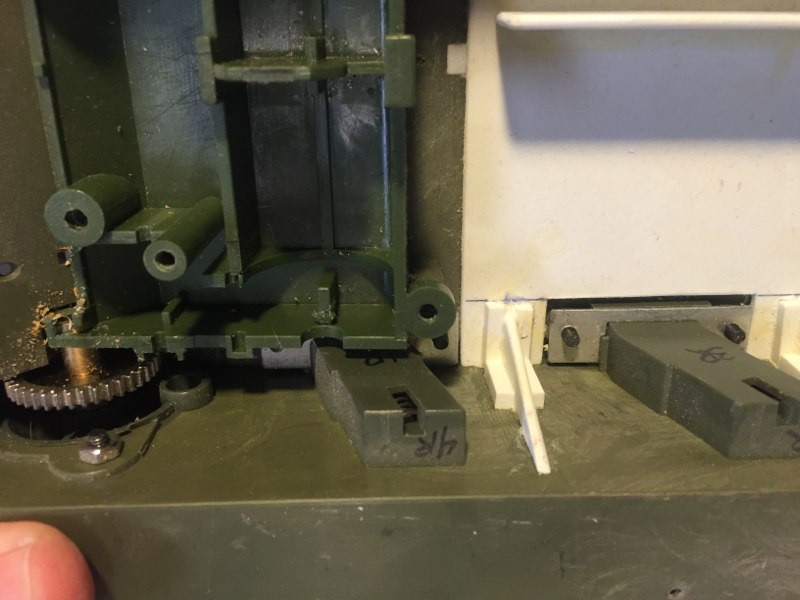
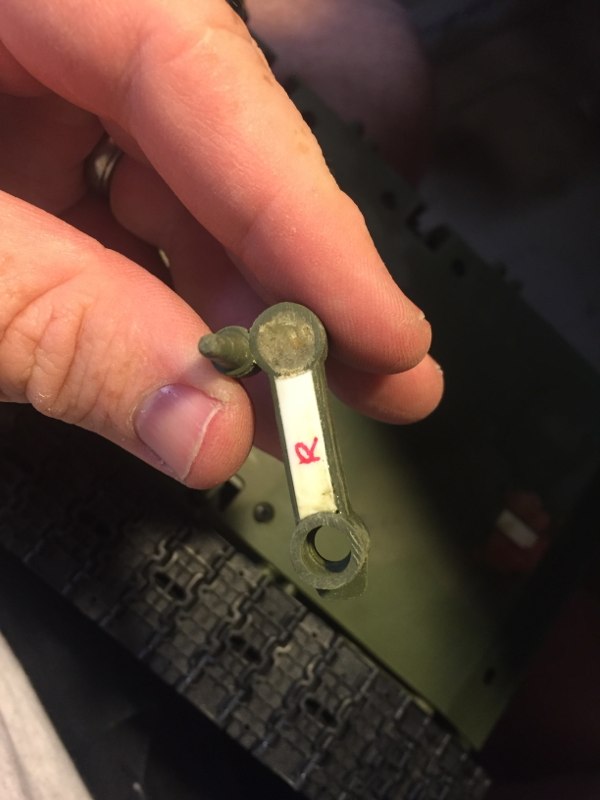
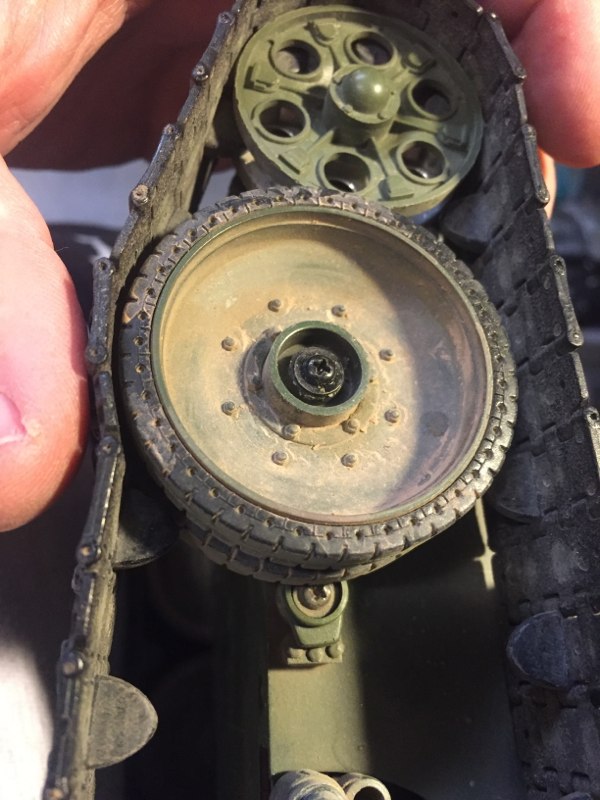
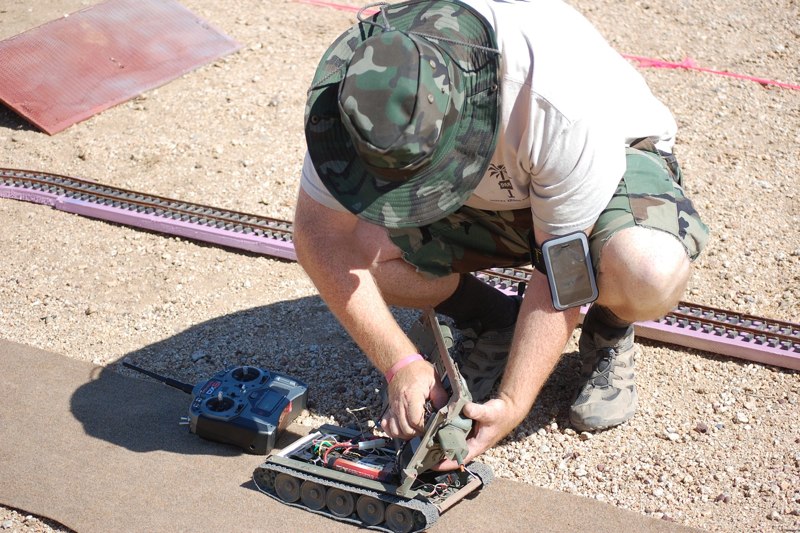
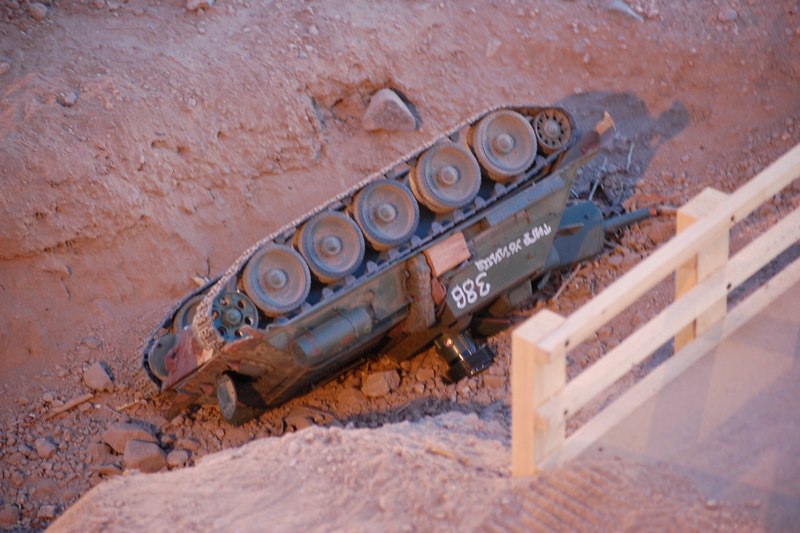
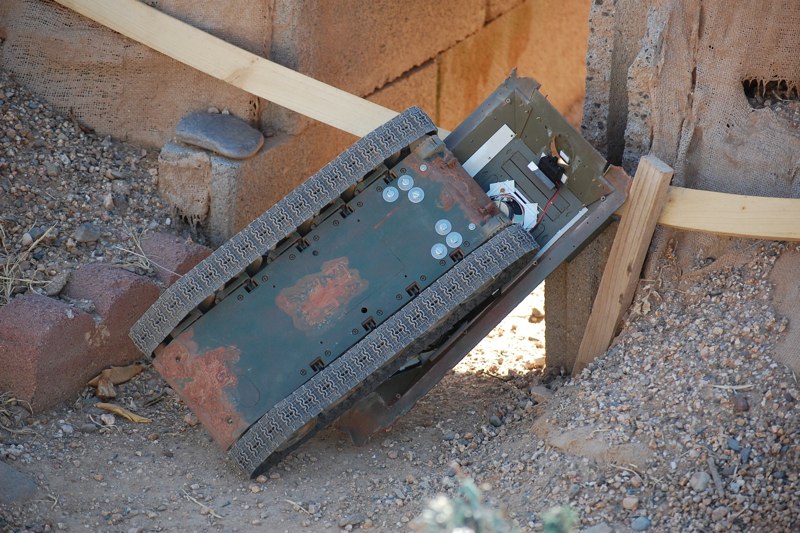
This is my second T34/76-WSN conversion and my first attempt that will include Mato gearboxes. The first construction efforts begin with the removal of the bow machine gun from the glacis plate of the Trumpeter hull and the disassembly of the WSN kit.After opening the hull, I noticed a speaker wire had broken. If a kid got this he might have thought it defective and thrown it away.My next step is to fit the early bogies to the lower hull and begin cleaning out the interior of the vehicle to adapt Tamiya guts and Mato gearboxes. The Mato gearboxes arrived and look pretty good for $15. They are much more robust than I imagined and will give this vehicle good torque. We are now $205 in.Now we go to battle. SCAT hosted a battleday in Rancho Cucamunga and the SU-122 actually had three kills in its debut battle.It lasted three battles until the final drive sheared and the tank had be retired for the day. I was still using the stock gearbox and now that will change. I will work on the Heng Long installation soon. Ironically, my T34/76 is still running strong.Fast forward almost 5 years! The tank has been treated to a Daryl Turner upgrade. Pershing Gearboxes and a metal idler wheel setup.DSC_0851.JPGGreat power and climb but an achilles heel developed quickly.I have trouble steering and one of the final drive housings is loose and the gears are chattering.need to rework the drive train issues or this tank will spend most of its time upside down!!DSC_0063.JPGDSC_1619.JPGDSC_1730.JPGIMG_0068.JPGIMG_0069.JPGIMG_0070.JPGDSC_0569.JPGDSC_0570.JPGDSC_0574.JPGDSC_0575.JPGDSC_0577.JPG