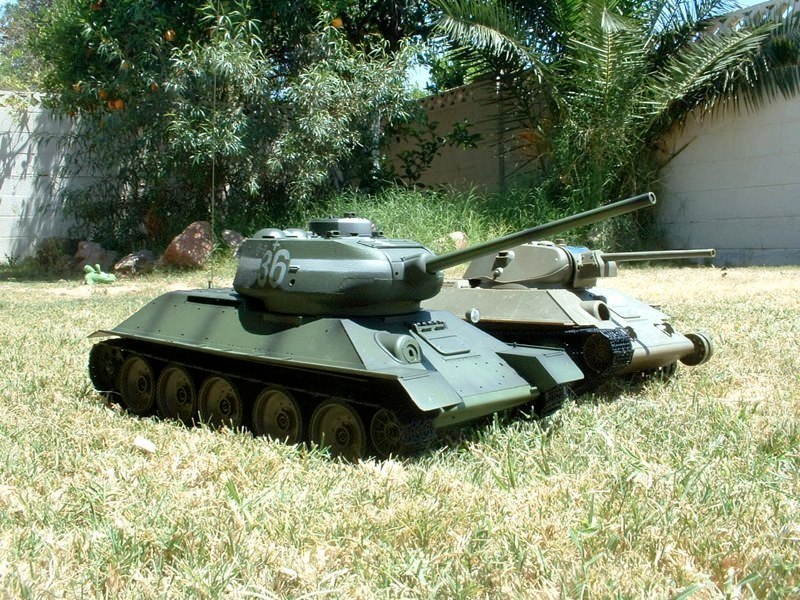
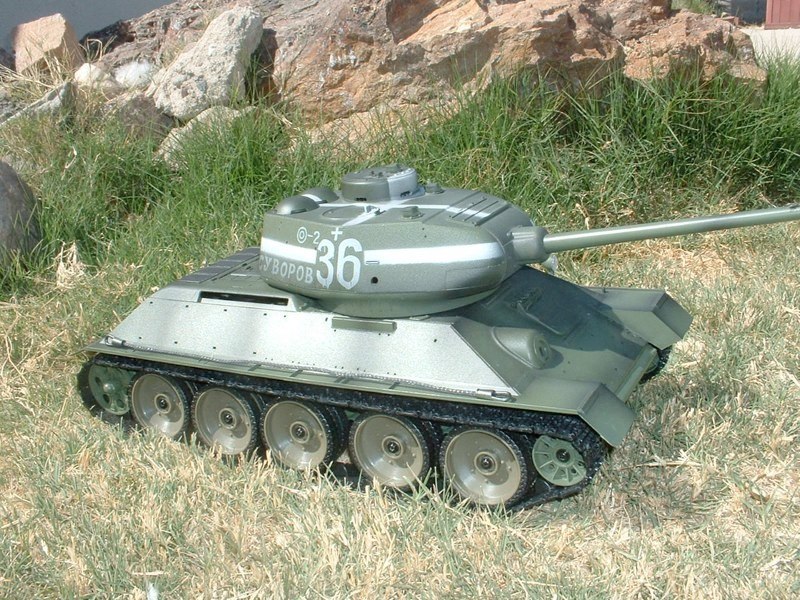
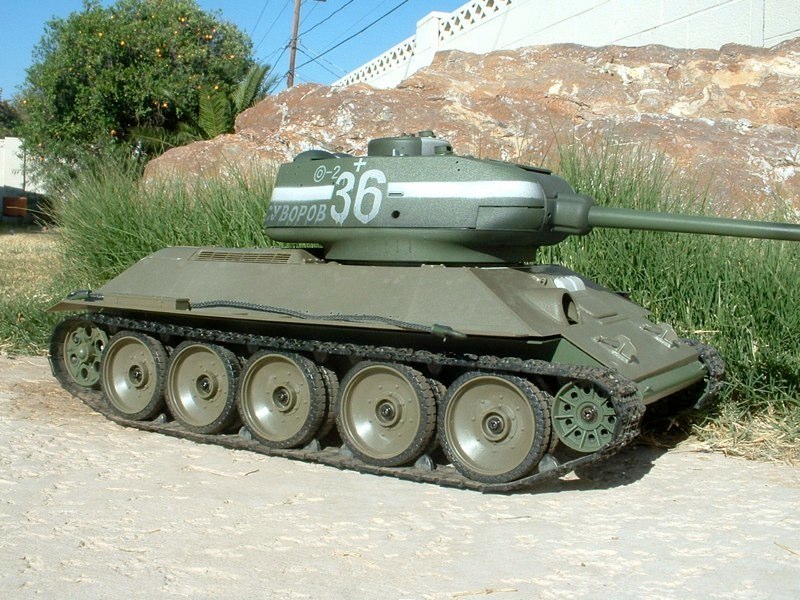
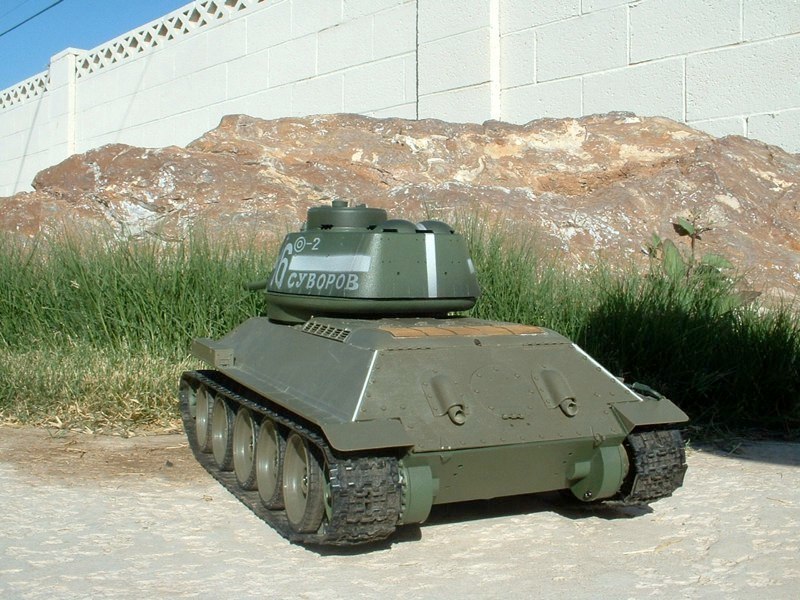
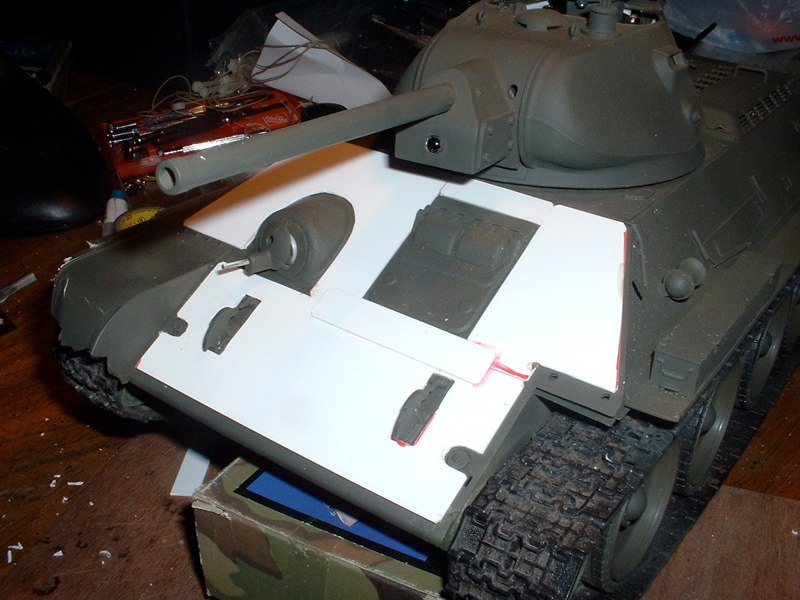
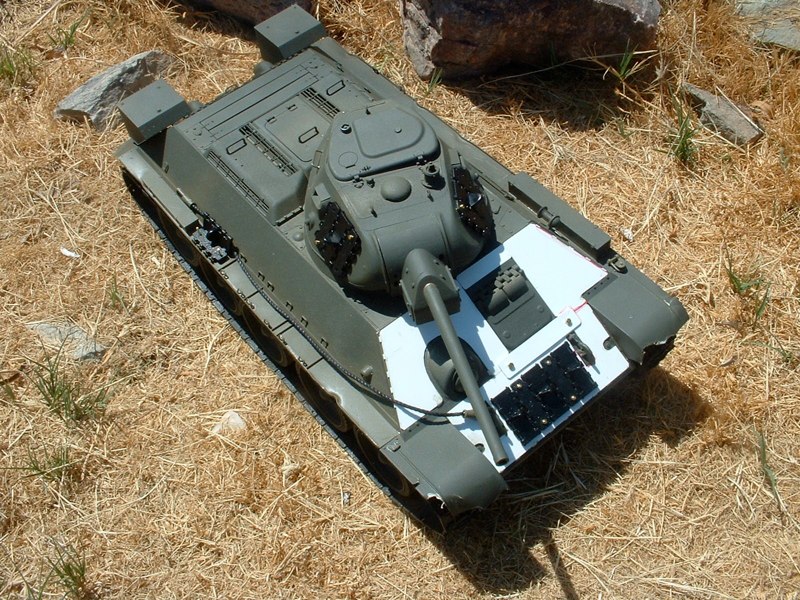
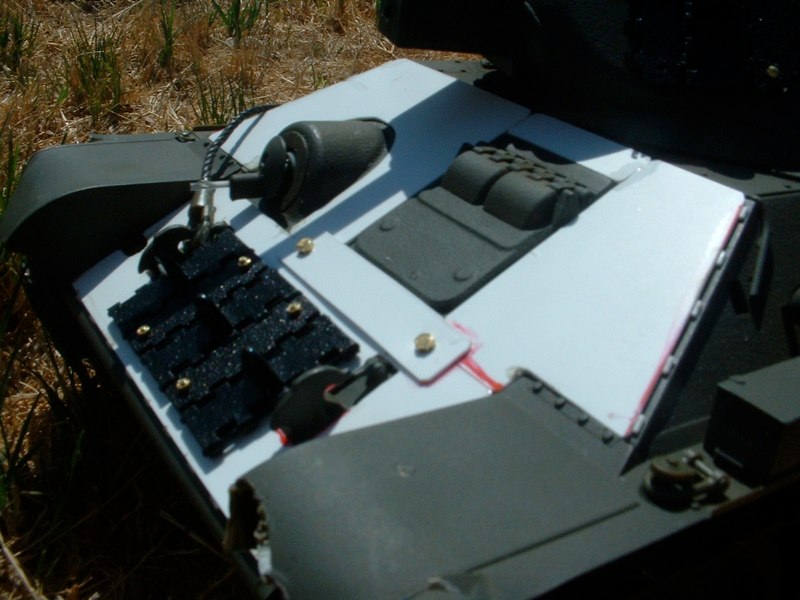
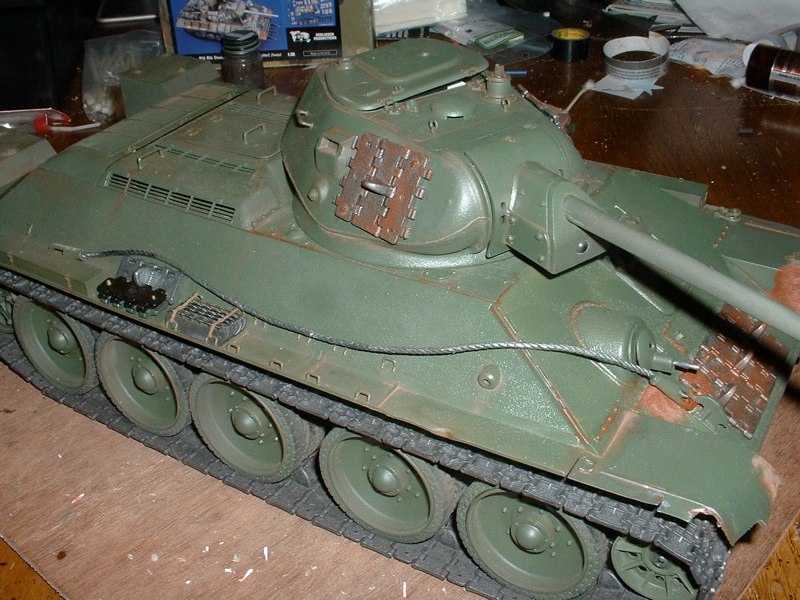
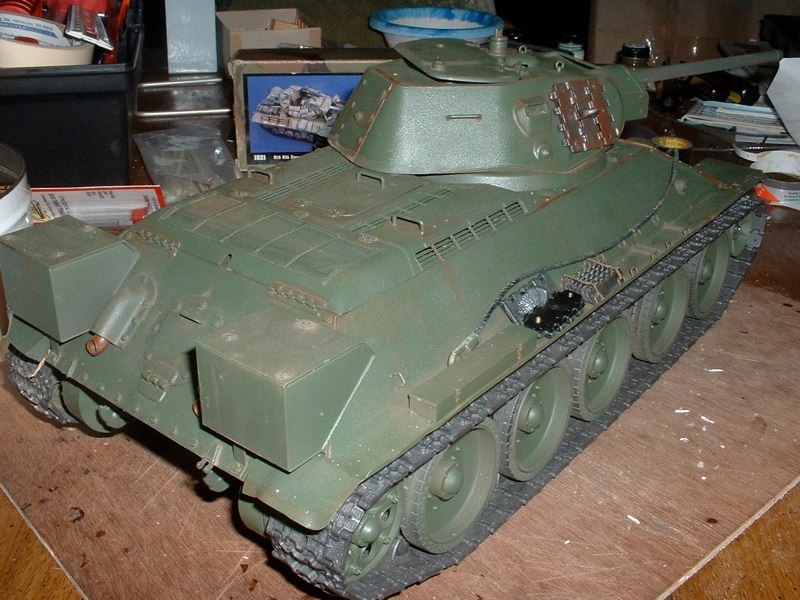
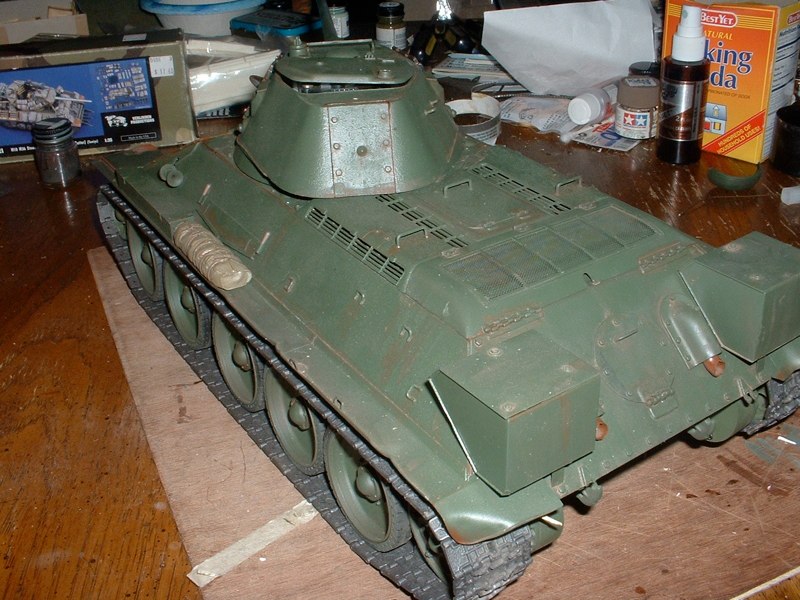
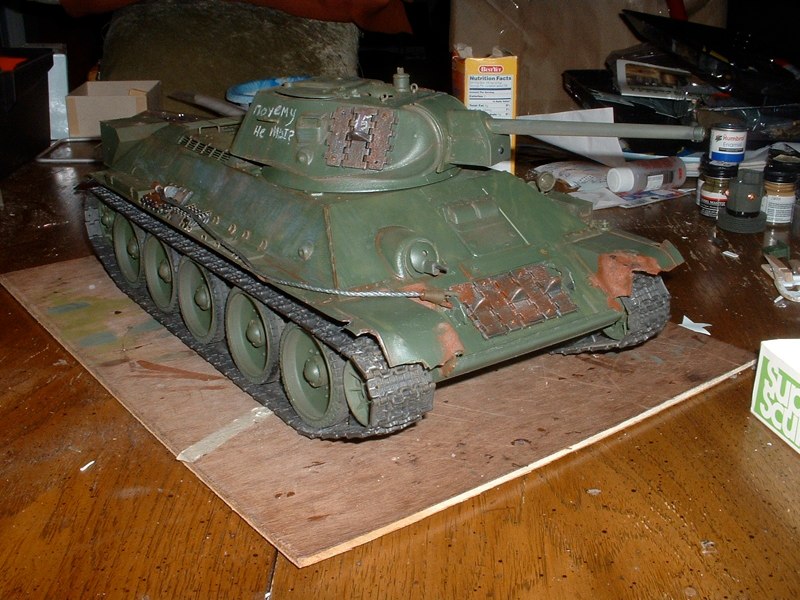
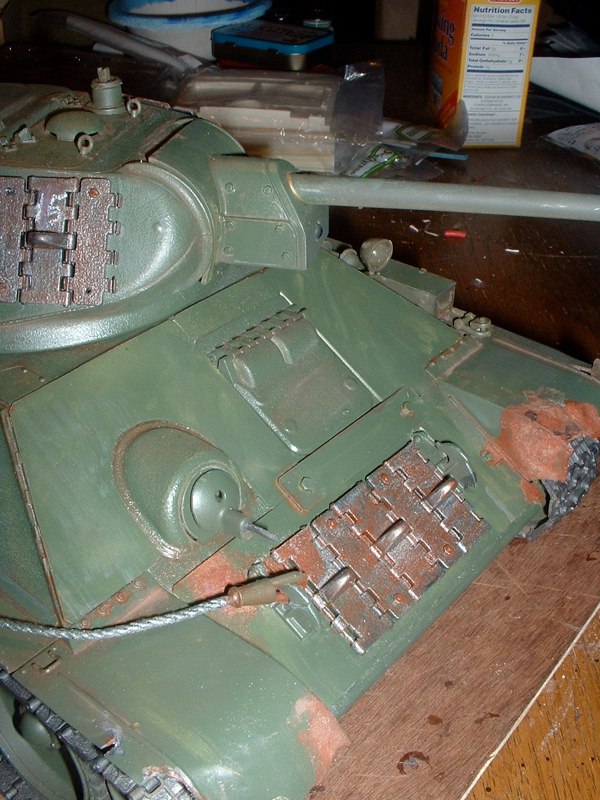
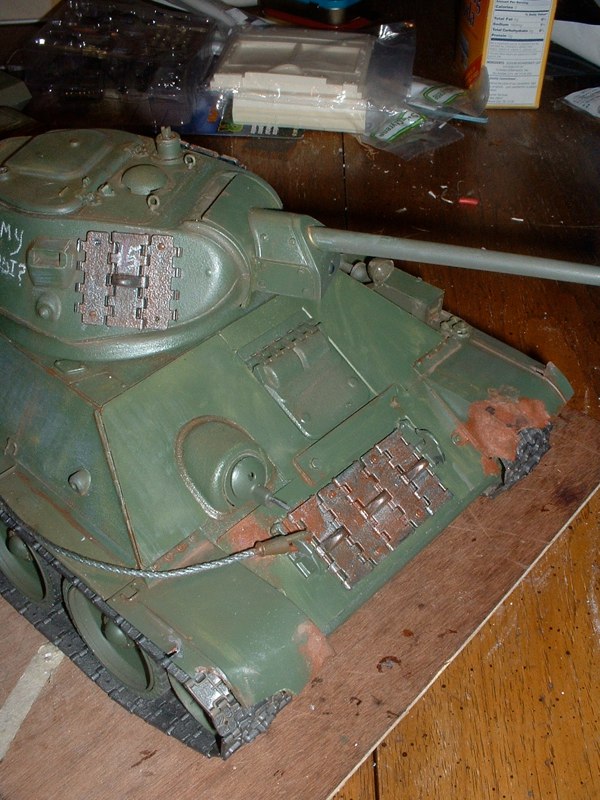
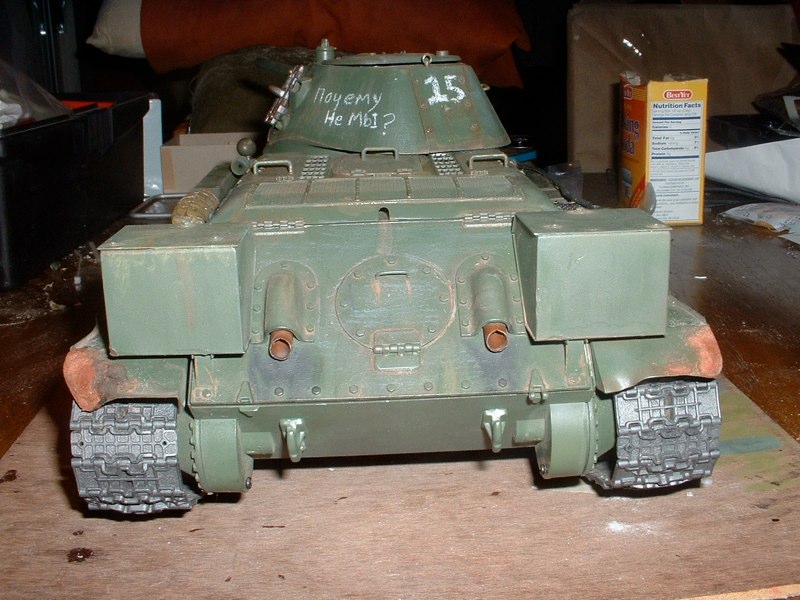
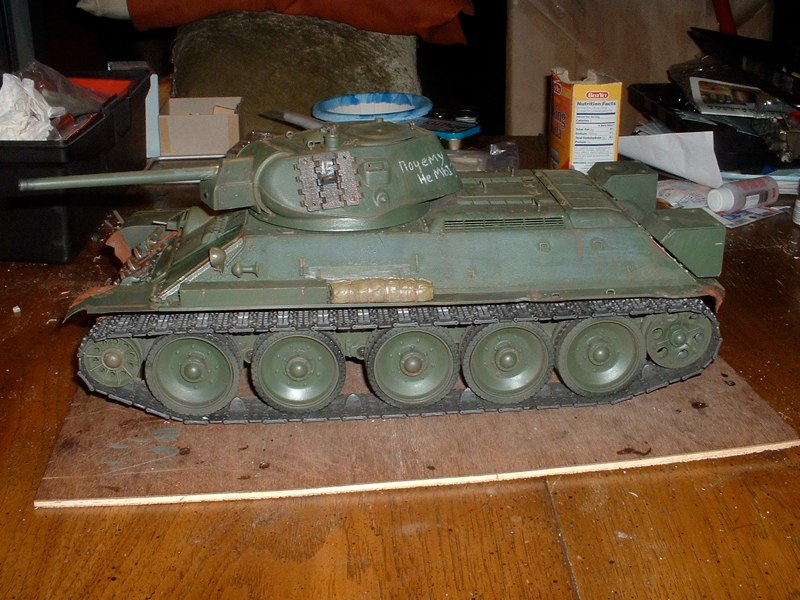
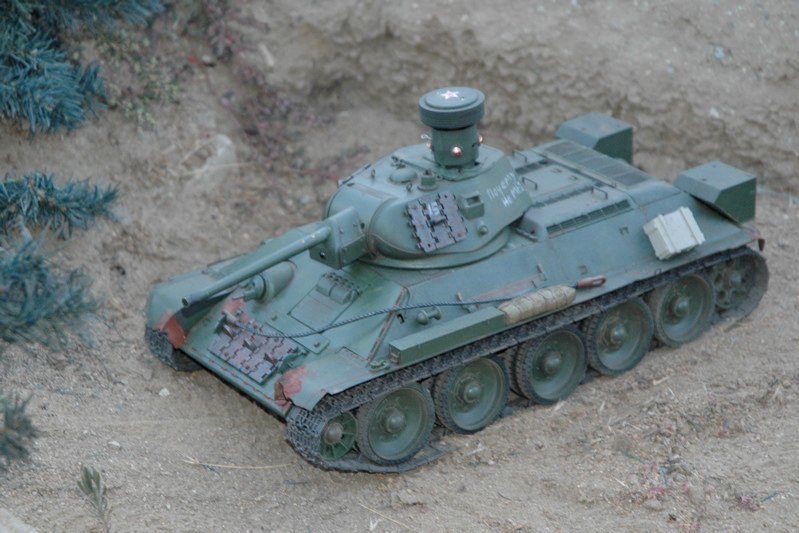
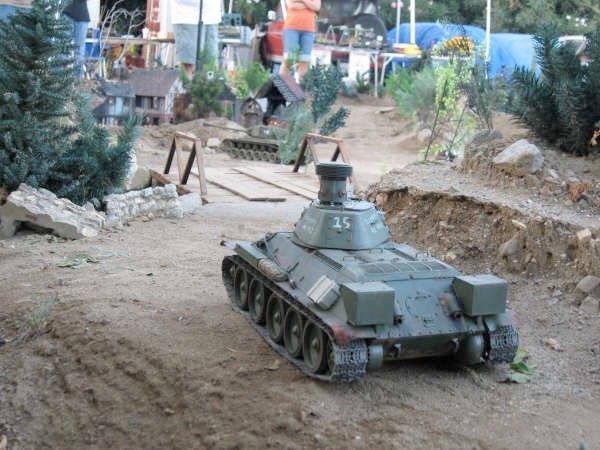
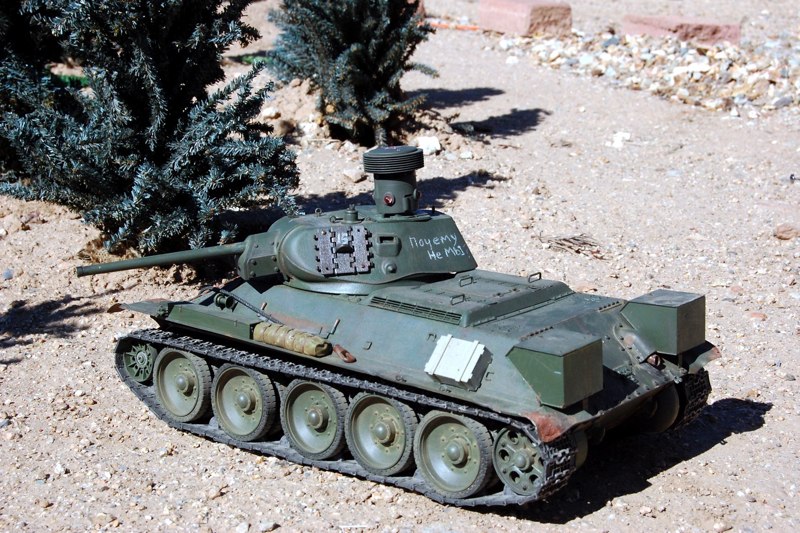
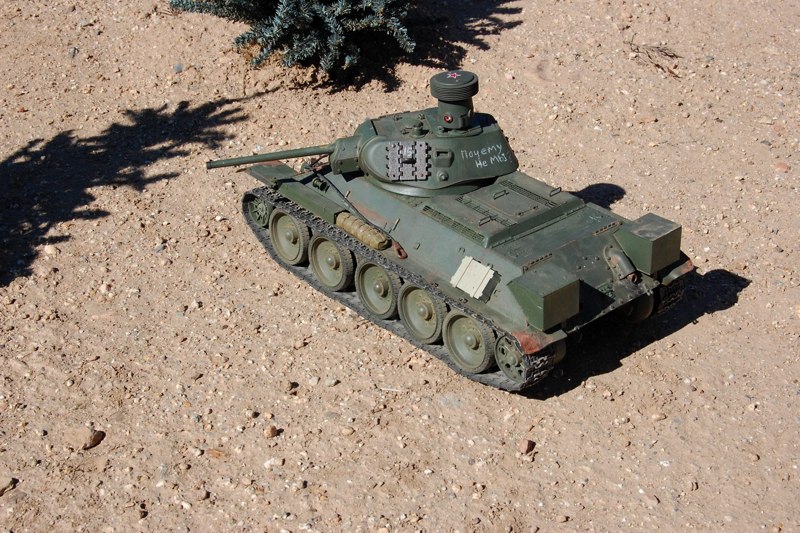
The t-34 was a rude Shock to the german blitzkrieg invading the soviet union during operation barbarossa in June 1941. Panzer ii, III, and IV units saw their rounds bounce off the sloped armor and the russian 76.2 mm gun was superior to fielded german weapons.
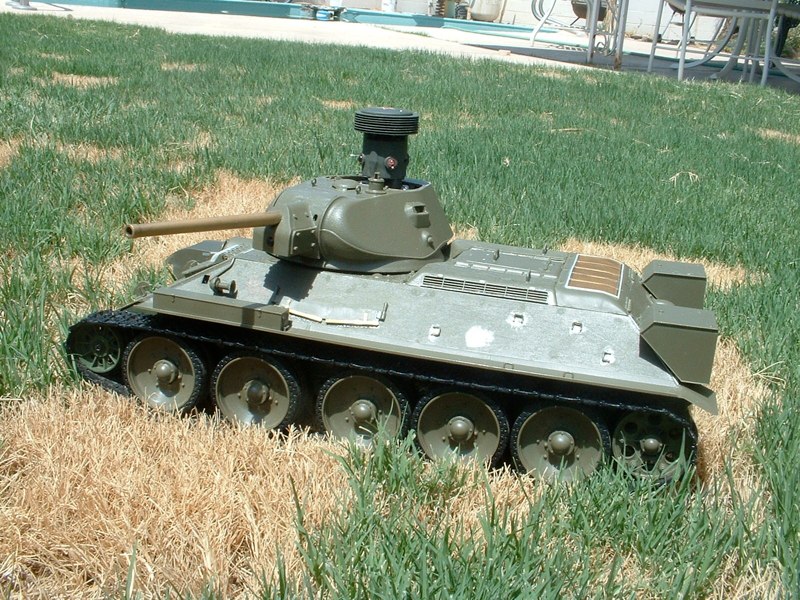
This 1/16 version was built because there weren’t many russian tanks out there (in 2006) and I wanted to make a good impression on the SCAT club in Socal. LAter Refits will include a better Recoil Setup and possibly multiple turrets along with a Daryl Turner Gearbox and suspension arm setup.
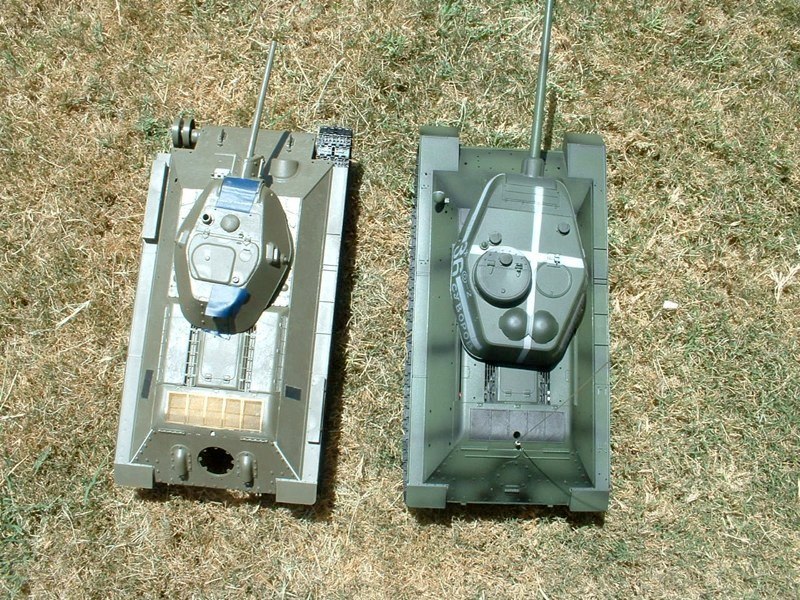
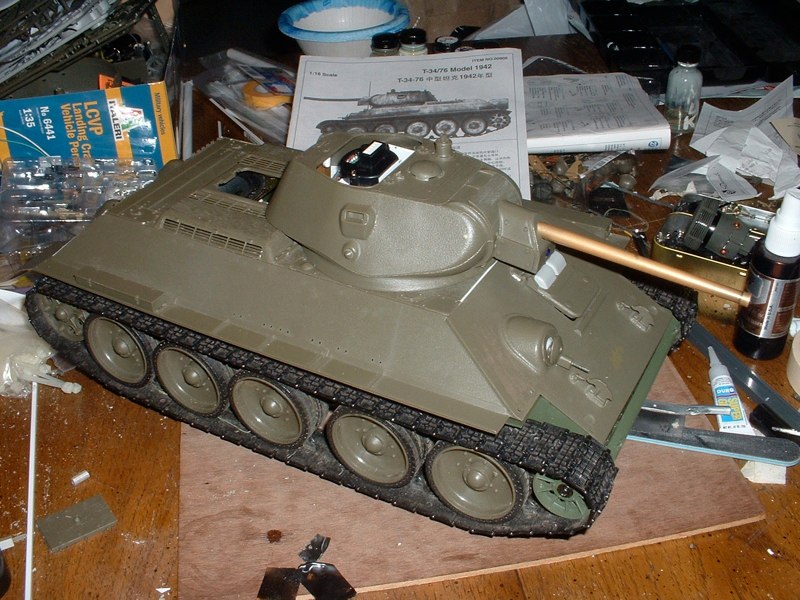
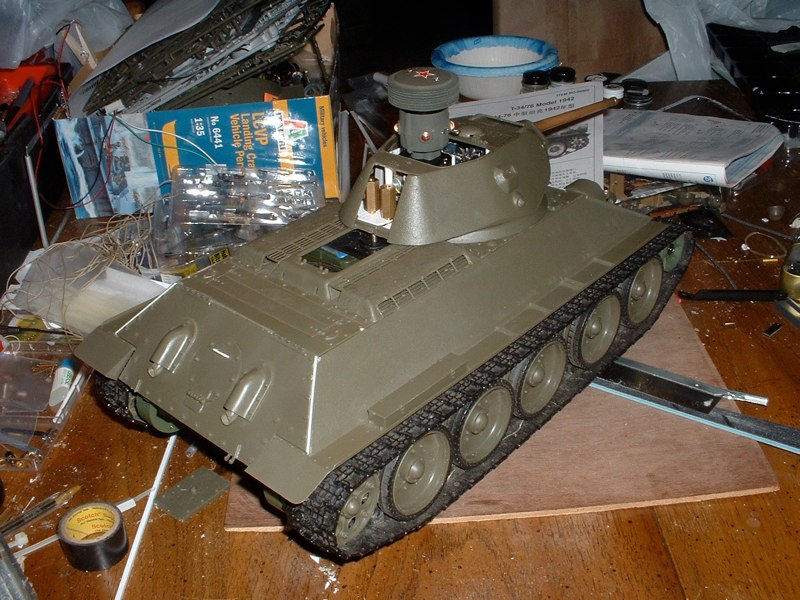
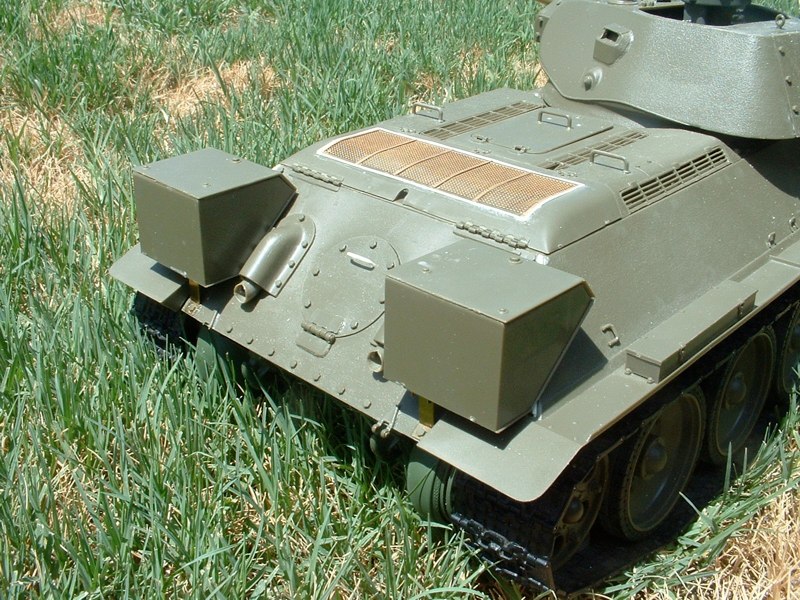
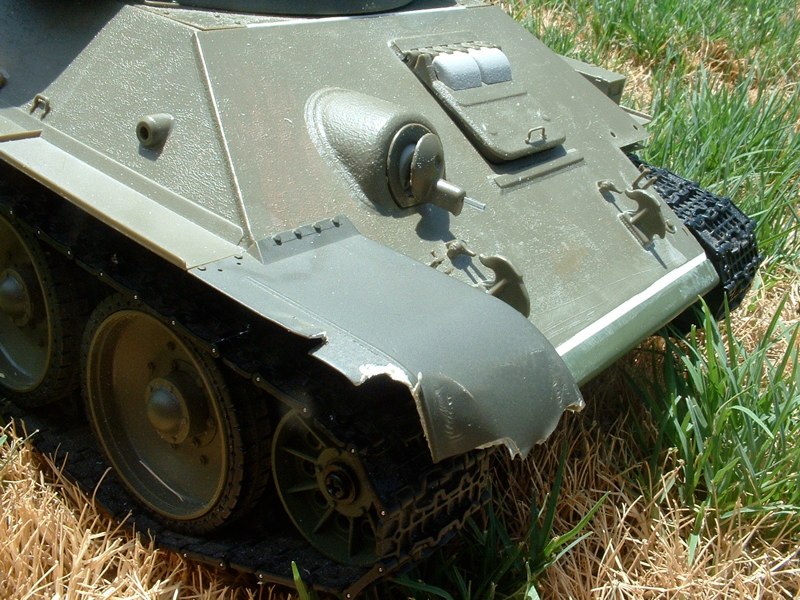
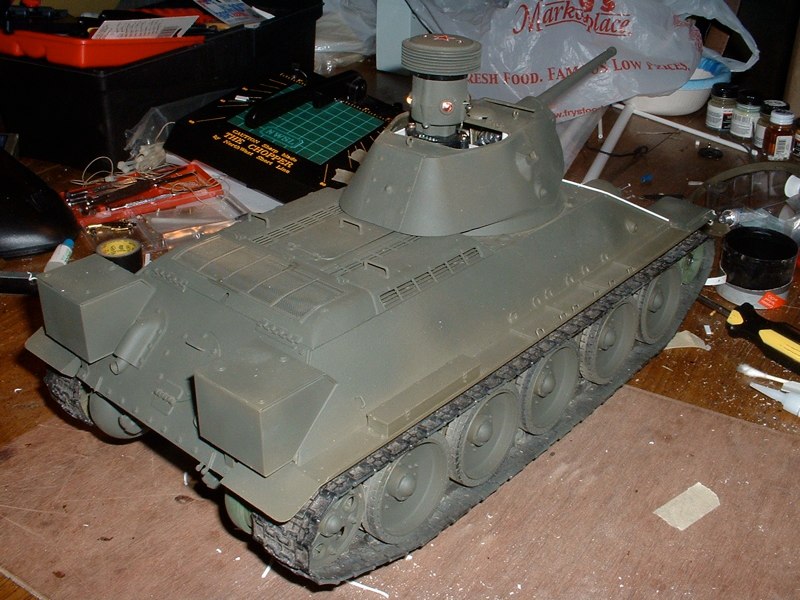
This is a DAK custom conversion Assembled from the components of WSN, Trumpeter, Tamiya, and Scratch built.
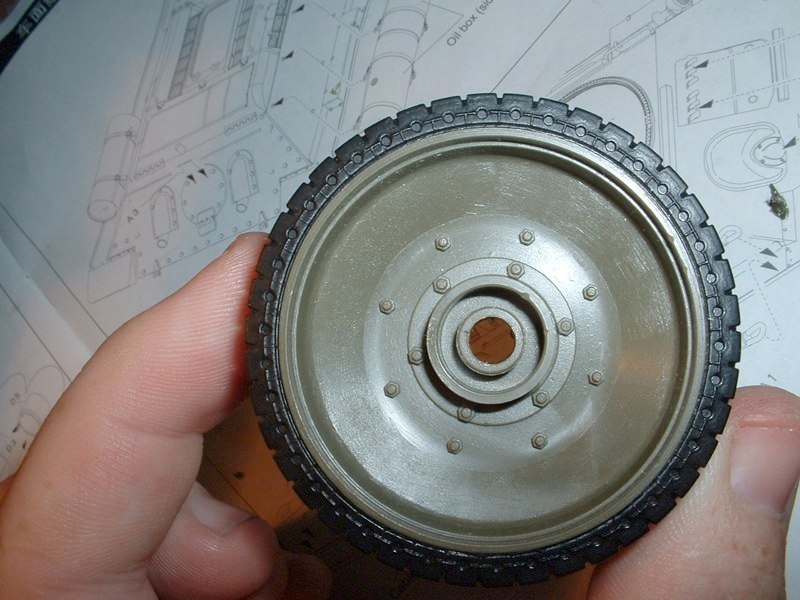
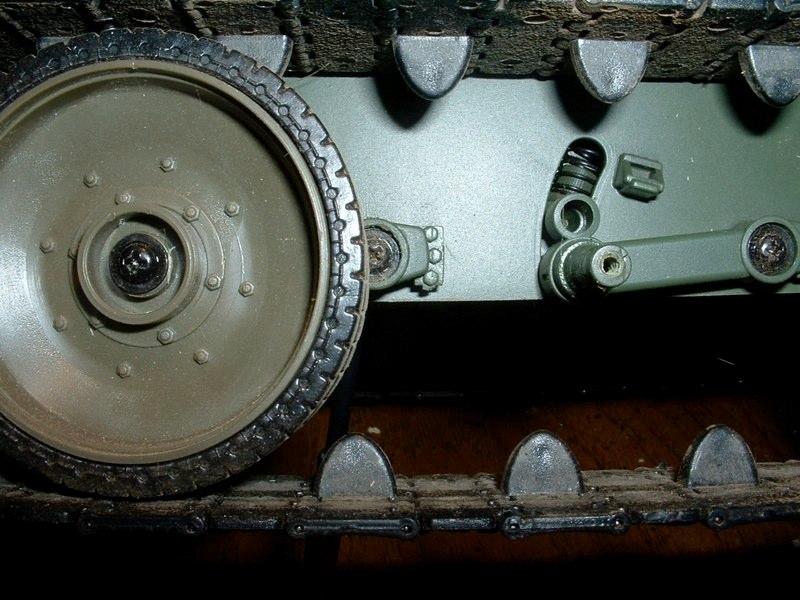
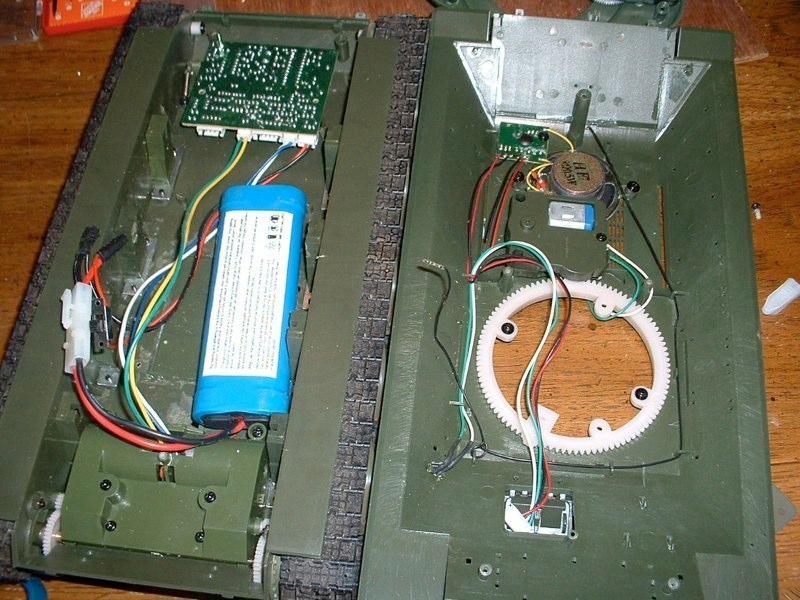
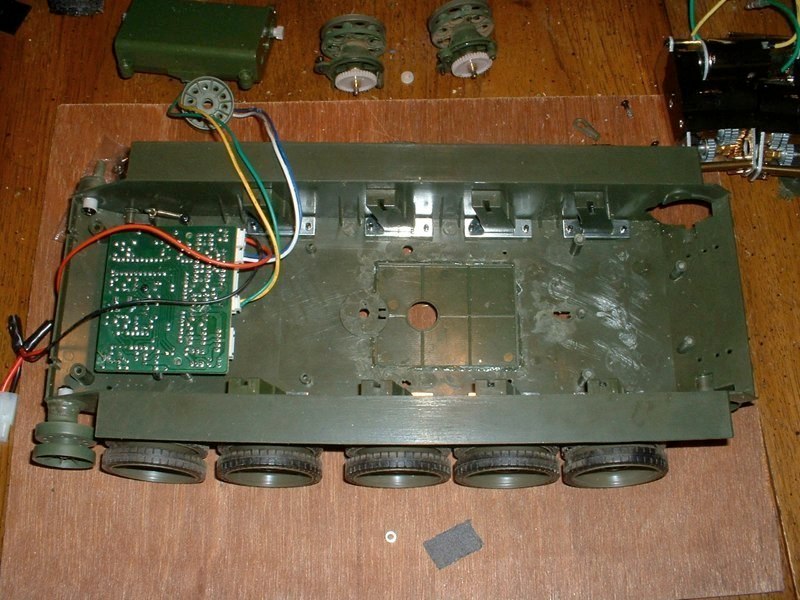
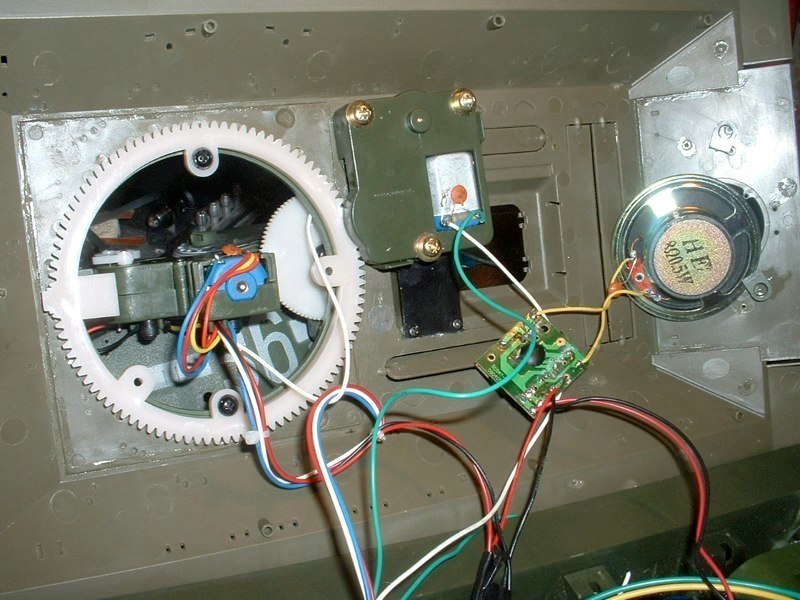
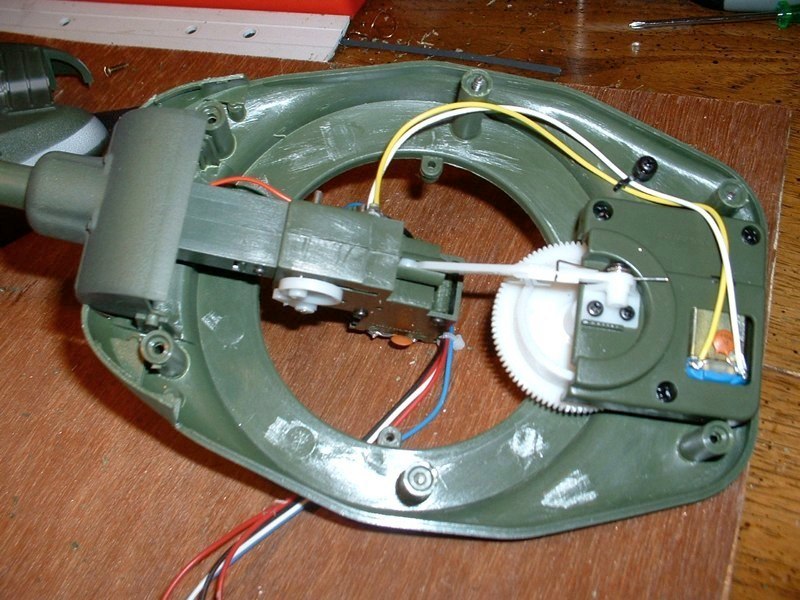
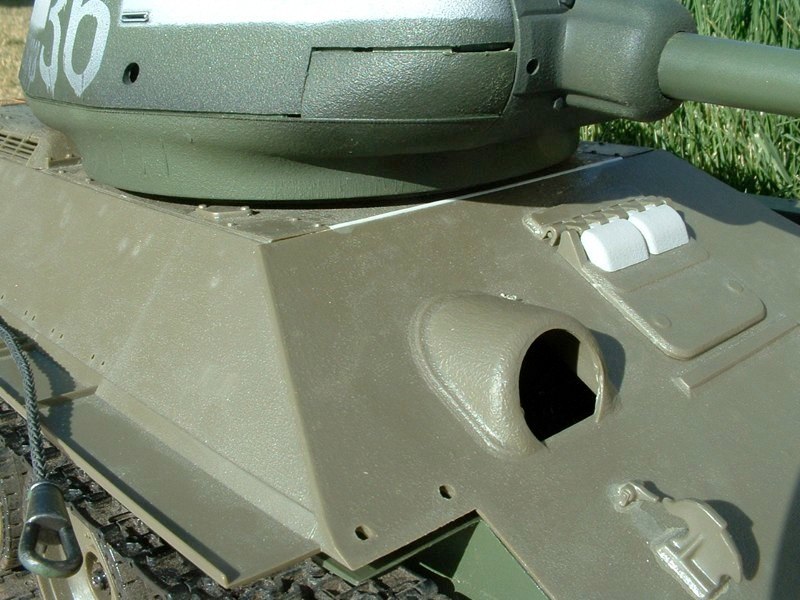
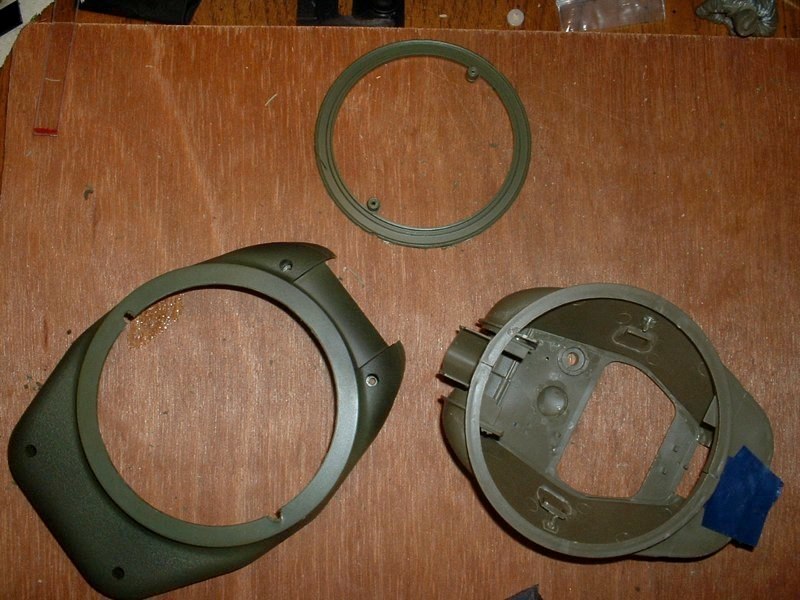
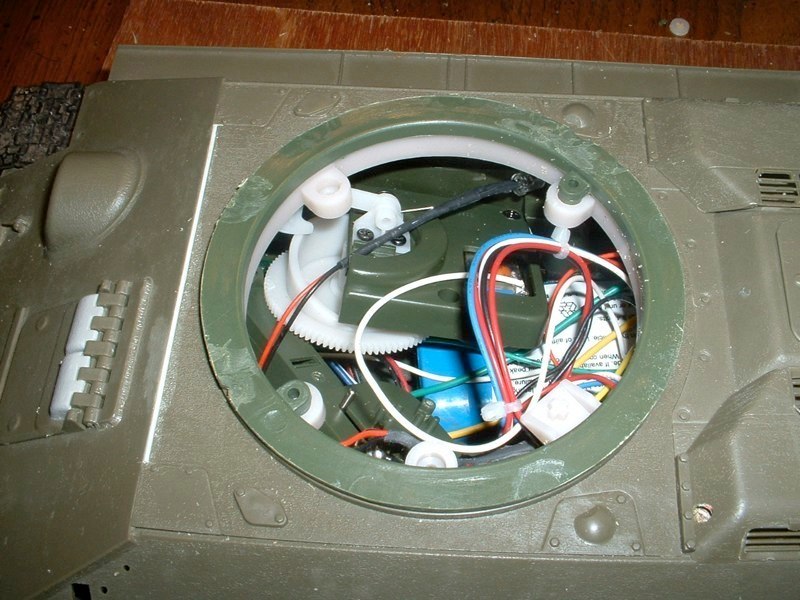
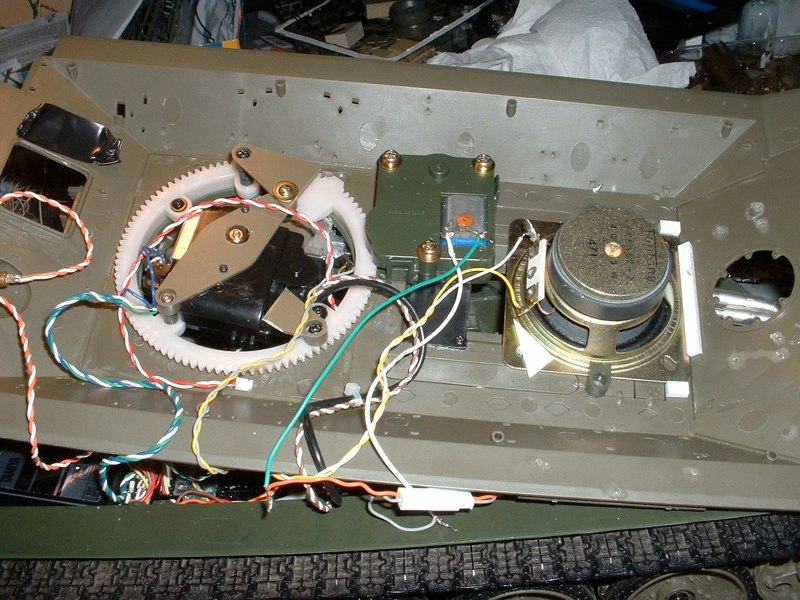
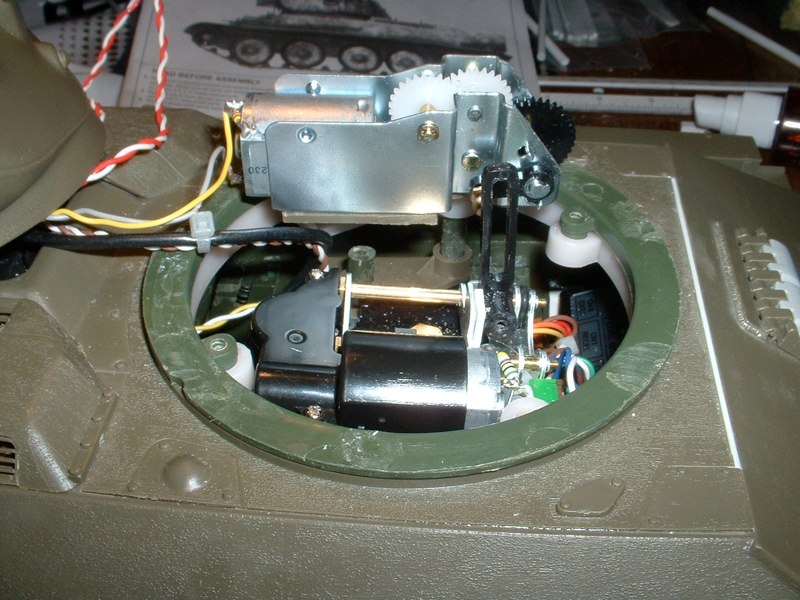
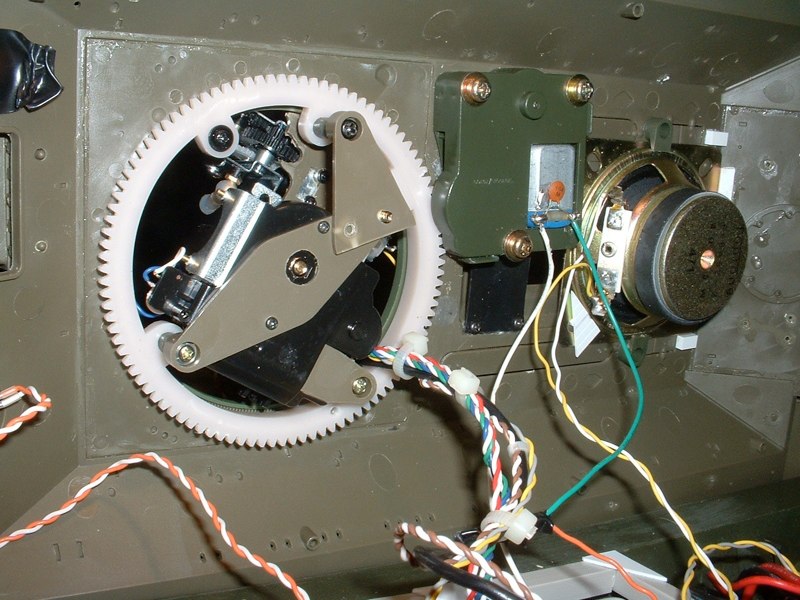
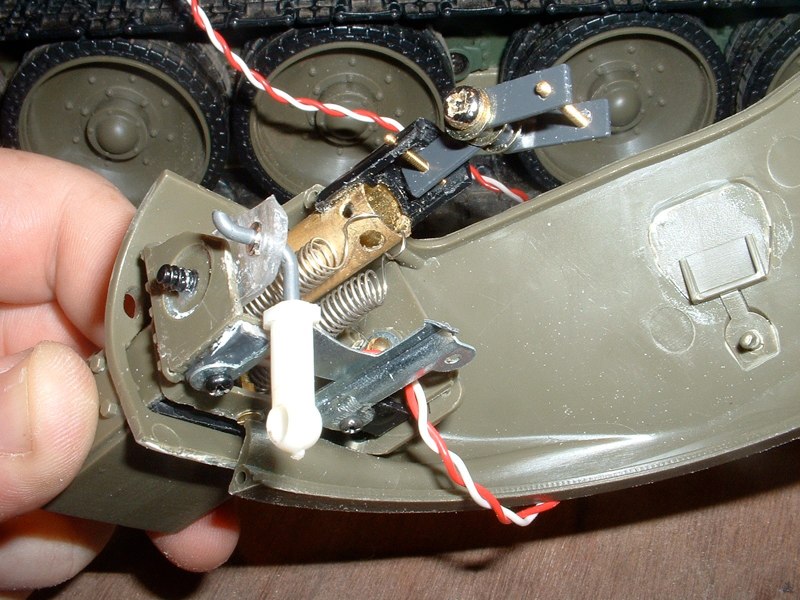
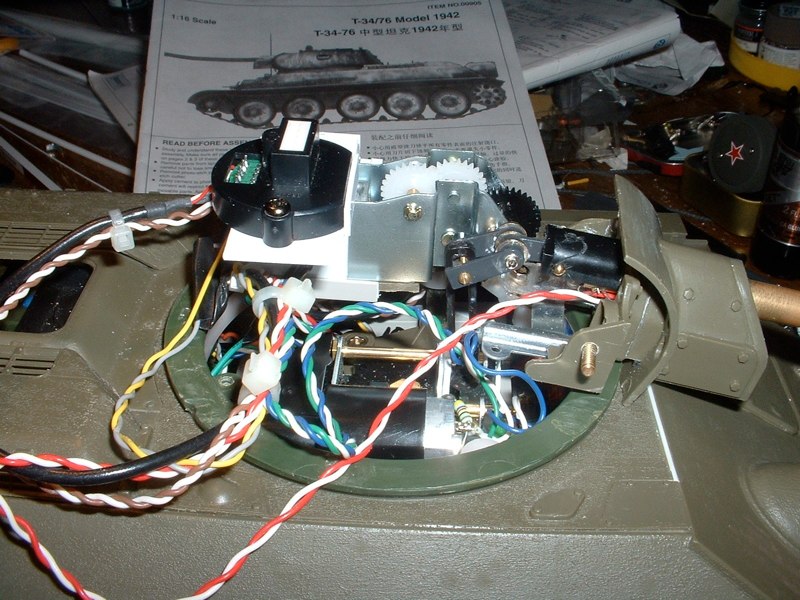
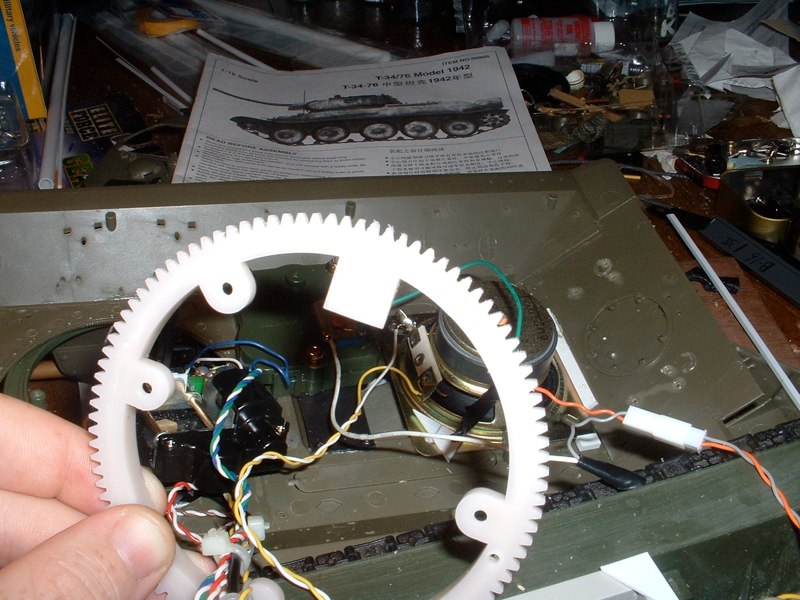
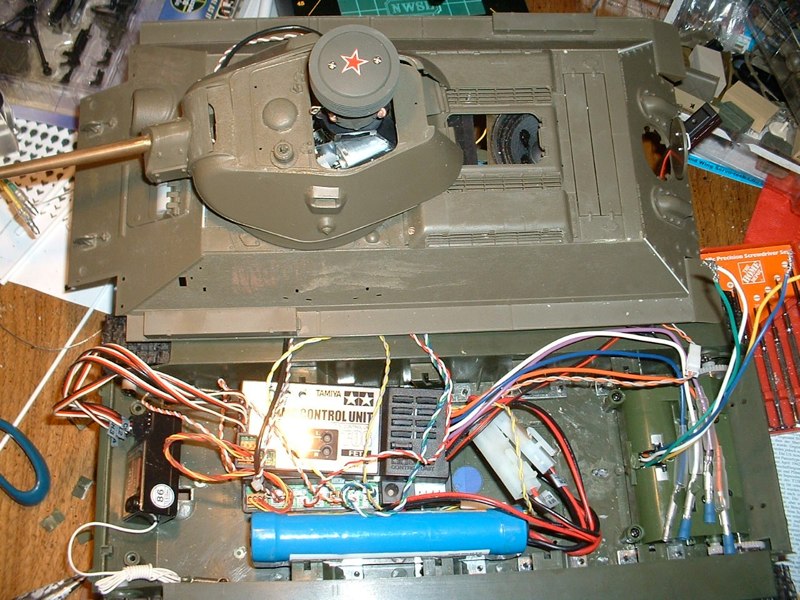
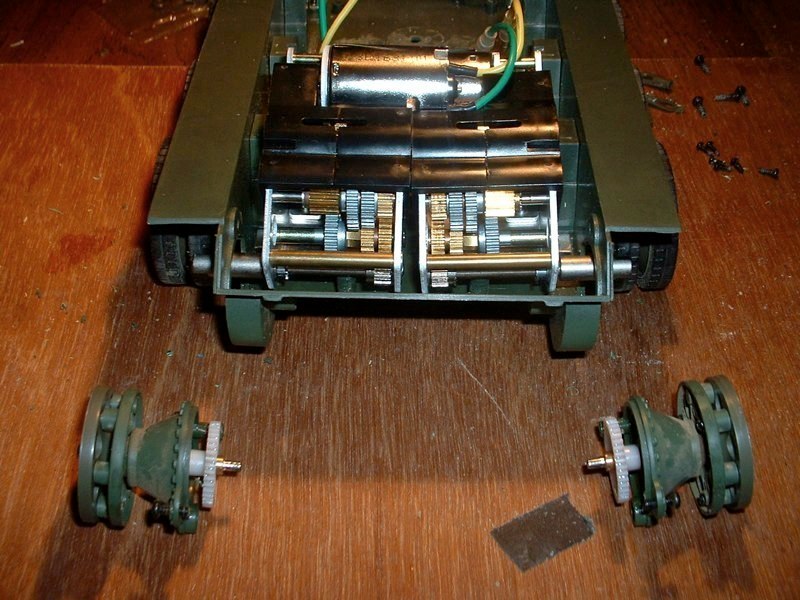
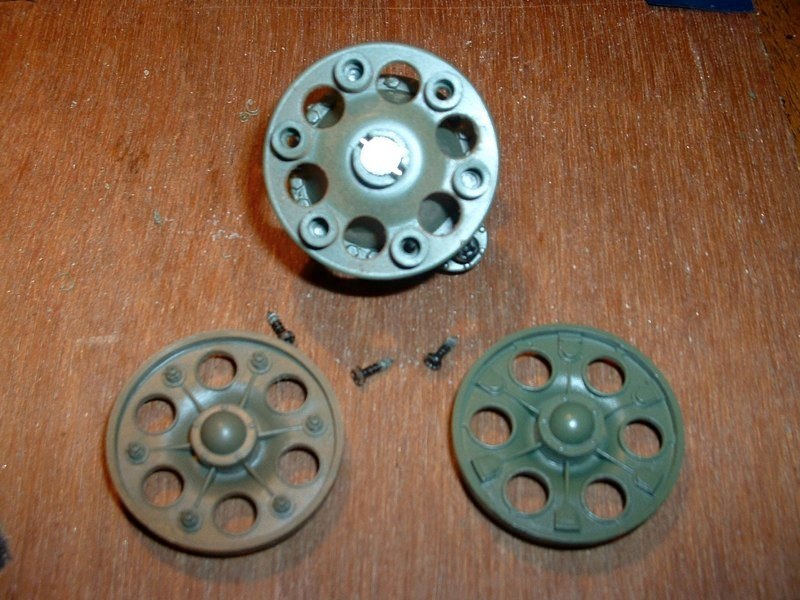
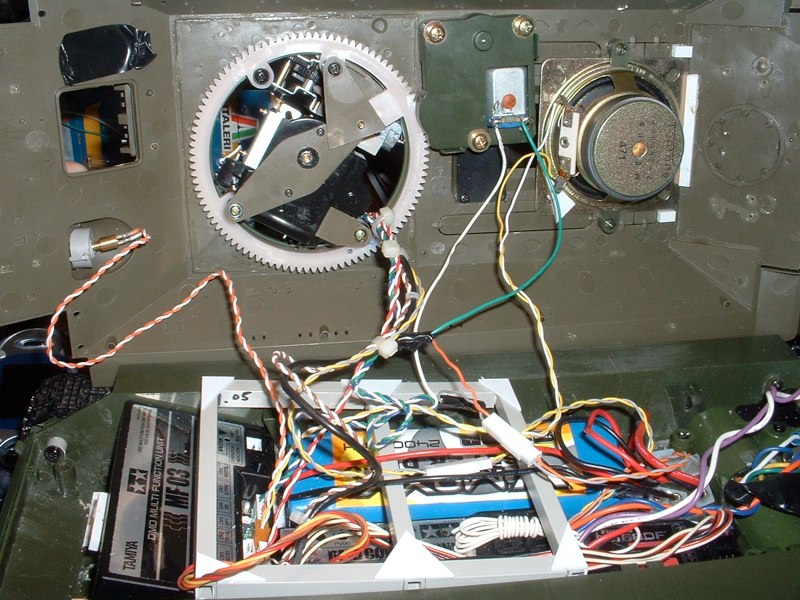
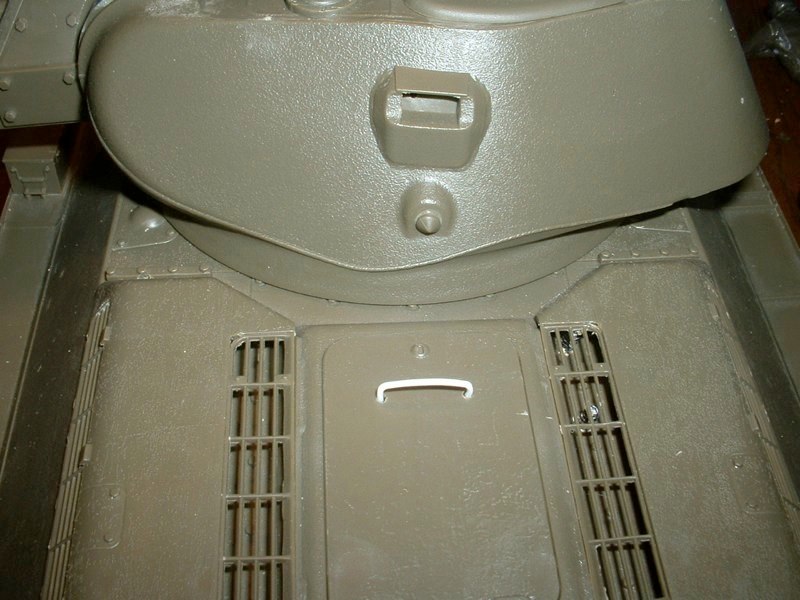
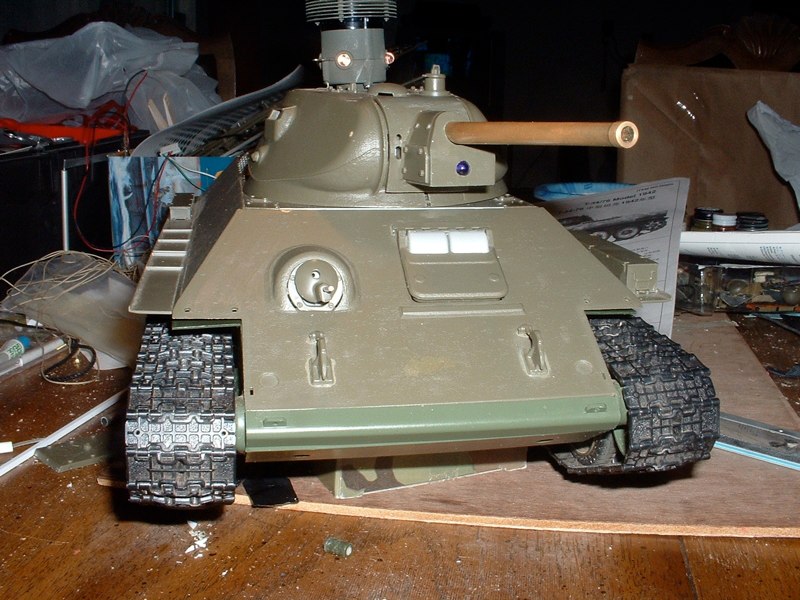
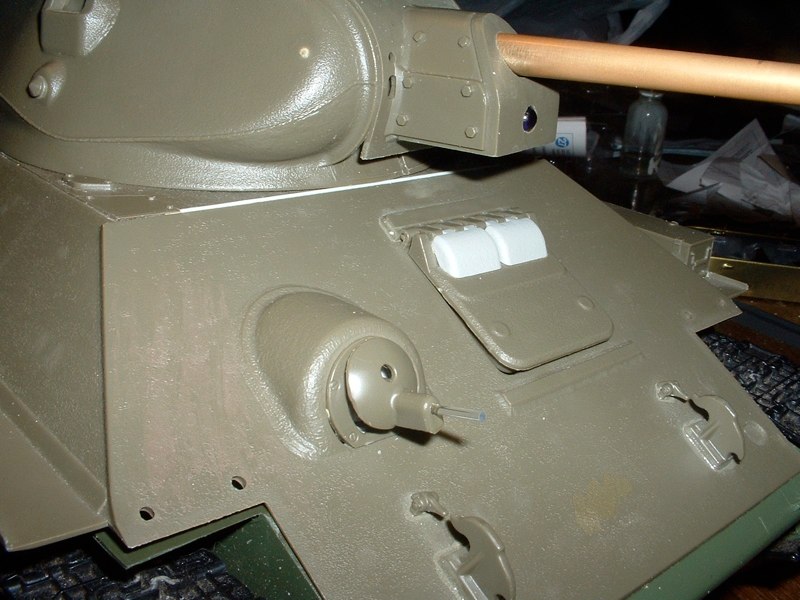
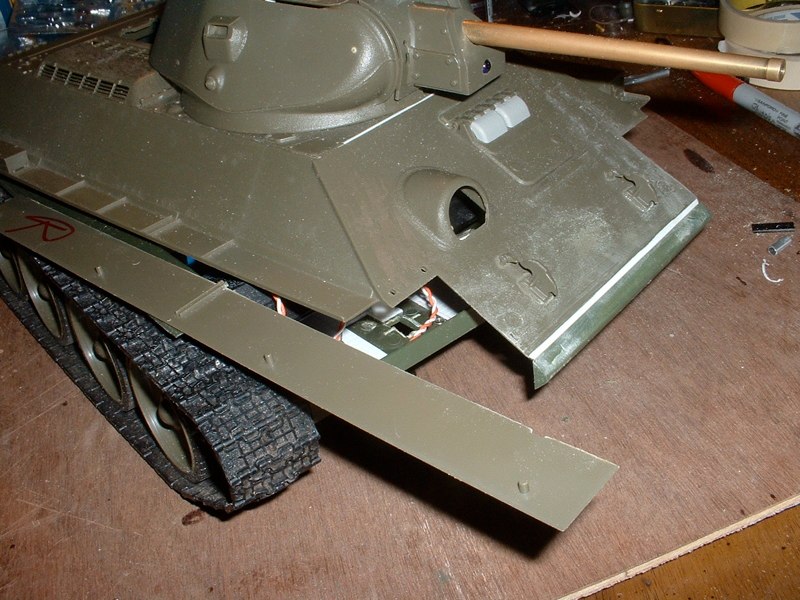
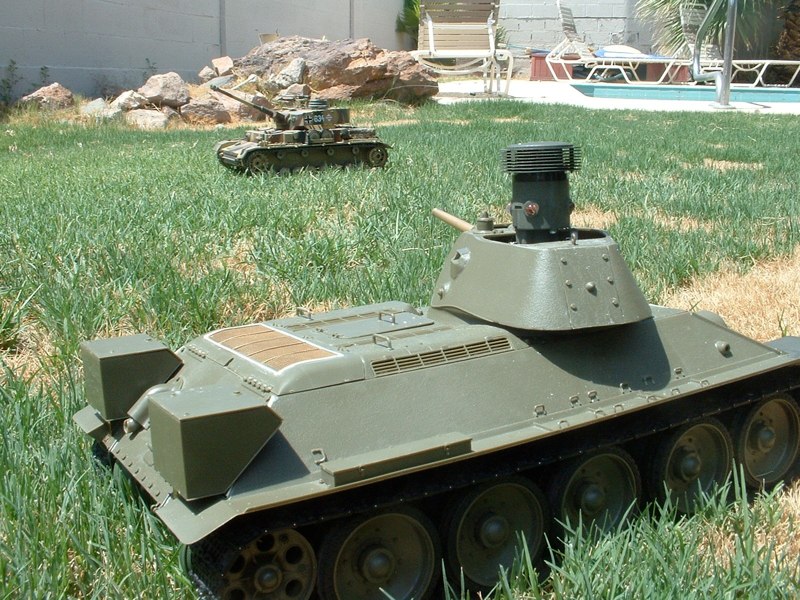
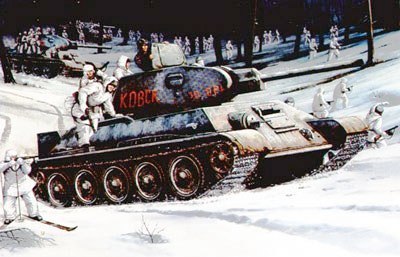
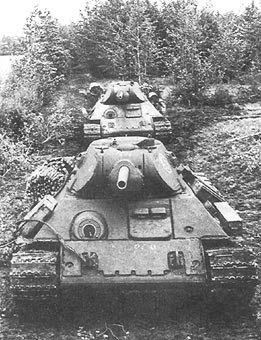
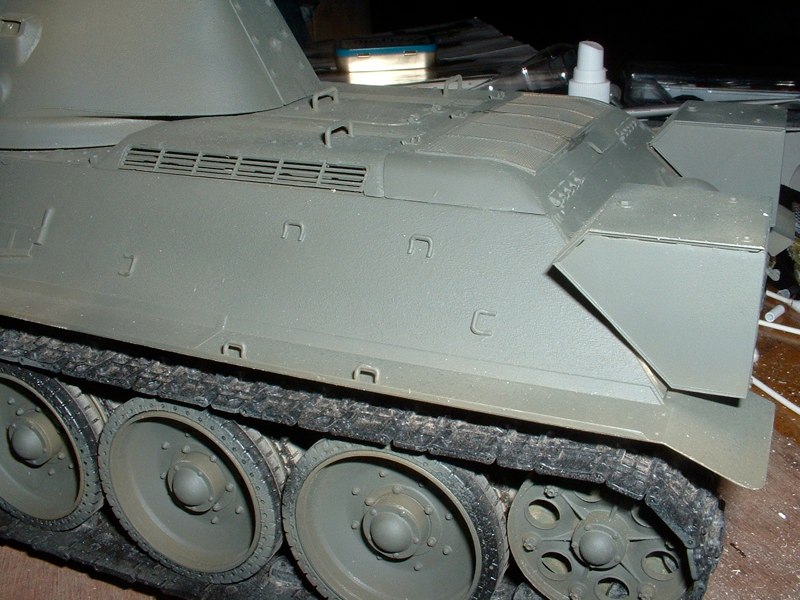
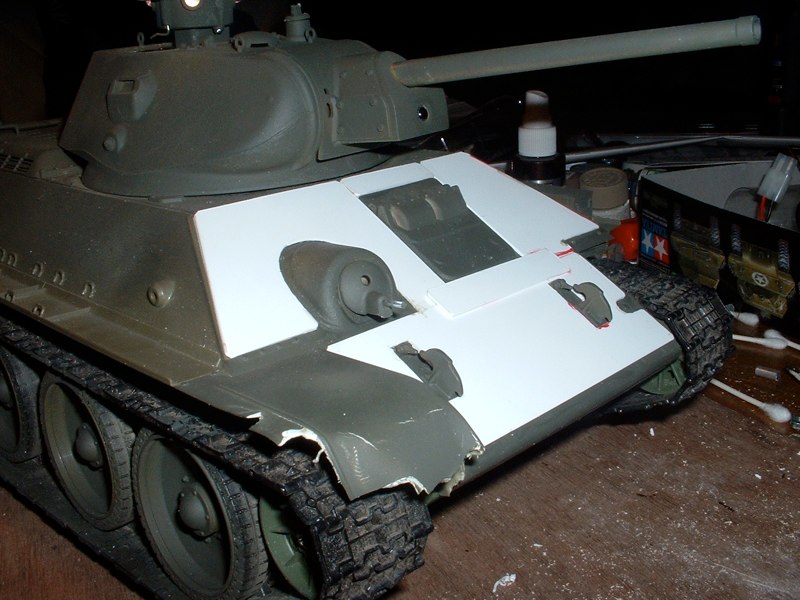
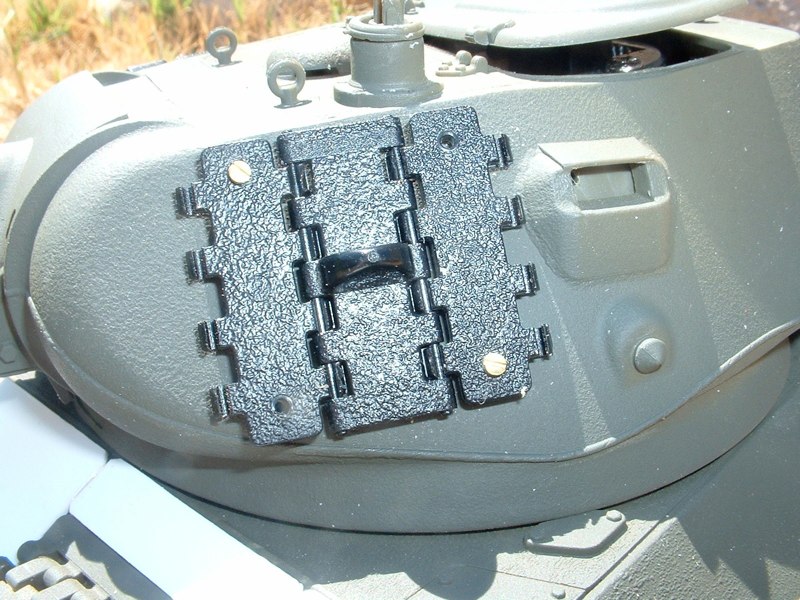
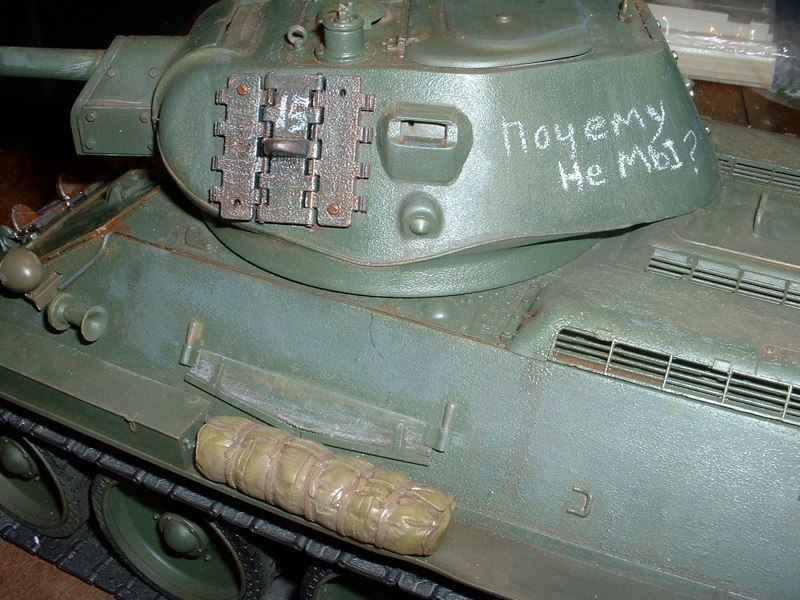
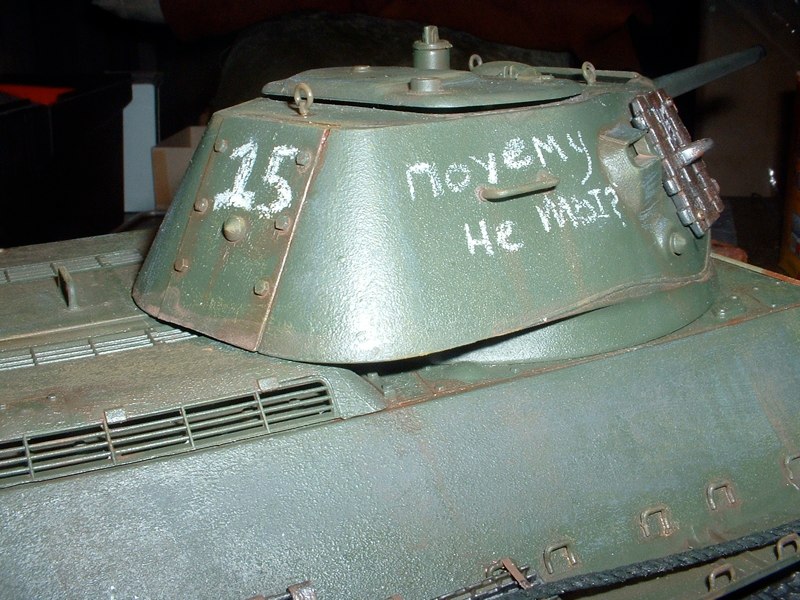
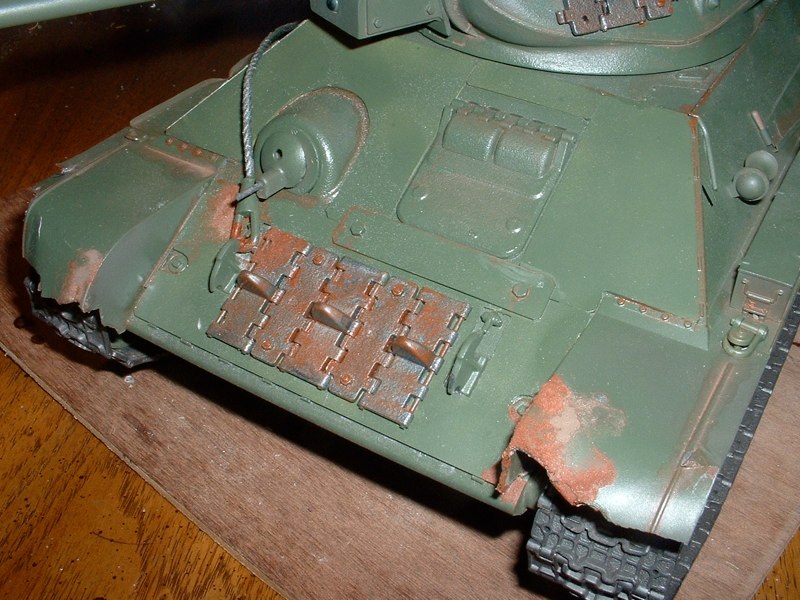
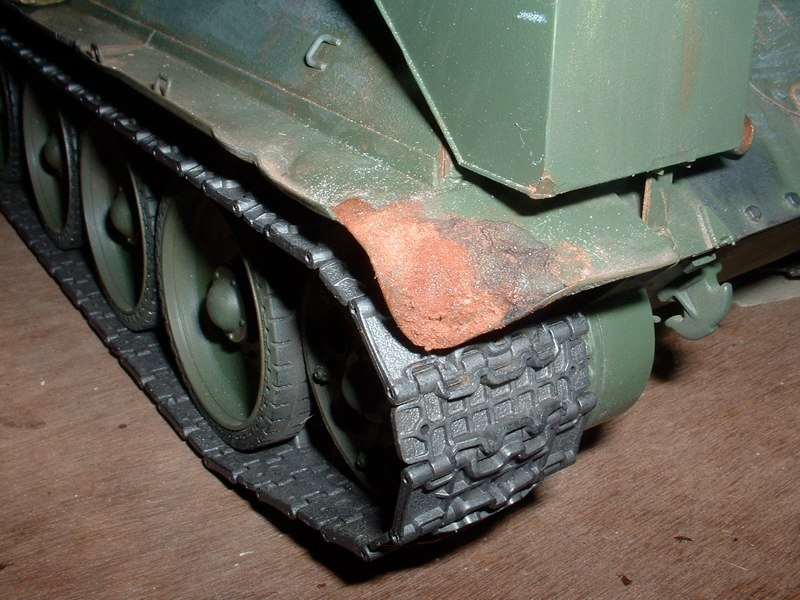
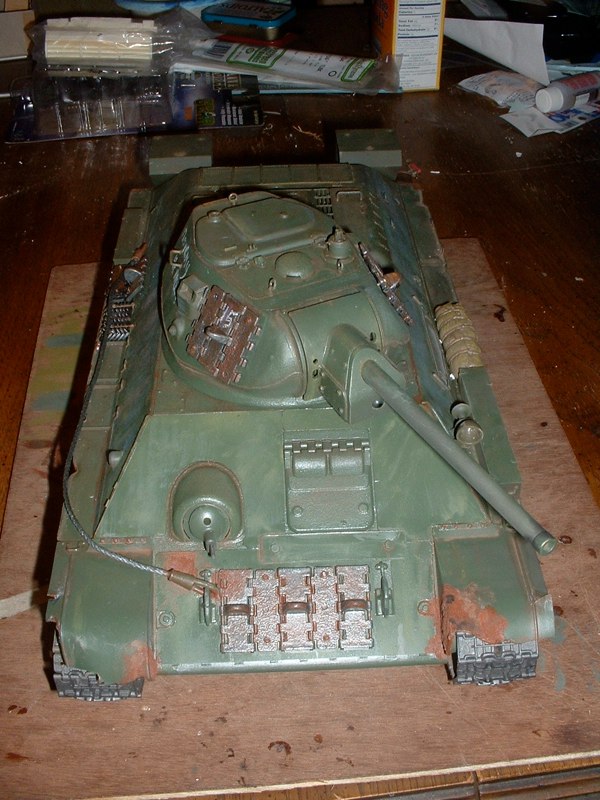
Right out of the box the WSN tank looks great.Although obviously toy-like and crude, there is potential here.I began replacing the WSN late model steel bogies with the Trumpeter early cast wheels. The track is plastic with metal pins but it seems suitable for our needs and can navigate the back yard with impunity. The dogs in attendance did not like the experience. WSN has no speed control and the Steering is mediocre.I had to enlarge the openings for the suspension arms in each bogie from the static kit.I was disappointed to find the WSN kit had screws drilled into the plastic for the main suspension arm connections. A Daryl Turner metal suspension would be awesome.WSN suggests 8 AA batteries, I suggest a rechargeable 7.2v. I removed the battery box and other internal parts to make room for the Tamiya MFU/DMD.A Tamiya gearbox is here. Until I figure out how to modify it to fit in the chassis the WSN gearboxes will do. During this process I sealed the battery hatch and sanded it flush.I am using the much more detailed Trumpeter upper hull for this vehicle. I keep the WSN guts while I make the initial mechanical changes. Next to move is the WSN traverse mechanism and speaker.WSN recoil and elevation units will not fit so they are discarded.Another test run in the backyard to check the modifications. Now to adapt the 76mm turret to fit the 85mm turret ring.Advantages to the Trumpeter upper hull are more detail, movable hatches, flexible hull machine gun, and fenders on or off.I ran a X-acto blade along the molded line on the lower half of the WSN turret. I plan to attach the recoil unit low in the turret so the modifications necessary include a three point mount and enough clearance below the turret.I hate how loud the traverse is. I need to lube those motors to muffle them.Battle unit and crew figure mounts from the spares box are used to build a recoil mount in the turret ring. I have purchased Tamiya full option elevation and recoil units off ebay. I even bought a King Tiger speaker box.The elevation unit is placed on the turret ring with enough clearance for the recoil unit. A slotted extension is added to the recoil unit so the barrel can elevate and depress and remain in position when firing. This process was hard.I got a 76mm barrel from Mikescraft’s in Las Vegas and built a mechanism that will pivot and recoil. I used two springs to act as the return leverage and devised and angled coupler with ball joints to work with the the elevation unit.Recoil jerks upwards a bit but I will live with it after the 100 hours or so I have put into this project. I still haven’t figured out the permanent mount for the turret.A serious wrinkle developed today when I noticed the turret will not traverse 360. It has a tab to prevent the WSN kit wires from binding. I cut new teeth and we are now back in business.Tamiya Pershing electronics are here and most of the components are ready to be hooked up. The only missing ingredient is the flash unit.I took some time mess with the gearboxes and concluded I will stick with WSN for now. Several emails to Daryl Turner have shown I need to experiment more before I try to make my own gears.I did replace the outer drive sprocket halves with the more detailed Trumpeter parts.More clean up is done and I reinforce the hull bottom with sheet styrene and a home made internal cross brace. This kit is starting to look like a tank!Speaker box is connected and mounted under the engine grill for the sound effects. I scratch built a battle unit mount that sits above the elevation unit that can be removed for maintenance. The commanders hatch will have to come off for battling, it blocks the front hemisphere from attack.Work on other external hatches is nearly complete. I will use them for the power switch and a future external recharging plug.More cleanup is done to the hull and I added several weld lines of .30 plastic rod melted with MEK. I also added counterweights to the turret to balance the heavy brass barrel. One big change is to the fit of the upper and lower hull. I removed the static kit’s sponsons to and attached them to the WSN hull. The 1/18 inch gap between the halves is now filled. It also helped alleviate the warp in the WSN hull and holds the halves together.One big change is to the fit of the upper and lower hull. I removed the static kit’s sponsons to and attached them to the WSN hull. The 1/18 inch gap between the halves is now filled. It also helped alleviate the warp in the WSN hull and holds the halves together.Time to run the tank!! I dispatched it to my back yard and let loose. It handles great except the right rear bogies seem to be sticking and the track occasionally grinds on sharp turns.I set up a 21st Century Toys Panzer IV as a photo op. Later I discovered the drive sprocket was loose, easy fix. I fitted some styrene to the bow joint to make it flush with the upper hull. Much sanding is required. Time to paint!Wow this kit is taking me a long time. Running it in the yard damaged my front hull and I had to stiffen it up.I had designs on making this a white washed vehicle as the box top hints at.......but I found this picture of an up armored T34/76 and have decided that this is my vehicle.I painted a primer coat of Rustoleum camo green and let it dry all day. Out came the styrene and voila, applique armored T34/76. Front end now secure as well.I really like up armored vehicles. I plan to do something like this to every kit I build in the future. It shows the desperation and ingenuity in war. The Soviets were desperate after the Pak 40 and the Panzerfaust began to inflict heavy losses on the tank units. In my opinion, this helps make a vehicle unique.After some research I learned many up armored T34s had spare track placed on the turret sides. Here is my chance to bolt something on.Time to add bow and co axial machine guns. I simply stuck the fiber optic through the Trumpeter assembly and into the LED. It fit perfectly the first time. It even moves independently like the Pershing .30 cal. I placed the Battle Unit transmitter in the recouperator housing below the barrel. Purists will criticize me but I felt placing it in the sight opening would limit the field of fire. So far it can fire just fine.I am trying to depict a reworked 1942 model in the Kursk area. It will be a platoon leader’s vehicle so I can integrate the kit’s antenna with the radio’s reciever. For more detail, I added weld beads to the edges of the armor plates to match WW2 photos. I will be using Testor’s Russian Armor Green enamel. I use a Badger 150 airbrush and usually thin my paints with a 3/2 ratio. I need more thinner in Arizona as paint dries so fast.I used about half a bottle of paint and like the result. I purposely left splotches of the basecoat for contrast and after several hours of drying, I drove it around to work some dust into the paint. I primarily use rust and flat black washes to weather my tanks. No real formula, I just keep going until it looks good. Colored pencil is good for bringing out details and adding scratches.This tank is starting to look like what I imagined. Details include; spare track, tow cable, growsers, camoflage net bag, box style external fuel tanks, some extra tools, radio antenna, and chain.The reference pictures I have found don’t show much external stowage. I may have to just add dirt and call it a day. The Trumpeter kit allows for many options and I appreciate the choice of adding holes to the hull for detail.The moniker I have chosen is an actual Russian phrase. It is a personal joke. The tactical number 15 is the Channel of the TV station I work for. Technically, they paid for it by employing me. These were added with a colored pencil to replicate the chalk used in the field. Next step is soot around the engine, and oil around the road wheels.Rust is visible on most Russian equipment. I started experimenting with baking soda and paint. I have dented the fenders and stowage boxes for effect. Every Soviet tank I have seen has had the living @#$% beaten out of it. The tracks were painted gunmetal. Running outdoors will weather the suspension.Every full option kit is a warren of cables and components. Remarkably, the kit is quite spacious compared to the Pershing. Granted it is missing durable suspension elements and sturdy gearboxes, but I am happy so far. Speed is good, it handles the usual obstacles with no problem. My elevation unit needs work but my custom recoil works great. Here are some new pics of it in combat. My enthusiasm got me killed often.