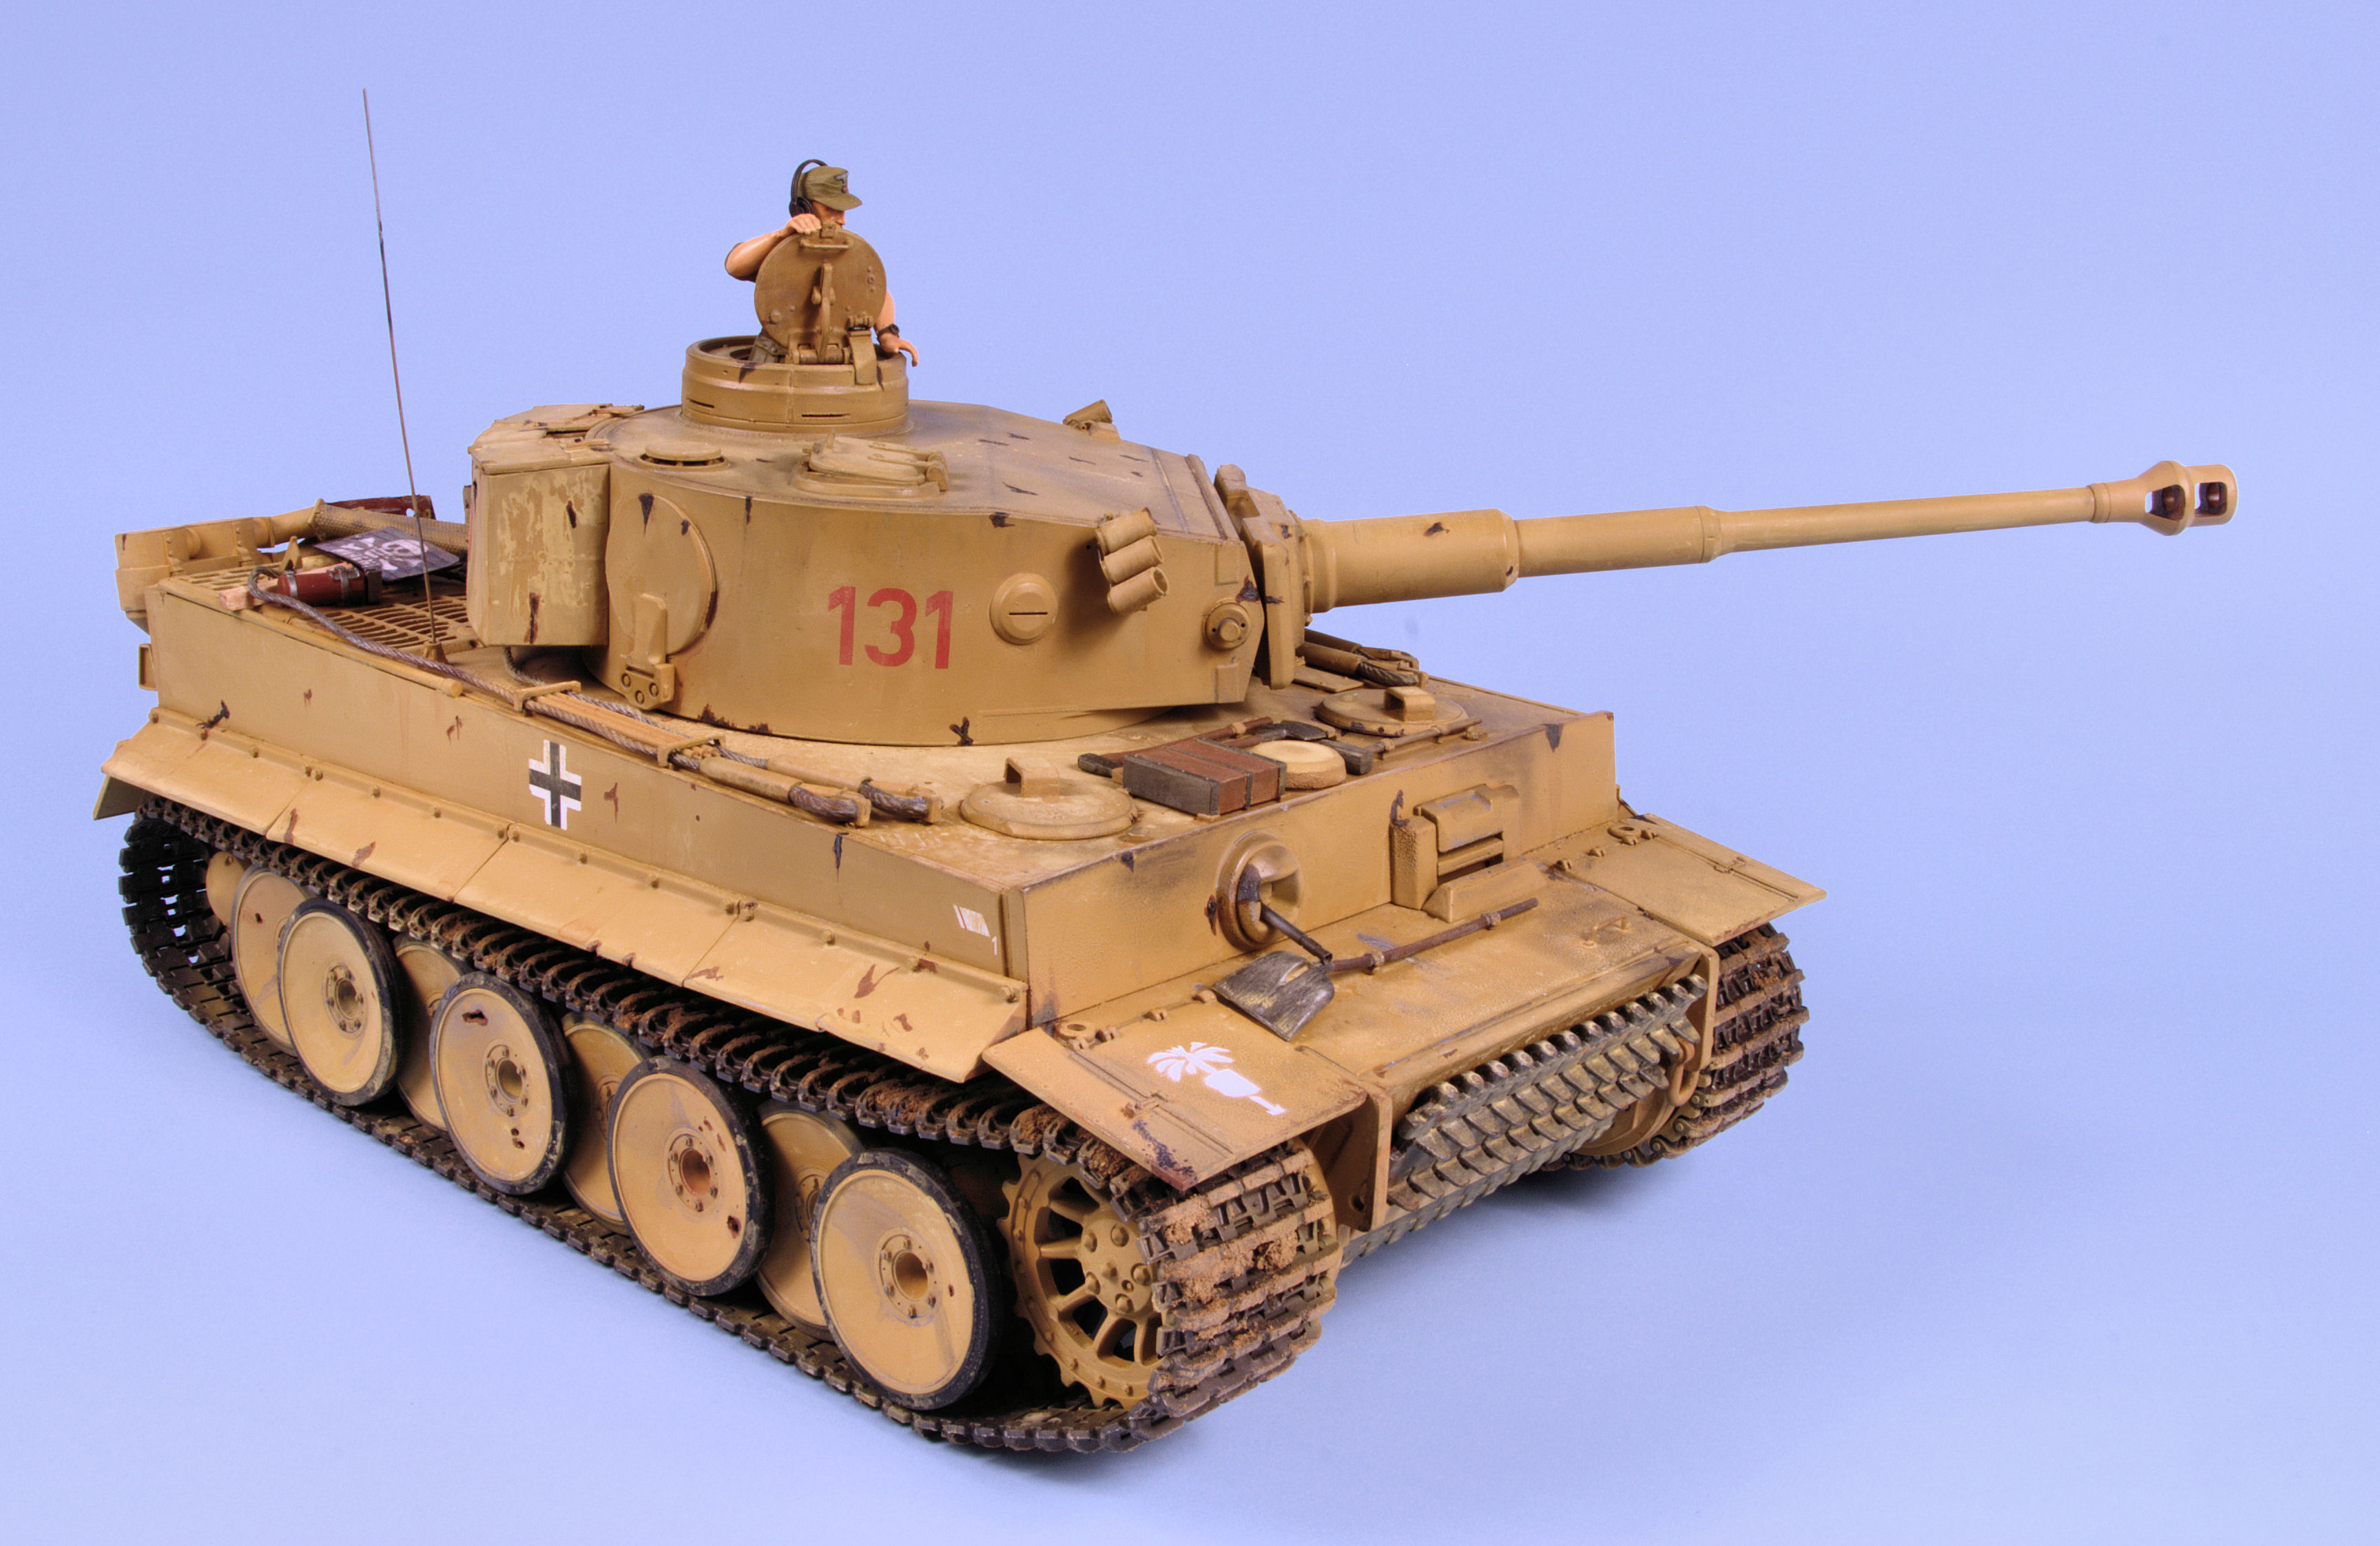
As seen in.. Featured in FineScale Modeler magazine

DAK photo
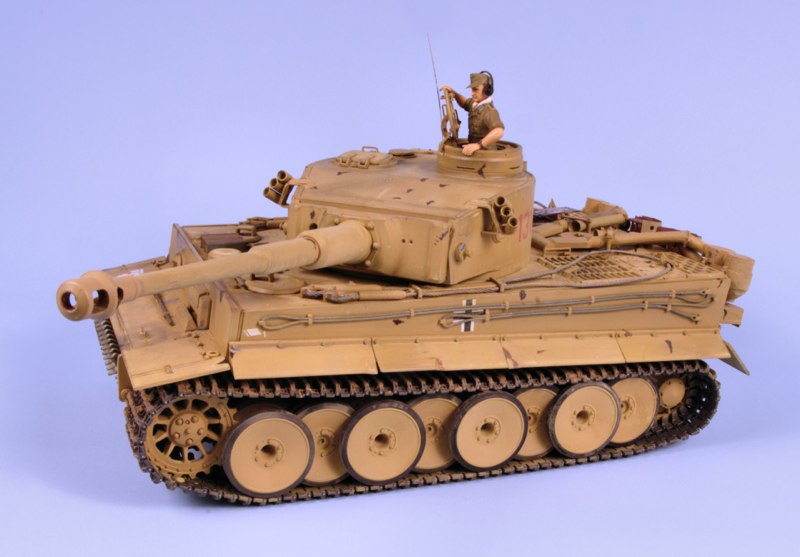
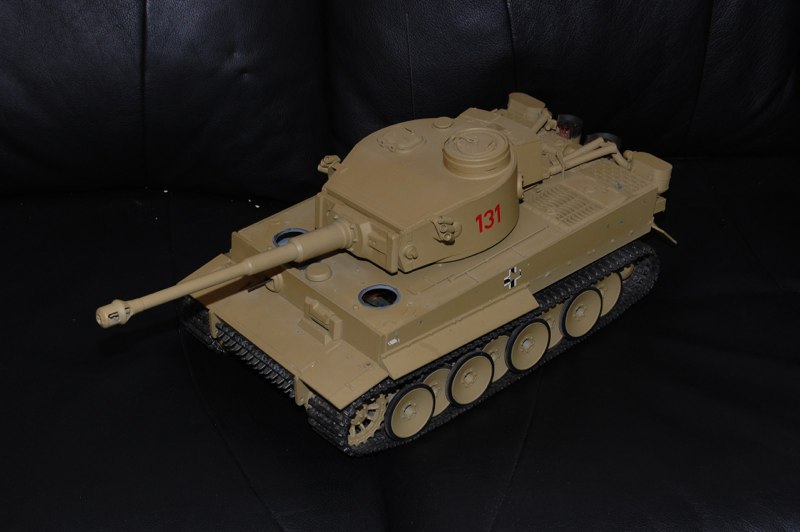
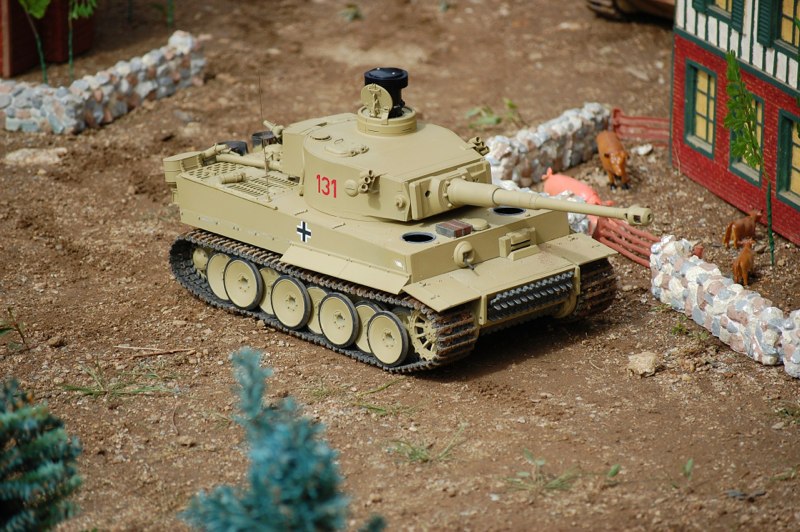
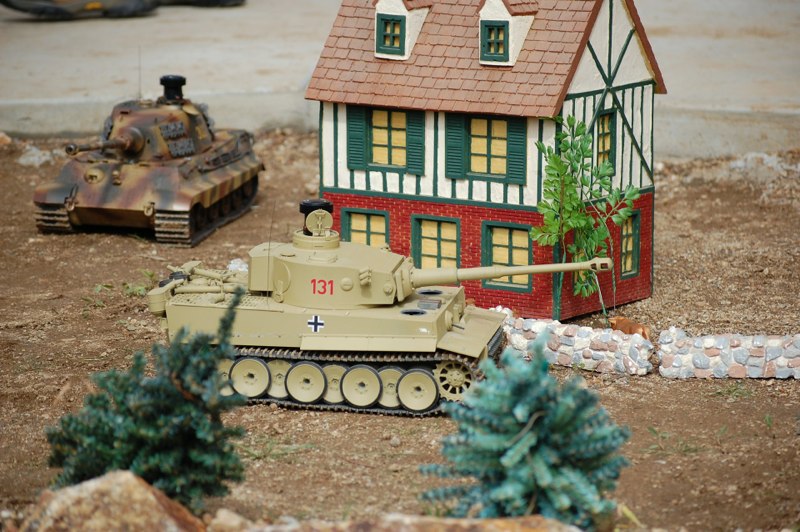
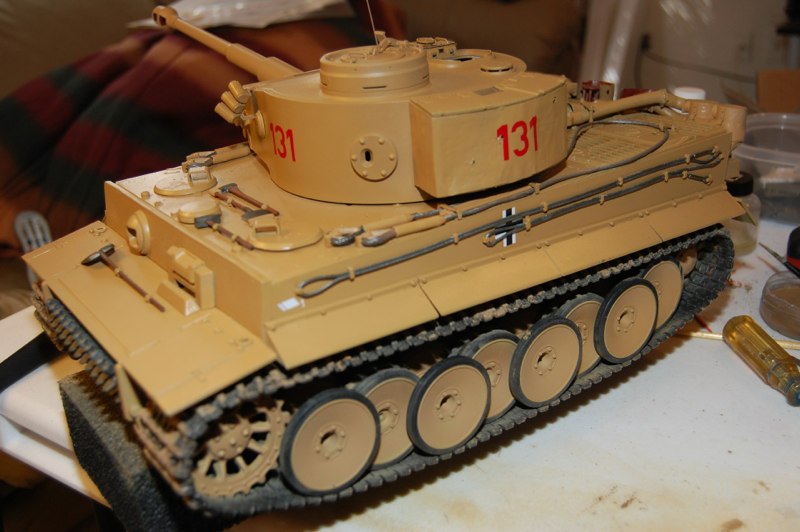
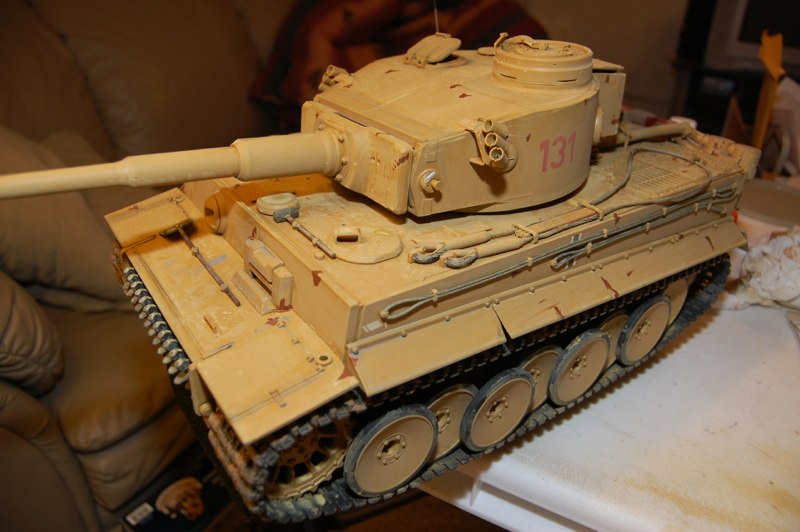
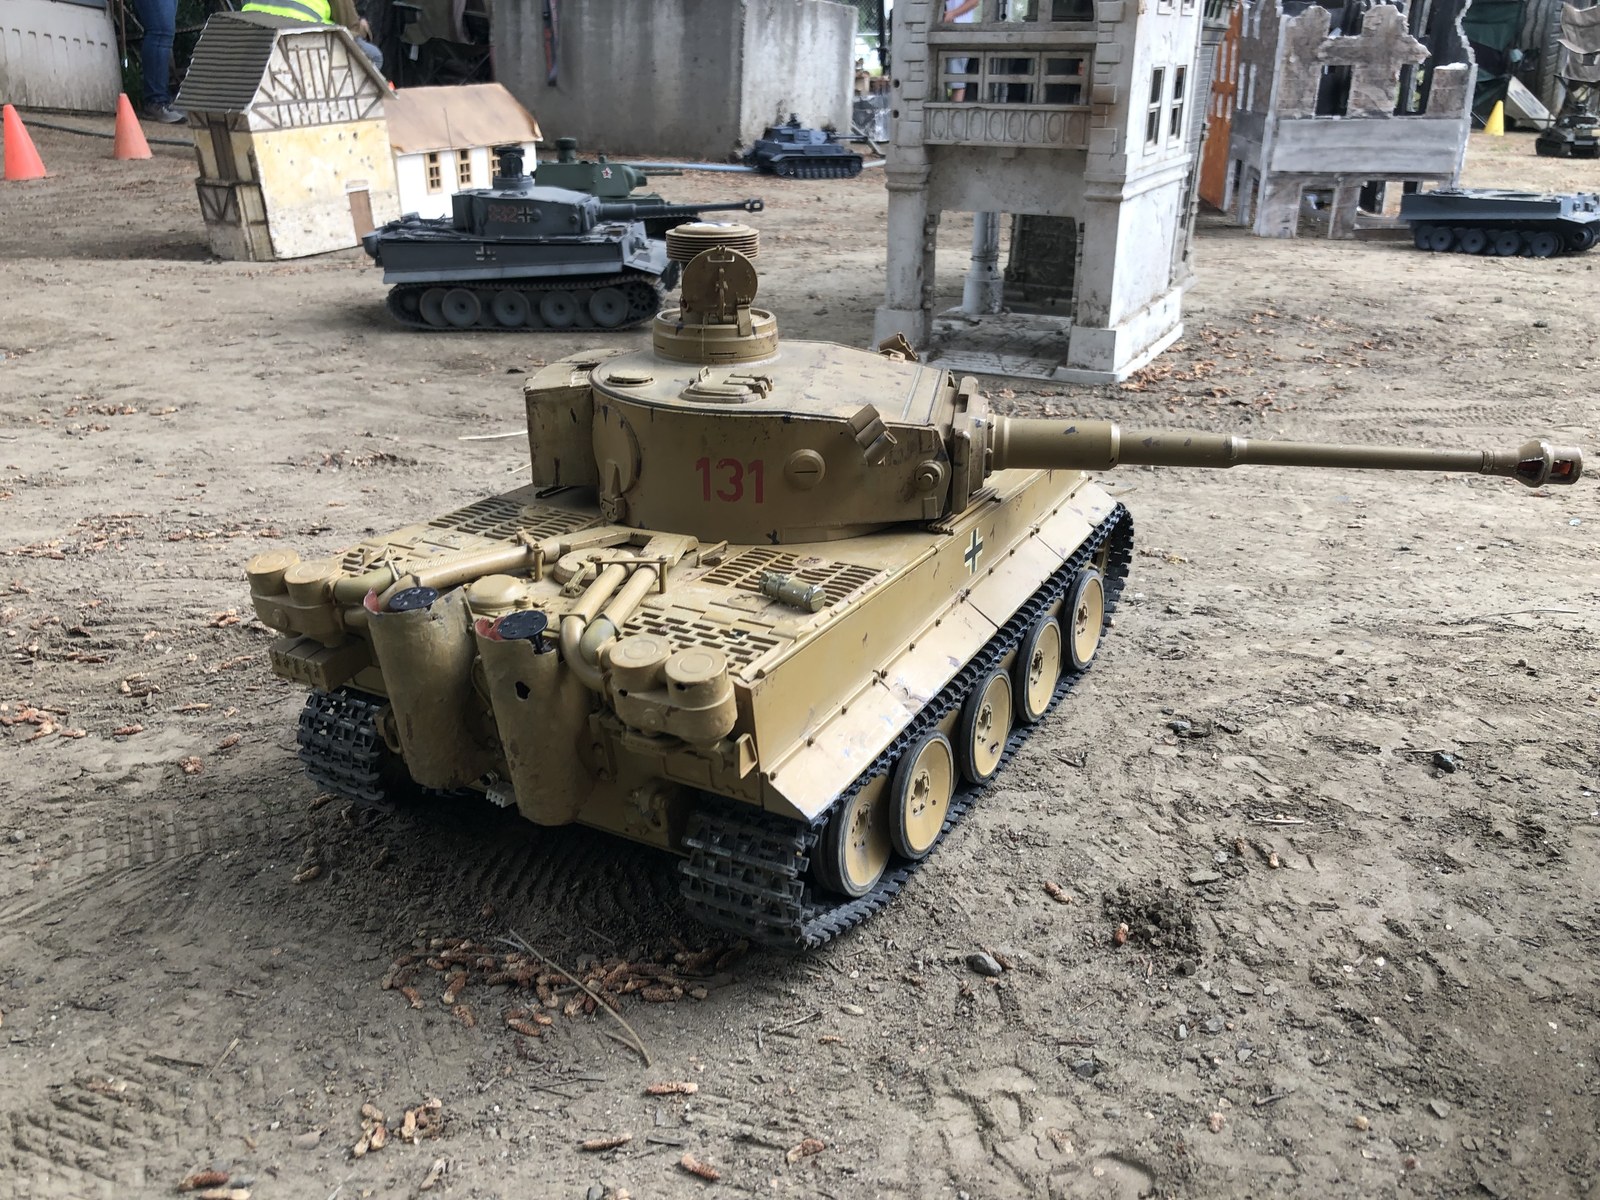
FINISHED!
FINISHED!

Initial Build

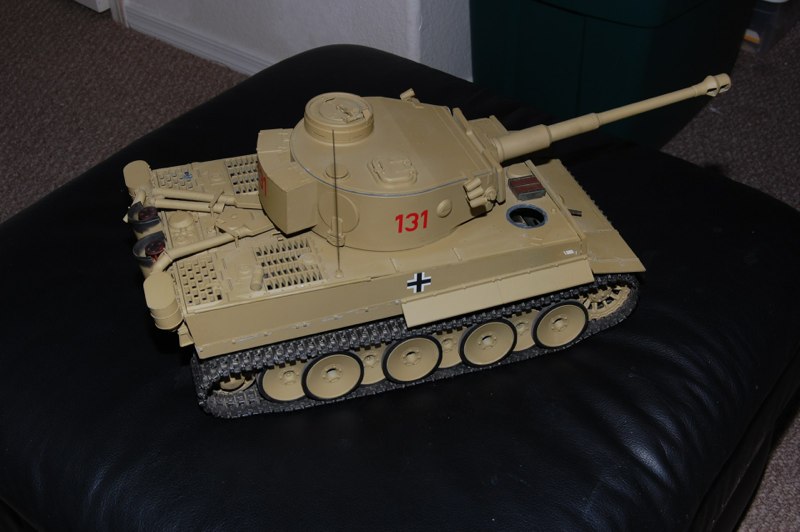
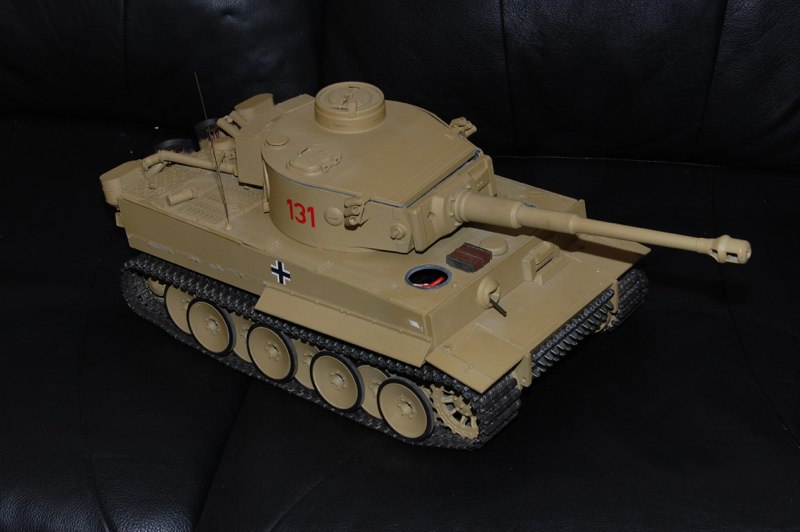
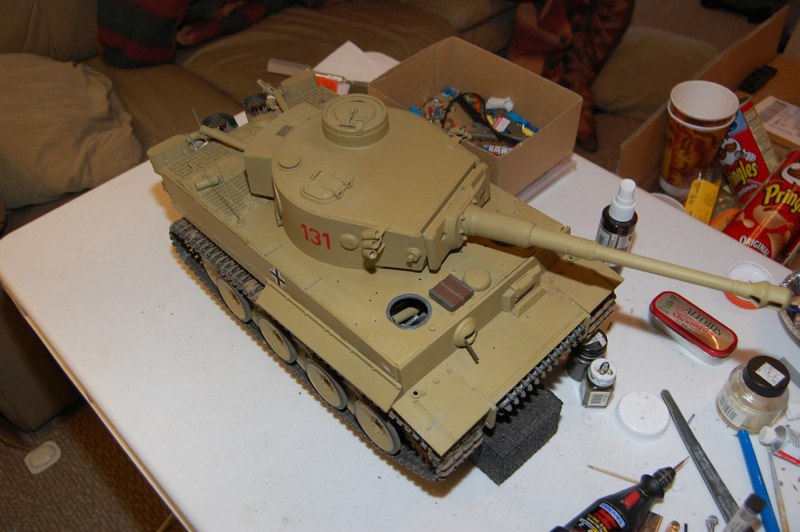
Second hand Tiger is aquired and 1st step it removal of external details and  general overhaul.
Second hand Tiger is aquired and 1st step it removal of external details and general overhaul.
Kit was in good shape overall but had a broken recoil unit.  Repairs were accomplished by scavenging parts from a second Tiger recoil that was also damaged.
Kit was in good shape overall but had a broken recoil unit. Repairs were accomplished by scavenging parts from a second Tiger recoil that was also damaged.
I have the K sprue from the static kit that includes early mantlet, feifel air cleaners and the Afrika Korps commander.
SCAT’s Feb 23 battle was an excellent chance to take it out for a little spin.  It handled great but saw limited use due to rain.
SCAT’s Feb 23 battle was an excellent chance to take it out for a little spin. It handled great but saw limited use due to rain.
Looks good so far.  I plan to do some damage to the parts as seen on the original.
Looks good so far. I plan to do some damage to the parts as seen on the original.
Back to the bench
Back to the bench
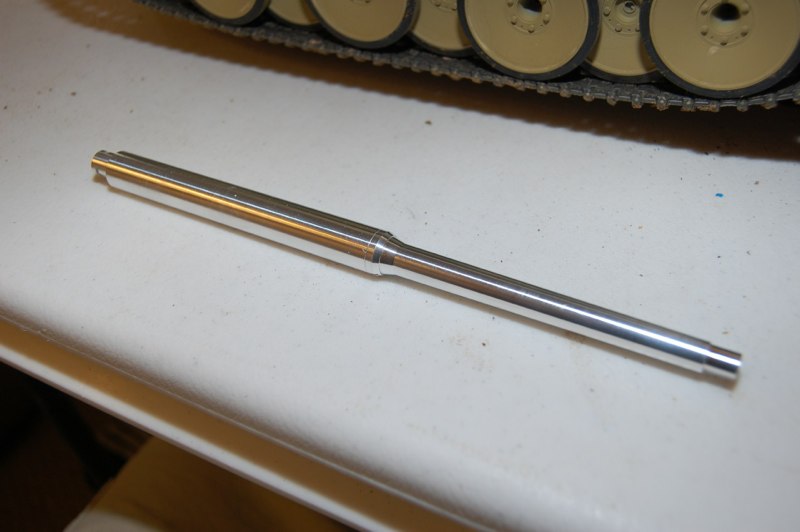
Stella aluminum barrel.
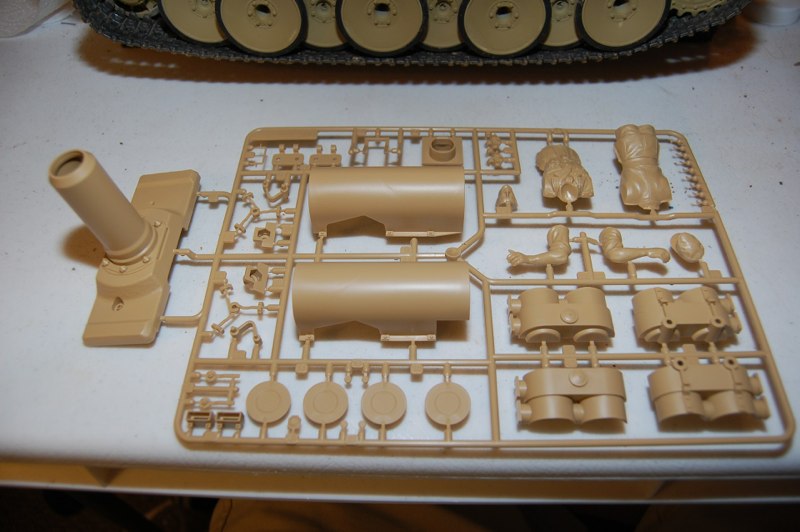
K sprue from Tamiya static kit 3 36203
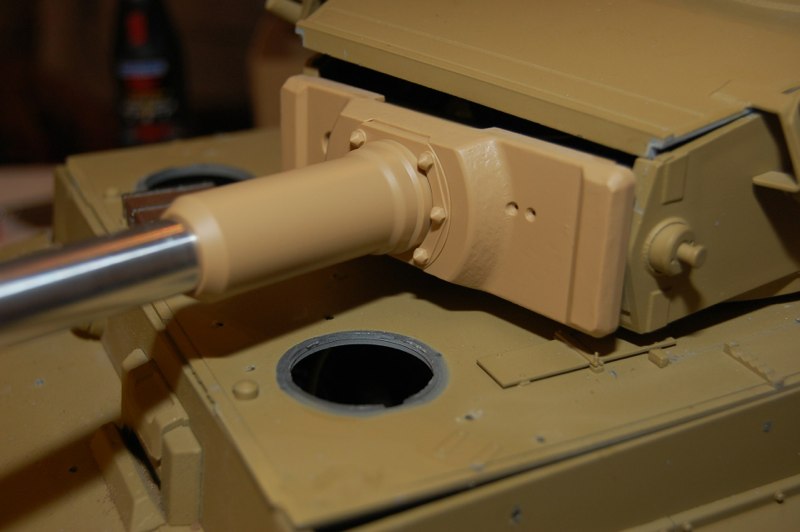
Barrel installed and IR emitter placed in the gun tube this time.
Early mantlet was installed with the existing parts.  This is much easier to do with the original build.
Early mantlet was installed with the existing parts. This is much easier to do with the original build.
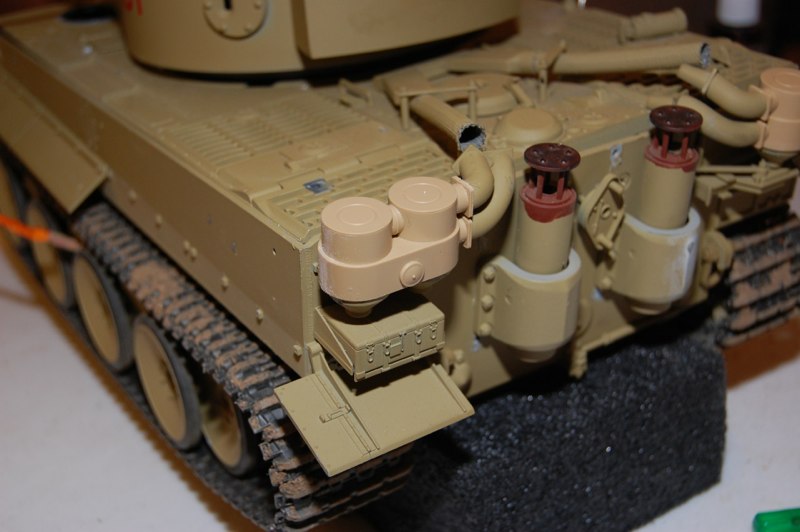
I removed the old air cleaners and scavanged the parts needed for the  new feifel air cleaners.  Again this would have been easier in the origanal build.
I removed the old air cleaners and scavanged the parts needed for the new feifel air cleaners. Again this would have been easier in the origanal build.
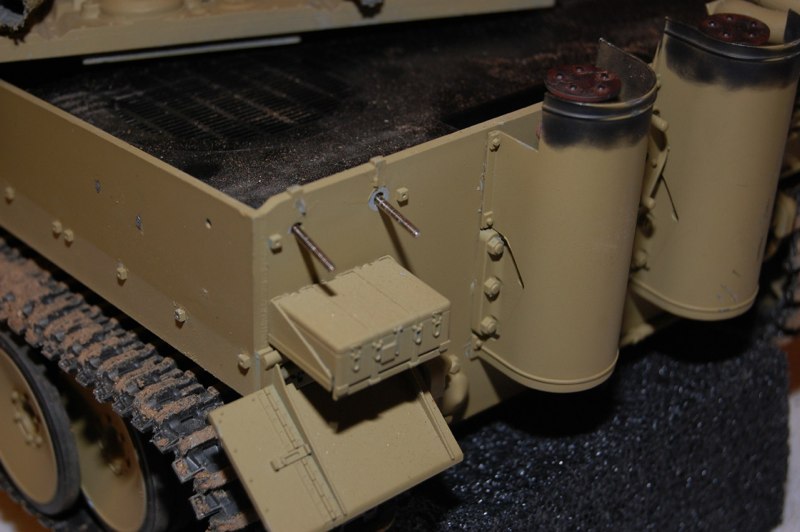
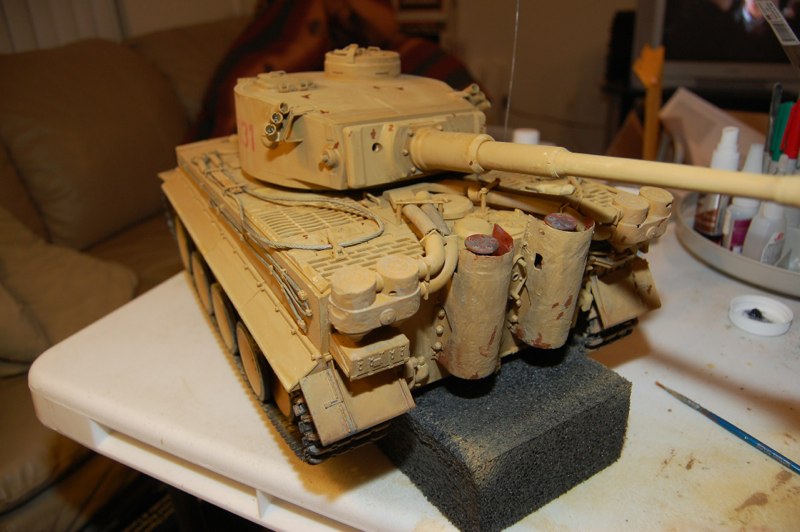
Feifels mounted.  Now I need to damage them up.
Feifels mounted. Now I need to damage them up.
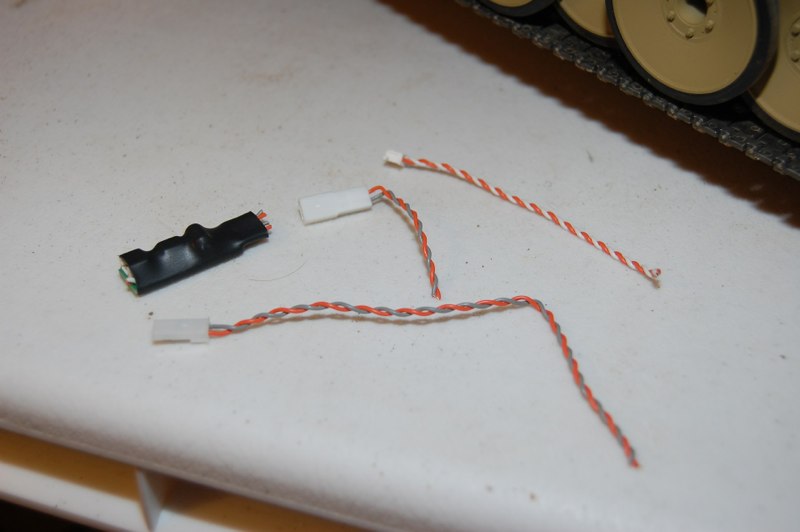
To get the emitter the length of the barrel I cut apart the two cahennel device from the Sherman kit for the connectors and similar guage wire.
I removed the stowage bin to add aluminum so I can beat it up pretty good.
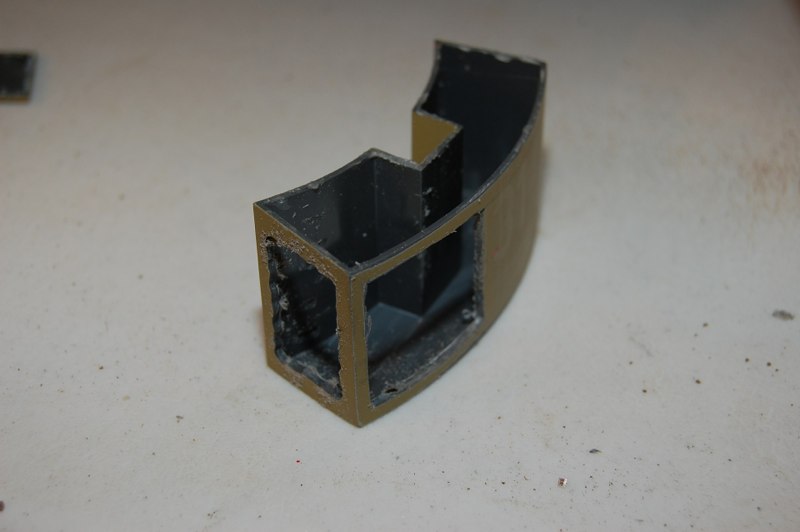
The kit bin was cut apart to act as template for my re-skinning.
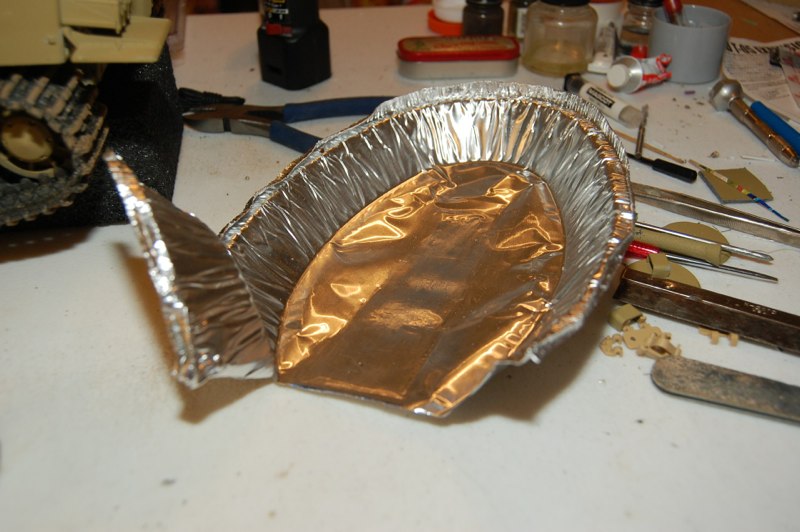
I plan to use a metal lid from Chipoltle.  The gauge was just about right and the lids are easy to find around the station.
I plan to use a metal lid from Chipoltle. The gauge was just about right and the lids are easy to find around the station.
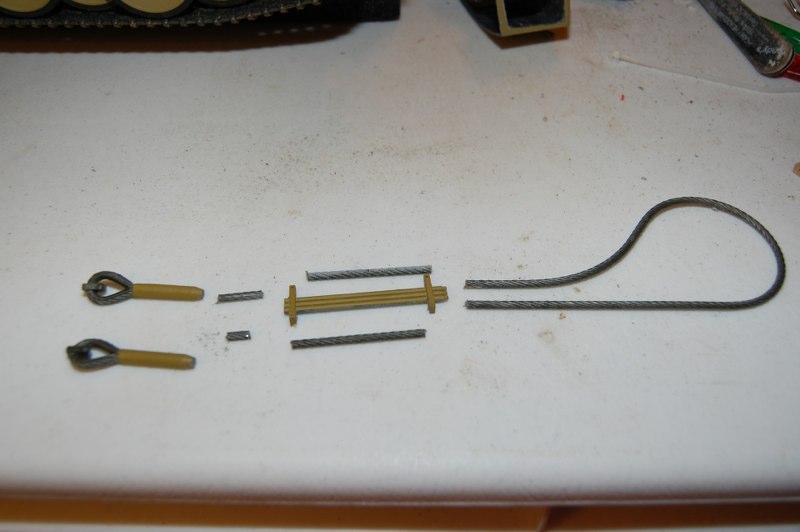
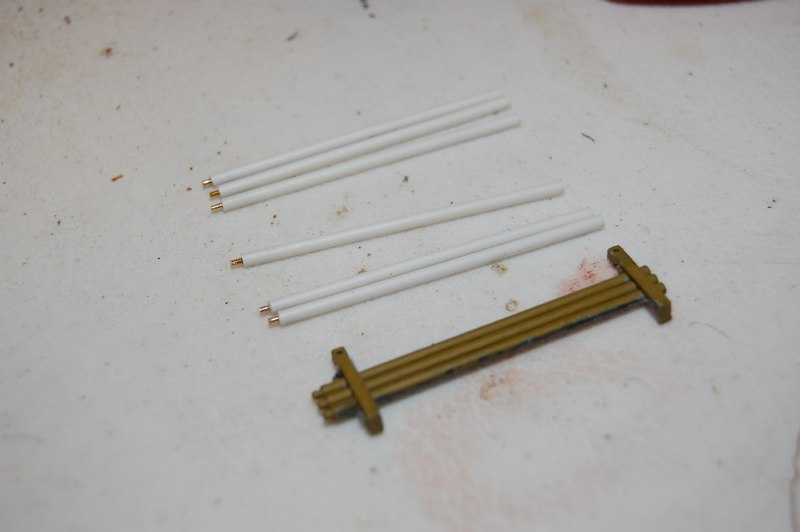
I cut apart the plastic tow cable to get the basic parts that real cable can fit to.  I bored out the ends with various drill bits and voila!
I cut apart the plastic tow cable to get the basic parts that real cable can fit to. I bored out the ends with various drill bits and voila!
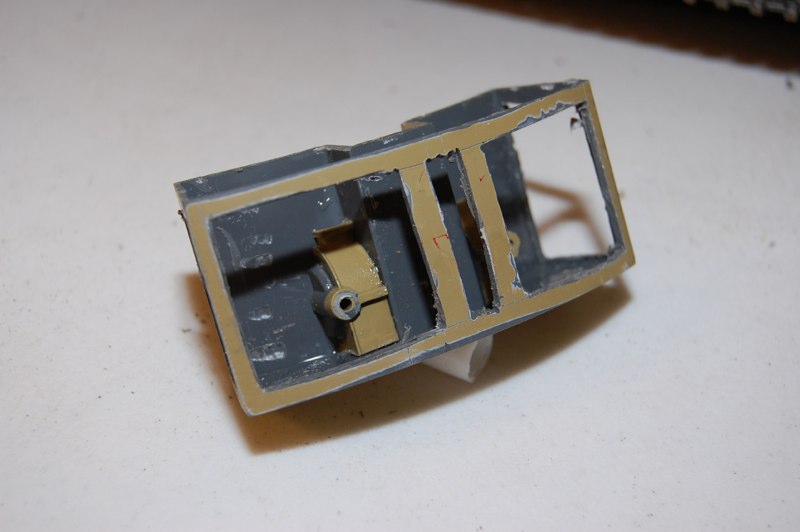
bin cut up and ready to get a new surface.  I also added parts of the original air cleaners to create a fastener for the stowage bin.  I screwed it back on instead of gluing.
bin cut up and ready to get a new surface. I also added parts of the original air cleaners to create a fastener for the stowage bin. I screwed it back on instead of gluing.
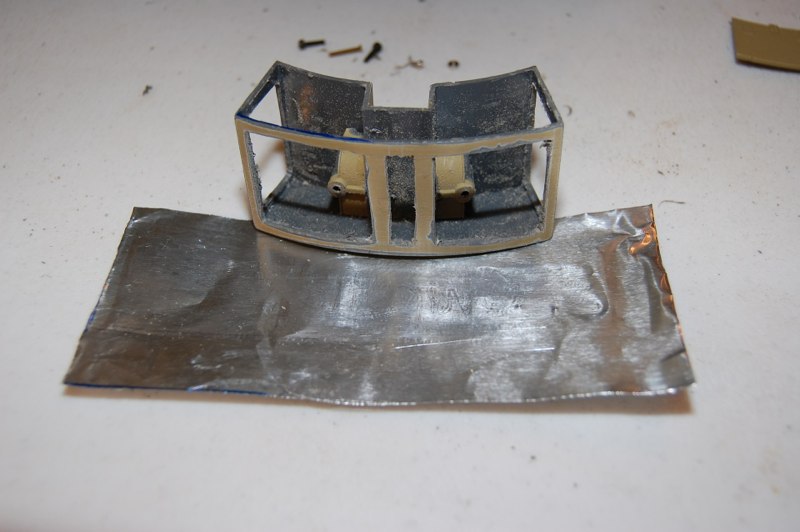
Appropriate size chunk of aluminum cut to shape
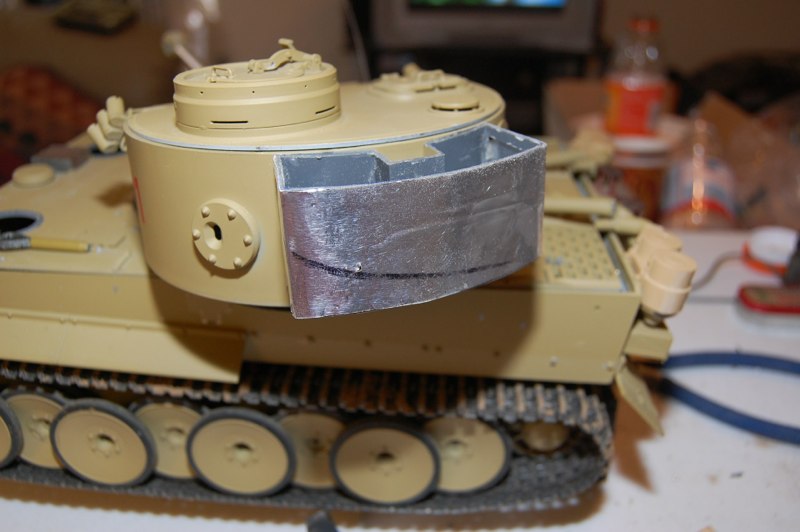
Bin back in place and ready for the damage.
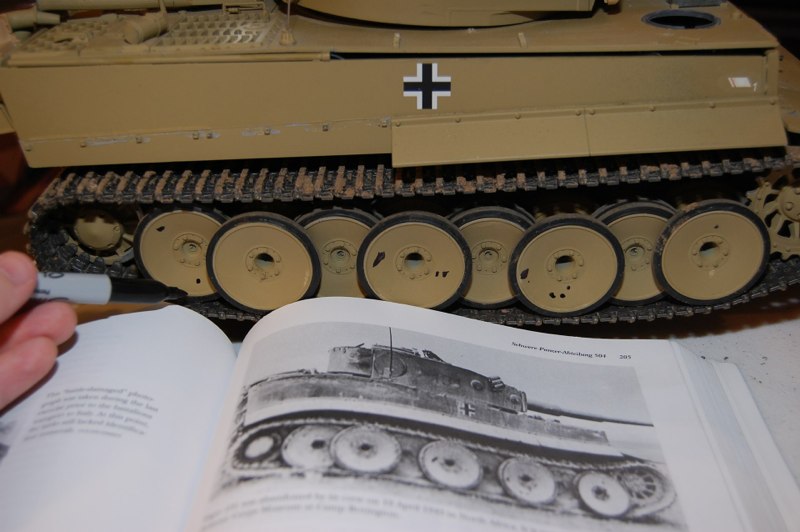
Based on this photo, I use a sharpie to plan the damage to the road wheels.
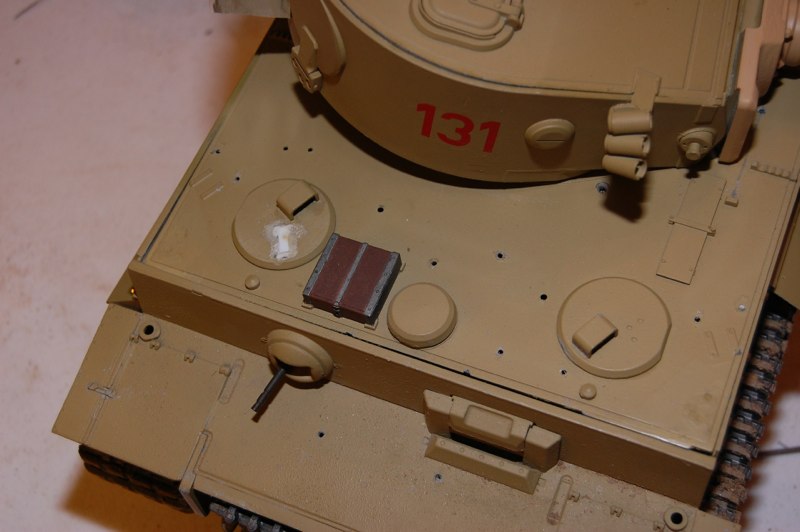
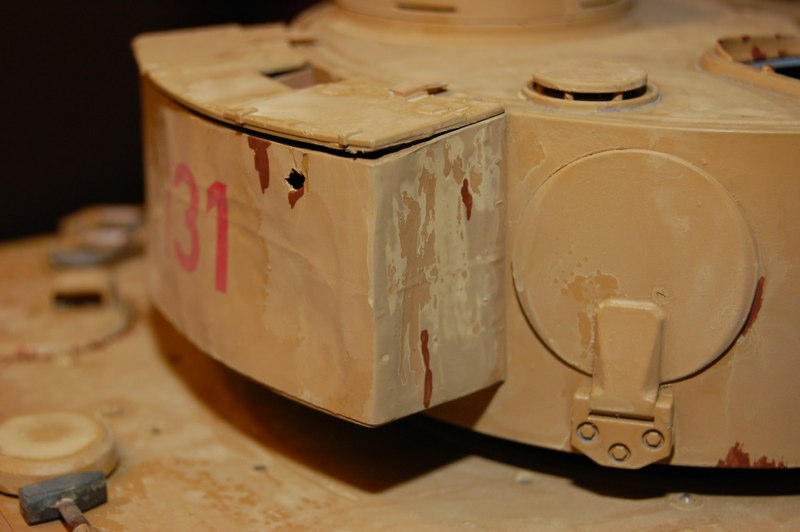
Little anecdote of the 131 story is the mis-matched hatches for the driver and bow gunner.  One was replaced by the opposite hatch (probably from another tiger)
Little anecdote of the 131 story is the mis-matched hatches for the driver and bow gunner. One was replaced by the opposite hatch (probably from another tiger)
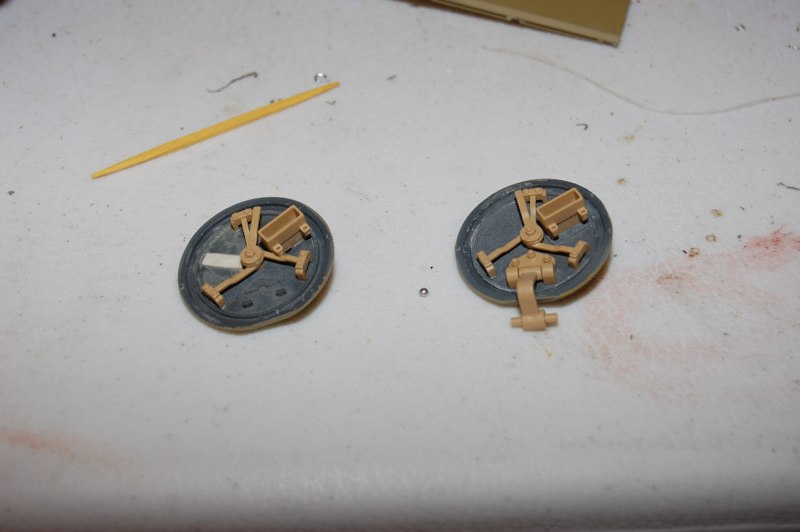
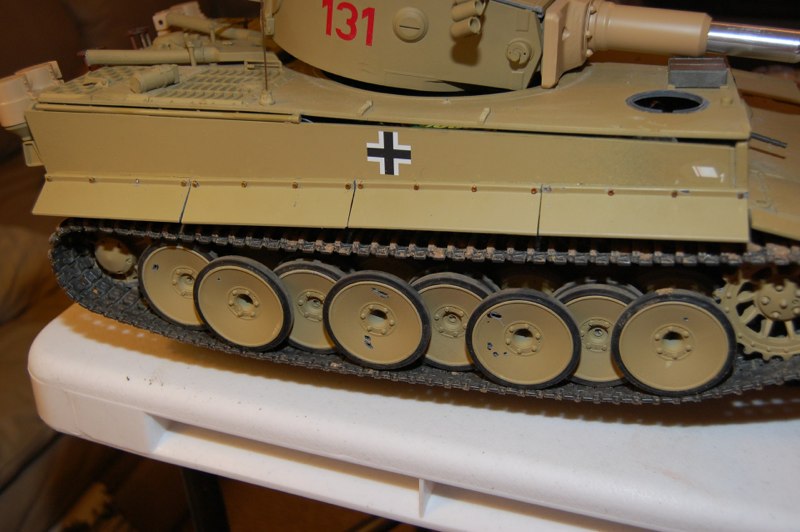
My trusty dremel tool does the real work.
Once painted it will look really cool.
I made one hatch look like the other by filling in the periscope and then used the “K” sprue parts to make the hatches work.
Once painted I think they will be most convincing.
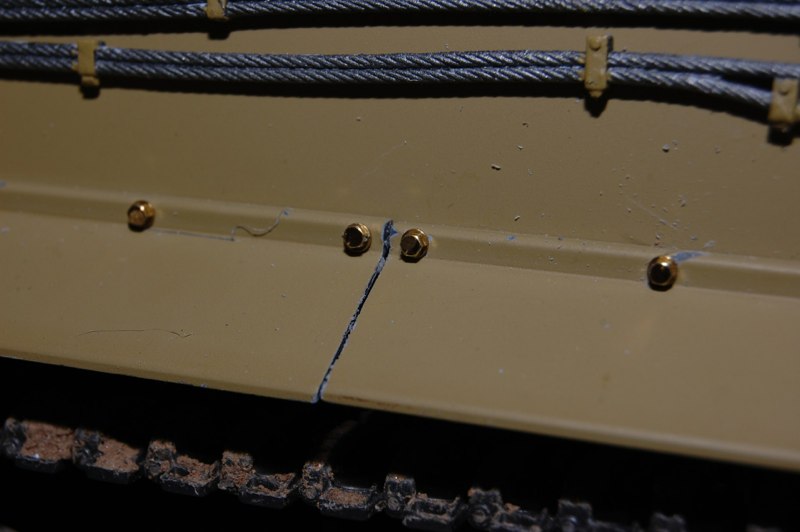
I have to actually bolt something on to my tanks and my latest effort eas the side skirts.  00-90 hex head bolts and washers were added after scraping off the originals.
I have to actually bolt something on to my tanks and my latest effort eas the side skirts. 00-90 hex head bolts and washers were added after scraping off the originals.
Xtreme detail time.  I will replace the gun bore brush handles with styrene tube and bits of 00-90 treaded rod.  This was very easy and can actually be threaded together!
Xtreme detail time. I will replace the gun bore brush handles with styrene tube and bits of 00-90 treaded rod. This was very easy and can actually be threaded together!
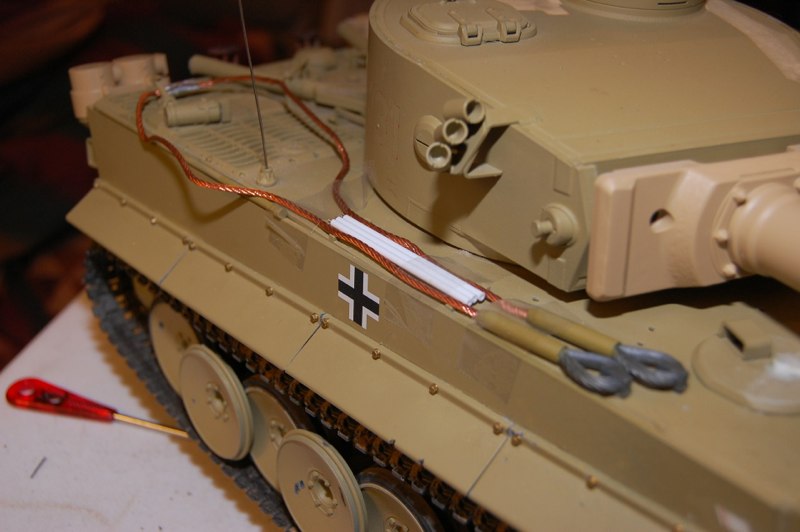
In place with metal tow cable.
Exhast heat shields were attacked by motor tool to give the distressed appearance and holes were ground outto replicate actual battle damage.

Painting & Weathering

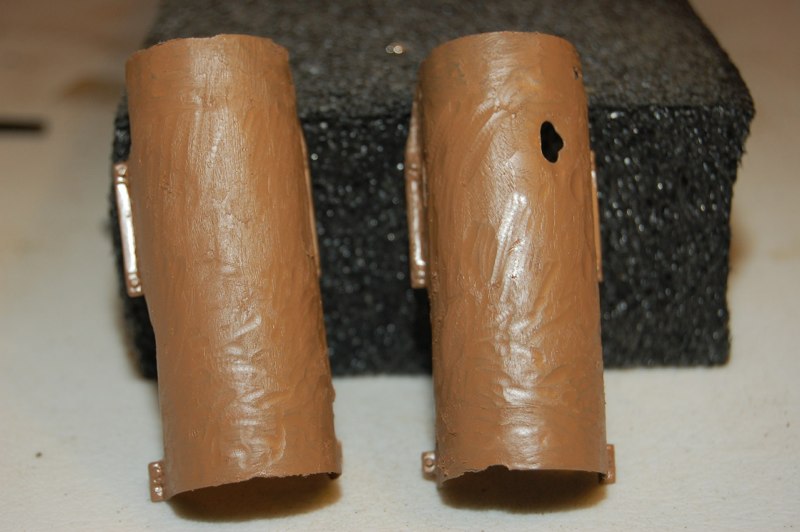
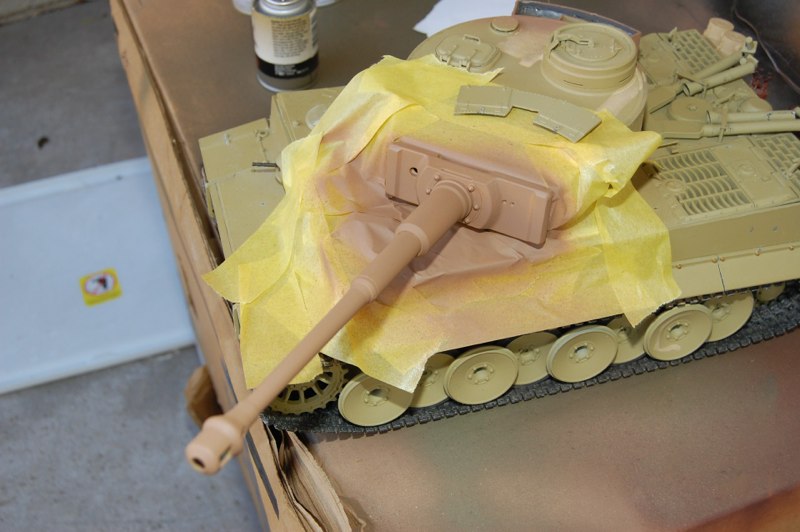
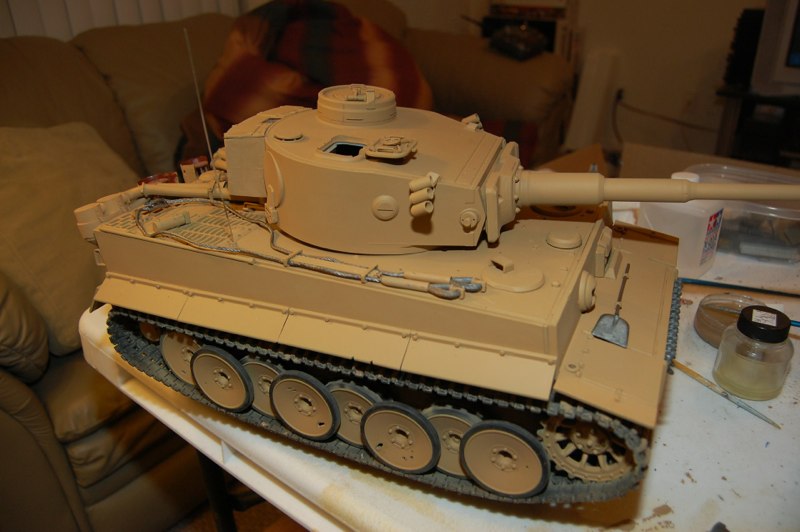
Brown base coat applied to new components in preparation for Tamiya Desert Yellow overcoat.
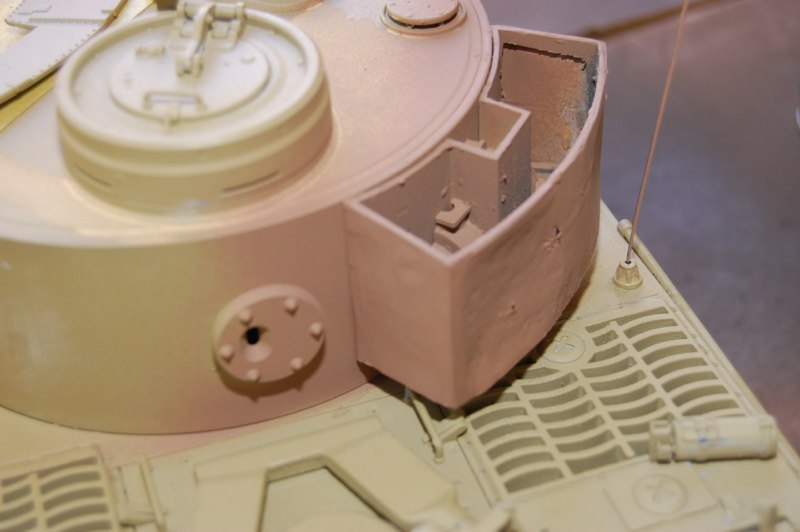
Newly skinned stowage box gets the base coat prior to airbrushing.
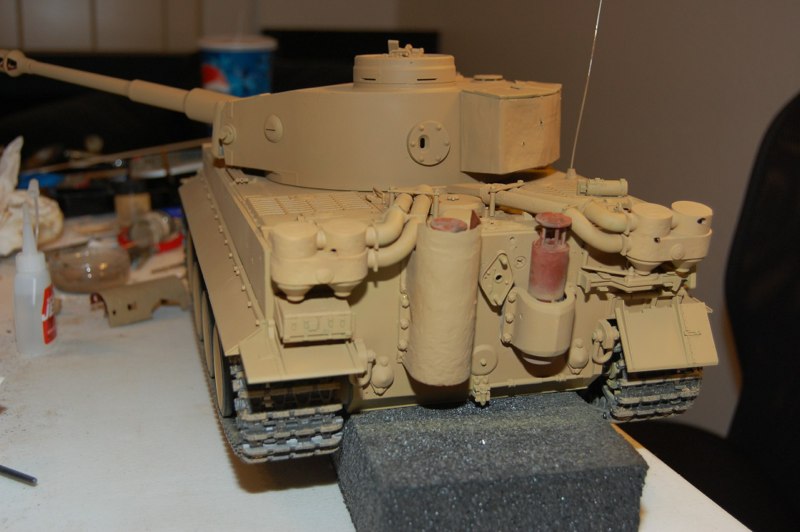
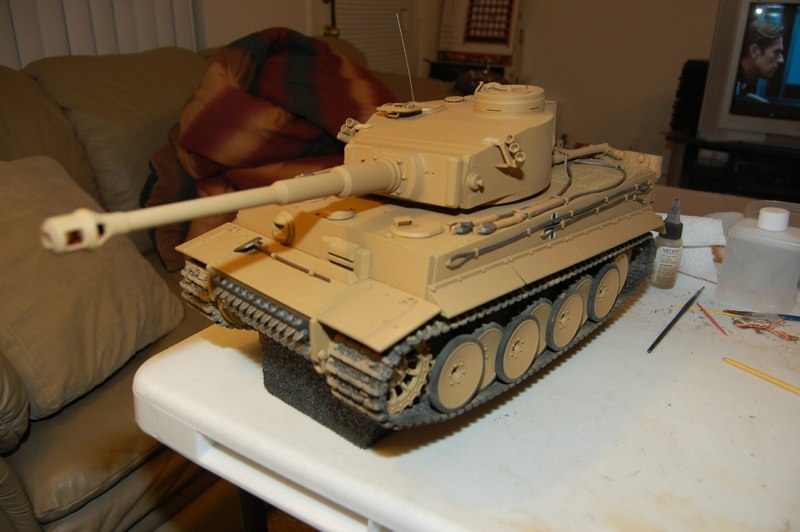
Tamiya Desert Yellow applied with Iwata airbrush mixed 50-50 with Tamiya acrylic thinner.
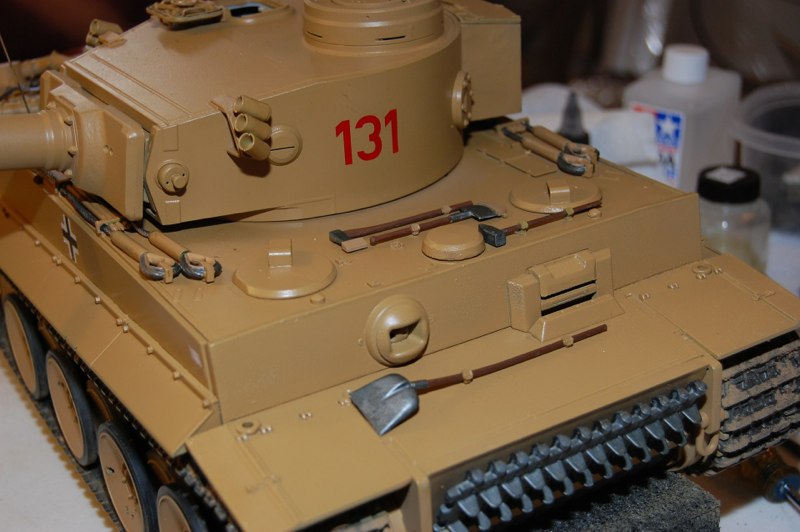
Second coat smoothed out the finish and I put some of the tools back.
DAK photo
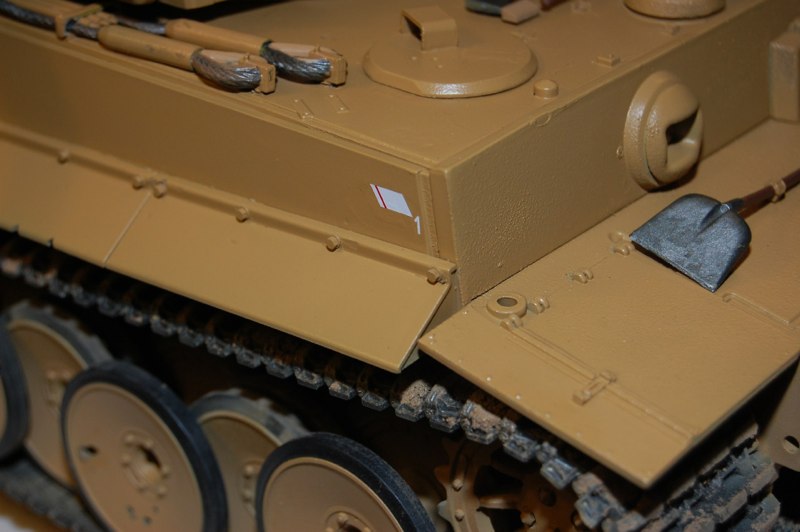
Decals were applied with water and a drop or to of denatured alcohol to settle them down.
Division marking was the only other marking visible in my photos.
Hussar decals were used.  Thay sat down very well and the carrier is nearly invisible.  My concern was the stowage bin but it turned ou to be the easiest.
Hussar decals were used. Thay sat down very well and the carrier is nearly invisible. My concern was the stowage bin but it turned ou to be the easiest.
Damage to turret trunnion was simulated by soldering iron and silver paint.
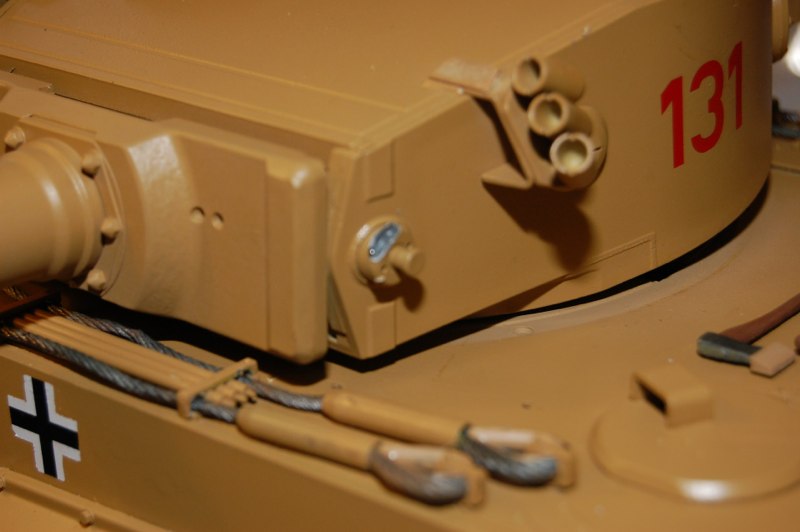
Damage to the mantlet was simulated with the soldering iron.  The story goes the British AT round hit the bottom of the gun, hut the turret ring and damaged the upper hull.
Damage to the mantlet was simulated with the soldering iron. The story goes the British AT round hit the bottom of the gun, hut the turret ring and damaged the upper hull.
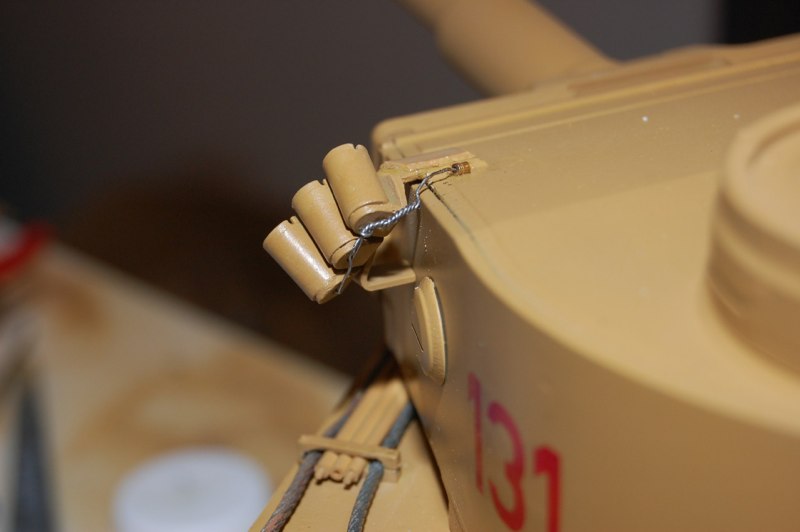
I wired the smoke grenade launcers with florist wire.
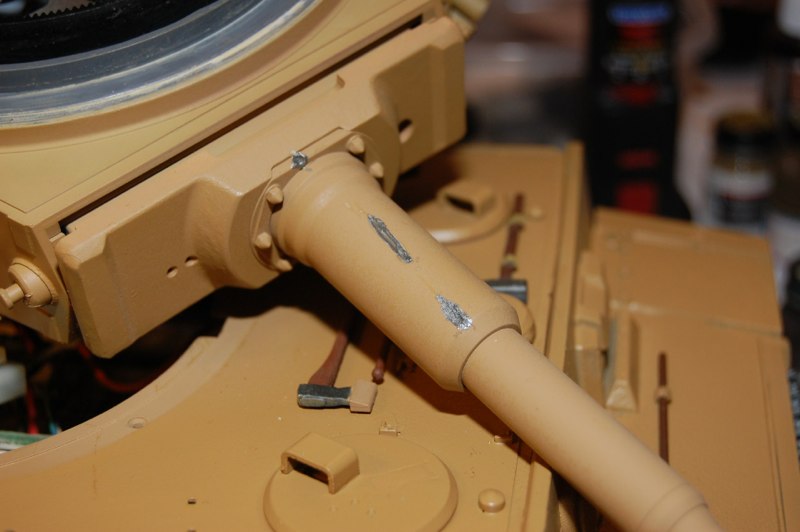
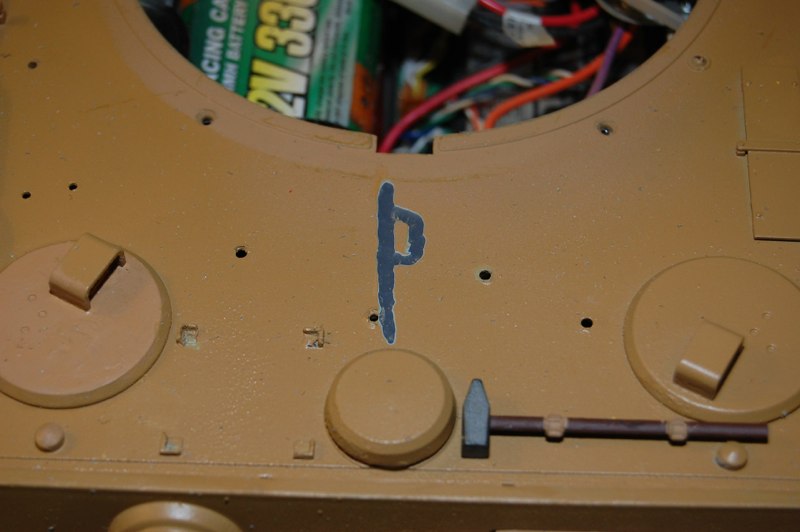
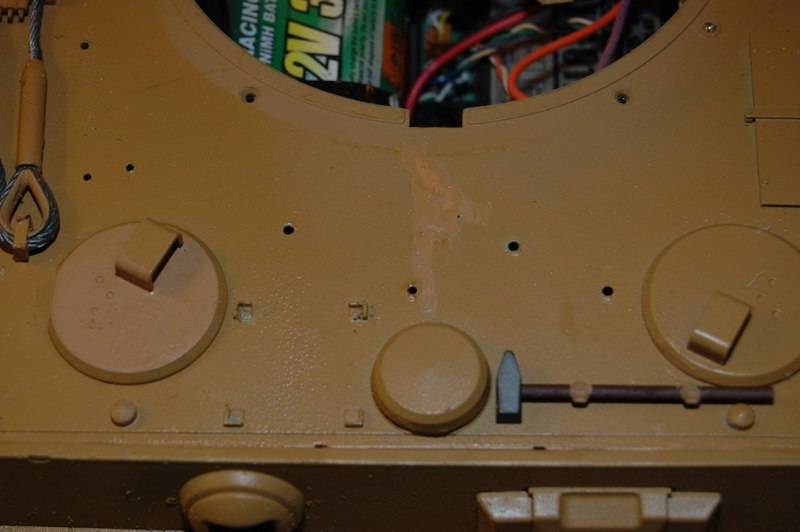
To simulate the damage caused by a British AP round and later repaired i used a round motor too to cut a channel that was later filled with CA.
Once painted it appears as intended, a rough weld under the mantlet.
Kit was gloss coated, decaled, gloss coated again to seal the decals, and then dull coated.
After the dull coat was applied, I used a filter of diluted Tamiya Dark Yellow and applied it to the entire vehicle.  Once dry I began the paint chip process with a dark brown.
After the dull coat was applied, I used a filter of diluted Tamiya Dark Yellow and applied it to the entire vehicle. Once dry I began the paint chip process with a dark brown.
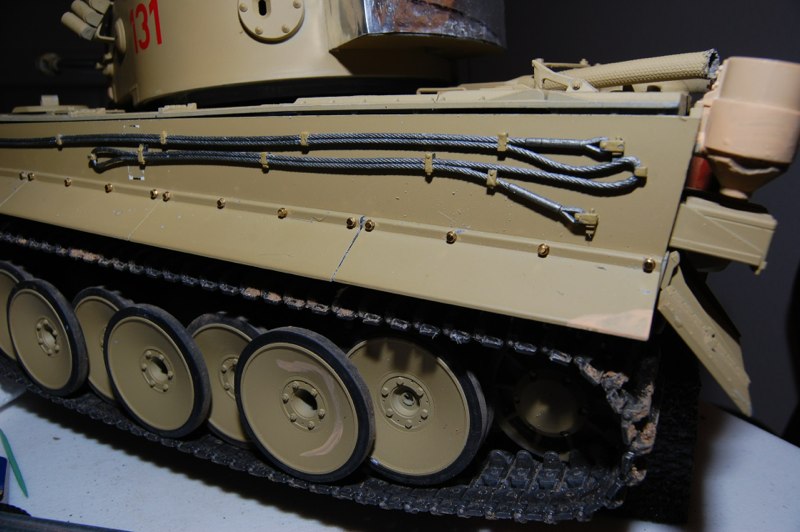
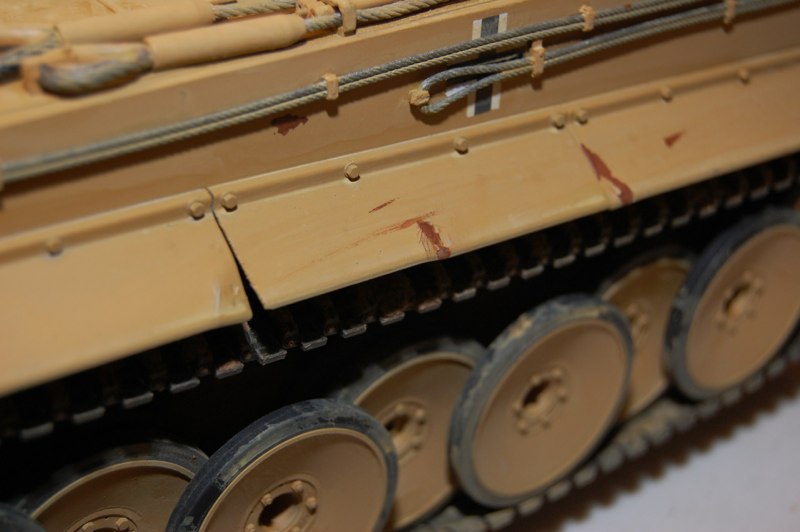
On the side skirts I replicated the usual damage by bending and warping the panels with pliers and heat.  The real 131 had minimal damage to the skirts.
On the side skirts I replicated the usual damage by bending and warping the panels with pliers and heat. The real 131 had minimal damage to the skirts.
Using filters and washes, I was able to create layers of paint, oxidized, rubbed away and textured.  The chips continue.
Using filters and washes, I was able to create layers of paint, oxidized, rubbed away and textured. The chips continue.
Progress on painting is good.  Now to complete the side projects as well...
Progress on painting is good. Now to complete the side projects as well...
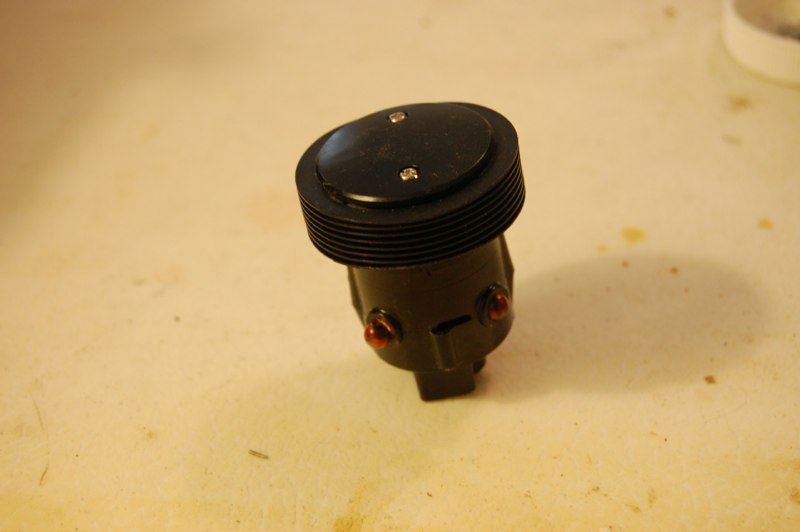
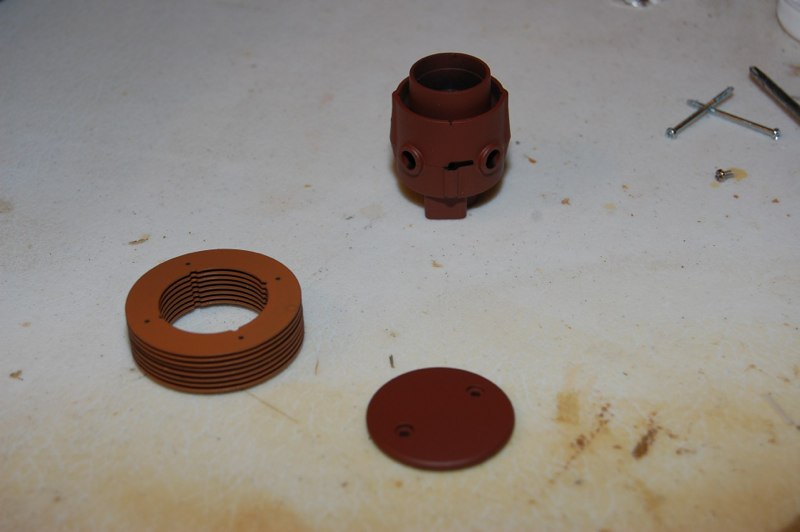
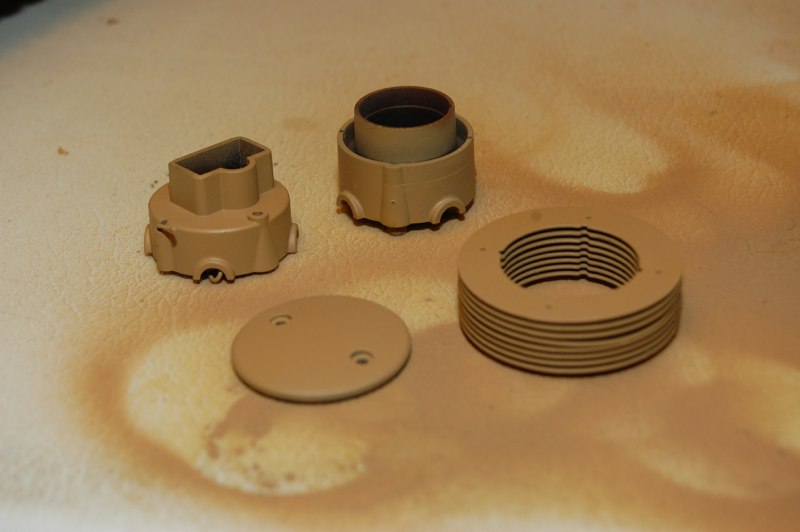
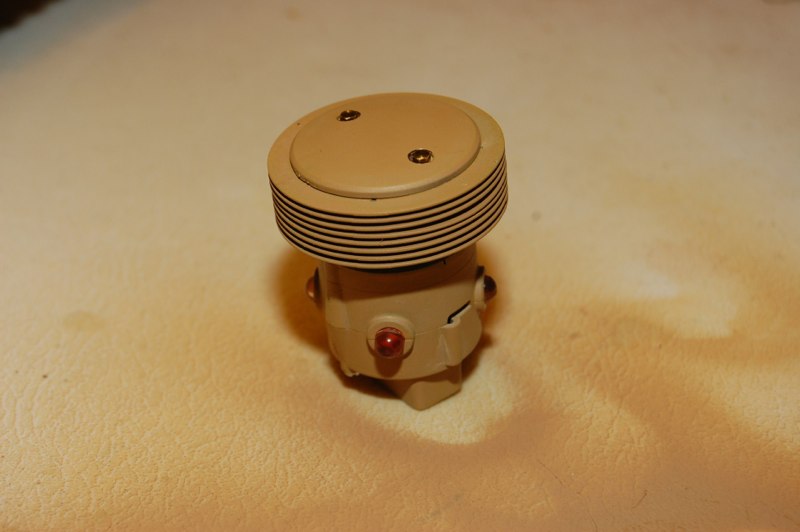
Painting the TBU is an important if not cosmetic step.
Parts got a brown base coat from the to remaining cans I had on the bench.
Airbrushed Desert Yellow.
Re-assembled and first coat of wash applied.
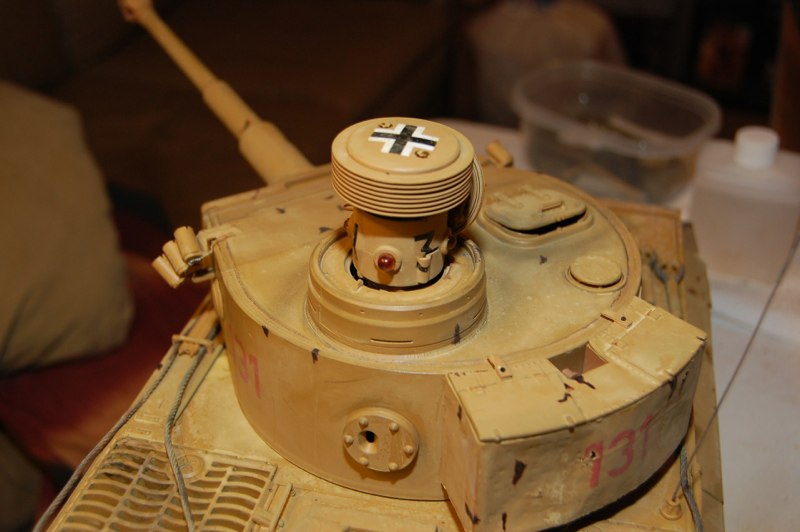
TBU added and Project essentially complete.

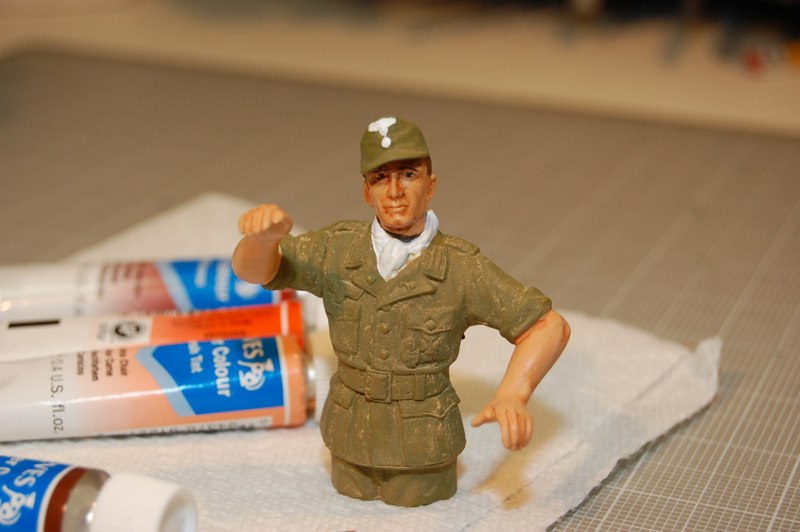
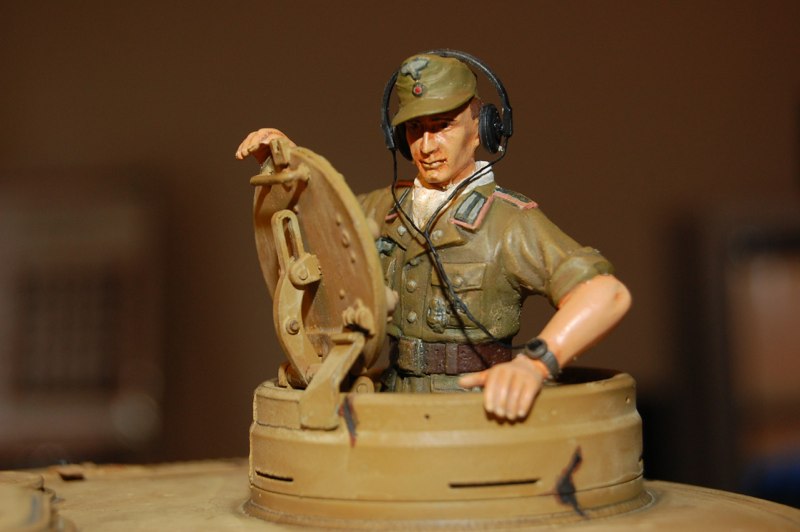
The Commander Figure

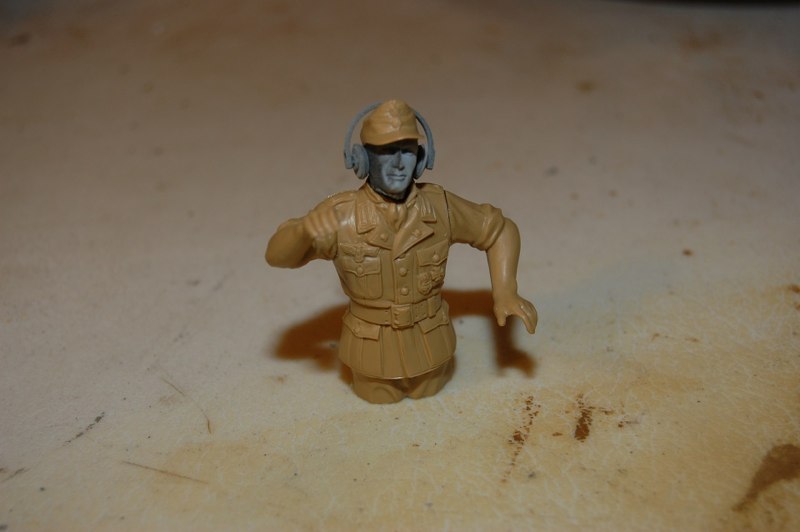
DAK commander modified with original kits head and earphones.
Painted uniform with acrylics.  Skin painted in acrylics and water colors.  I weathered the uniform just a bit too much but it will even out.
Painted uniform with acrylics. Skin painted in acrylics and water colors. I weathered the uniform just a bit too much but it will even out.
Finished commander with headset and scratchbuilt watch.  I added copper wire to the headset.
Finished commander with headset and scratchbuilt watch. I added copper wire to the headset.

In Action

DAK photo