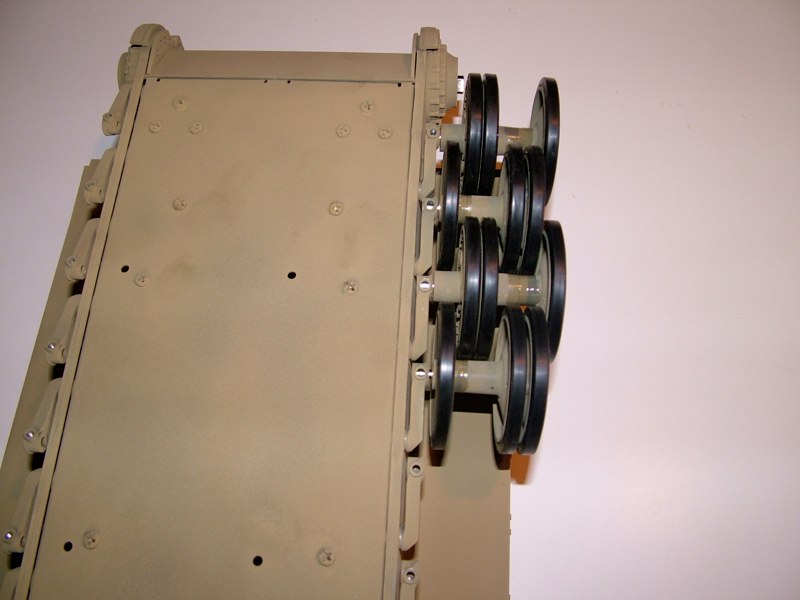
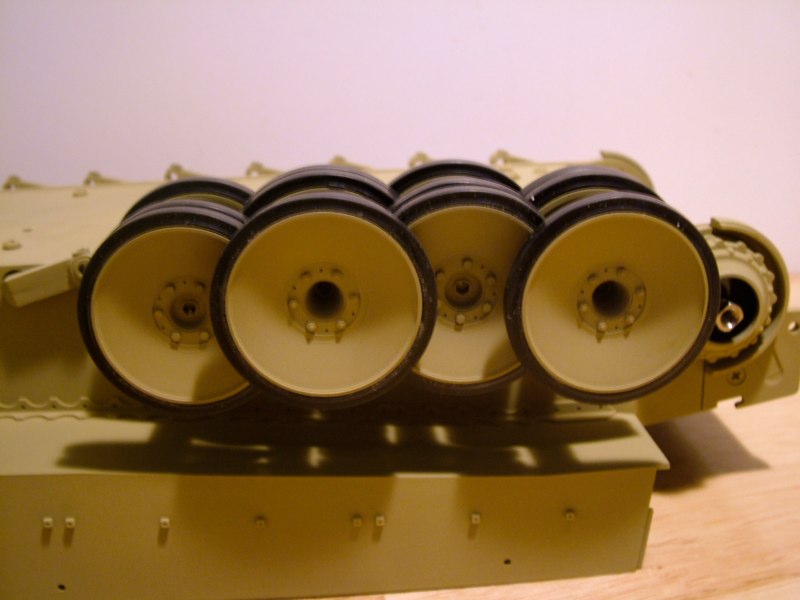
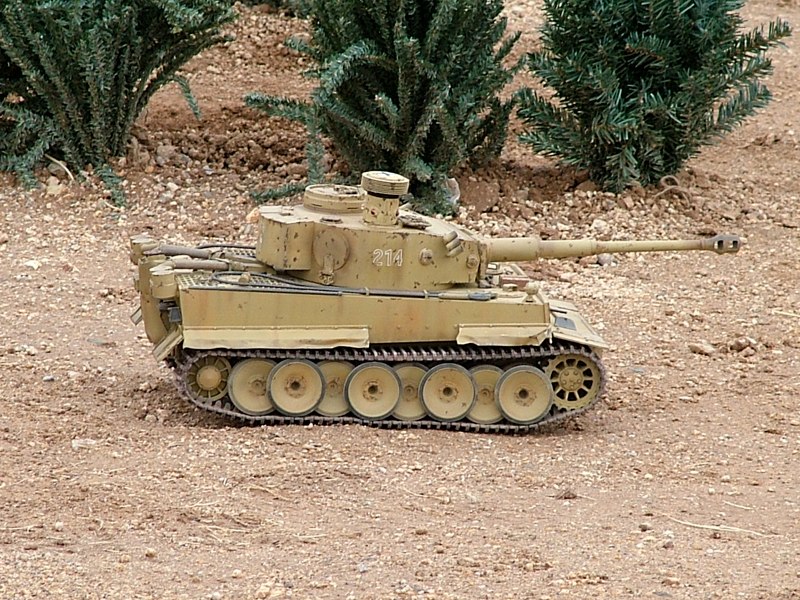
The Tiger was powered by a Maybach HL210 engine, a V12 motor rated at 650hp, and ran on standard fuel. Like most other German tanks, the engine was at the rear, driving an eight-speed transmission and drive sprockets in front. This new tank had lateral torsion bar suspension with overlapping road wheels and a hull roughly resembled the Pz. IV in that it did not extend over the tracks. By November of 1942, Henschel, after numerous design modifications, produced nearly 40 tanks.
In August 1942, the first Tiger I tanks to be issued for combat were assigned to Heavy Panzer Battalion 502, first Company, on the Leningrad front. Additional Tigers were dispatched to Tunisia in November 1942 with 501st Battalion. When met on the battlefield for the first time, their legend was born.
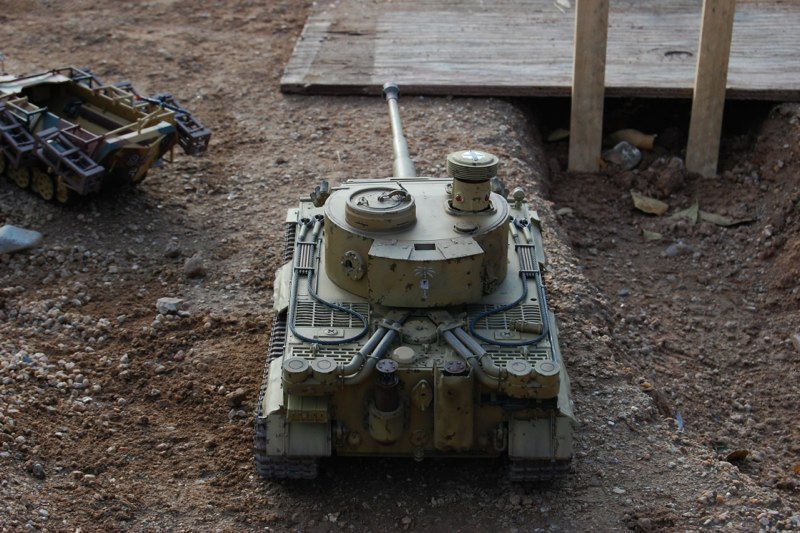
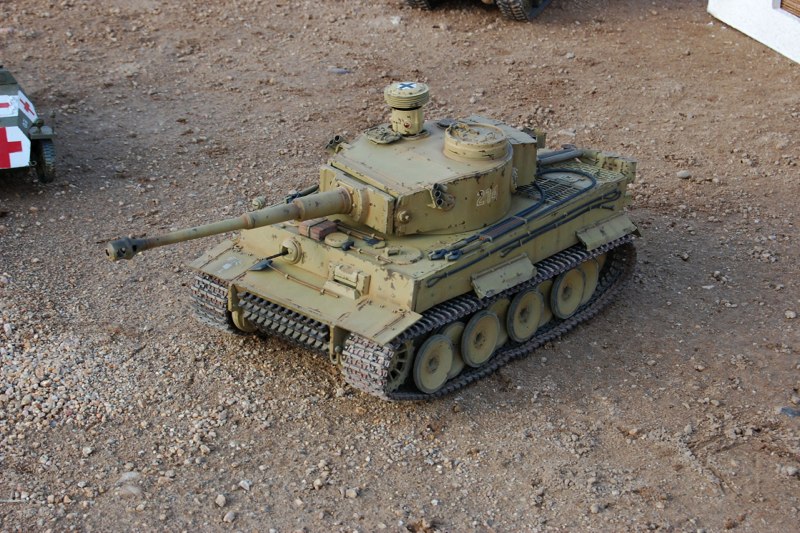
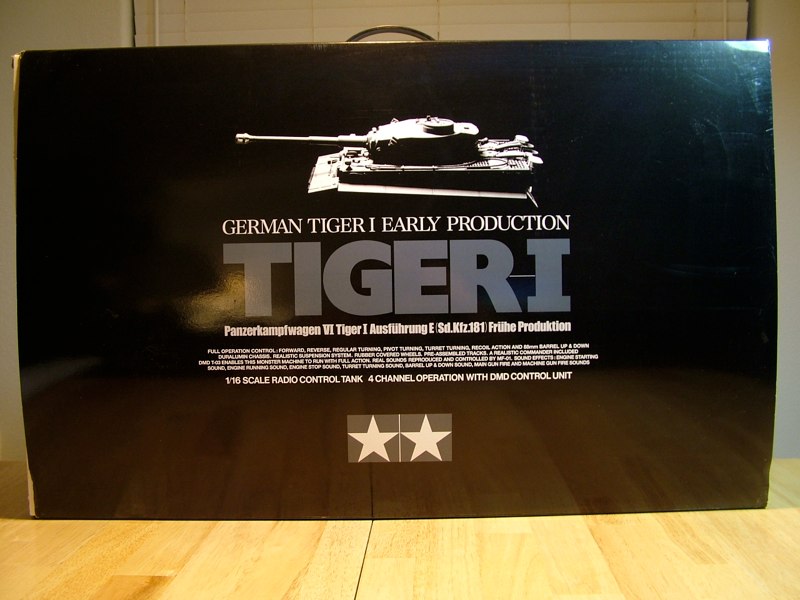
DAK co-founder Craig Pierce enters the R/C tank community with his first kit, a 1/16 Tamiya Tiger 1. His enthusiasm for the North African campaign has manifested in a desire to depict one of the initial production Tigers that fought in Tunisia. But first, a little about the Tiger.
In May 1941, the German War Department issued a requirement for a 36 ton machine with a specific purpose. This new heavy tank was to have frontal armor 100mm thick, and a gun capable of defeating 100mm armor at 1,500 meters. This new tank was coined the Tiger. Henschel und Sohn Krupp, and Porsche all submitted proposals to meet the new specifications, but by the summer of 1942 test showed that only Henschel could meet all of the performance specifications, and were therefore awarded the production contract.
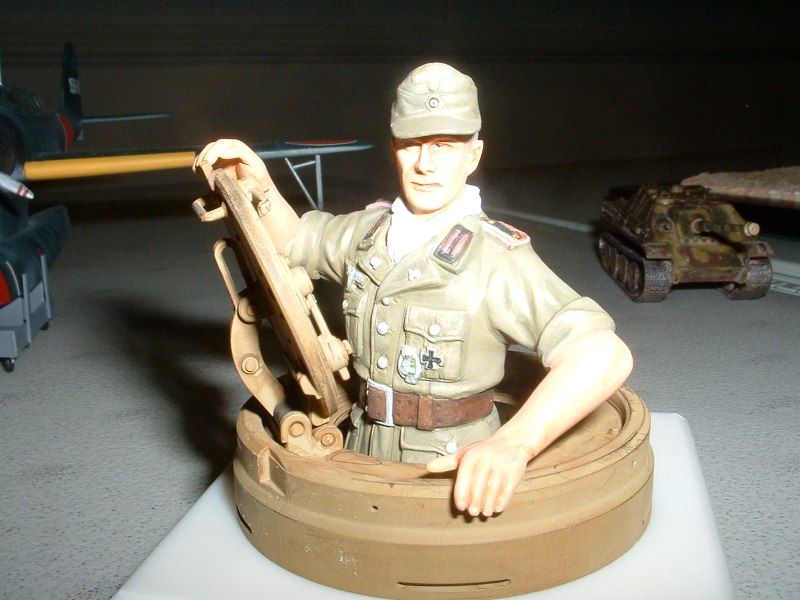
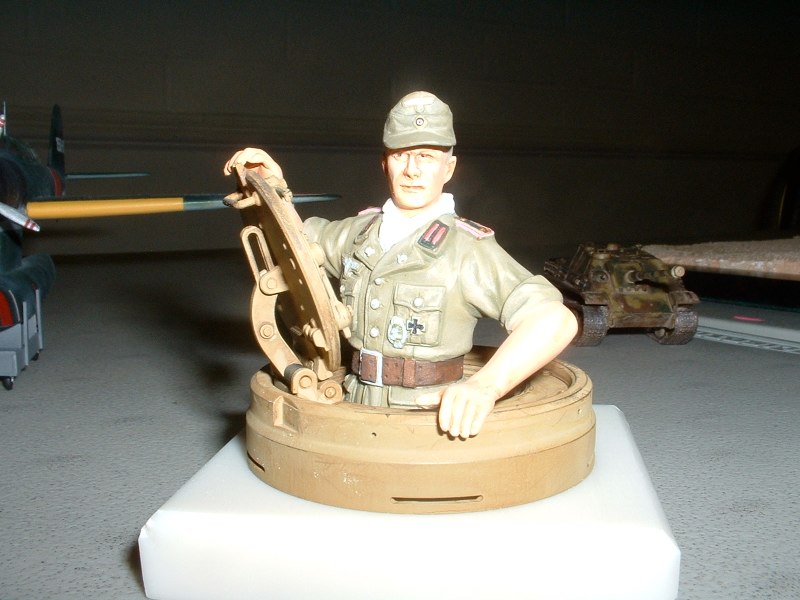
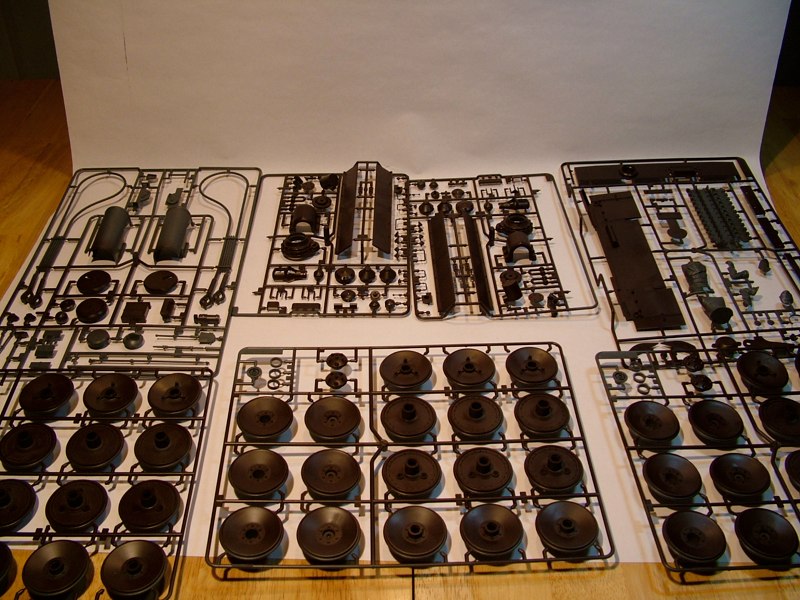
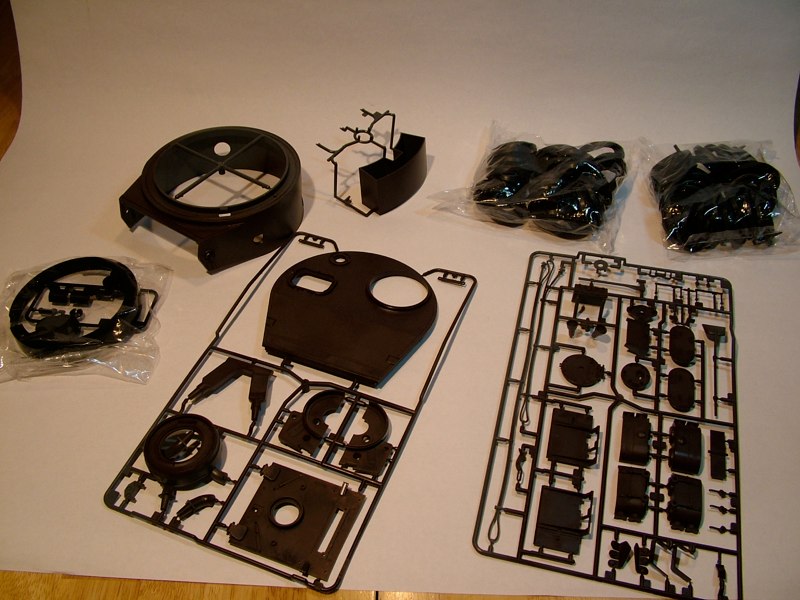
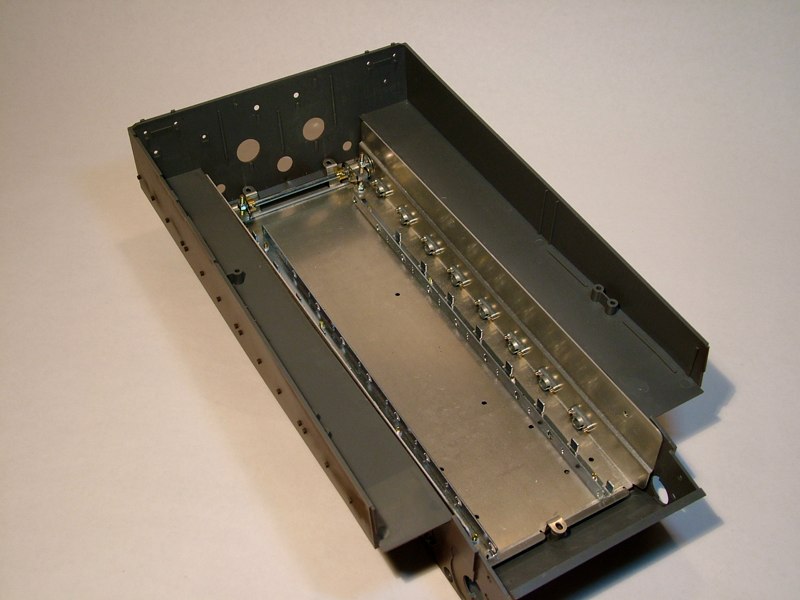
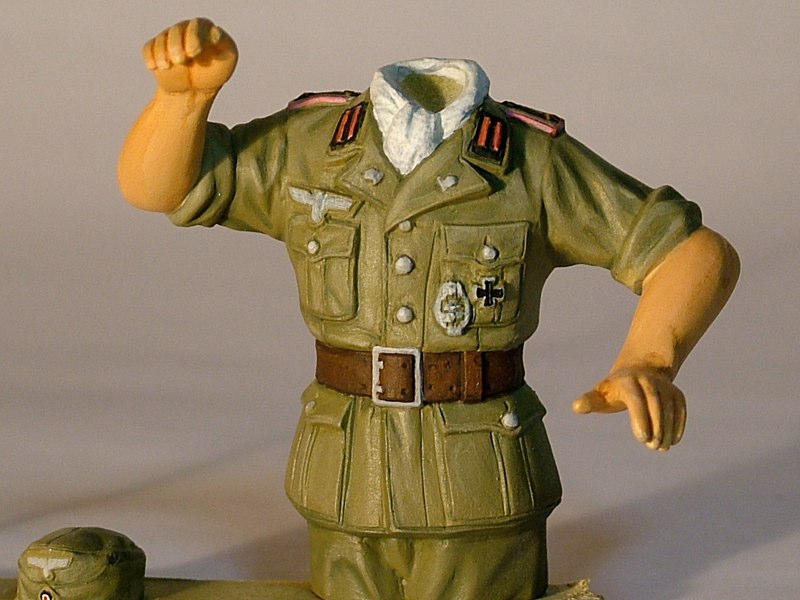
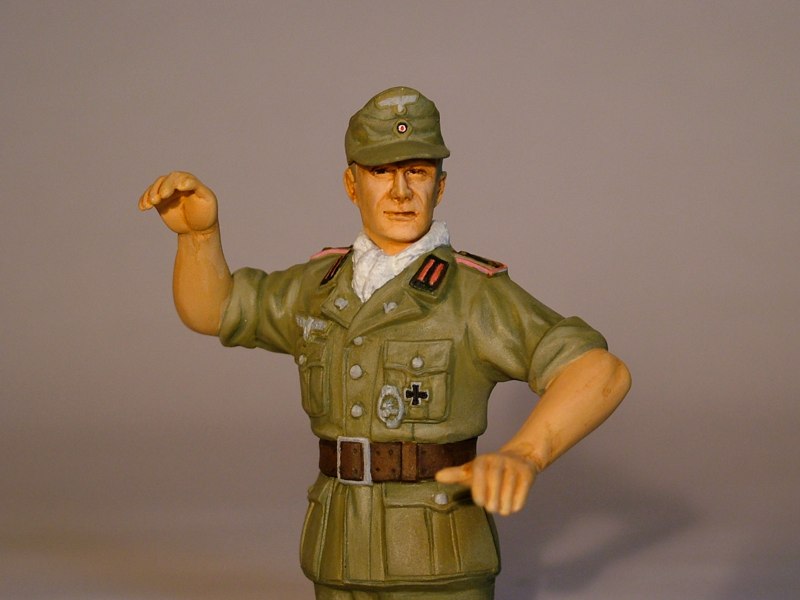
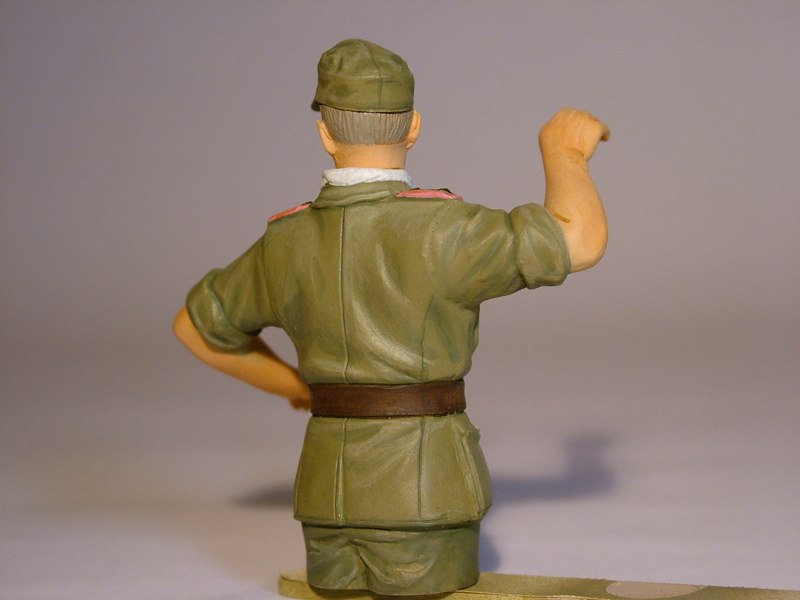
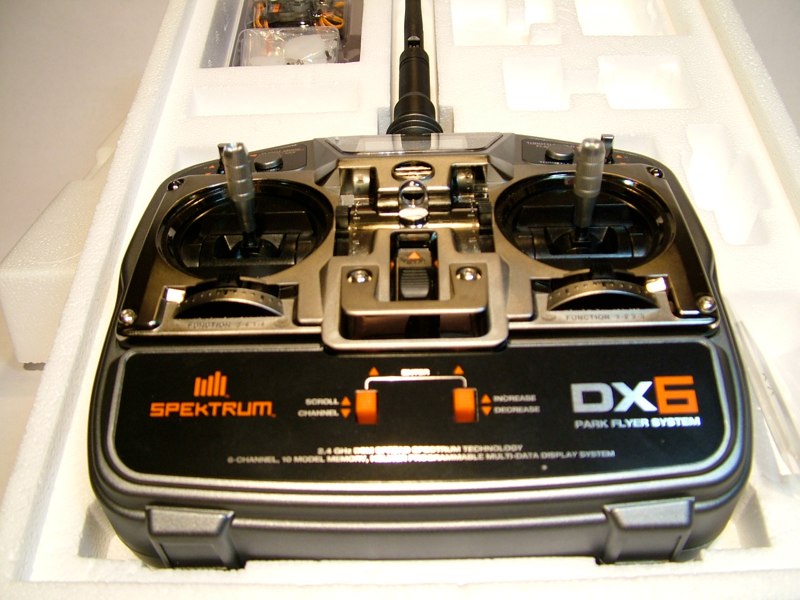
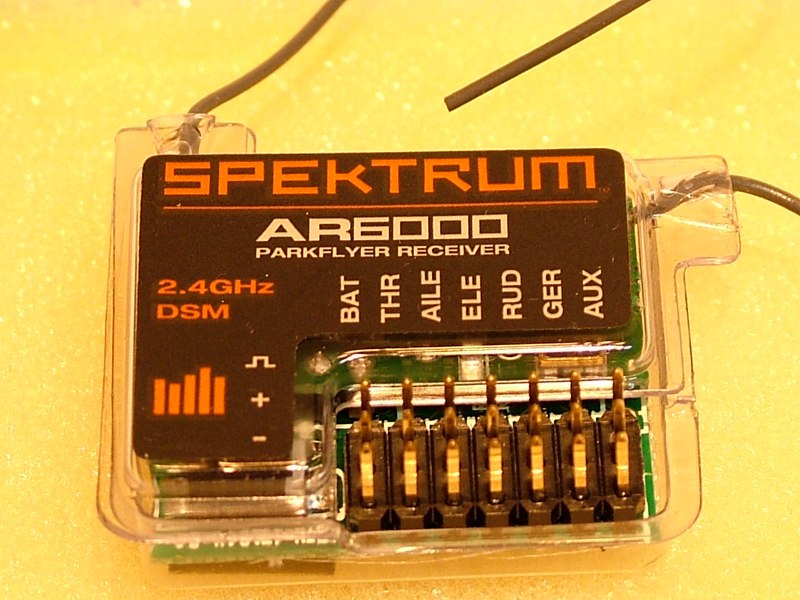
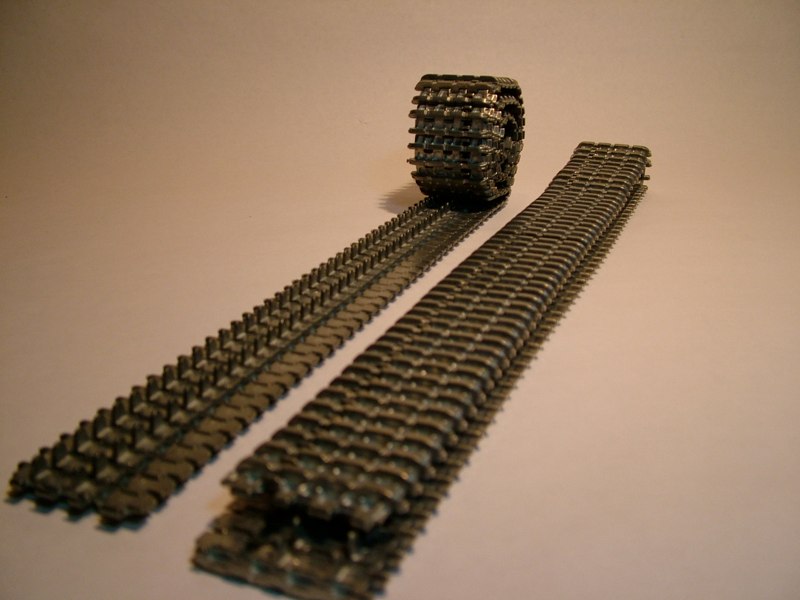
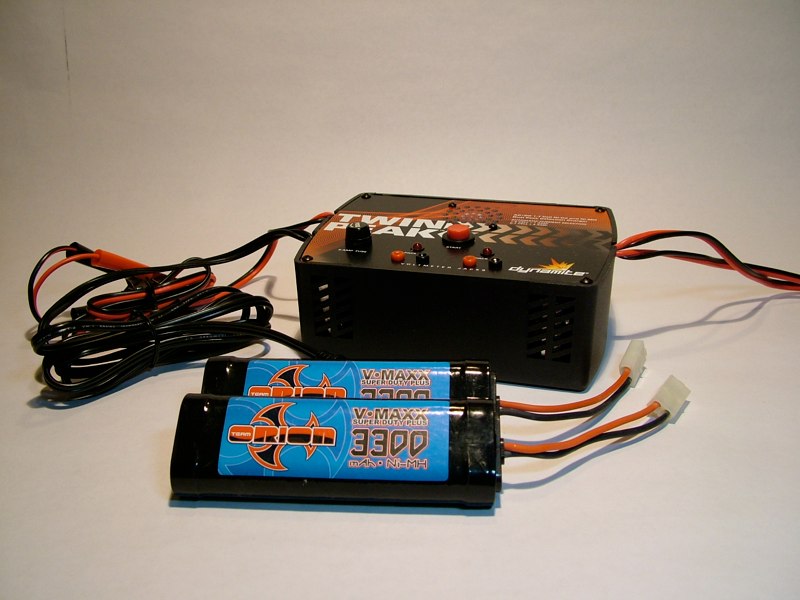
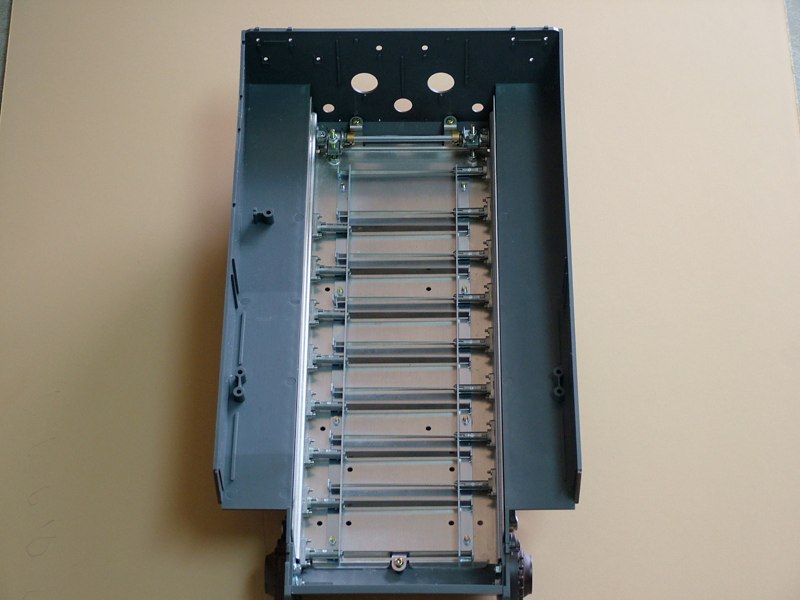
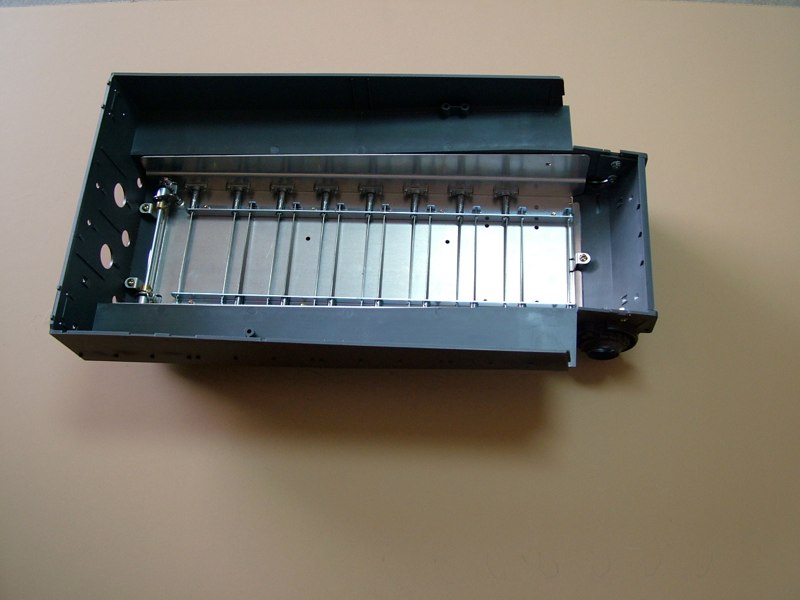
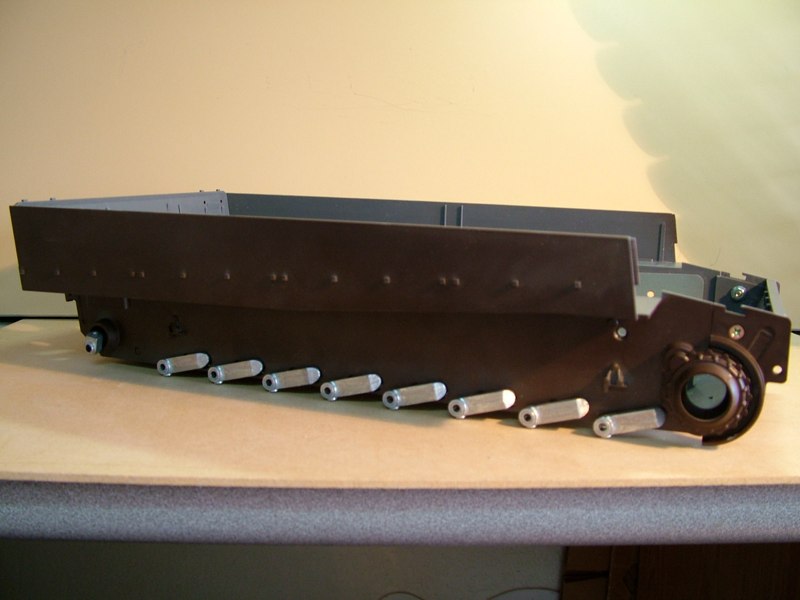
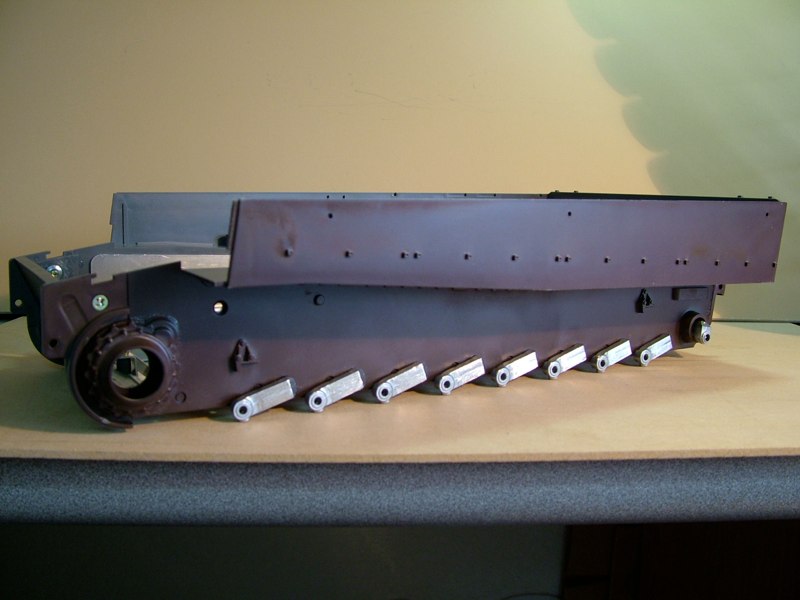
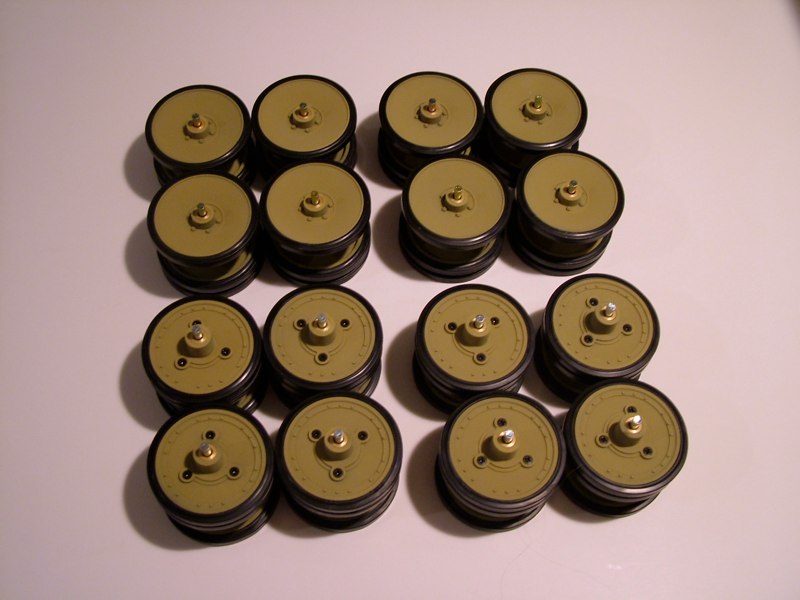
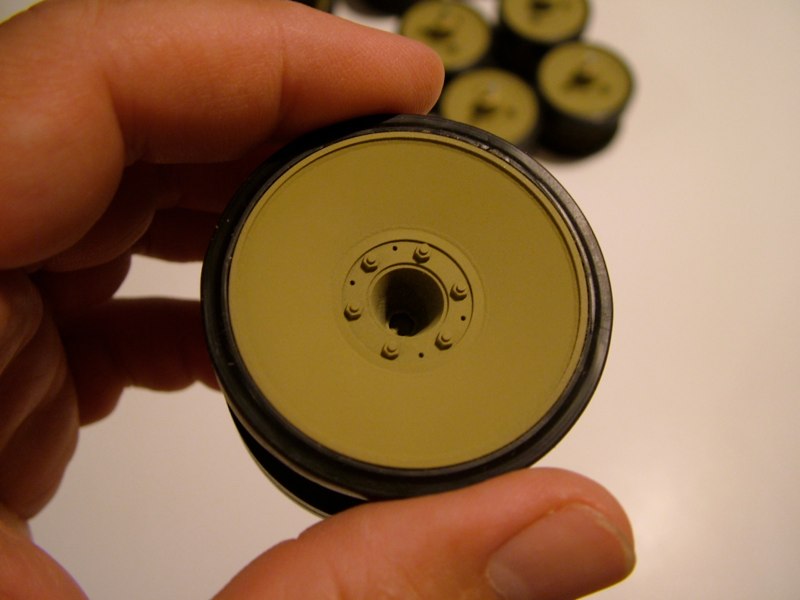
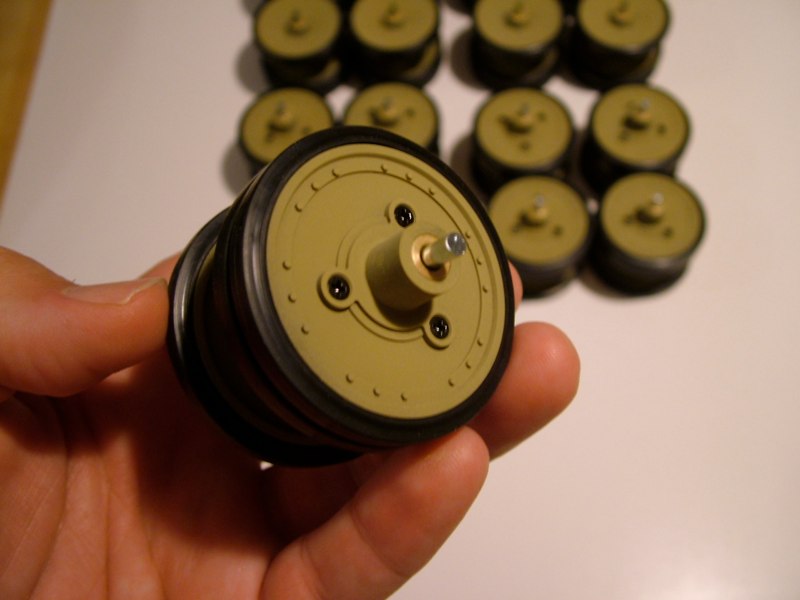
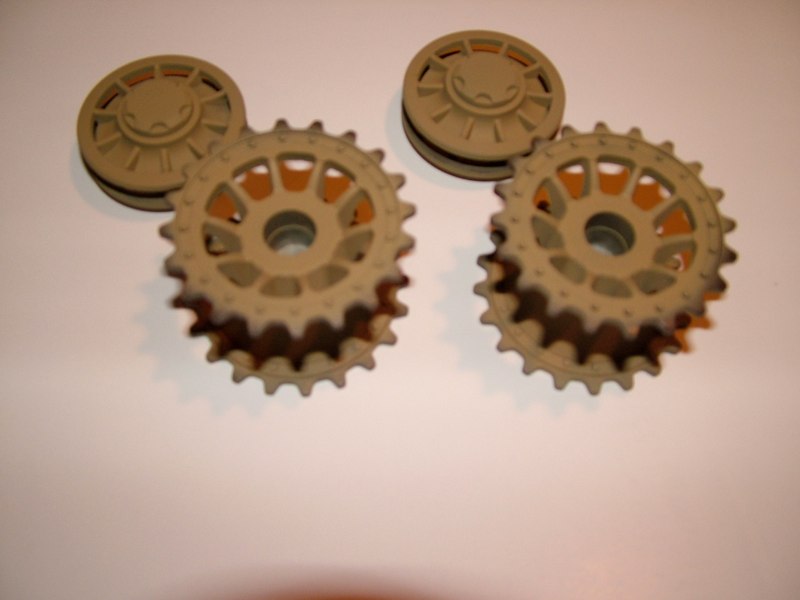
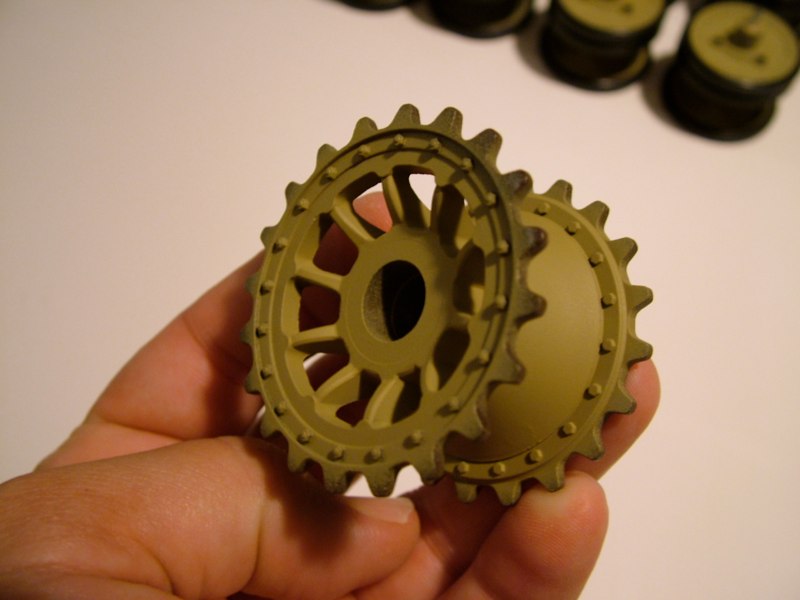
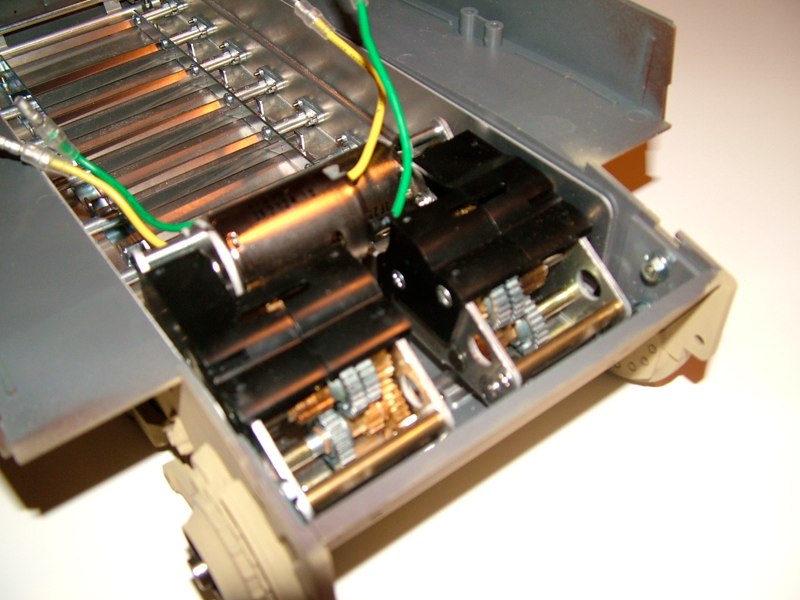
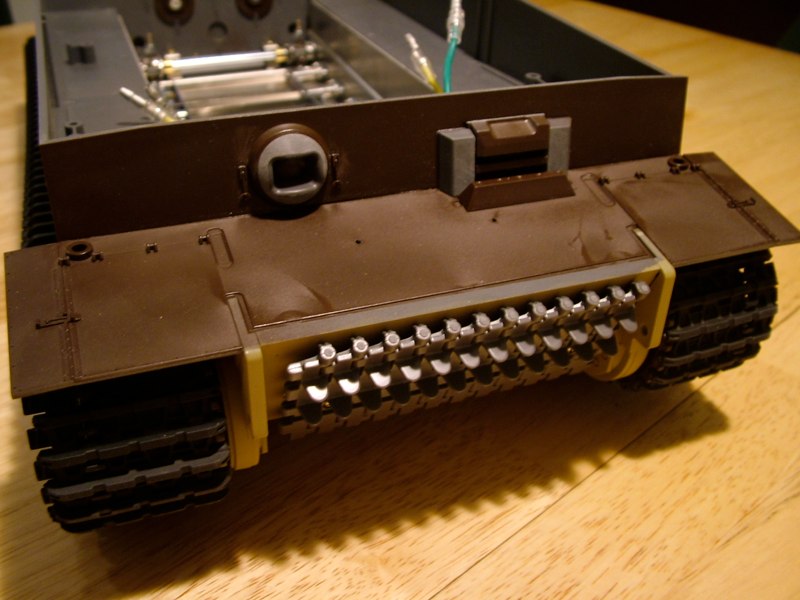
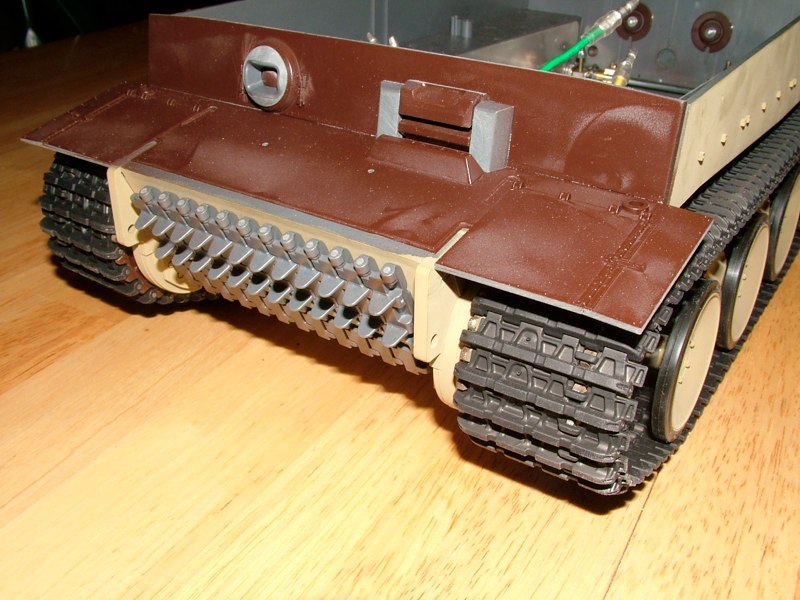
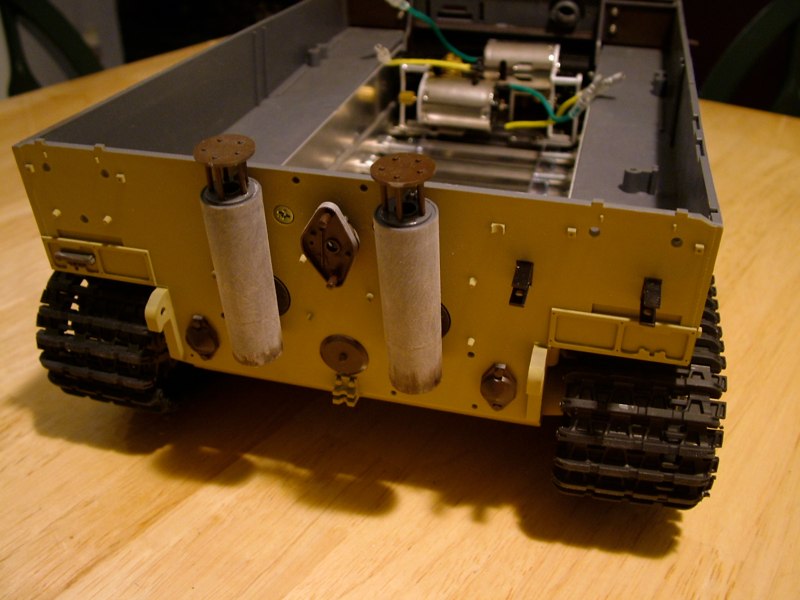
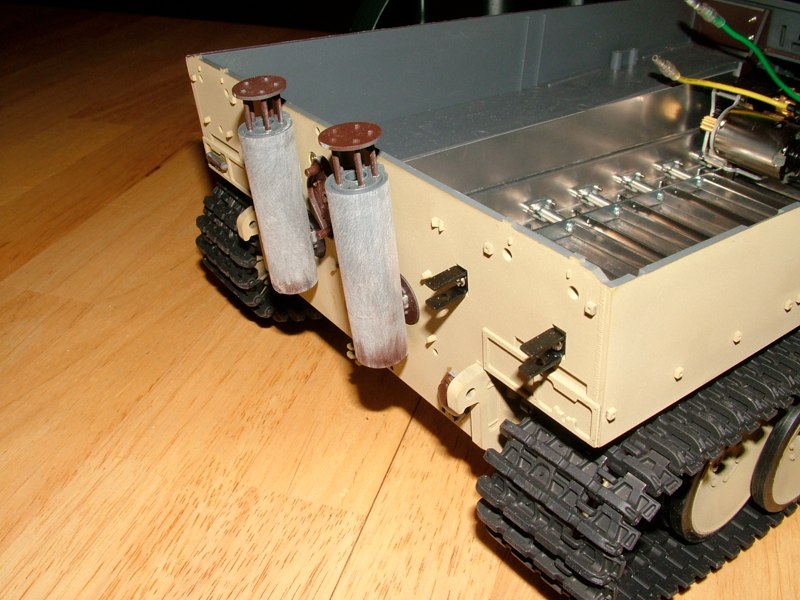
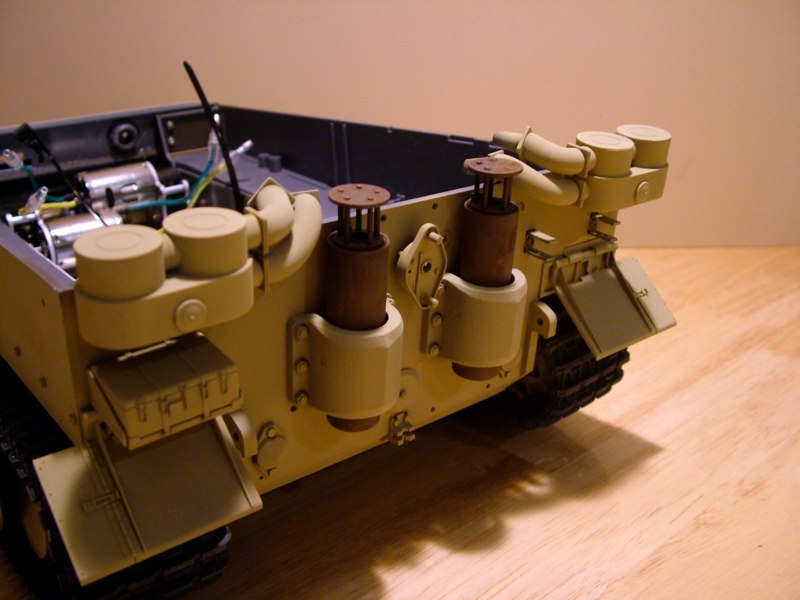
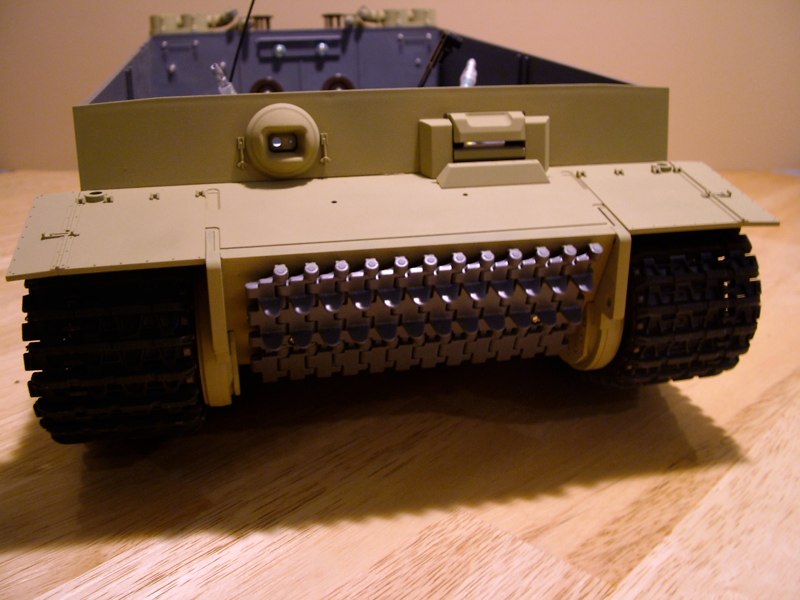
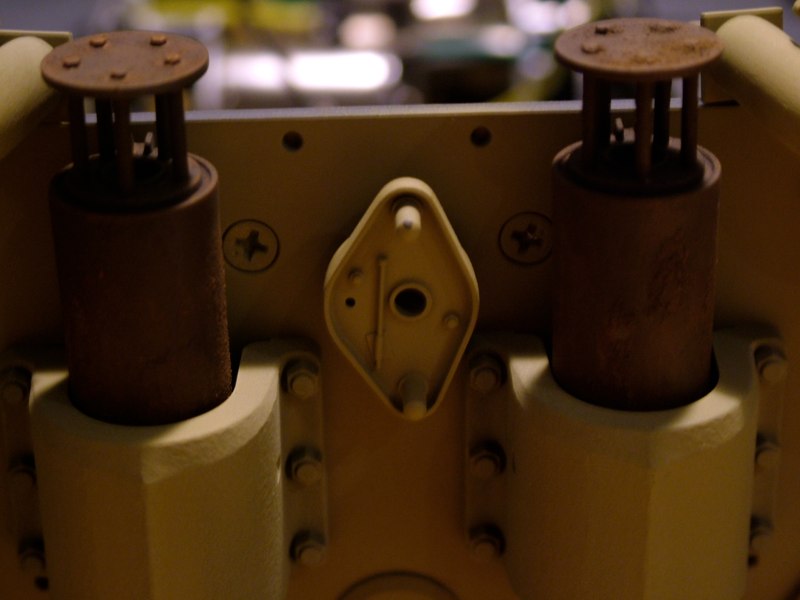
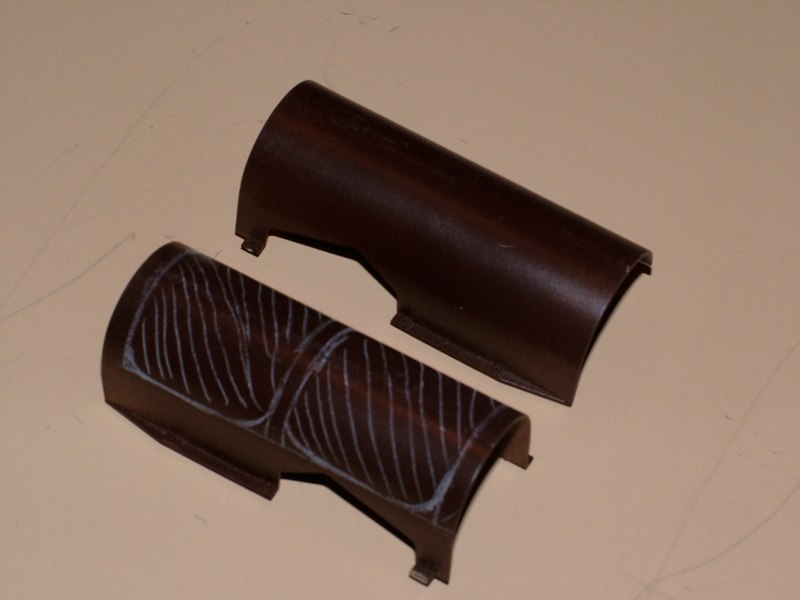
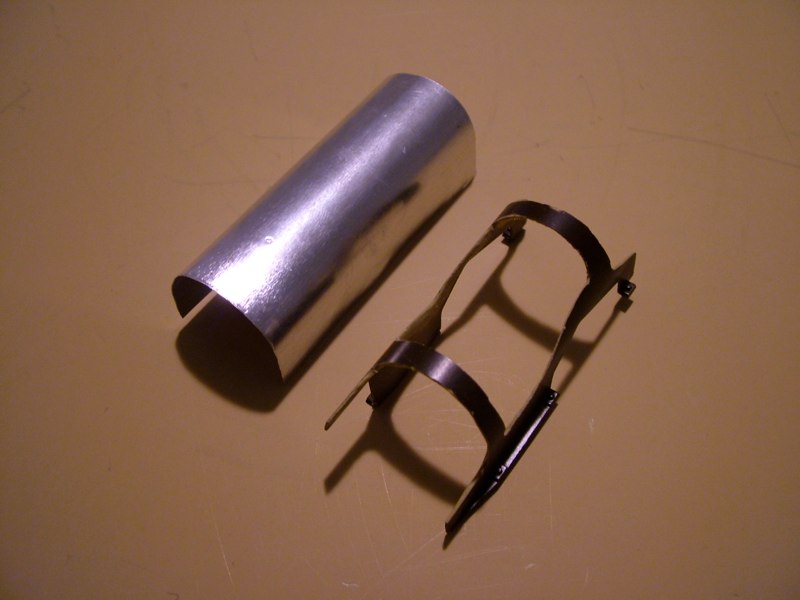
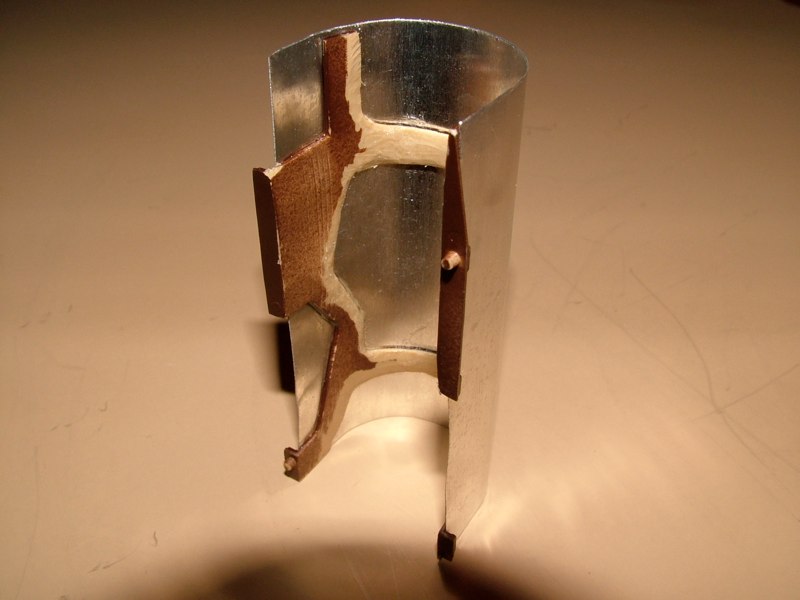
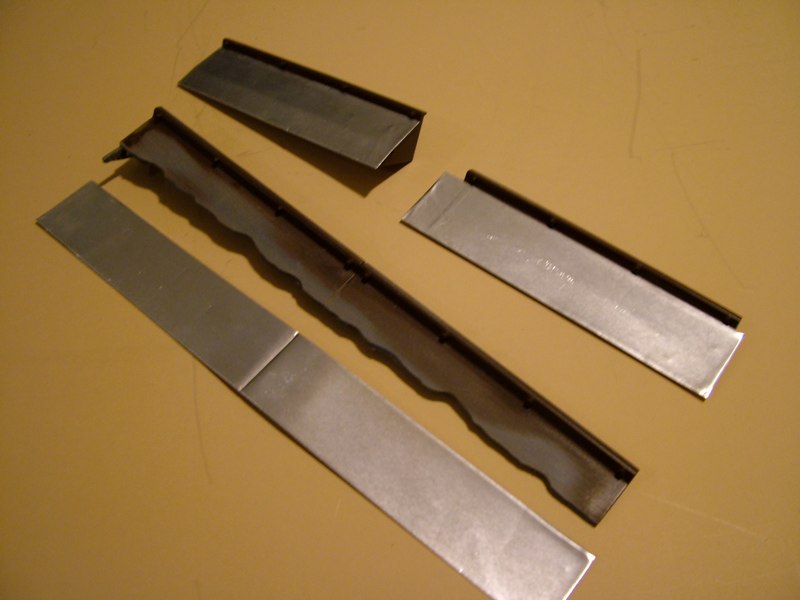
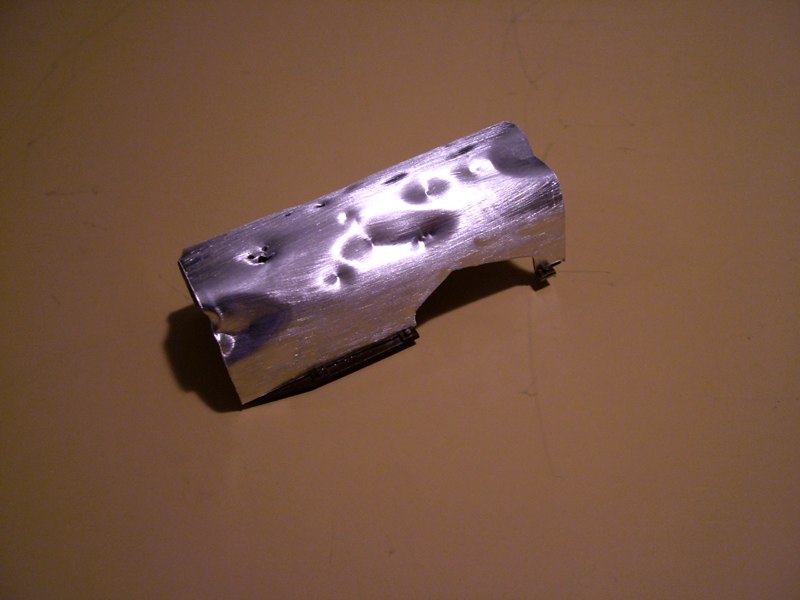
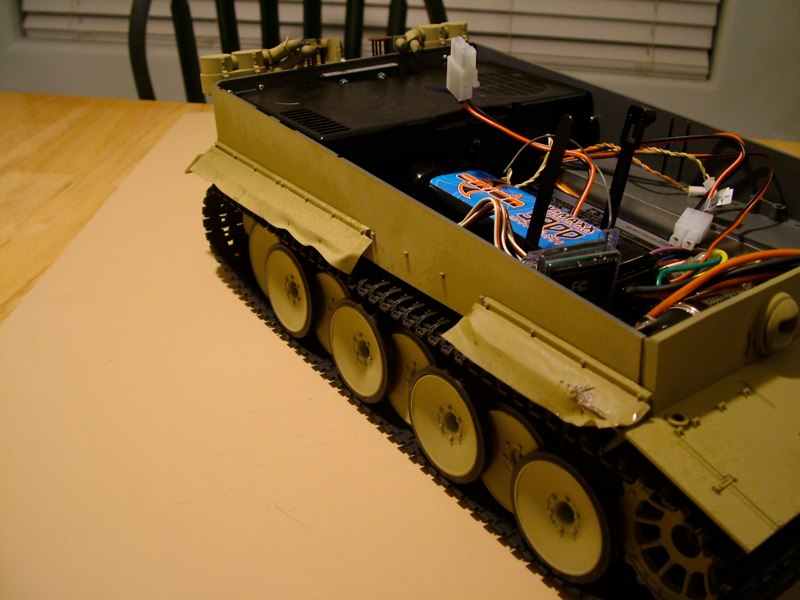
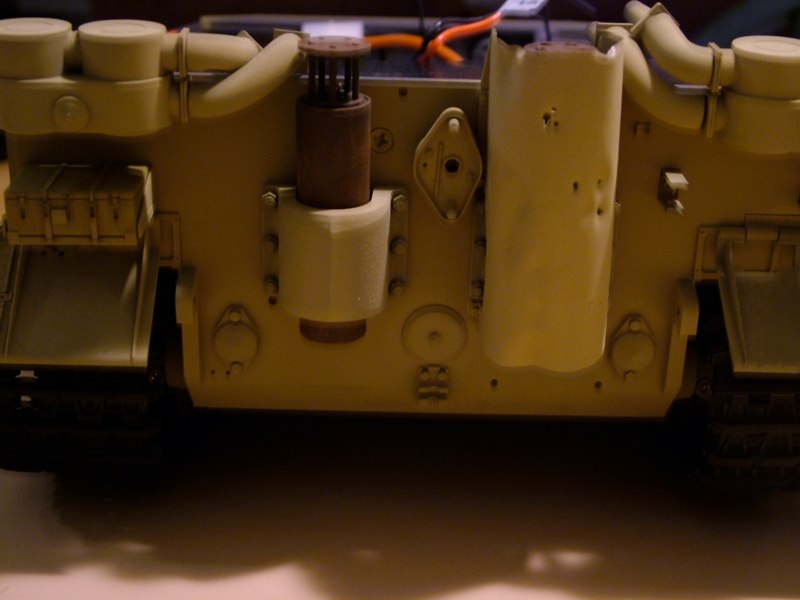
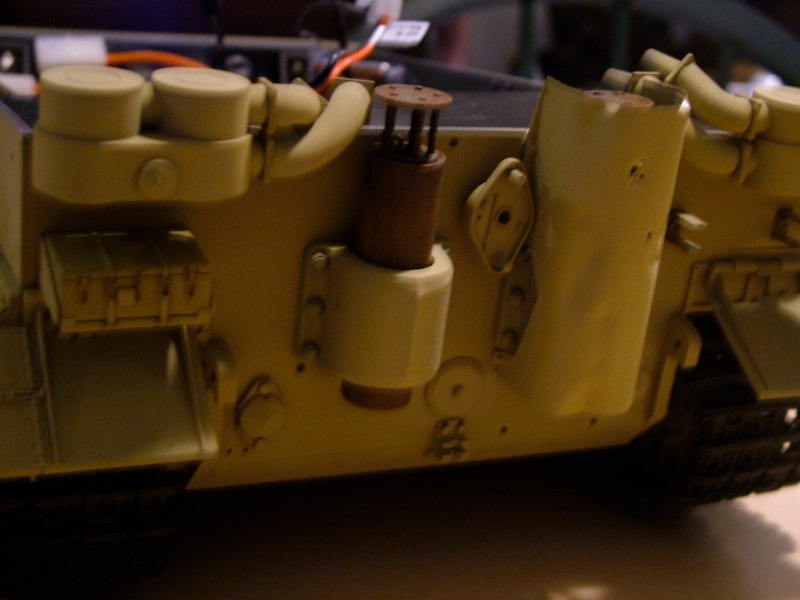
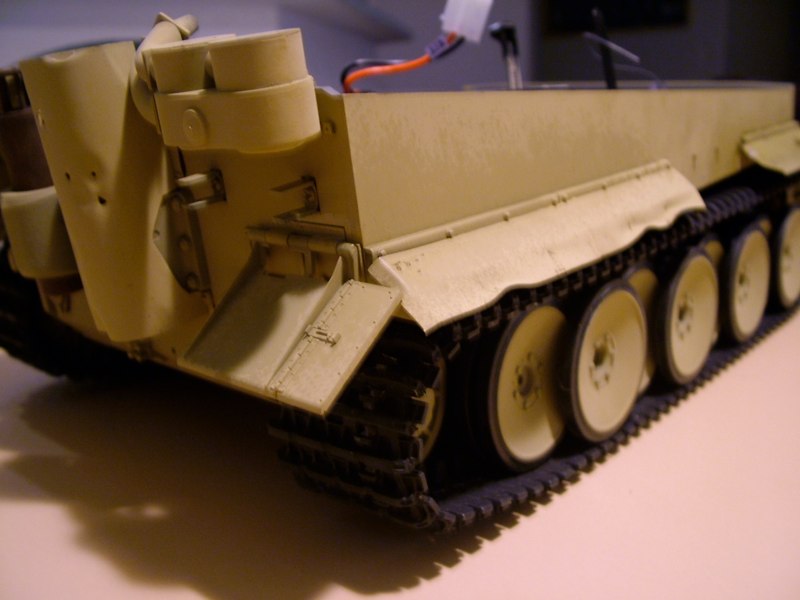
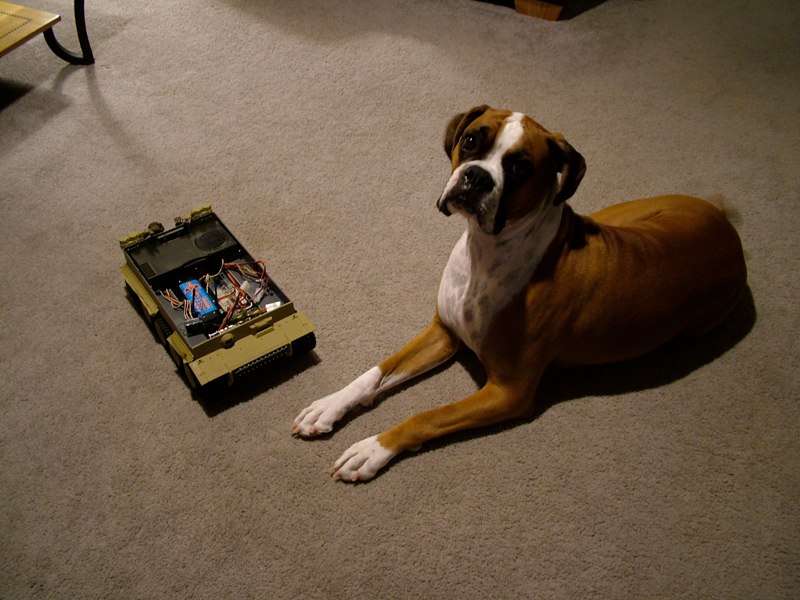
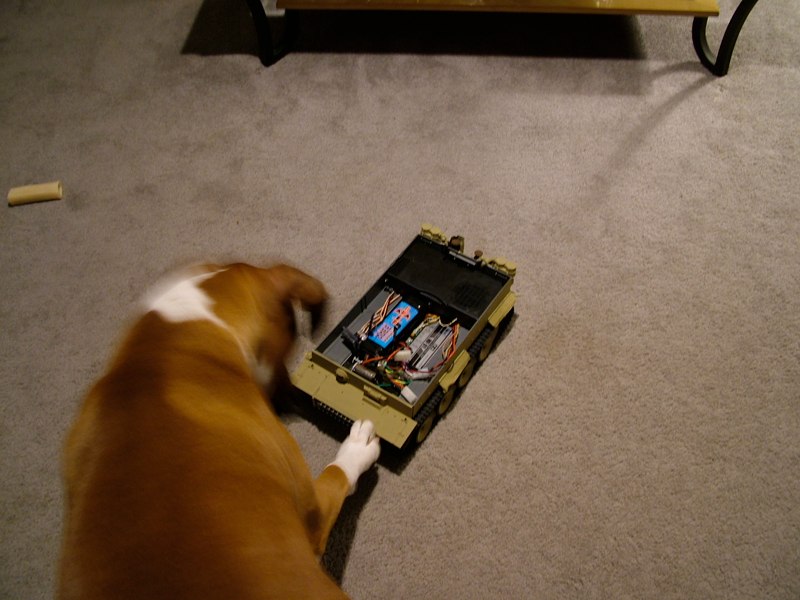
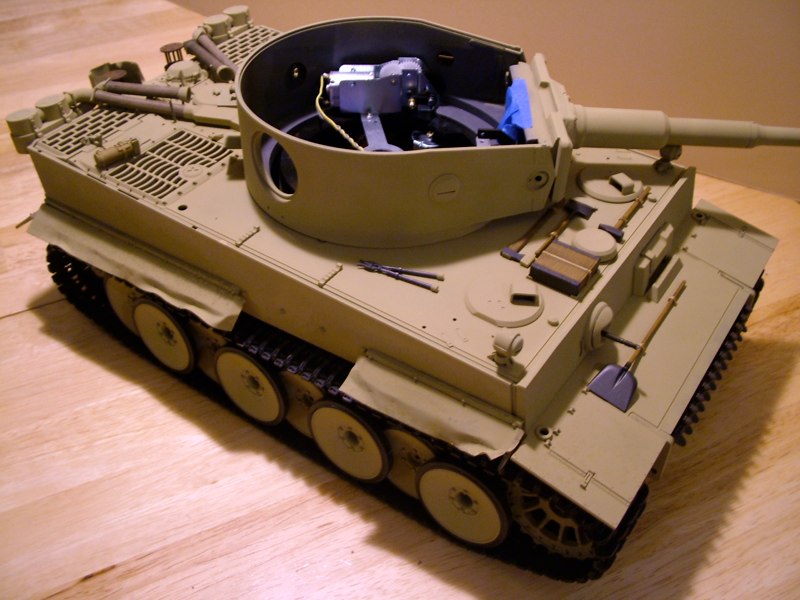
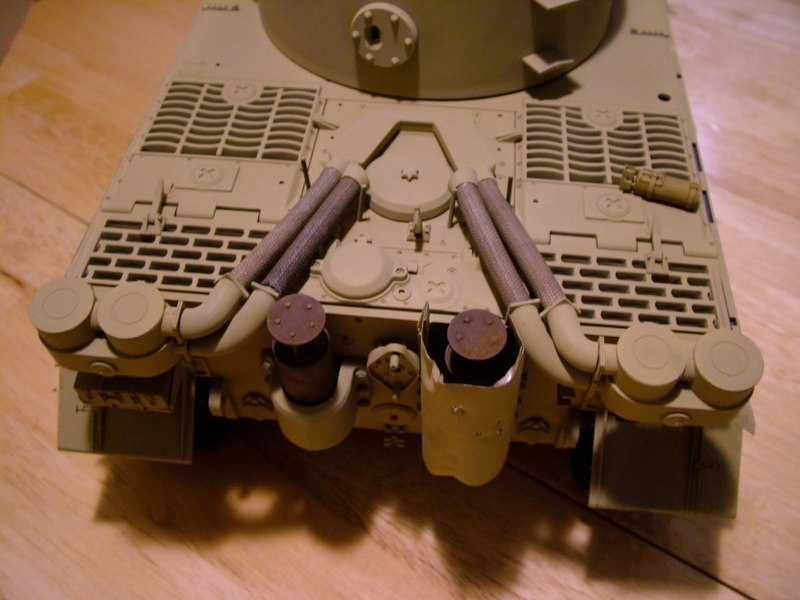
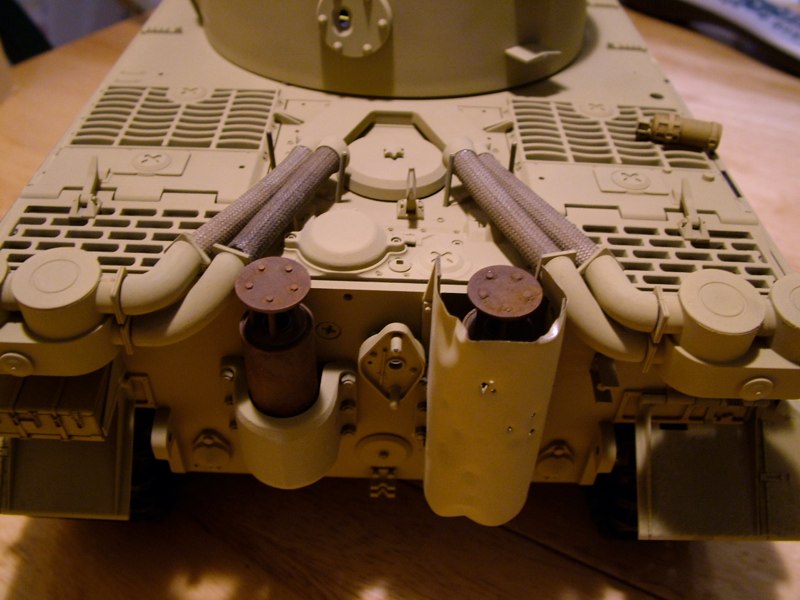
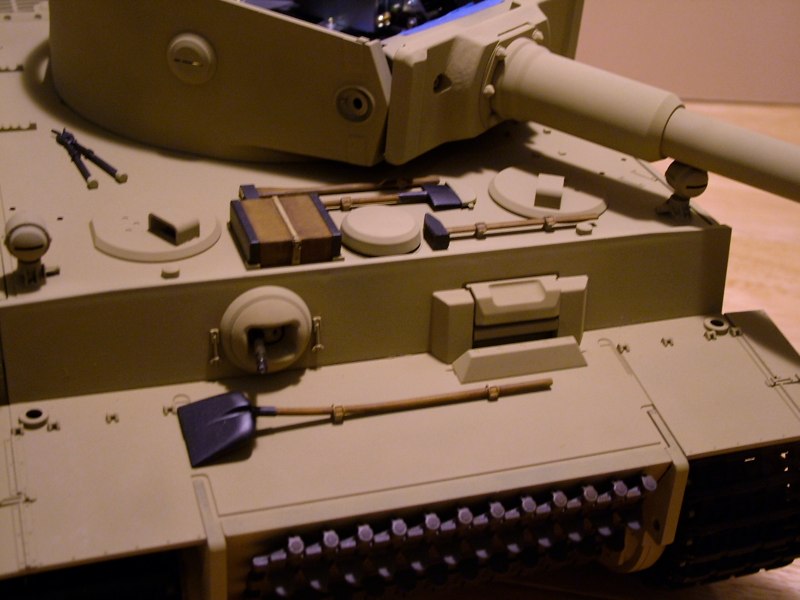
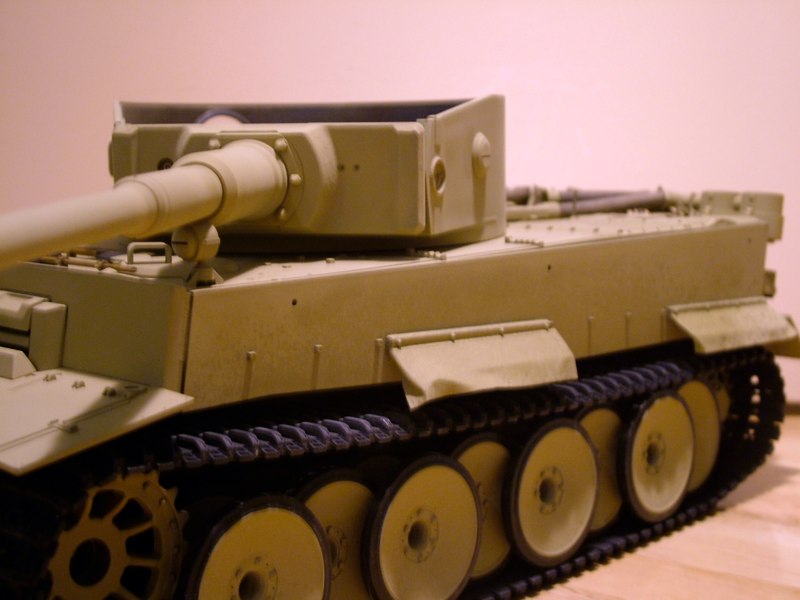
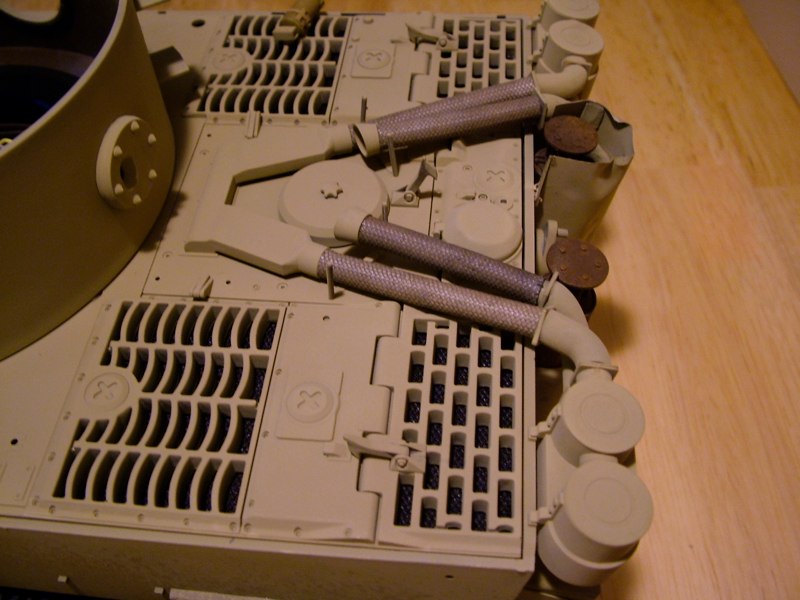
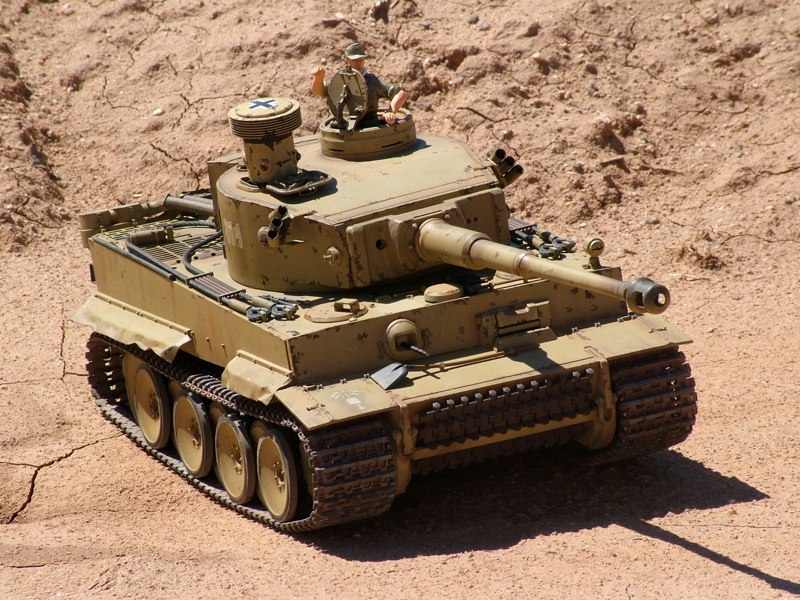
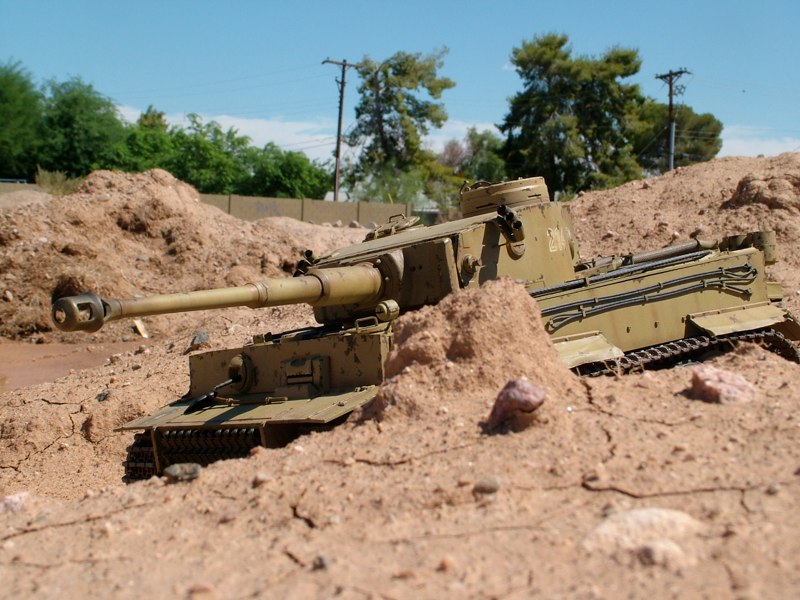
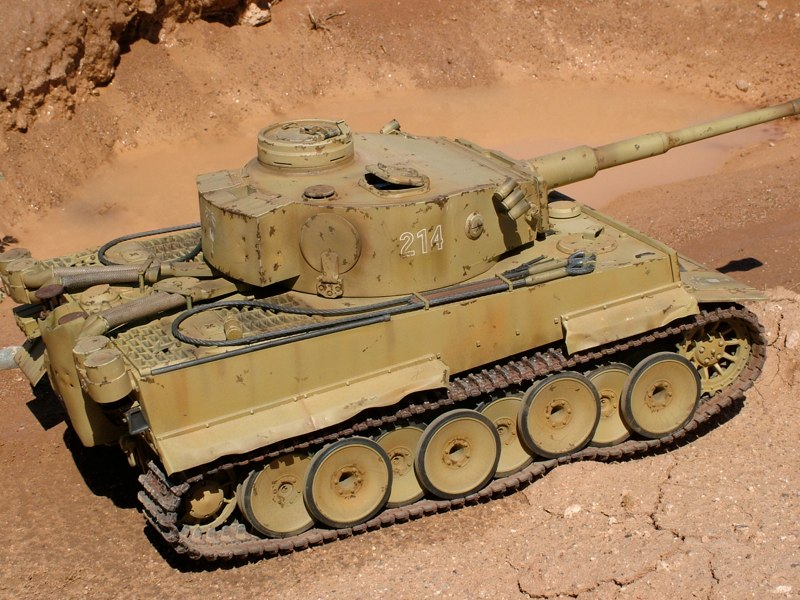
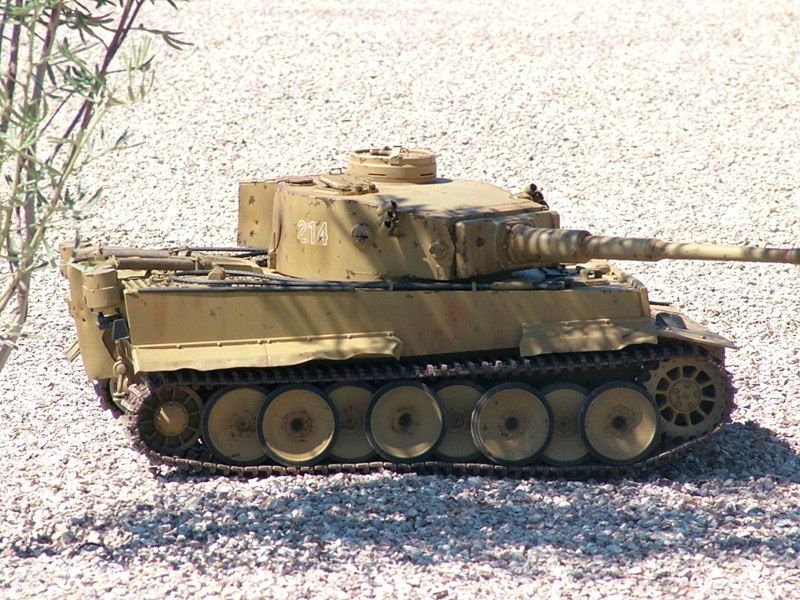
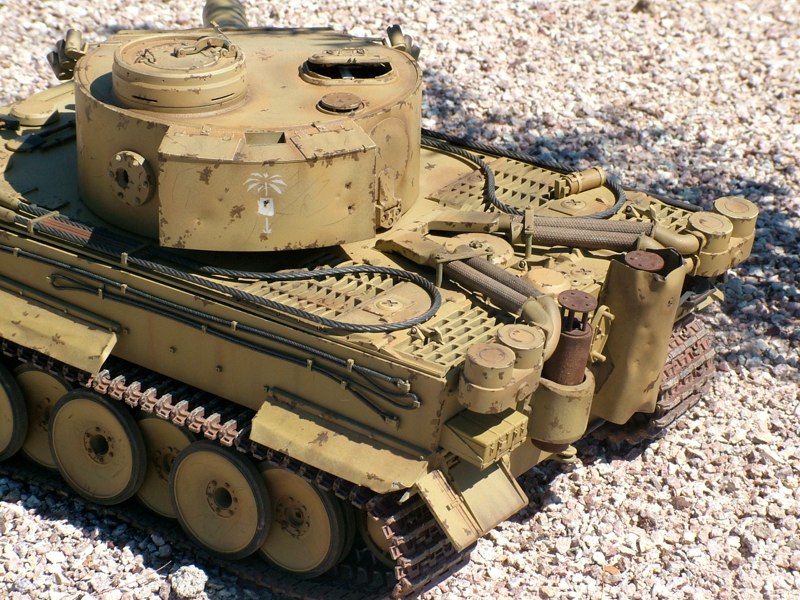
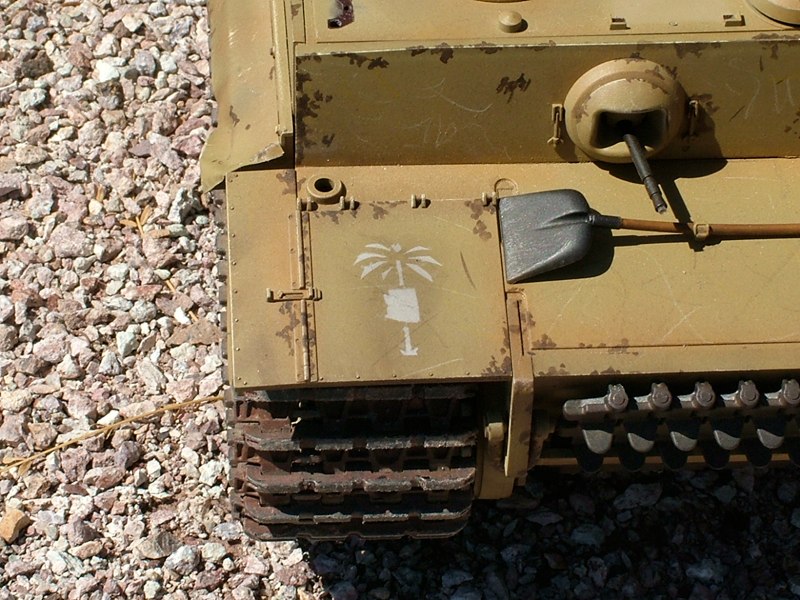
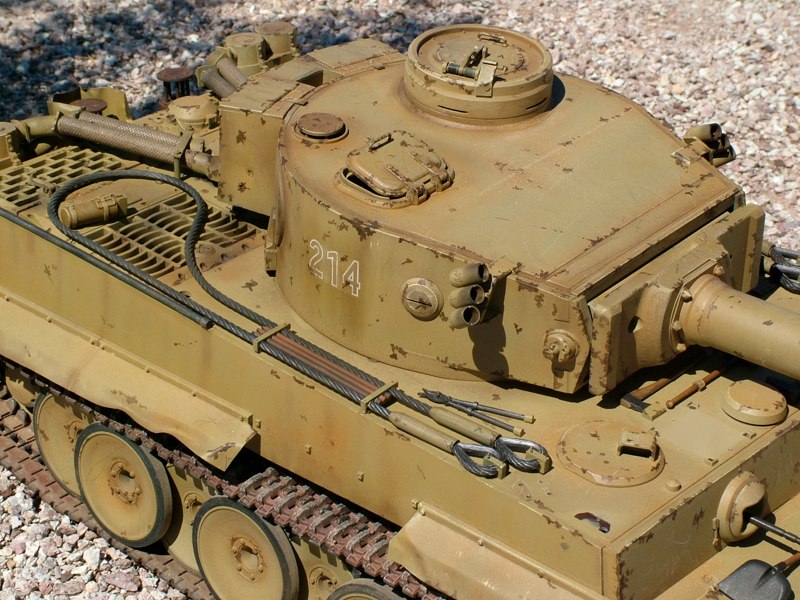
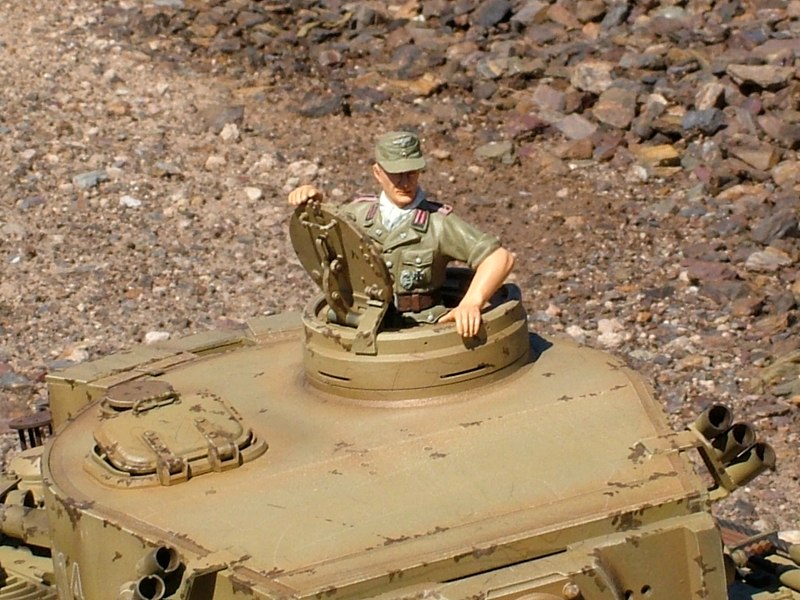
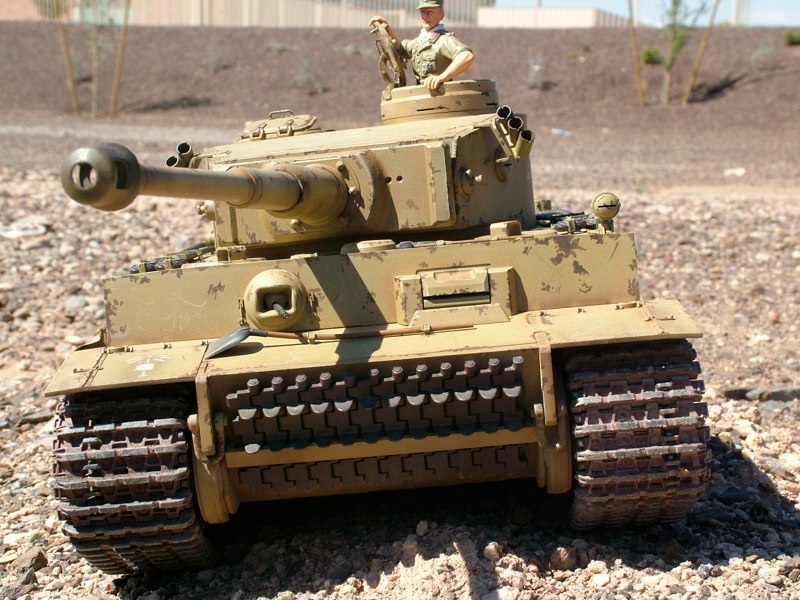
Really, I just needed to have something ready for the show and tell at our local IPMS chapter meeting, so I built the commanders cupola and hatch.Once I had the commander completed, and needed a place to keep him.NIB, what a feeling.This also served as a test bed for a new type of weathering I want to try on the overall Tiger once it's completed. As part of that new weathering technique I'm experimenting with all of the parts, and there is lots of them, were based coated in Krylon Fusion paint.This paint will serve as a primer coat as well as a base coat (espresso brown) which will lend to pre shading and weathering when I get farther into the buildConstruction of the lower hull and suspension parts is pretty straight forward. Tamiya engineered the independent suspension using flat straps of spring steel to keep the individual suspension arms under steady tension.I'd never built anything this big before, and only have minimal experience with Radio Control, so decided to start with the one thing I was most accustomed too, Figures.To represent this as a Tiger from the North African campaign, I needed the extra (K) sprue that Tamiya includes in the static version of this kit. The K sprue includes a DAK commander figure, alternate mantlet, and modified air filters.Ethan actually found me the sprue and bought it for me...........what a guy!DAK co-founder and web master Ethan, tells me one of the best radios out there for this hobby is the Spektrum DX6.I really like the idea that the AR6000 receiver is so small and has just a short pig tail antenna. Some have suggested that the new BR6000 receiver is better suited, so we have one on the way! Best feature, no FM channel conflicts!!!In addition to the Africanization of my Tiger, I am also including Kenny Kong metal tracks, and a turned aluminum barrel. The tracks received their initial base coat of grimy black. Additional weathering with dust, rust and exposed steel will hopefully add to the realism.Batteries of choice: Orion 3300 MAHI was planning a full Wecohe suspension upgrade, but most everyone who I have talked to, suggested I stay relatively close to out of the box for my first real RC build. I guess I'll play more with my planned Sturmtiger, or Panzer IV conversion............what can I say I'm ambitious.Road wheels, wow these were a mini project unto themselves. Including bushings, axles, washers, and retainers, there was over 300 pieces needed to assemble the 16 road wheelsSprockets, man these are big! I need more Tamiya Desert Yellow already!Working suspension, and gear boxes installed, we're getting close to being able to roll, but I think I need a few wheelsThe drive train assembly is staggered and has overlapping bogies. The bogies and hull have been airbrushed Tamiya Desert Yellow.Frontal armor, hull machine gun and hinged front fenders have been base coated and are ready for abuse and weathering.Next paint the surface of the exhaust stacks with a solvent that will soften the surface, Tenax 7, MEK, or Weld-on works perfectly ( you will need to be speedy as the solvents evaporate quickly). While the surface of the plastic is still wet with solvent, roll the exhaust in the baking soda.After the exhaust stacks are assembled, sand the entire surface with 220 grit sand paper. Then using a paper plate, or aluminum foil tray sprinkle a thin layer of baking soda over an area approximately 3-4 inches long.Looking at the ass end this tank and starts to look a little busy. The tool box on the left side is just temporarily held in place, and will be removed later for detail painting.All of my reference material shows the presence of at least some rust on the vehicles that fought in North Africa. To add to the scale realism, I wanted the rust to be minimal, so I borrowed a technique used in smaller scale armor building.I wanted to add realistic weathering and details, and I seriously thought about adding the Aber photo etch set. Hell, I thought, wouldn’t it be kinda fun to scratchbuild the details? So I went about modifying the plastic exhaust shroud (I'm leaving one completely off) provided on the "K" sprue from the static kit.I used my dremel to remove as much of the shroud as possible, leaving only a skeleton frame work and the mounting points.Next, thin gauge aluminum re-skinned the frame work. The result is a new metal shroud that could easily be dented and battle damaged.Happy with the way the exhaust shroud came out, I decided to employ the same technique with aluminum fenders. Using a straight edge and razor knife, I cut strips of thin gauge aluminum to the match the kit fenders. Using my dremel, I cut back the bottom edge of the kit fender by about 1/4 - 3/8 of an inch.It took a little trial and error, but with my good buddy Ethan on the other end of the phone sharing hints and tips, I got the guts installed and the Spektrum radio and receiver wired up.The baking soda will be pressed into the soft surface. In other areas the baking soda will stick and cake onto the surface. You can add additional rust with multiple applications of solvent and sprinkling baking soda directly onto the exhaust. Overcoat with dark brown paint to help seal the “rust” to the plastic. Once the base coat has dried you can add washes of black and reddish browns. Dry brushing with lighter tans and oranges, apply pastels, then seal with a flat top coat. The results look like they took pain staking hours to create the pitted and rusted effect.Included on the additional "K" Sprue acquired from the Tamiya static Tiger, are the feifel air cleaners seen on the DAK Tigers in Tunisia. Now it is time to add the fenders and side skirts.I didn't cut the fender in a straight line but created irregular and scalloped shaped cuts. I wanted to disguise the overlap from plastic to aluminum. Once the fenders had been undercoated and painted I attached them to the sides of the hull.Then, what else could I do, I just had to chase my Boxers around the living room with the lower hull and running gear, I can't wait until the turret is done!The early mantlet from the static kit has been added for an accurate Africanized Tiger. At this point, most of the guts are in, including all of the turret traverse mechanism and elevation unit. The recoil mechanism is next in line. The tank is looking like it just rolled off of the factory floor, we'll remedy that soon enough!Either way I saved $200 bucks not buying the Aber set. The ass end is starting to shape up, and these lower angle shots make the dents stand out. I think a few washes, drybrushing, and some pastels will add a lot, but that comes later. For now, I have started to tackle some of the detail painting and pioneering tools.This duvetyn will filter out dust while allowing airflow in, which should minimize the chance of overheating. By design the speaker cloth with not interfere with the volume or clarity of sound coming from the speaker.The pioneering tools are painted and have been dry fitted for placement. The tie downs and buckle detail has yet to be added, and weathering of the metal and wood should help to bring these small details out. The hull machine gun is in place wired for action.I started to add some dents using a small wooden embossing tool. I may add more as the tank nears completion. Overall I'm happy with the results of both the shroud and the fenders, and I'm sure additional painting and weathering will help bring out details even more.In addition to the heat, one of the biggest challenges here at DAK, is the amount of dust out tanks will ingest while running in the desert. I've added a few extras that will cut down on the amount of dirt and debris that enter the tank. I added black duvetyn (speaker cloth) to the bottom of the hull top plate, below the rear deck grilles.We will continue to update the kit as our battles continue. Next time we will have as many as 3 DAK tigers to ravage the battlefield.I used rubber cement to attach the duvetyn, for several reasons; It remains soft and flexible, can be easily removed if necessary, and also acts as a gasket to aid in sealing the edges of the fabric. I'm also planning to add soft foam double sided weather stripping on mating surfaces of the lower hull and top plate during final assembly. Air hoses for the air filtration system have been added and have had their first color coats, but like many parts they are awaiting weatheringThese pictures show the weathering and chipped paint to full effect.The Tiger made it’s first public appearance at the August SCAT battleday and was a force to be reckoned with.These pictures show the weathering and chipped paint to full effect.The detail and weathering rivaled the best of SCAT and except for one incident with a large rock, emerged unscathed.